By Nadine Spires
How to Make GIFs Using Affinity Designer
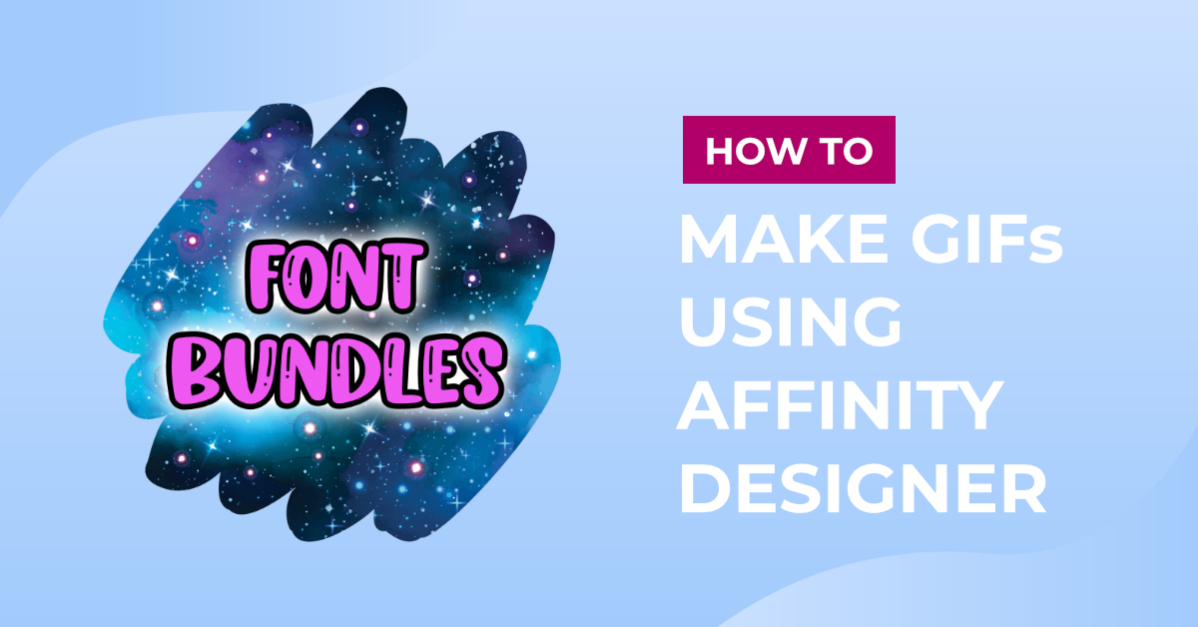
We have an awesome tutorial for you today creating animated GIFs using Affinity Designer. You will learn how to create a series of images in Affinity Designer. Then combine those images into a GIF using a third party site. For this tutorial we will be creating a simple yet fun animated GIF in Affinity Designer.

To create our GIF we will be using a galaxy sublimation background and a crafty font called Smile. The paint brush graphic is from the Plus Membership. If you’re not a Plus Member yet, you can sign for a free 30 Day Trial of the Gold Plus Membership today!
Step 1 - Create Design for GIF Project
Open Affinity Designer and create a new document with dimensions 2500 x 2000 px with DPI set to 300. We are going to create our design then use a white rectangle to cover everything. With each image we create, this design will slowly be revealed.
Import the Background
Drag and drop one of the galaxy sublimation backgrounds into the new document. Resize as needed by selecting the Move Tool. Then click + drag a corner sizing node in or out to resize. We want a good amount of space around the background for repositioning the paint brush.

Add your Text
Next, we are going to add some text and place this over the background. We have an awesome in-depth tutorial on text basics in Affinity Designer to get you started. We used the Artistic Text Tool.
Once the text has been added, we applied some text layer effects. Here we added a black outline. Later on we will add a little bit of a glow effect.
Cover Design with a Background
Our GIF will be a design that is revealed with a paint brush. So, we need to cover everything up with a white background. To do this, we will use the Rectangle tool from the Shape Tools.
The shape was filled with white using the Fill option at the top toolbar. You can also use the Color Picker to change the color.
Step 2 - Create Multiple Images for GIF Design
The process of this step is based on personal reference. We are going to create and save multiple images, which will form our final GIF design. For this tutorial we will be revealing the design in about 10-14 images.
Change to Pixel Persona
Make sure the Rectangle layer is selected under the Layers Panel. At the bottom of the Layers Panel click on Mask Layer. You will see a masked layer appear beneath the Rectangle layer.

Now, switch over to the Pixel Persona by clicking on it top left. Then click on the Paint Brush. Next, make certain that the black color circle is selected. If you move your brush over the document, you will get a preview of the revealed area.
In Pixel Persona, black will erase an area while white will paint the area back in.
Erase First Part of GIF Image
Bit by bit we are going to erase the white Rectangle. At the top toolbar, adjust the Brush size and Hardness. We used a Brush size of 400px and Hardness of 70%. You can adjust the brush as you remove or paint areas back in.
Be sure to check that the Mask layer is still selected. Then erase the first part of the Rectangle. You can use the image below as reference. Think of this revealed area as a brush stroke.

Import Paint Brush Clipart
Use a paint brush with a tip color as close as possible to the design color. Drag and drop it into Affinity Designer then resize as needed. To rotate, click + drag the circle at the top of the paint brush.
Place the paint brush over the background. Position the tip on the edge of the revealed area.

If too much of the white background is removed, click on the white circle and paint it back in.
Now, save the image as a JPEG by going to File > Export. In the Export window, choose JPG, leave the settings as is and click Export. We named the first GIF image “GIF 1” and saved it to a file location.

Erase Second Part of GIF Image
Erase another part of the Rectangle, this will be the next brush stroke. Select the brush, right click > Transform > Flip Vertical. Then rotate the brush until it touches the edge of the revealed mask. We flipped the brush to match the direction of the “paint”.

Now save this image with an appropriate name like “GIF 2”.
Create Additional Images
Using the same methods above, repeat the “brush strokes” and repositioning of the paint brush. Remember to flip the brush vertically to match the “paint direction”.
Save each image and do this until all of the design has been revealed. We have provided a visual guide below of each image.

Edit the GIF Images if Needed
You can even add additional images in between those we already created. We decided to add an extra image right at the beginning of our GIF. You can simply use the Undo option under Edit or select the white circle and paint back over.
Add Text Effects to Image
We are going to create another three images, this time editing the text. Hide the Paint Brush layer by unticking the box on the layer.
Click on the fx icon to open the Layer Effects panel. Tick the box for Outer Glow then click on the effect to access the settings.
We used the following settings to give a slight glow.
Blend mode: Normal
Opacity: 100%
Radius: 40px
Intensity: 50%
Color: White
Now save the image.
For the next two images we used the following settings.
Second Image
Radius: 70px
Intensity: 70%
Third Image
Radius: 100px
Intensity: 70%
Below is the result of the last GIF image.
Step 3 - Create a GIF with Images
We are now ready to put our GIF together. Go to the Ezgif website then click on GIF Maker. Here we uploaded all of the GIF files we created. Next, click Upload and make a GIF!
Depending on the size and amount of images, this may take a few minutes. Once the images show, you can edit the delay and other settings. We chose to leave all the settings as is for now. Now, click on Make a GIF.

A little further down the page you will see the preview of your GIF. You can still edit the GIF. We wanted the glow to last longer. So we increased the Delay to 40 for the last three images. You may need to click Make a GIF again if it doesn’t update.

Once you are happy, click on the Save option bottom right.

Well done! You have just created an animated GIF using Affinity Designer. Just imagine the endless design possibilities and what you can achieve. We hope this tutorial was fun, informative and a great guide in your creative journey.