By Design Bundles
Text on Path in Affinity Designer
In Affinity Designer text on a path allows you to manipulate the text form. You can add the text to a specific area of a design for a more creative look. This can also apply to shapes or curves that would otherwise be difficult to add text to. We will show you how to add text on a path in Affinity Designer.
In this tutorial we will be using the Shapes tool in Affinity Designer. Let’s begin by creating a new document in Affinity Designer.
Step 1 - Use the Shapes Tool
Once you have opened Affinity Designer and created a new document, go to the left side panel. There you will find the Shapes tool. It will usually show the last shape selected. Click on the little white arrow in the corner of the tool to open the Shapes menu. Then select the Heart Tool.

On the document, click + drag out the heart shape to the size you want. You can always resize this later. Holding Shift will constrain the shape as you drag it out.
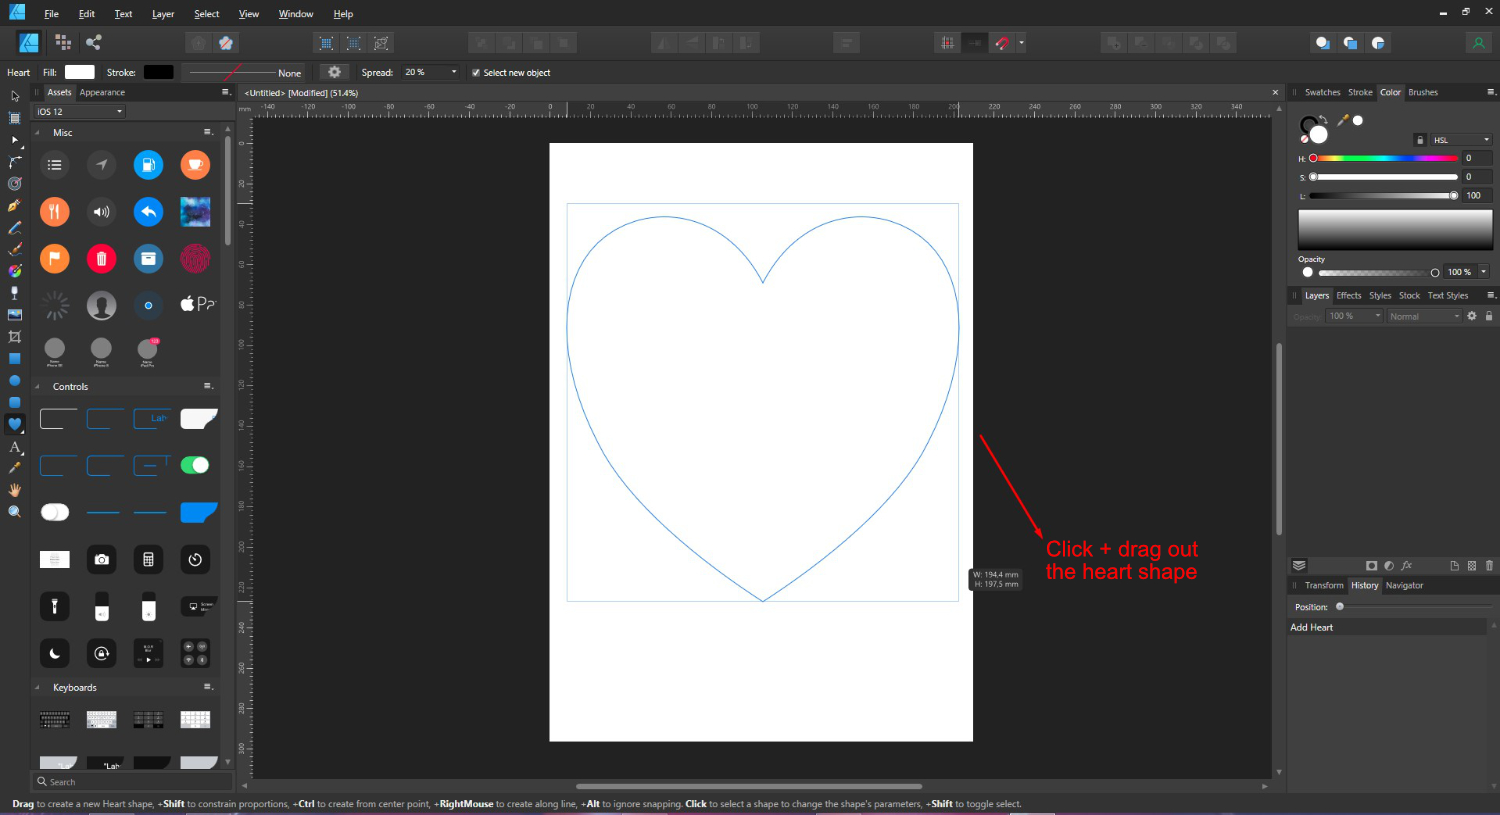
To resize, click on the Move Tool top left that looks like an arrow. Now click + drag in or out on a corner resizing handle to adjust the size. To reposition the shape, click + drag anywhere in the shape.

Step 2 - Add the Text to the Shape
We will now add our text on a path, which is the heart shape in this case. You can convert the shape to a path text one of two ways. You can either use the Artistic Text tool or use the Convert to Text Path option.
Use Artistic Text Tool
Click on the heart shape to select it then click on the Artistic Text tool on the left side panel. If needed, click on the little white arrow to open the text tool menu to select the Artistic Text tool. We used the Arial font but we have a great selection of modern sans serif fonts to choose from.

Place your cursor over the heart shape line. It will change into a letter “T” with a wavy line beneath it. When this happens, click to turn the shape into a text path.
If you place your cursor just above the line, the text will be placed on the top. If your cursor is just below or inside the line, the text will be placed there.

Now you can begin typing your text.

You can adjust the size of the text later. Alternatively, when your cursor is over the shape line, click + drag to increase the size of the text before typing.

Convert to Text Path
With the shape selected, click on Layer > Convert to Text Path.

Then you can start typing. As you can see, when converting to a text path, the placement of text starts in the top center of the heart.

Step 3 - Adjust the Text on Path
When converting to a text path, you will notice two triangles, one orange, one green. The green indicates where the text begins while the orange is where your text ends. You can move both arrows in either direction.
To do this, click + drag one of the arrows. In the image below we moved the green arrow then dragged the orange arrow to the end of the sentence.

If you move the orange triangle into the text, it will create a second line of text.
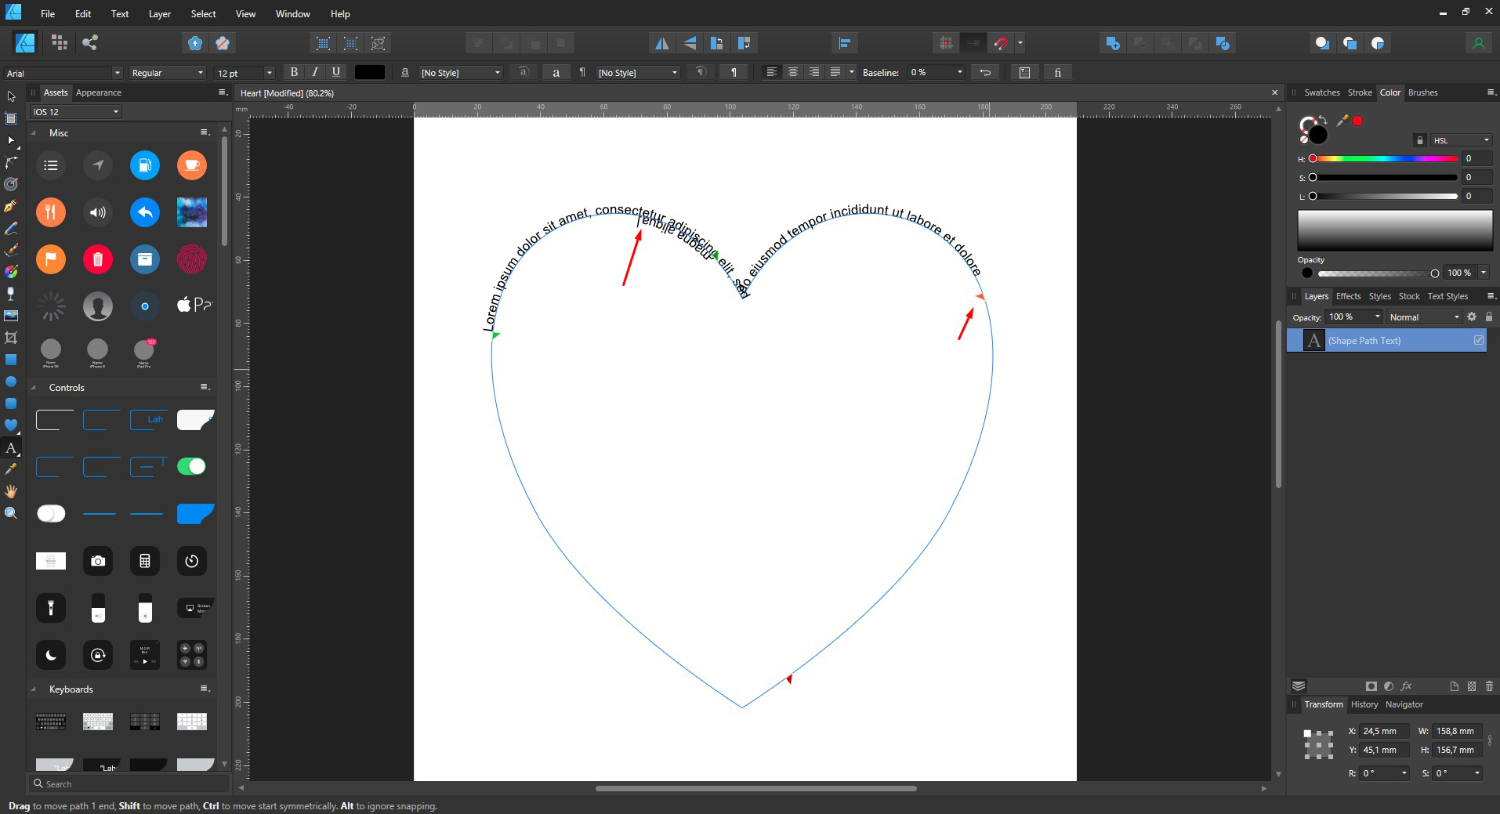
When the text is moved to a second line it gets its own set of triangles. You can then click + drag the green triangle wherever you wish.

As you adjust the text you may notice a small red eye on the right side. This indicates that the text is overlapping. If you click on this eye, it will remove the overlapping text.

Resize the Text on Path
You can adjust the size of the text by selecting it. If you have trouble highlighting the text, double click to select all on the one line and if need be, click once again for any second lines. Once the text is selected, go to the top toolbar and change the size to what you require.

Change Position of the Text
What if you wanted to change the position of the text? This could be moving it from inside the shape line to outside. All we need to do is change the Baseline. We want to adjust the baseline of the text that was inside the shape line.
Place your cursor over the text within the shape line and click to enter Text Edit mode. Now, go to the top toolbar and click on the Baseline drop down menu. Increase the number for the text inside the shape line. This will place the text on the outside. You would decrease the number when moving text in the opposite direction..

You can adjust the baseline to however you choose. Here we adjusted it to the maximum of -50% in the negative direction. In the positive direction the maximum is 100%.
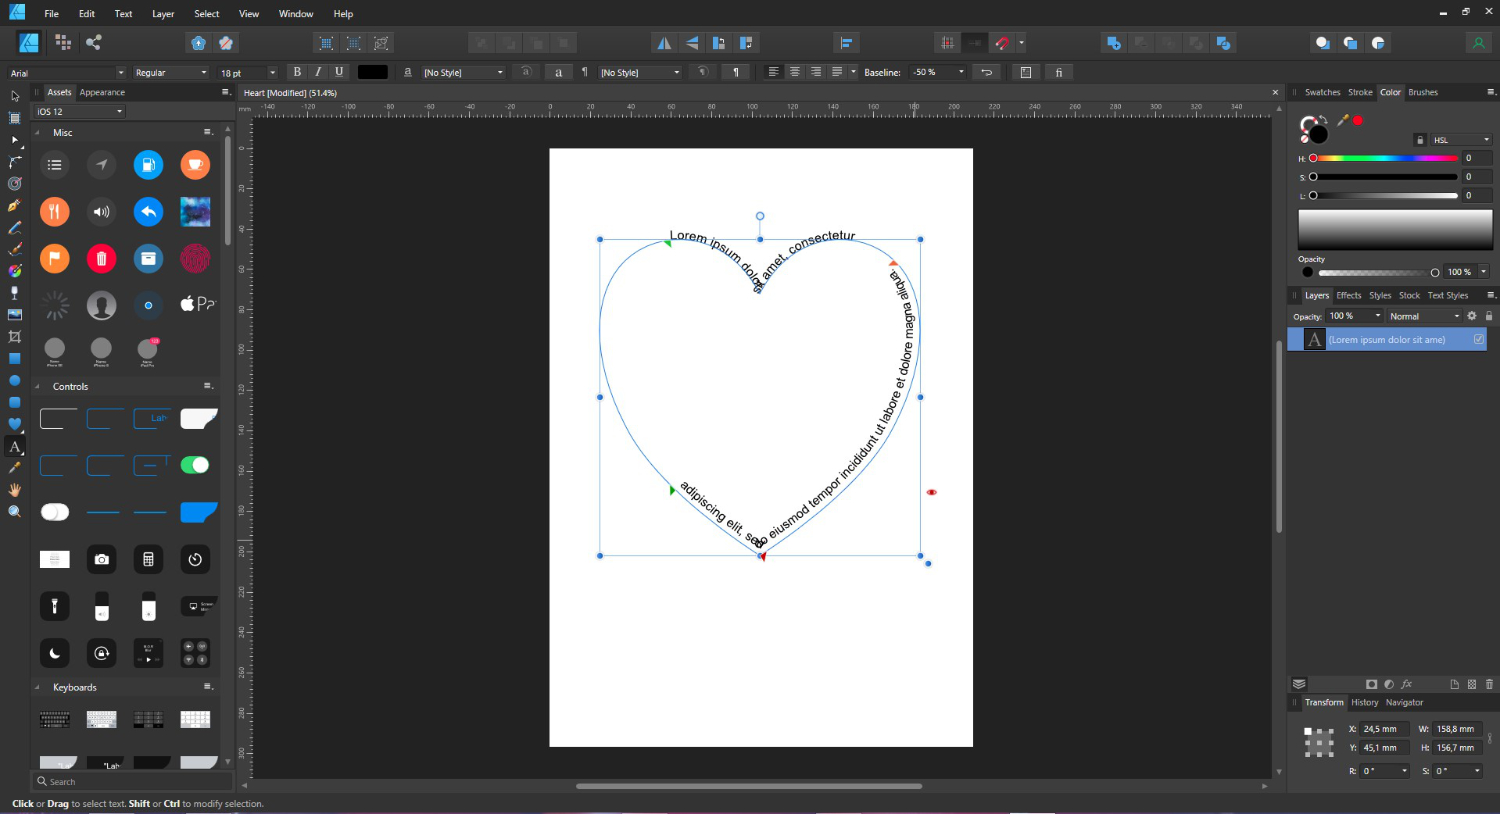
You are not restricted to just preloaded shapes. You can also add text to a curve. We have an in-depth tutorial on text basics in Affinity Designer if you would like to learn more about using text.
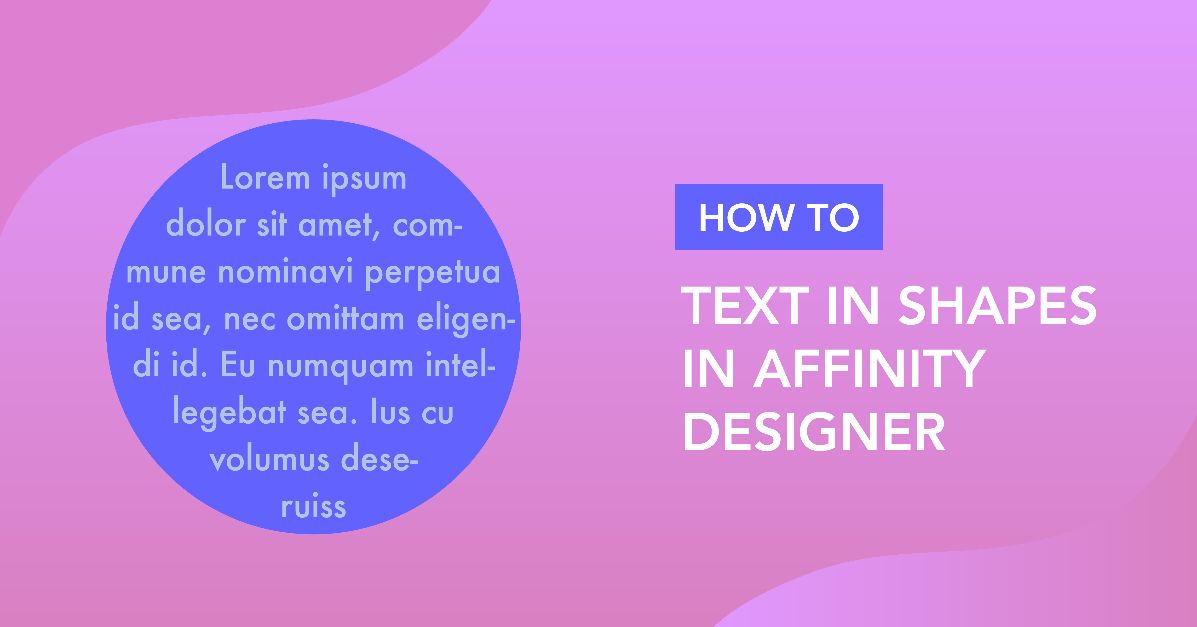
How text is presented is an important factor in attracting viewer attention and providing readable content. In Affinity Designer you can also add text in shapes for all kinds of projects. We hope that today you were able to learn something new about text on a path in Affinity Designer.