
By Design Bundles
How to Thicken Text for Cricut Design Space using Silhouette Studio
Today you will learn how to thicken text for Cricut Design Space using Silhouette Studio. Creating a thicker text works especially well when used with hot foiling tools. It can add more body to a thin text, allowing you to make full use of your favorite fonts. In this tutorial we will guide you through all the steps you need to get the result you want.
We are using a script typeface called Lovely Melissa. If you would like to use another font, we have tons of Modern Calligraphy fonts available on Design Bundles.
A quick note. We are using the Business Edition of Silhouette Studio in order to save a SVG file.
You can still use the same technique with the Free Edition. Do this by taking a screenshot of your design, then save as a JPEG. Next, either use a SVG converter or the tracing function in Cricut Design Space.
Step 1 - Use the Text Tool
Open Silhouette Studio and on the left side panel, click on the Text Tool icon.

After creating your text, open the Text Style Panel on the right side toolbar.
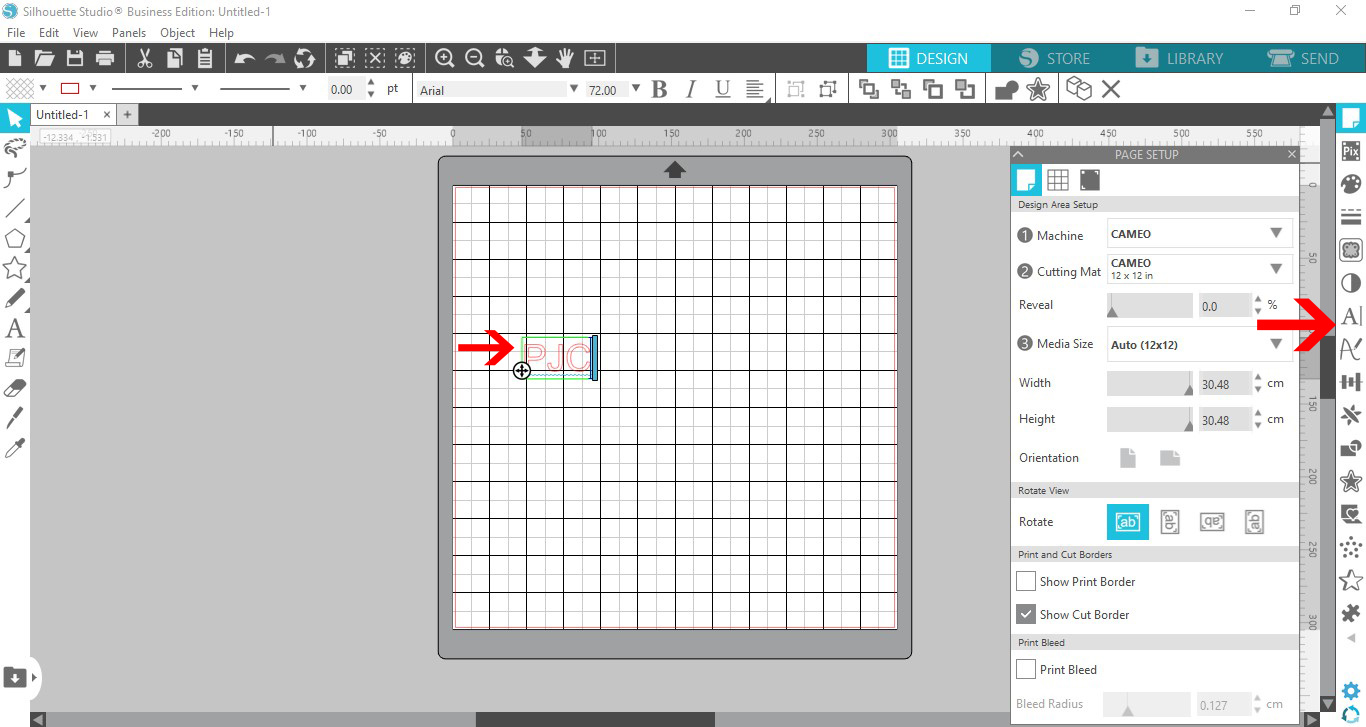
Choose the font you want to make thicker from the font selection. You can also type in the font name.

Resize your text with the Move Tool on the left side panel. Click + drag out a corner node to make the text bigger.
Step 2 - Create an Offset
To make the font thicker, we need to add an offset to the text.
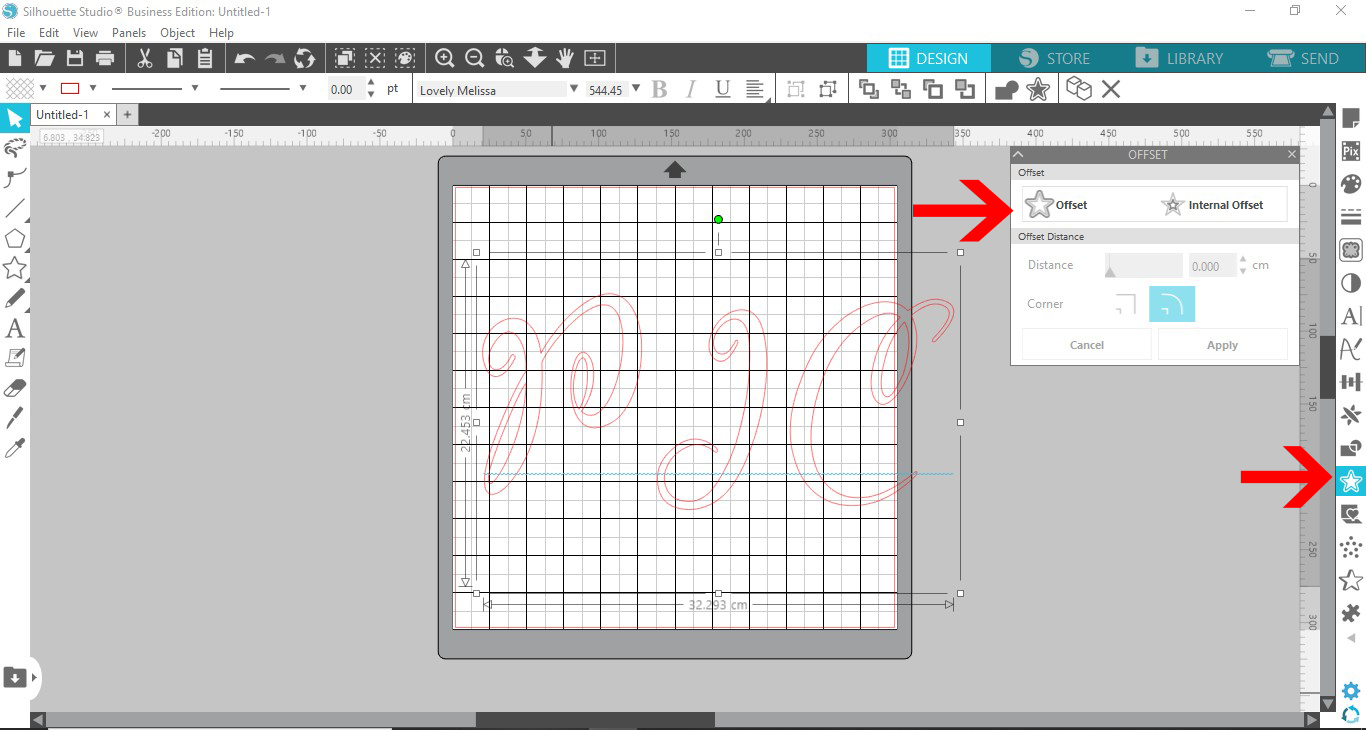
Adjust the offset width or Distance until you are happy with the result. Then click Ok.
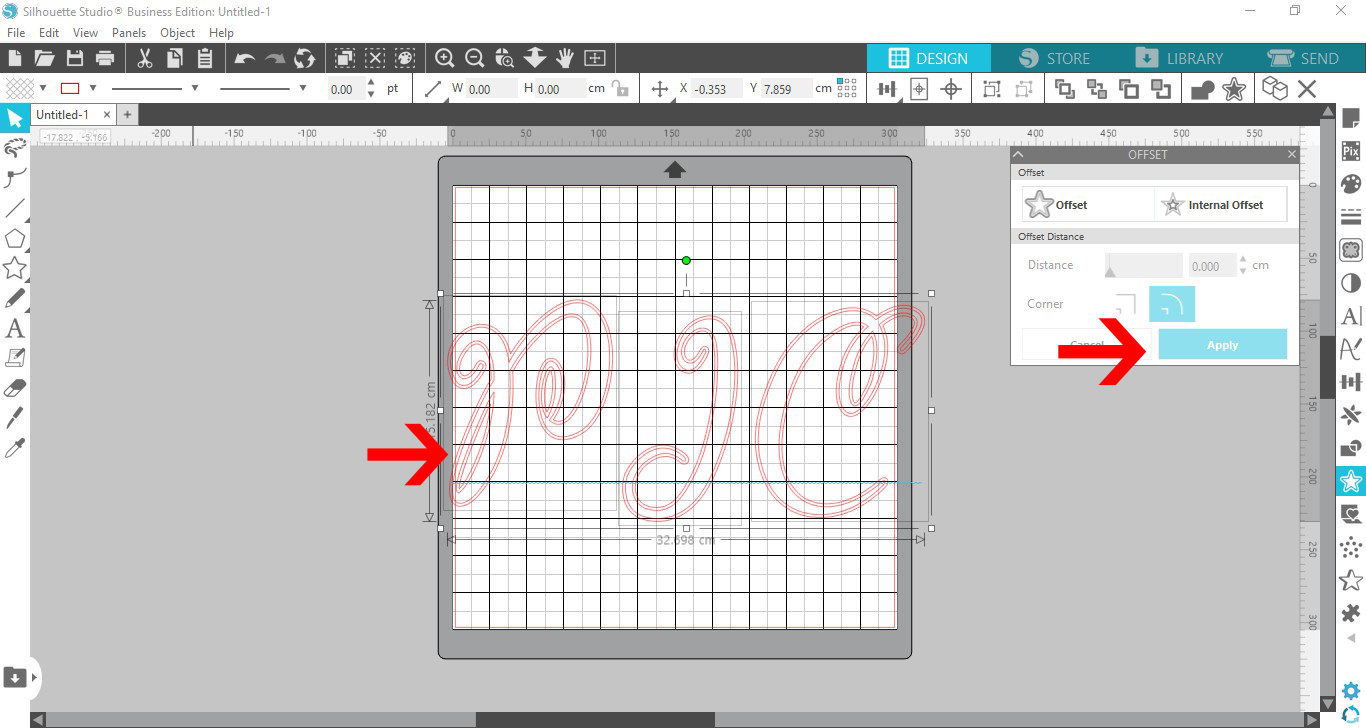
You can now delete the original text, leaving the offset behind. Now, select the offset, right click > Group.
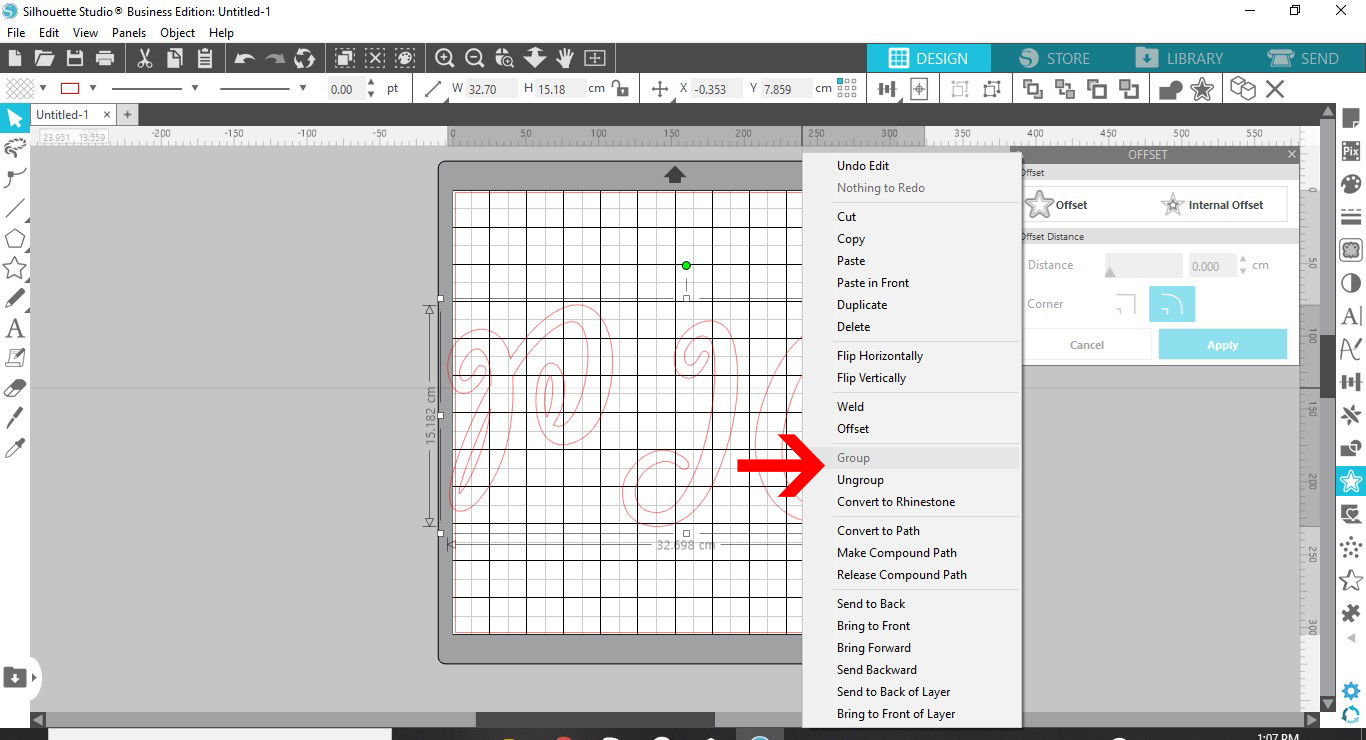
Step 3 - Save the Text File
In this step we will show you how to save the file as an SVG and a screenshot.
Save as SVG
If you have the Business Edition you can save your text offset as an SVG. Do this by going to File > Save As > Save to Hard Drive.

In the window that opens, next to Save as type select SVG as your file type.

Save Text as Screenshot
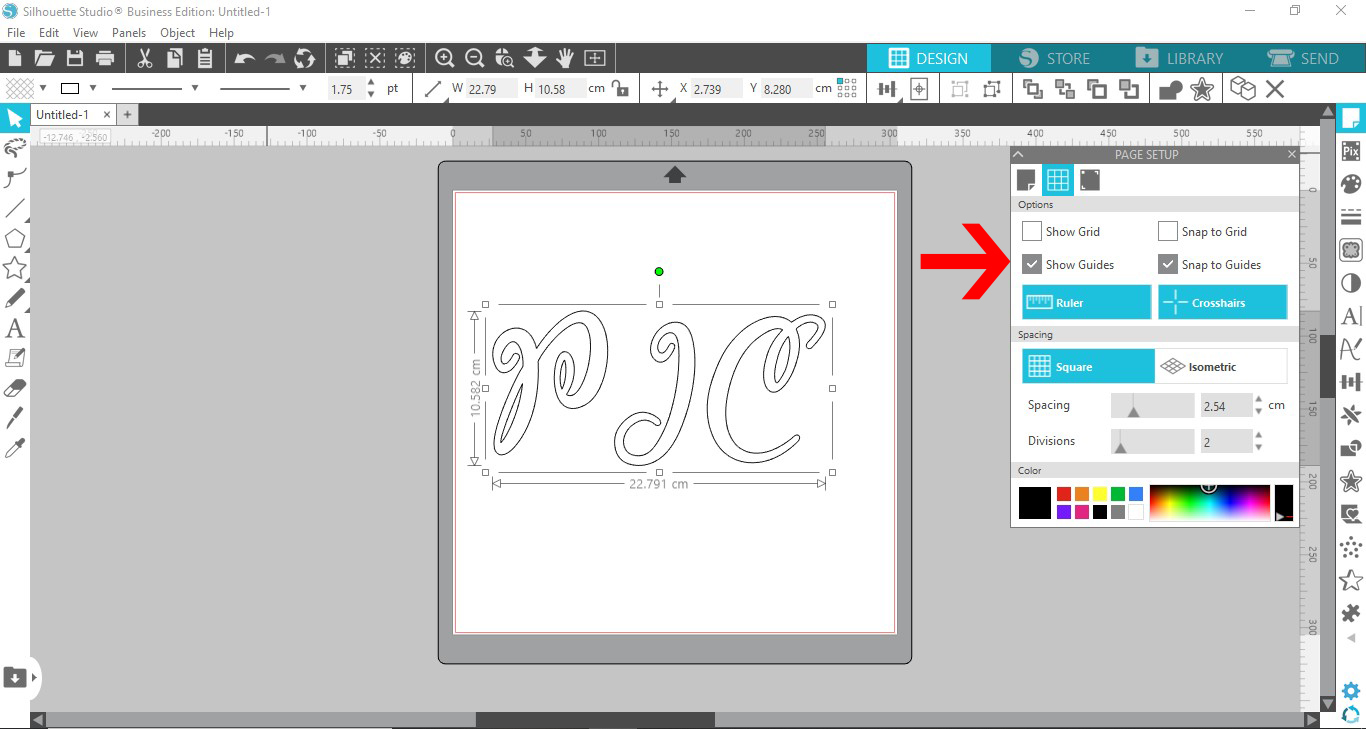
If you are using the Free Basic Edition, then a screenshot will work just as well. You will need to change the appearance of your mat and remove the grid.
Click on the Page Setup icon on the right toolbar. Then click on the second icon for Grid Settings. Untick the boxes for Show Grid and Show Guides.
In the top toolbar, click on the second icon from the left that looks like a lined box. Here you can change the Line color to black. Next, increase the Line width to 1.25 pt.
You can now take a screenshot of the text offset. Convert to a SVG using a free online converter or use the trace feature in Cricut.
Step 4 - Upload and Edit Text Offset in Cricut
Open Cricut Design Space, then click on the Upload icon on the bottom left side panel.

Next, click on the icon Upload Image.
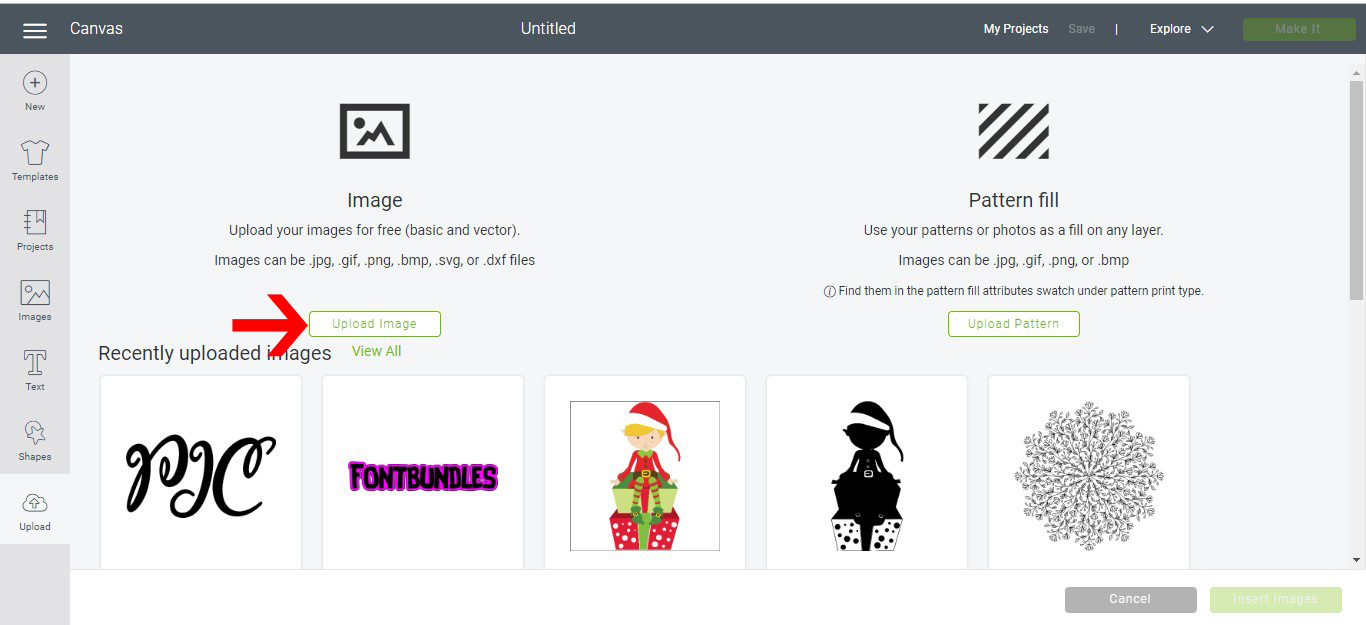
Once your offset has been uploaded, click on the Save icon on the bottom right.

A confirmation window will appear with your uploaded icon. Click on the selected image then click on Insert Images.

Your offset will upload into Design Space as a cut file.
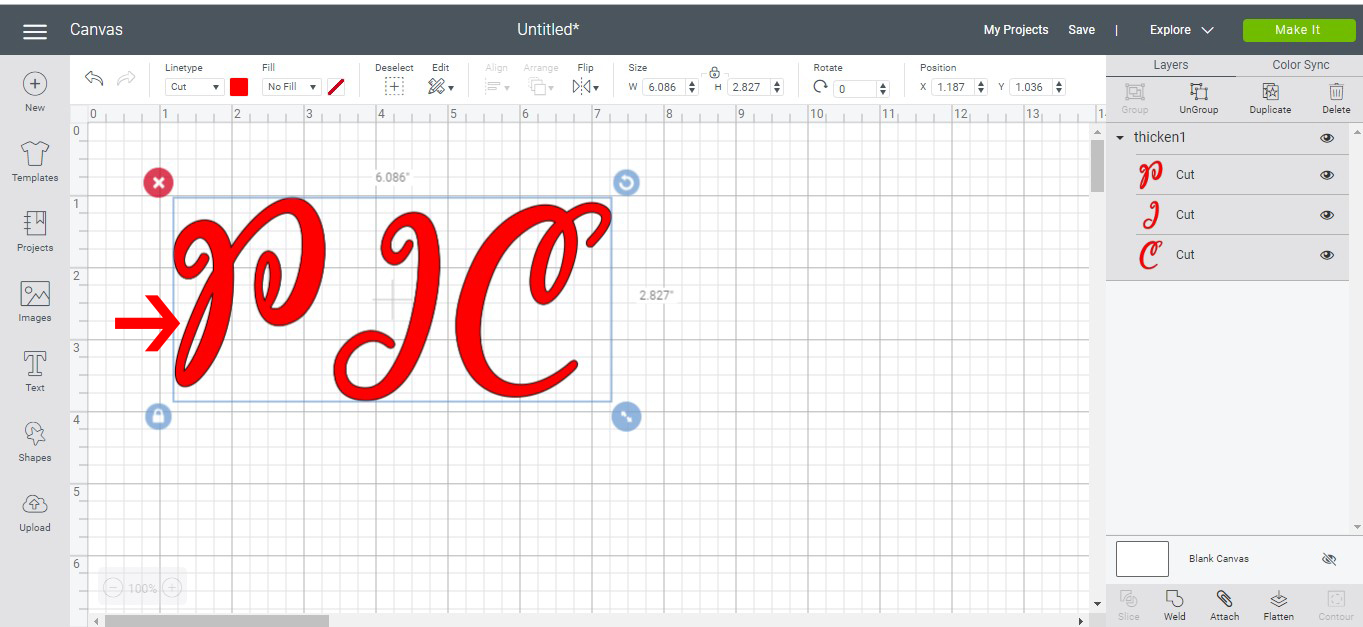
On the top toolbar click on the Line type and change to Draw. Next, click on the Attach icon. This will lock your design in place on the mat for cutting.

You now click on the Make It icon top right to send the project to your machine. Next, click on Continue.

Step 4 - Adjust Material Settings for Cricut
On your machine, turn the dial to match your media. For this tutorial we are going to foil the thicker text onto cardstock. So we selected the Cardstock setting.

In the Make It window, check that the first two steps are done then click on Press Go.

Your machine will begin with the selected project. In our case, this would be foiling.

Once done, remove the foiling tool and be careful not to burn yourself. Remove the mat then peel back the foil to view the beautiful result. This technique is great for very thin fonts where you want the thin lines to be more visible.
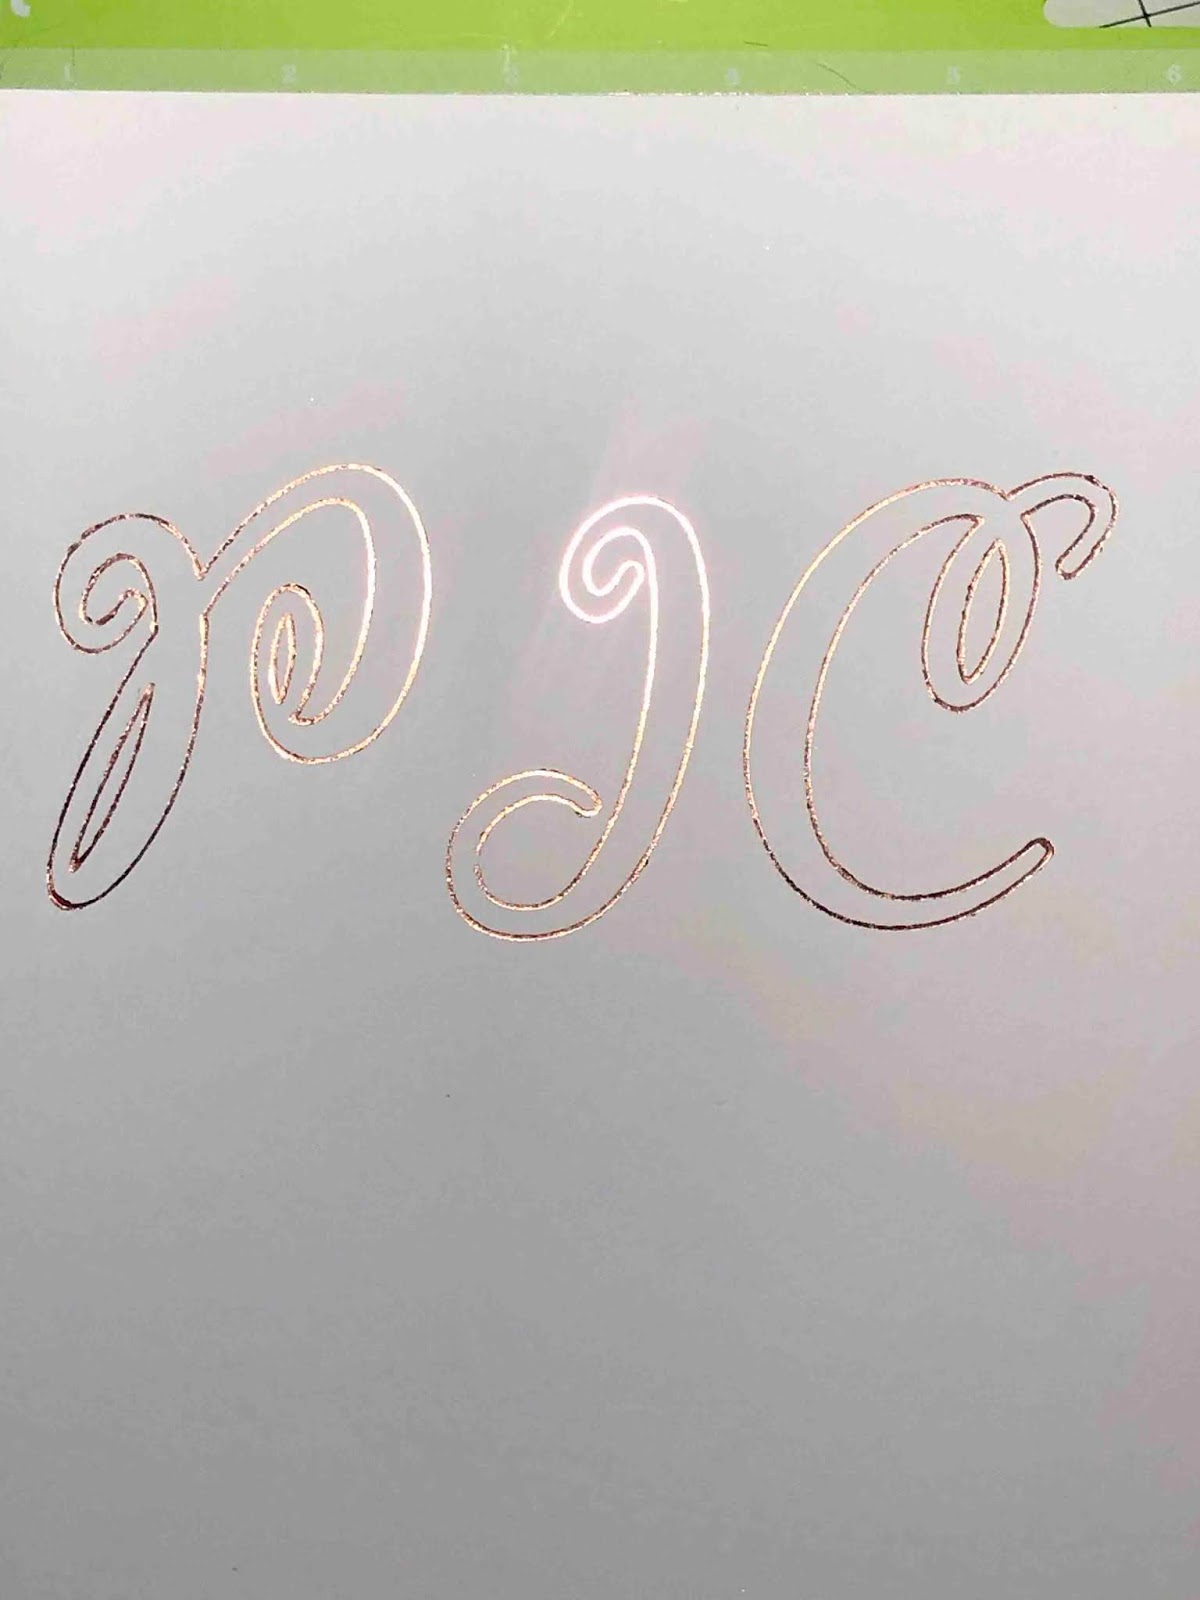
You can now use your delicate fonts in even more projects! We hope that you enjoyed this tutorial on how to thicken text for Cricut Design Space using Silhouette Studio.