By Nadine Spires
How to Change Leading in DesignScape
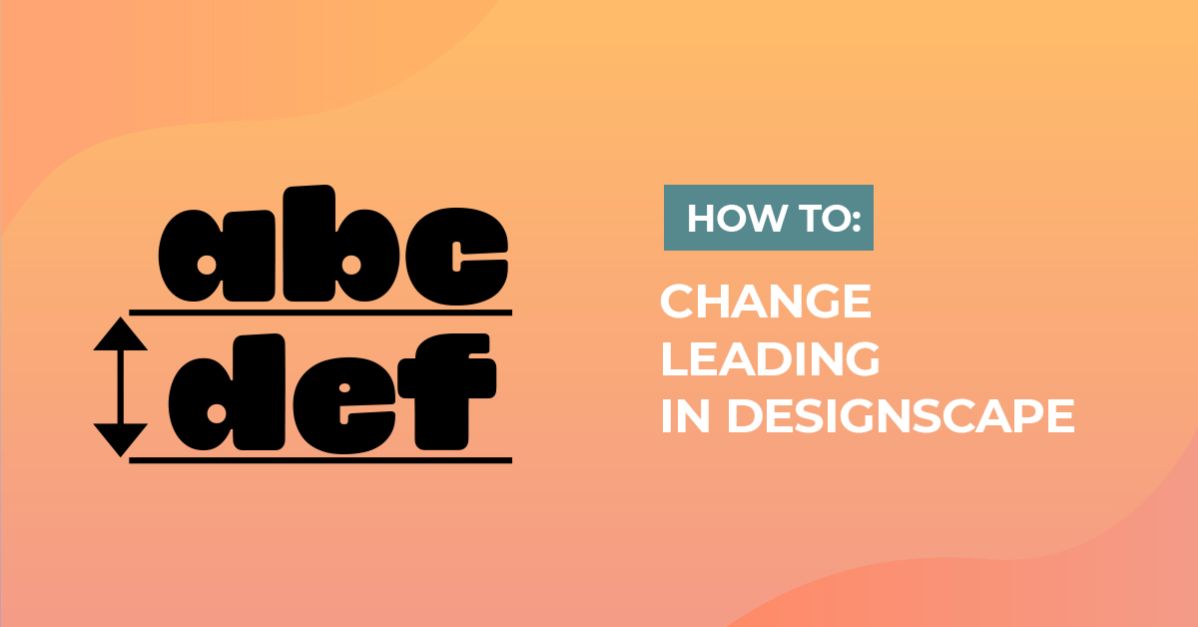
If you want to know how to change leading in DesignScape, this tutorial is a great place to start. DesignScape is an online alternative to Photoshop and Illustrator, available only to Gold Plus Members. Leading is also known as line spacing and is the distance between each line. It impacts how the text looks while creating spacing in a controlled way.
If you are not a Gold Plus Member yet, you can access DesignScape with a 30-day free trial of the Gold Plus Membership. You will be able to find DesignScape by going to the Plus Membership page. Then scroll a short way down until you see DesignScape.
For this tutorial, we are using a romantic writing font called October Birthday. Be sure to add the font to the DesignScape, which we already did.
Step 1 - Add and Edit the Text
We are going to first add the text then change the font. You can add text either by clicking the Type Tool icon on the left side or hitting “T” on your keyboard.
Next, drag out a text box then change the font top left. Now you can start typing. If you find that the text is too small, adjust the size top left.

You may find when changing the size that it goes to a maximum of 150px.

You can increase this by simply typing in the number you want in the font size box. We changed our size to 250px.

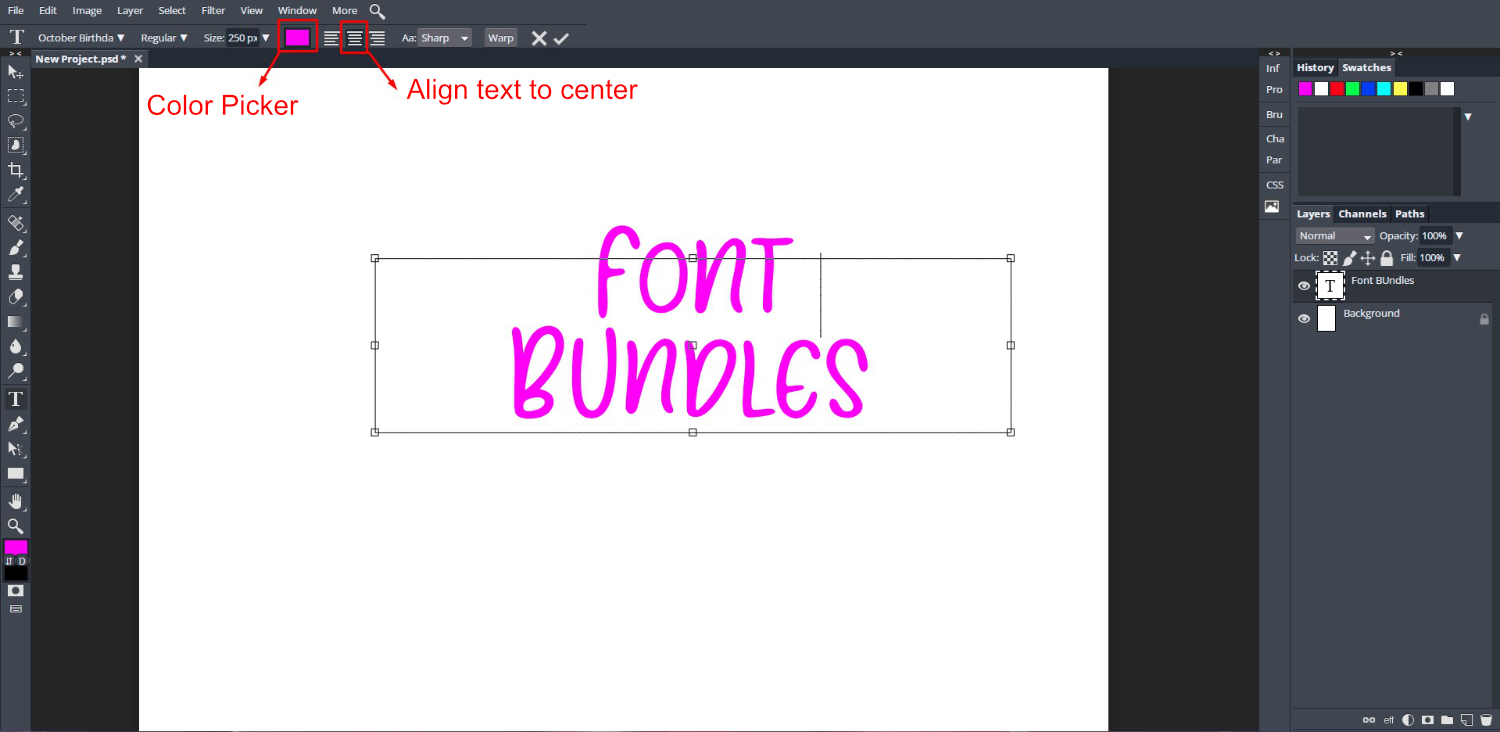
You can edit your text by changing the color or aligning it to the center. Here we placed the text on two lines, center aligned and gave it a nice bright pink.
The text needs to be highlighted in order to change the color using the Color Picker. Click Ok once you have chosen your color to close out from the Color Picker.
Step 2 - Use the Character Menu
Next, we are going to open the Character menu. This can be found near the Layers Panel under “Cha”. If you don’t see the Character menu, go to Window > Character.

In the Character menu you will see the Leading box, by default set to zero. Next to this is an Auto box that will most likely be checked. The box sets the automatic spacing of the text.
We want to uncheck this box, but don’t be alarmed when you see the text pile on top of each other. Go to the Leading box and start by typing in 100px. Keep increasing by 50 until you get the amount of spacing you want.
The Leading amount will depend on the font and size. We increased the Leading size to 400px for our sized text to get a nice amount of spacing.
When changing the Leading you may see part of your text disappear, as shown in the image below.
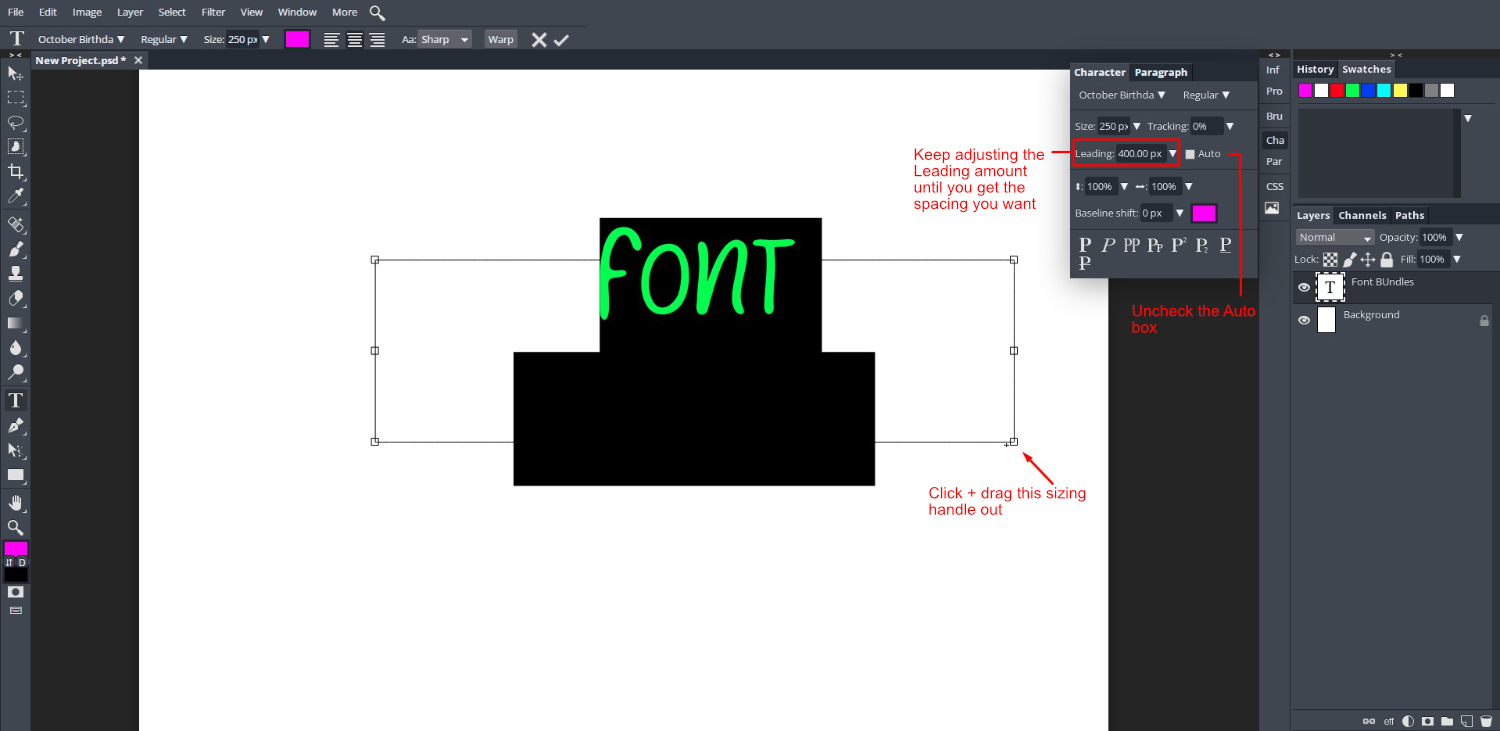
To fix this, click and drag out the bottom sizing handle of the text box.

There you go, you now know how to change Leading in DesignScape. It helps make text far easier to read so that viewers can better absorb the information. We hope this tutorial has been insightful and provided the tools needed to improve your text projects.