By Nadine Spires
How to Remove Background from Photo in DesignScape
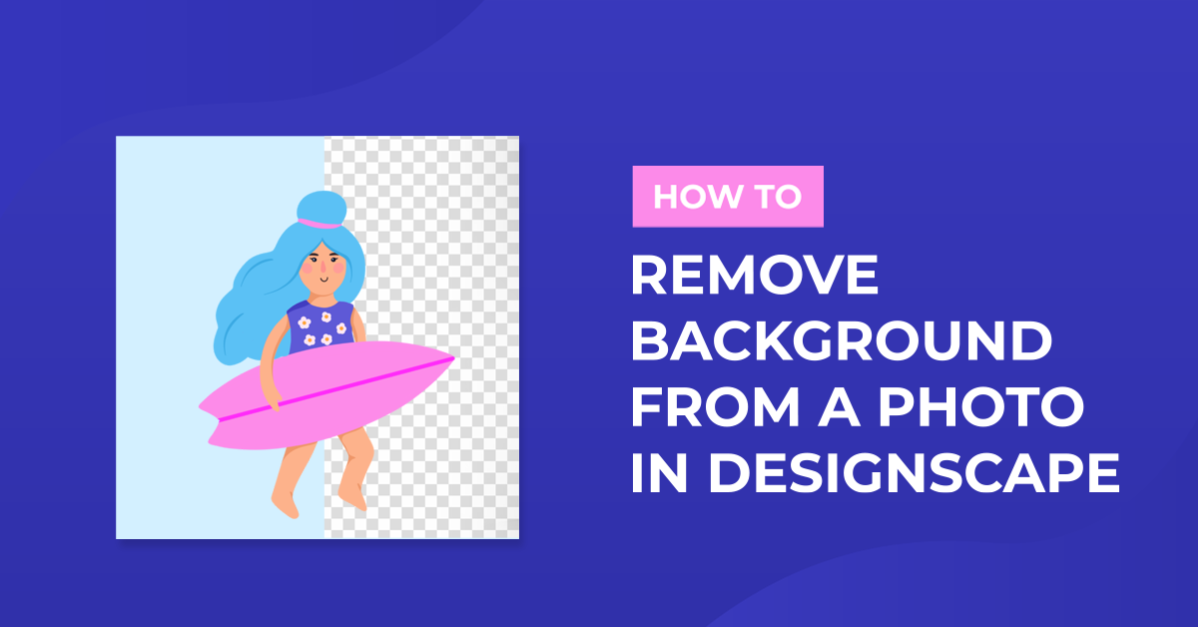
You can remove a background from a photo in DesignScape in a few simple steps. You may want to change out a distracting background or just isolate elements for another project. With DesignScape, an online editing tool available to Gold Plus Members, a quick selection is all you need.

If you don’t have a Gold Plus Membership, have a look at our free 30-day trial. To access DesignScape, click on the Plus Membership page link at the top of Design Bundles. Then click on the DesignScape icon.

In this tutorial, we will use this photo of friends laughing together but we have even more commercial use photos to choose from.
We can begin by opening our file in DesignScape.
Step 1 - Create a Background Selection
We will be using one of the selection tools in DesignScape. On the left side toolbar, click + hold your cursor over the selection box to open the options. Then, select the Magic Wand (W) tool.

At the top toolbar, make sure that you click on the Unite button. This is essentially adding a selection to the image. We changed the settings as follows:
- Tolerance: 32
- Ticked box for Anti-alias
- Ticked box for Contiguous
- Feather: 3
Tolerance determines how much of an area is selected at once. A very high number like 255 (max) will select the entire image.
When ticked, Anti-alias will smooth out jagged edges while Contiguous will select similar colors that are touching.
You may need to adjust the settings depending on your type of photo. Now, click on the background to start making your selection.

Step 2 - Edit the Background Selection
While the Magic Wand did a pretty good job of selecting the background, there are some areas it missed. To zoom in for a closer look, click on the Zoom Tool bottom left toolbar. then click + hold your left mouse button and move your mouse to zoom in or out. You can move around the image by holding down the Spacebar key.
Add to the Selection
To carry on adding to the selection, be sure that Unite is still selected at the top toolbar. Click again on the background to add to the selection.
To keep on adding, click each time over an area. You can click more than once on an area to widen the selection. Here we closed the small gaps the initial selection missed.

Subtract from the Selection
There are also some areas excluded that we want in the selection. So we will need to subtract part of the selection to include those areas. You will need to click on the Subtract button on the top toolbar and change the Tolerance.
We adjust the Tolerance to 15 so less is selected at once. This helps to fine tune the selection. As with adding a selection, click over the area to subtract. Here we removed part of the selection that included the man’s teeth.

Modify the Background Selection
There are a few more ways that we can edit this selection. As you can see, the selection is not sitting on the edge of the subjects, but slightly in. These areas will be cut off when we add the selection as a mask.
To fix this, we can contract the selection every so slightly. Go to Select > Mode > Contract.

In the small window that pops up, enter a value of 2px then click OK. The selection has moved closer to the edge of the subjects.

Step 3 - Refine the Background Selection
Currently, the background is selected instead of the group of people. We want to invert the selection so that when adding a mask, the selected area (group of people) is kept. Go to Select > Inverse.

To better see how your mask looks, go to Select > Quick Mask Mode. Everything that will be removed, such as the background, will be highlighted in red. You will also see the layer highlighted in red in the Layers Panel.
You can quickly toggle in and out of Quick Mask Mode by using the keyboard shortcut “Q”.

Refine Edge Option
You can use the Refine Edge option for a cleaner selection. At the top toolbar click on Refine Edge and a new window will open. A Trimap is automatically generated for the selection. To learn more, you can click on the Tutorial link on the top right.
Our selection didn’t need further adjustment. We also left the transparent background. You can choose a transparent, white or black background. However, a transparent background allows for more flexibility.
We clicked on the selection drop down menu and chose Raster Mask, then clicked OK.

Adjust the Raster Mask
If you need to, you can further edit the Raster Mask that was applied to the layer. Under the Layers Panel, click on the Raster Mask thumbnail so it’s active. Now, go to the left side toolbar and click + hold on the brush options to open the menu.
Choose the Brush Tool and at the bottom you will see the white and black color boxes. White reveals while Black conceals. You can toggle between the two by using the keyboard shortcut “X”.

Did you know that you can load and use photoshop actions in DesignScape? You can use your purchased actions to further edit your photo.
Step 4 - Save as a PNG File
We are now ready to save our file. Keep in mind that if you want to keep the background transparent, you need to save it as a PNG. Go to File > Export as > PNG. Adjust your settings as needed then click OK.

Here is the end result of our photo.

There you go, we are now done with removing the background from a photo in DesignScape. You can use this image as is for any project or add another background. Removing a background from an image is especially helpful when creating sublimation designs.