By Nadine Spires
How to Draw a Backpack
Have you ever wanted to learn how to draw a backpack? We have a fun packed step by step tutorial for you! Big or small, with cute patterns or plain colors, this idea works great as a sticker, paper crafts or for t-shirt designs. Whether it’s for school, the gym, travel backpacks, or work related, you can make different types of clipart for a functional or fashionable statement.

Our drawing guides are easy to follow and can be used with coloring pencils, for charcoal sketches or even with drawing apps. For this drawing tutorial, we will be using Procreate. To create the outlines and add texture, we are using these Procreate ink brushes.
You are also welcome to browse the FREE Procreate Brush category for other options.
Step 1 - Roughly Sketch the Backpack Shape
Let's begin with a rough sketch and create the initial shape of our design. When working with sketches, it's a good idea to use a medium that can easily be removed or covered up like a pencil.
Sketch the Base Shape
Start by sketching the front shape with a curved line or an arch. We made our shape flat at the bottom with the right slightly lower to give an angled look.

Next, add some dimension to the backpack and repeat the shape of the first sketch. Place the second sketch a little higher and more to the right. Then, connect it to the first sketch with an angled line. Use our example image below for reference.

Sketch the Backpack Straps and Details
With the base shape completed, let's start by roughly sketching a grab handle in the shape of a horseshoe at the top of your backpack. Next, draw lines where you want your front and side pockets to be oriented.

Draw in the shoulder straps at the back of your backpack. If you look at our example below, the shoulder strap closest to us is fully visible. The back shoulder strap is only visible at the top. Shaped like a mug handle, the shoulder straps are wider at the top and narrower at the bottom.
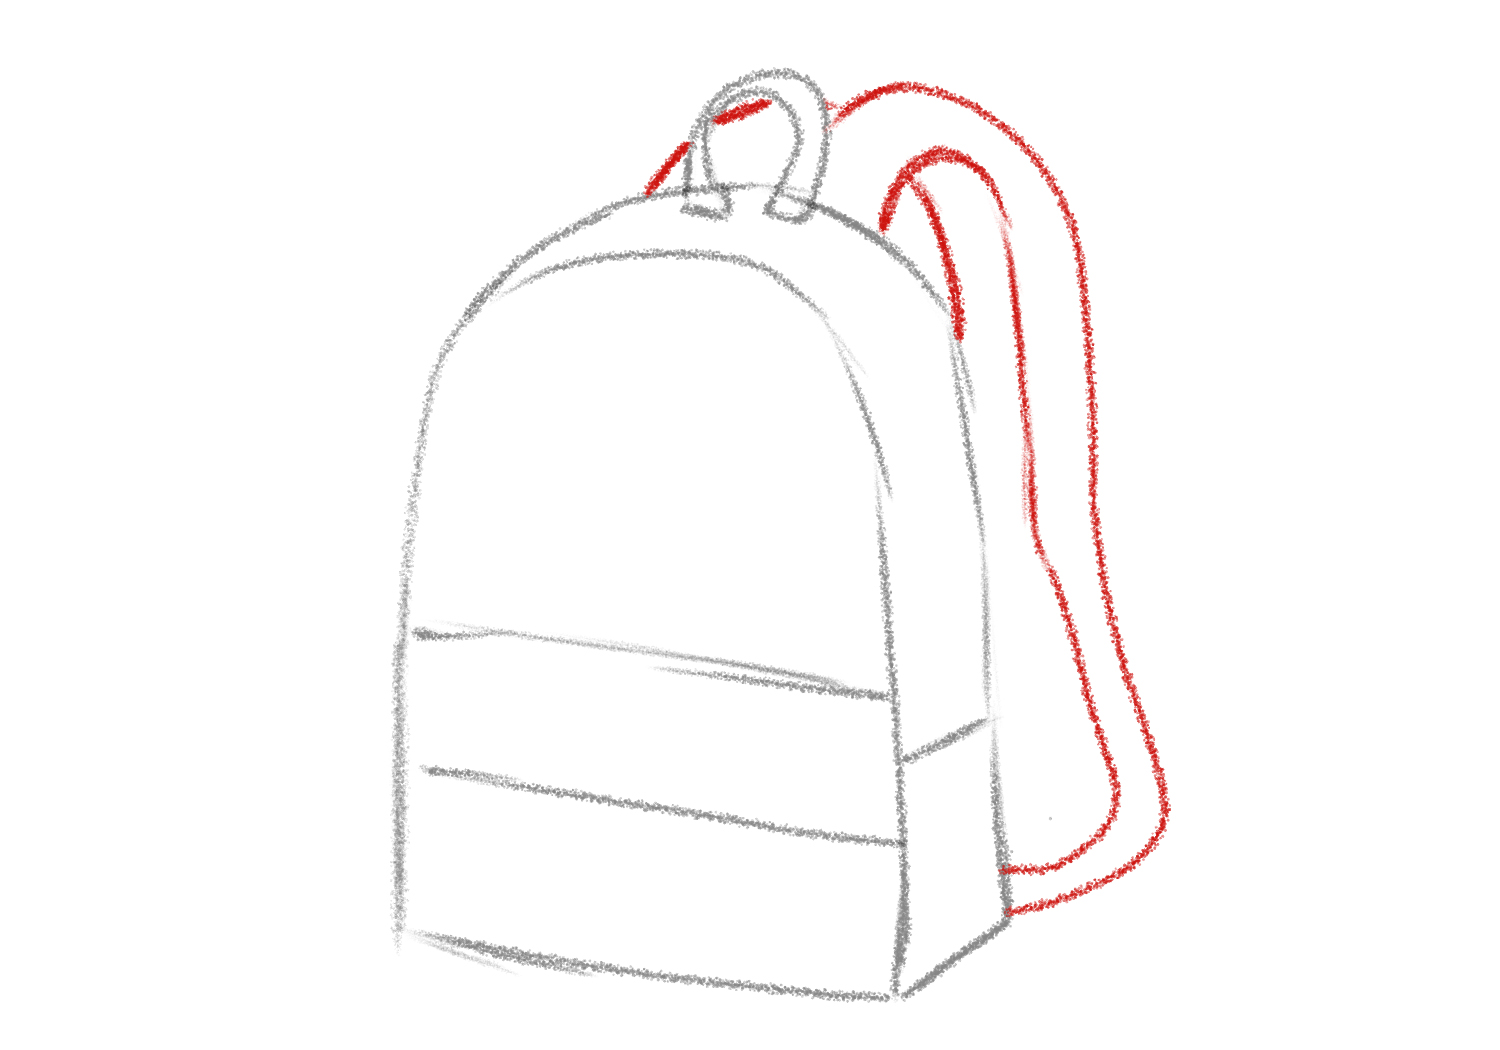
Lastly, sketch in the basic lines for the details. For the visible shoulder strap, draw a line about halfway down. Then, draw a line for the main zipped compartment. Place this in the middle of the side view of the backpack.
You can also add extra details such as a name box or extra pockets.

Step 2 - Outline the Sketch of Your Backpack
In this step, change over to a permanent medium like a marker or pen and outline the rough sketch. While outlining, pay close attention to any overlapping lines that you don't want to include. Remove the rough sketches when you're done.

Step 3 - Add Details to Your Backpack
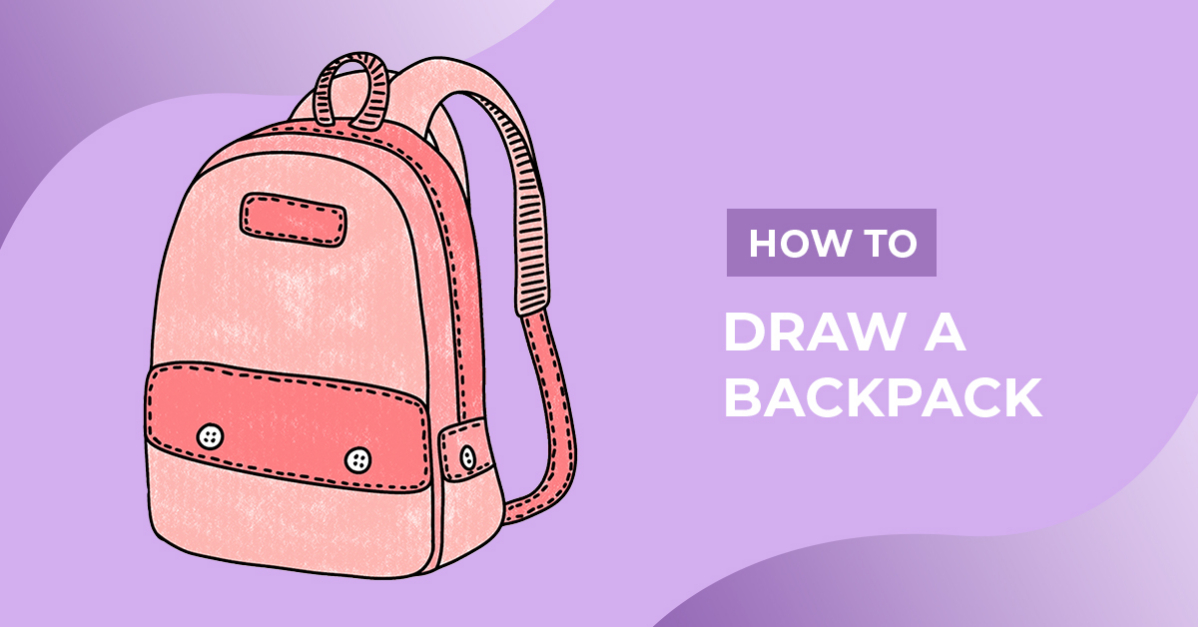
In this step, we are going to add the final details to give our backpack some personality. Use a marker or pen to add buttons and stitch details.
Fill in the shapes with your favorite colors using different shades. We used three shades of pink as our color preference to give the sketch some depth. Then, we added white with a texture brush.

You did a fantastic job drawing a backpack! Create different designs and change up the colors a bit for something more fun. We hope you had a great time following along with this tutorial.