By Nadine Spires
How to Draw a Banana
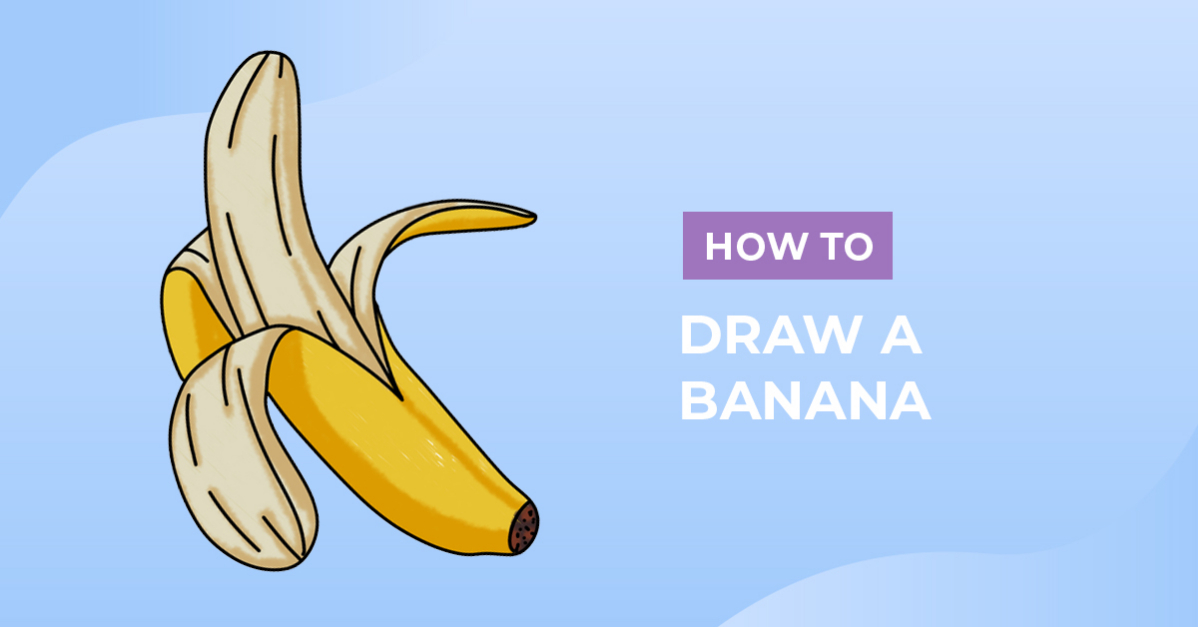
In today’s beginner-friendly drawing exercise, we are going to show you how to easily draw a banana. A popular health snack, their bright yellow appearance is quite cheerful. You can use your banana clipart for funny puns, fresh produce markets, packaging design and even cute sublimated shopping bags.

For this drawing tutorial, we are using Procreate along with these chalk brushes. You can use any type of drawing medium to make your fruit clipart.
Want to draw more fruity tutorials like this one? We have a few tutorials that will go great with your banana, like how to draw a lemon and draw a peach.
Step 1 - Create the Rough Sketch of Your Banana
In this first step, we are going to use a medium that can be removed or covered up like a pencil. We will make rough sketches of the base shape and then add the peel.
Make the Base Shape
For the first sketch, roughly draw a long curved shape with rounded ends. You can make the shape more curved and wider if you want to.

Sketch the bottom of your banana skin at the base by leaving a small gap and drawing an oval. Then, sketch a line on either side connecting the oval to the base shape.

Draw the Banana Peel and Pulp
Next, we are going to create the peel of our banana. First, roughly sketch two curved line sections like the petals of a flower. Begin towards the middle left of the banana and curve out on both the left and right sides.
We also added a line on the left side to connect the base to the peel on the left side. Follow our sketch below for a visual guide.

Then, sketch your pulp (the banana itself), slightly narrower on the right and bottom left (seen in red). Lastly, sketch the back peel as we did (seen in blue).

Step 2 - Outline The Rough Banana Sketch
We now want to outline our rough sketch using a permanent medium. This can be a marker, a pen or a dark shade of the medium you are using.
Pay close attention to your overlapping sketch lines. Some of these sketches you don't want to keep. In this case, we outlined the pulp, which you can see in red in the image below.

Then, we outlined the peel sections and the bottom of our sketch. When you have outlined your entire design, remove the rough sketches.

Complete outlining your banana sketch and add extra details where you want. This can be long or short section lines on the peel. Do the same with the pulp and inner peel to give the appearance of texture.

Step 3 - Add Color to Your Banana
In this step, we are going to add color and textured shading. You can use a mix of traditional colors such as yellow, beige, green and brown. You can use any color palette of your choice.
We added a vibrant yellow to the outer peel and a pale yellow for the rest of the illustration. The bottom edge of the design was filled in with black.

Using darker, contrasting colors, create a bit of shading or texture over areas of the design. The position of the shading is entirely your choice.

Well done on drawing a groovy banana illustration. Take your design up a level by creating a comic style using halftone Procreate brushes. Experiment with shadows and highlights to create ripe bananas that look ready to eat.
You can also have some fun creating a unique banana font! We can't wait to see what you make with your newly created design.