By Nadine Spires
How to Draw a Bunny
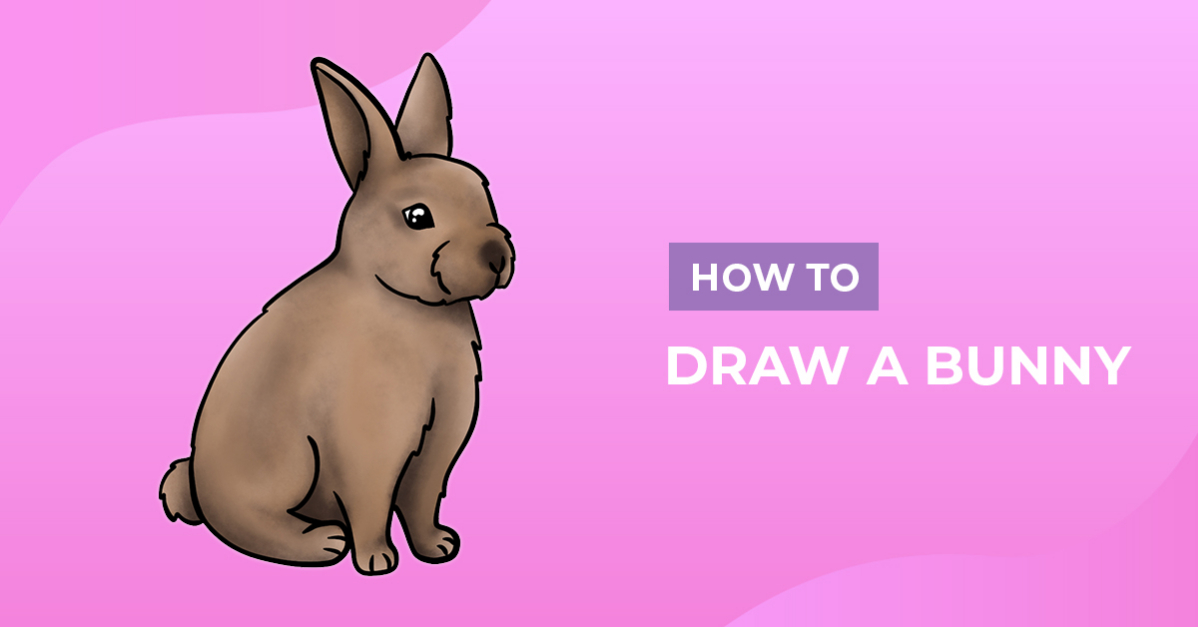
In today's tutorial you will learn how to draw a bunny, from start to finish. A rabbit drawing is lovely for digital illustrations, sublimation, paper crafting, or branding in email marketing and websites. Our tutorial will show you how to create the sketch, add details, color, shading and highlights.

You'll love creating cute bunny illustrations for Easter projects with our step by step tutorial. Use any medium you prefer, whether you're drawing a pencil sketch, using paint, crayons, ink, or even digital drawing in Procreate or Photoshop.
For this tutorial, we're using Procreate and some chalk brushes. These Procreate brushes will help you add highlights and shading to your bunny.
Step 1 - Sketch the Bunny Base Shape
To get started, we are going to roughly sketch the base shape. We recommend using a medium that is easy to remove or hide, like a pencil.
Begin by drawing a rough circle for the bunny's head. Keep in mind that the body will be two times the size of the head. So be sure to leave enough space below the circle.

Next, sketch an oval shape that is below and connected to the circle. This shape will be for the body of the bunny. If you look at our example below, you will see the body is bigger than the size of the head, fairly long and angled. We have drawn this in red below to make it easier for you to identify.

Step 2 - Define Your Bunny Base Sketch
We are now going to add the leg and ear details. We will also be defining the base sketch of our bunny. For this step, continue using the same sketch medium that we used in step one.
Sketch the Ears and Mouth
Sketch the two overlapping ears at the top of the head. The position of the ears can add character to the sketch. For example, pointing upward could indicate alertness while flopping over could give a goofy, sweet appearance.
Then, sketch a curved line in the middle of the oval shape, connecting to the body, to create the mouth or snout on the bunny's face.

Sketch the Legs of the Bunny
Next, we are going to add the front and back legs of our bunny. Starting with the two front legs, sketch short, slightly curved oblong shapes at the bottom right of the body. Leave a small gap between them.
Then, from the middle of the body on the left side, draw a long, curved line following the shape until you get to the second front leg. This line will be the back leg. Curve the end around so that it looks a bit like a cat's tail. See the red line in our example below.

Sketch the Final Details
To complete the rough bunny sketch, we need to add in the final details. Sketch in the eye, round tail, and paw lines. Use our sketch below as a guide.
Then, draw a small “Y” shape at the bottom front of the bunny's snout for its nose. Lastly, draw a curved line inside the left bunny ear, starting from the top and going down to the bottom.

Step 3 - Outline Your Bunny Rough Sketch
Use a permanent medium like a marker or pen to outline the bunny. Begin with the outermost sketch line, then draw over the inner part of the sketch. Pay attention to which inner sketch lines you want to include.
To give your bunny outline a furry appearance, create slanted jagged edges by the ear, mouth, cheek and tail.

Remove the rough sketch after outlining the illustration. The image below is our outline result.

Step 4 - Color and Add Shading to Your Bunny
The final step is to add color and shading to the bunny drawing. Use any color you want, but three shades of brown are used in the example below. Start with the base color, then slowly build up the highlights. Add the shadows last.

To learn more about creating depth with highlights and shadows, check out our tutorial on how to shade in Procreate.

Great job on drawing your own bunny! You could also try creating a nest of bunnies in different sizes and colors.
Thank you for following along with our tutorial. We hope that you enjoyed learning how to draw a bunny. Be sure to check out our other easy beginner drawings for more inspiration. Why not apply your illustrations to various crafts and projects for that creative touch?