

By Christine Hattingh
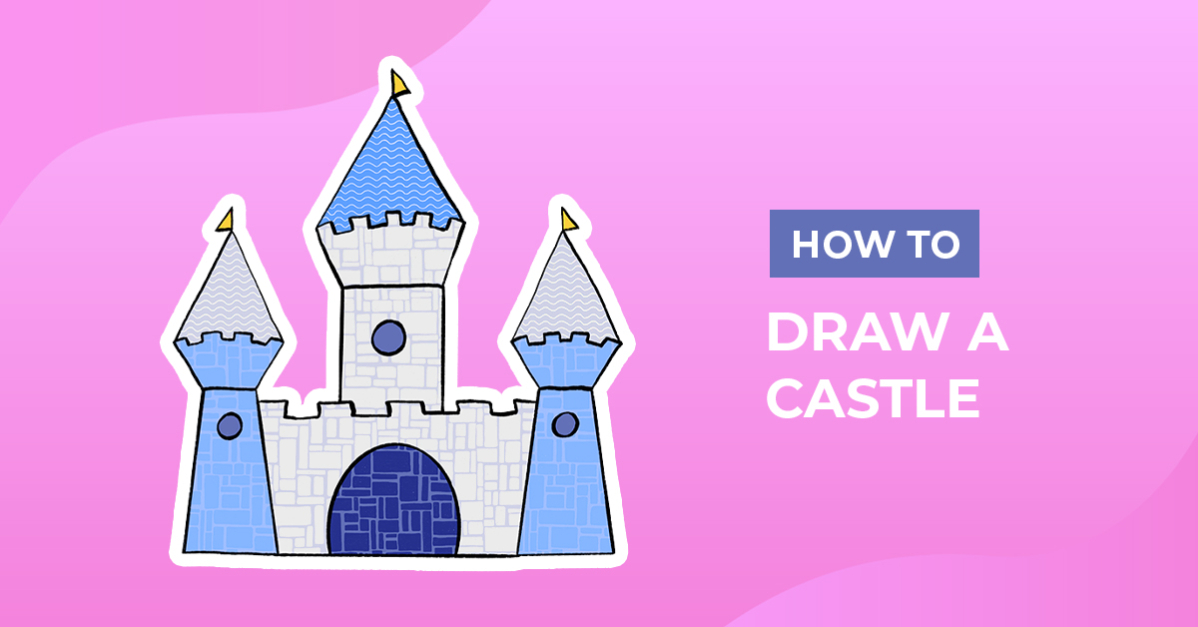
How to Draw a Castle
Are you ready to enter the enchanting world of fairytales and medieval times? Our beginner-friendly drawing guide on how to draw a castle is the perfect place to start! Castles are historical structures and have a touch of magic, as they are often associated with fantasy worlds, knights, and dragons. Apply your illustration to all kinds of crafts and projects, from sublimated garden flags to princess party invitations.

Are you looking to add hand-drawn elements that match your fantasy castle clipart? Check out these tutorials on how to draw a crown or draw a sword for a knight to complement your artwork.
Get started with this tutorial by getting your art supplies ready. Use any traditional mediums, such as pens, markers, and watercolors, as well as digital apps like Procreate. We have a great selection of free Procreate brushes at Design Bundles you can use with your drawings.
Step 1 - Build the Castle Shape
The first step in drawing a castle is to build the shape by combining basic shapes. This will form the foundation of your drawing. We recommend using a light or erasable medium like a pencil to shape your castle sketch.
You will also need other tools like a ruler and round objects to trace around. Check out our tutorial on using QuickShape in procreate to create perfect shapes and straight lines.
Create the Main Shape
Draw a large rectangle to create the main shape of your castle. You will use this as your base size and use towers to extend the width and height.

Add Towers
On the sides and top of your rectangle, add your castle towers. Make use of tapered rectangle shapes and triangles. You can view how we created the shape of our towers in our example image below.

Add a Door and Windows
Next, create an entrance to your castle drawing by sketching an arched shape in the center of the main rectangle. Then, add small circles on the towers for windows.

Add Details
Finalize your castle sketch by adding details like battlements along the top and little flags on the tower roofs. Feel free to add extra details and decorations, such as drawing a tree or moat.

Step 2 - Darken your Castle Outlines
Using a pen, permanent marker, or Procreate outline brush, trace your sketch lines to darken them. Pay close attention to overlapping sketch lines, as you may not want to make some of your rough sketches permanent. We lined our castle in stages, starting with the side towers, the center shape, and the top tower. See our image below.
Once you are done creating your castle line art, clean up your drawing by removing the remaining rough sketches.

Step 3 - Add Color to your Drawing
Once you have lined your sketches, you can add some color. Use colored pencils, markers, watercolors, and your favorite fairytale color palette. Create whimsical fairytale clipart using these Procreate pattern brushes to add textures and stone patterns to your castle walls.
Feel free to add some green or brown to the ground around the castle to represent grass or dirt, and add some blue to the sky to complete your drawing. Use light blue for the sky, and then add darker shades to create depth and texture. You can also add some clouds if you like.

You have just created a magical castle perfect for your princess clipart collection! Use your imagination and creativity to create a kingdom of different-shaped castles. Easily use your drawing to make coloring pages, party decor, and stickers.
Thank you for joining our royal drawing experience. We hope you had a fantastic time building, outlining, and coloring your castle!



