

By Christine Hattingh
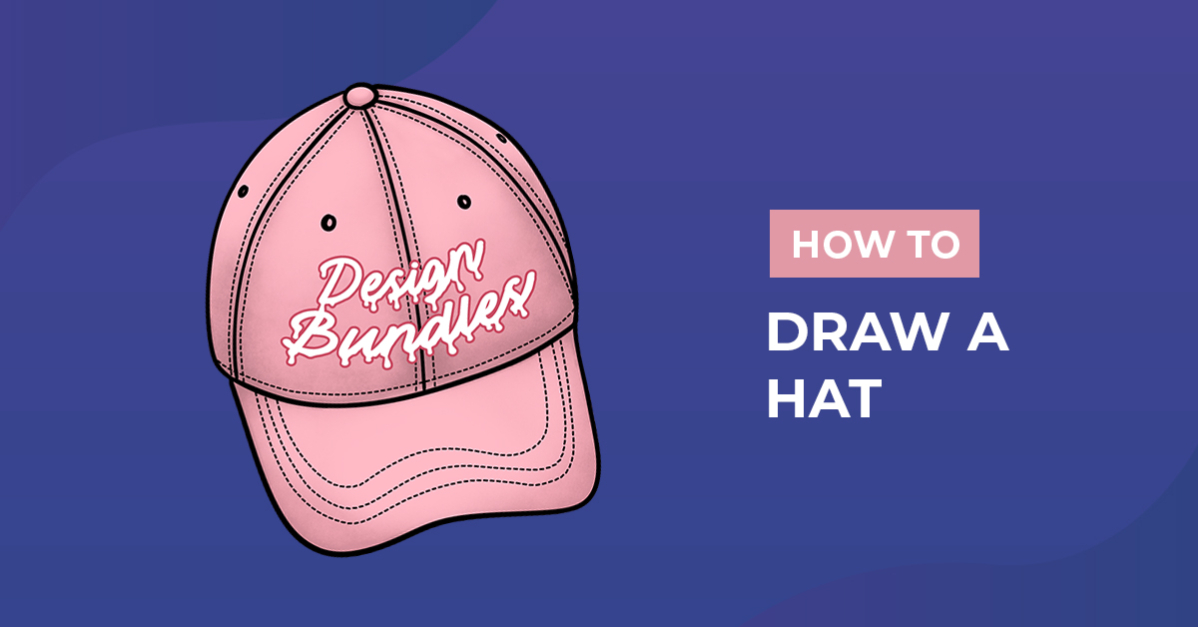
How to Draw a Hat
Do you want to learn how to draw a hat, specifically a baseball cap? Then our step-by-step beginner drawing guide is perfect for you. Hats are not only functional accessories but can also be a great way to express your style and personality. Easily add your hat illustration to sublimated t-shirts, mugs, and stickers to support your favorite sports team or to create fashion accessories.

Explore our free drawing lessons to add more hand-drawn items to your collection. Or take your fashion drawing skills to the next level with this dress drawing tutorial.
With all of our drawing tutorials, you can use anything you have available. Create your illustrations with traditional supplies like chalk pastels, acrylic paint, and markers. You can also follow along with digital apps such as Procreate and Photoshop.
Step 1 - Create the Hat Base Shape
We will make our rough hat sketch using a light-colored or pencil medium that you can erase or hide. A baseball cap has two main parts, the crown and the brim. The crown is the part that sits on top of the head, and the brim is the part that sticks out in front to provide shade.
Sketch a large curved line as we did in our example image to create the crown of your hat.

Then close the bottom of the crown (shown in blue). Below the hat crown shape, draw a squared shape with rounded corners to make the brim.

Finish your hat sketch by drawing a small circle at the center top of the crown with three lines going toward the bottom. This will create the triangular sections of a baseball cap.

Step 2 - Create a Hat Outline
After drawing the basic shape of the cap, darken the outline to give it a more defined and solid look. Define your hat outline by switching to a darker medium, like a black pen, to trace over the sketches of the cap, including the crown, brim, and lines.

Step 3 - Add Stitch Details
Create a realistic look for your baseball cap clipart with stitch details. With your lining medium from step two, draw small dashes in areas where you would see a stitch line. If you are using Procreate, this stitch brush set works perfectly to add realistic stitches to your artwork.

Step 4 - Color and Decorate your Hat
Your hat is now shaped, outlined, and stitch details have been added. Now it’s time to apply color and decorate your hat clipart. Choose colors that match a theme, like these groovy color palettes, or create your own combination.

Add depth to your hat drawing with shading, creating highlights and shadows. Become a color blending pro with our how to blend in Procreate tutorial, where we show you four color blending techniques.

Personalize your hat for sports clipart by adding a logo or text with a custom saying. You can find all kinds of font styles at Font Bundles. Why not check out our fantastic collection of varsity fonts?
Thank you for following along with our drawing exercise. If you enjoyed this tutorial, we have much more available in the Design School. Learn how to draw elements, and get tips and tricks for popular design programs.



