By Christine Hattingh
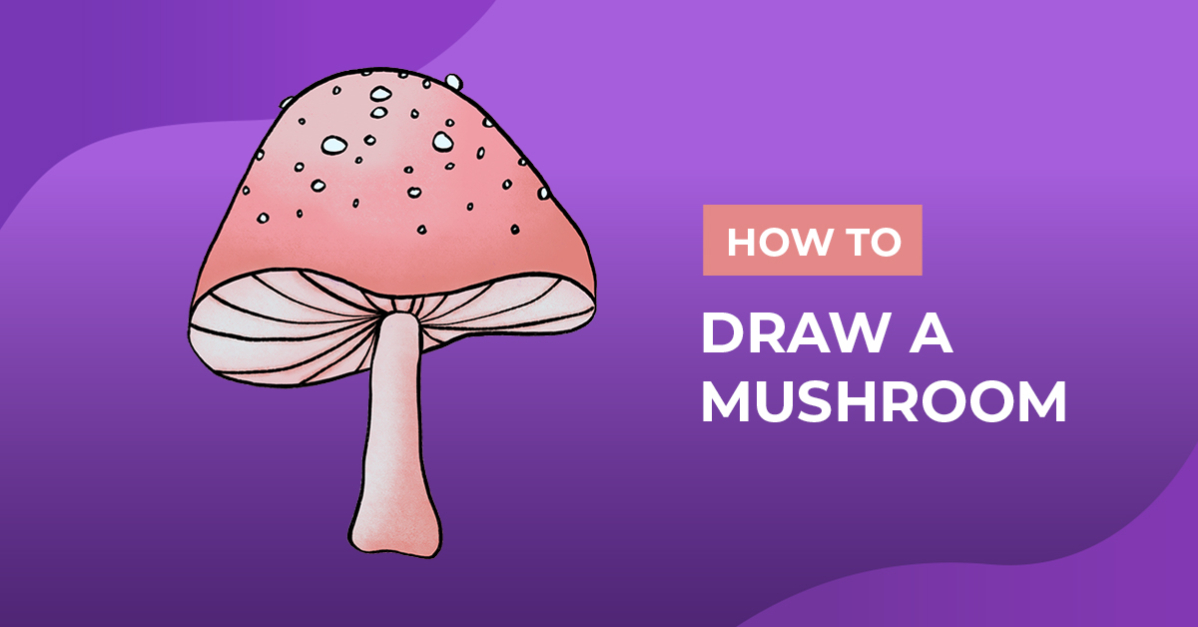
How to Draw a Mushroom
Learn how to draw a mushroom with our beginner-friendly drawing tutorial. Whether you're interested in creating magic-themed designs, food clipart, or fantasy illustrations or want to improve your drawing skills, this tutorial is just right for you. So get ready, and let's start unlocking the mystery of fungi drawing!

Before you start with this drawing guide, prepare your drawing supplies. You will need a sketching, lining, and color medium in traditional or digital mediums.
We will use this textured brush set in Procreate for our fungi drawing. If you are using Procreate, take a look at our Procreate brush pack collection for more brush styles.
Step 1 - Create Rough Sketches of your Mushroom
Let's start drawing rough sketches of our mushroom. Use a removable sketching medium, like a pencil, or one that is light enough that you can cover it up.
Draw the Mushroom Cap
Create your mushroom cap by drawing a wavy and narrow shape, as we did below. This shape will serve as the bottom ridge of the mushroom cap.

Then sketch the top shape of the cap. The cap should be round and slightly wider at the bottom. Simply draw an arched line from one edge to the other.

Draw the Stem
Next, draw the stem of the mushroom. The stem should be a thin rectangle shape with rounded ends. You can make it curved, straight, and with a bend if you want.

Add Details
Add the final details to your sketch, such as the gills and spots. Start by drawing the gills on the underside of the cap as curved lines. Then, add dots or spores to your mushroom. These can be sketched as small circles or ovals. You can use as many or as few as you like to create a unique look.

Step 2 - Outline your Mushroom Sketch
Swapping for a permanent medium, begin tracing your mushroom outline. You can darken your rough sketches with a pen or marker for your line drawing. Begin tracing the stem and gills of your mushroom first.

Then trace around the whole fungi cap. Be careful not to trace sketch lines that overlap, especially at the stem.

Lastly, outline the dots on the cap and add any details you would like to your drawing.

Step 3 - Apply Color to your Mushroom Drawing
With your rough sketches and outlining done, it's time to move on to adding color. Experiment with various mediums such as watercolors, colored pencils, or markers to infuse your mushroom clipart with a fairytale color palette.
To create a more realistic food drawing, you can use different shades to add depth and dimension to your illustration. You can layer on colors or use the smudge tool in Procreate to create a more nuanced and textured appearance for your fungi clipart.

We hope you had a great time following along and learning the steps to sketch, line, and color your mushroom illustration. Why not experiment with different mushroom shapes and colors and create magic illustrations, fantasy art, or stickers?
Thank you for joining us on this drawing journey. With your creativity and our free drawing tutorials, you will be able to create all kinds of fun and exciting art.