By Christine Hattingh
How to Draw a Pie
Hungry for our beginner step-by-step food drawing tutorial? Today we show you how to draw a pie, such as a berry or a pumpkin pie. Use this tutorial to create a base where you can create a variety of toppings to make a delicious baking illustration. With your pie drawing, you can create a food clipart for personalized sublimation on hand towels, use it as stickers for a cookbook or add it to your comfort food drawing collection.

Create your yummy pie illustration using your favorite traditional or digital supplies. Our FREE drawing guides cater to everyone, no matter your preferred medium or skill level.
Why not illustrate more baking clipart with our fun drawing tutorials? Quickly learn how to draw baked treats like, draw a cupcake or make a birthday cake drawing.
Step 1 - Create Sketches of a Pie
With a sketching medium, you will start drawing a rough pie sketch. You can use an erasable medium like an HB pencil in this step. If you do not have a pencil, use a light color tool that can be hidden with outlines or your coloring mediums.
Draw the Base Shape
You need to create the base to help with proportions and ensure your pie is a specific shape. This can be any shape you like, such as a circle or a heart shape.
Tip: Create a perfect circle by tracing around a round object like a bowl or compass. You can even use QuickShape in Procreate to create a quick circle.

Create the Pie Crust
Draw the crust by creating a double wavy line around the base shape. Make sure to vary the size and shape of the waves to give the crust a natural, homemade look.

Add a Filling or Top Crust
Think about what type of pie you want to draw. For example, if you're drawing a blueberry pie, you'll want to draw small circles or ovals for the berries.
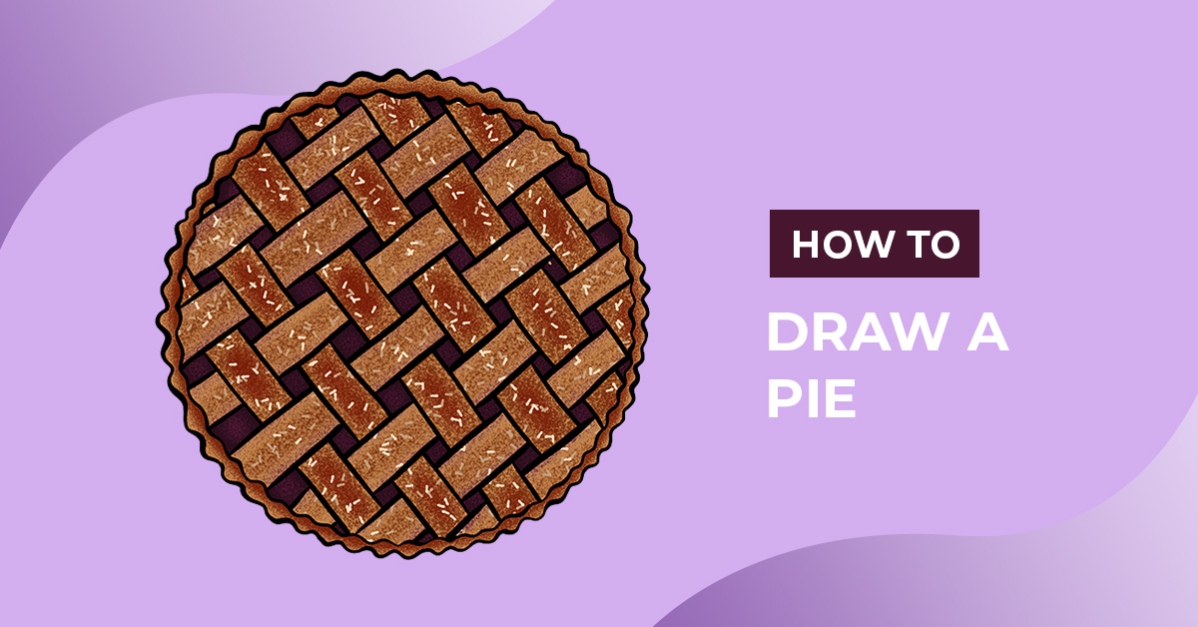
You can skip adding a pie filling and create a top crust. We added lines that cross over each other for our sketch to make a woven top crust. See our example sketch below.

Step 2 - Outline your Pie Sketch
Switch to a lining medium for the second step to create your pie outline. Begin your line art by tracing the crust sketches.

Then, carefully define the filling or top crust. To make the woven top crust like our example image below, trace sections and skip some. Pay close attention to which lines must go "over" or "under" each other.

Finally, with your outlines done, go in and clear any remaining sketches if you can.

Step 3 - Add Color to your Pie
Using a crust and filling color, add your colors to your drawing. A ready-made bakery color palette will save you time to get colors that complement each other. Use one to two shades to add as a base color.
For our berry pie, we added brown to the crust and dark purple in the gaps for the filling that is showing.

Add shading and texture to create a mouth-watering baked treat drawing using darker shades from your base. We used a combination of brushes from this ink Procreate brush set to add our textured shading.

You just illustrated a deliciously baked pie clipart! Now imagine how many other pies you can create using the easy steps in this drawing exercise.
Why not create custom graphics for your digital shop and display them on these apron mockups to elevate your product images? Thank you for following along and learning how to draw food with us.