By Design Bundles
How to Draw a Pumpkin
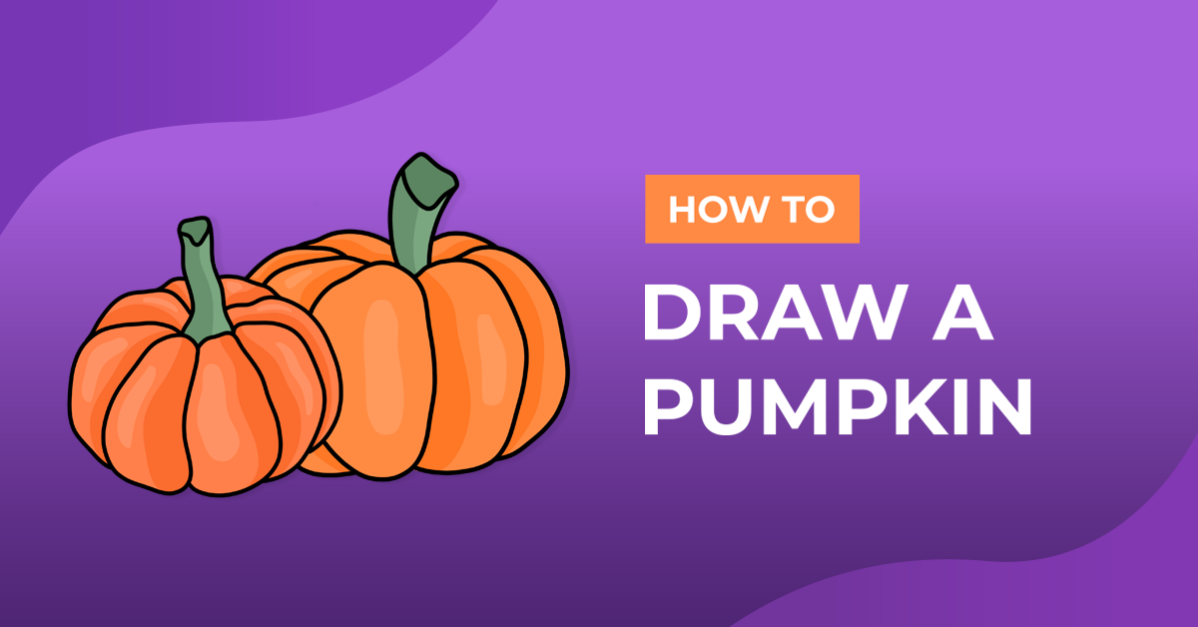
Fall and Halloween is many peoples favorite time of the year and what’s the first thing that comes to mind? Pumpkins! In this step-by-step tutorial, you’ll see how you can easily draw a pumpkin and add some details for a more realistic-looking pumpkin.
Before we get started, grab your supplies. You can use anything you have on hand to draw your pumpkin, like pencils, crayons, Procreate, Photoshop, etc.
If you are using Procreate like me, you can find use this stipple Procreate brush set for a natural drawing look. We also have a bunch of Procreate texture brushes you can use to draw your pumpkin.

Step 1 - Sketch a rough pumpkin shape
First, we are going to roughly sketch the outline shape of a pumpkin. This is going to help you with the placement of the ribs. Starting with the outline sketch for the pumpkin is important to keep the shape of the pumpkin. If you start right away with the ribs you might end up with gaps or an uneven pumpkin.

Step 2 - Draw the center rib
In the center of your sketch starting at the bottom draw an oval that’s about 3/4 in height. This center rib is the front of your pumpkin and will help guide you with placement for the other ribs. Make sure the center rib isn’t too wide or you’ll have a hard time squeezing in the other ribs on the sides.

Step 3 - Draw the second row of ribs
Next, draw the second row of ribs on your pumpkin. Start on the left side and draw a C shape touching the top of the center rib going a little higher and at the bottom curving in then repeat on the other side.

Step 4 - Draw the third row of ribs
Repeating the same as before, draw the third row of ribs on either side. This time make your ribs going higher at the top like they are coming out from behind the previous row. This row of ribs will make a gap in the middle where the stem will sit.

Step 5 - Draw the stem
At the top of your ribs where the gap is add a stem. Your stem will fit snug in the gap of the ribs and narrows towards the top with a bend in the stem. You can always use a pencil to lightly sketch out different stems to see which style you like.

Step 6 - Draw the fourth row of ribs
With your stem and front ribs drawn you’ll add a fourth row of ribs for the back. These ribs won’t reach all the way to the bottom, draw them from the stem, curving towards the previous ribs at the top.

Step 7 - Draw the back row of ribs
Finally, add the last set of ribs in the back. Start on top of the previous ribs and draw a curve towards your stem (See example).

Clean up your pumpkin outline by removing the rough sketch for the shape and the stem if you made one.

Step 8 - Color the Pumpkin
Color your pumpkin using any medium you have on hand like paint, markers, crayons, etc. Make the pumpkin orange and the stem green. You can always look online for pumpkin colors if you want to match shades.

Step 9 - Add highlights and details
Add some details and highlights to give it depth. For the highlights use a light yellow or cream color on the pumpkin where the light reflects on the pumpkin. Using a dark green add detailing to your stem and tendrils.

And that’s how you can draw a pumpkin! We hope you enjoyed this drawing tutorial, you may also enjoy our tutorials on drawing people in Procreate and drawing a butterfly in Procreate. Or if you don't have time you can purchase our Pumpkin SVGs.