By Christine Hattingh
How to Draw a Pyramid
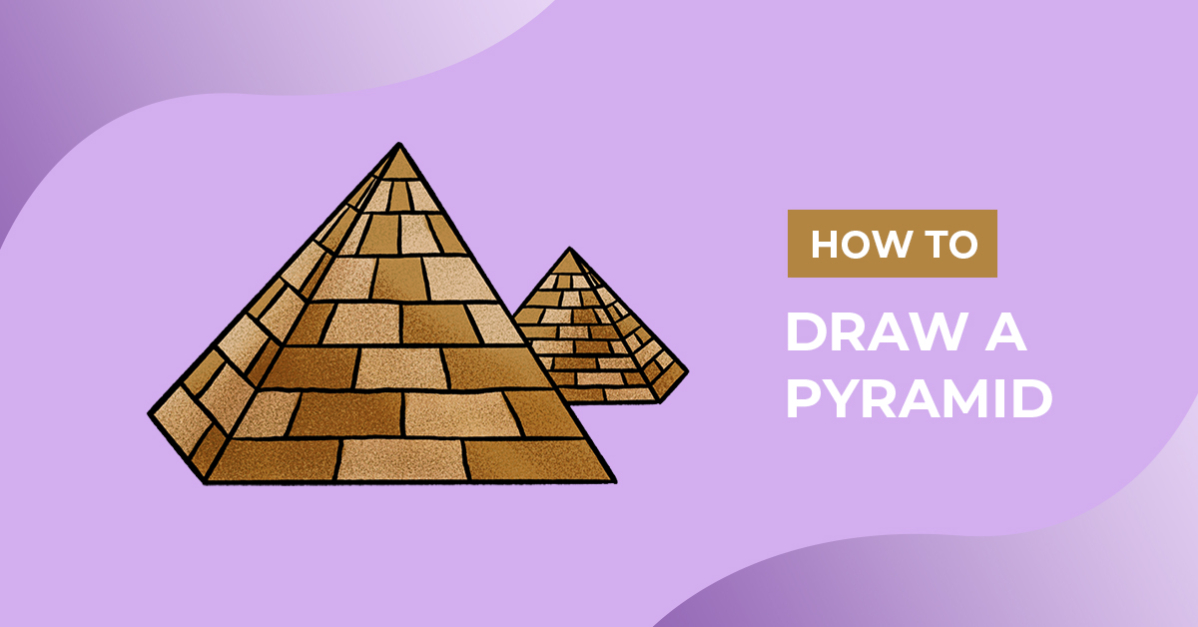
Ready to bring some ancient Egyptian magic to your illustrations? In this beginner-friendly drawing guide, we'll show you how to draw a pyramid step-by-step. Apply your drawing to all kinds of crafts and projects, such as Egyptian sublimation designs, Halloween stickers, and desert illustrations, or add it to your geography artwork collection.

Create fun patterns for your sublimation projects by combining your pyramid drawing with this watercolor Egypt clipart bundle from the Plus Membership. If you're not a Plus Member yet, you can sign up for a free month of the Gold Plus Membership today!
You can use any drawing, painting, or digital mediums you have on hand for your illustration. You will also need a ruler or QuickShape in Procreate to draw straight lines.
Step 1 - Create a Pyramid Rough Sketch
In our first step, we will create the shape of a pyramid. For this pyramid sketch, you should use a sketching medium that you can erase or is light enough to hide when adding color.
Sketch the Main Shape
To get started, we need to draw a triangle. You can draw your triangle with equal sides or make the bottom side slightly longer, like in our example sketch below.

Next, add dimension to your pyramid drawing by adding another face on one of the sides. Looking at our example below, draw a short angled line from the bottom of your triangle toward the side, then connect the line to the top of the triangle, called the apex.

Feel free to add smaller pyramids to your drawing to create depth. We drew a smaller pyramid behind our main one, changing which side we added the extra face to.

Draw the Stone Lines
With our pyramid shape created, we can now add lines to create the stone pattern. Start with horizontal lines spaced equally on the front faces of your pyramids. Then draw angled lines on the side faces (shown in blue).

Lastly, draw lines from the top apex of the pyramid going down to create the vertical stone lines.

Step 2 - Define your Pyramid Outline
Now that you have a basic sketch of your pyramid, it's time to darken your sketch lines. For this second step, you will need a permanent medium to trace your rough sketches and make a clean line drawing.
You can use a pen or permanent marker or create textured outlines using this ink Procreate brush set. Begin defining the outer shape and face lines of your pyramid illustration.

Then trace the lines inside to create the stone pattern. Make sure to skip some of the vertical lines to mix up the design.

Step 3 - Apply Color to your Pyramid
With our outlining done, it's time to switch to your coloring mediums and add some color to your pyramid. Use colored pencils, markers, or paint and an earthy color palette with hues of brown.
Create contrast by using multiple shades or using a single color. If you're working with markers or paint, make sure that you let each color dry completely before adding another color.
Finally, add some shading and texture to your pyramid to give it more depth and dimension. Use Procreate texture brushes or layer on darker shades and blend them to create subtle gradient effects.

Your pyramid looks fit for a pharaoh! Great job on completing this beginner drawing exercise. Why not explore our other FREE drawing tutorials to create elements such as animals or plants or use designer-made desert illustrations to add to your digital library?