By Christine Hattingh
How to Draw a Shirt
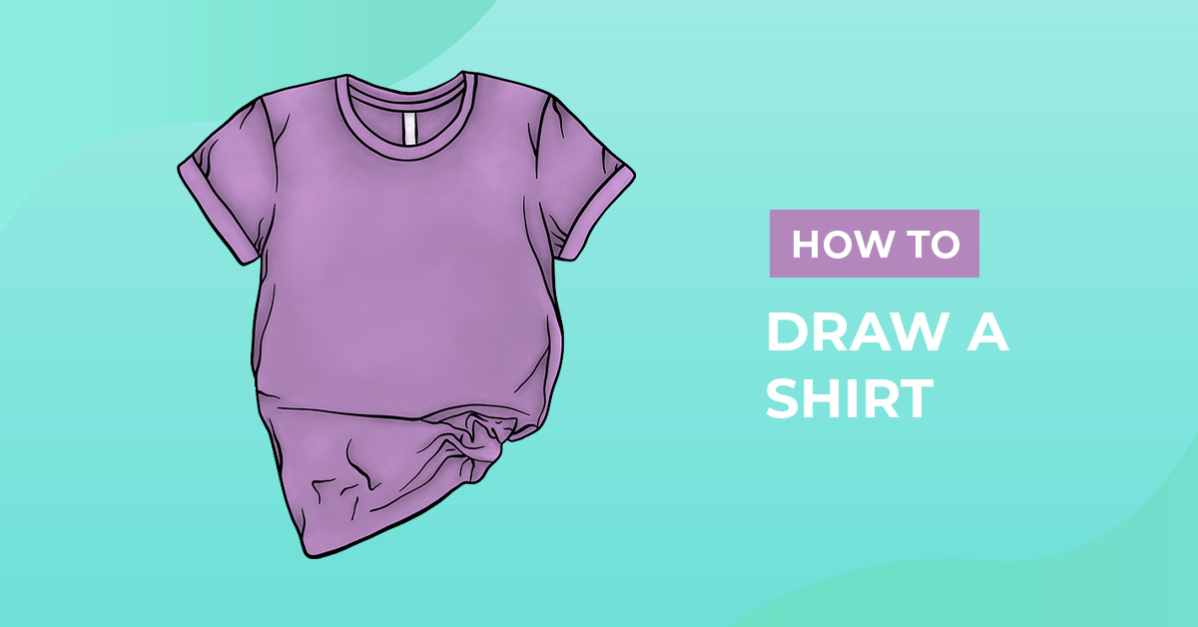
Learn to draw clothes with our step-by-step tutorial on how to draw a shirt. Follow along as we guide you through simple steps from making a rough sketch to adding color. With your t-shirt drawing, you can create planner stickers, and quirky pattern mockups, or add them to your digital library of clothes clipart.

Before we iron out the details, let’s gather our supplies. For this t-shirt drawing tutorial, you will need a sketching, lining, and coloring medium. These mediums can be anything from traditional paints, and pencils or digital apps such as Procreate.
Expand your clothing collection by illustrating other clothing items. Create striking dress drawings, or design a custom sneakers line with our shoe drawing guide.
Step 1 - Create a Rough Sketch of your Shirt
To get started we will use a sketching medium to sketch how our shirt will look. For your sketching tool, you can use a pencil or light-colored drawing tool that you can hide later on.
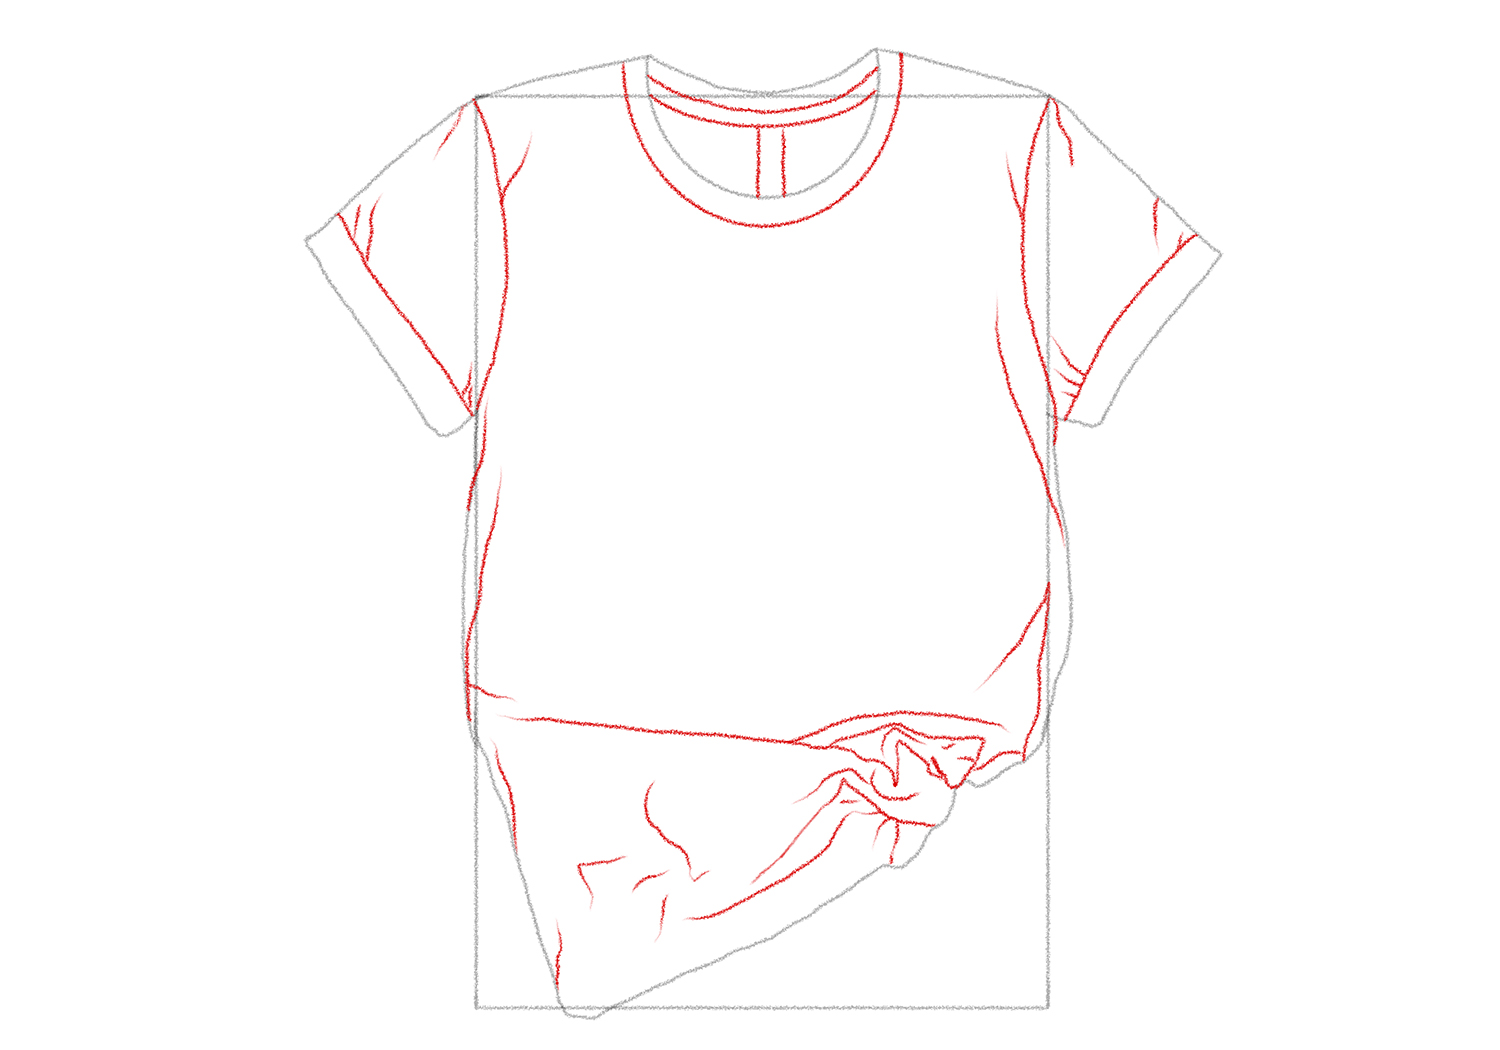
In your drawing space, sketch a large vertical rectangle. The rectangle will determine the overall size and length of your shirt sketch.

Add Shape
Along the top of your rectangle, begin adding shape to the collar. Sketch a half circle in the center, with a curved line to close it off for the collar. Then from the corner of the rectangle, draw lines to the edge of the collar. See our example image below.

Draw angled square lines from the rectangle's top corners (shown in red). If you want to make a messy shirt clipart, you can simply draw a random line inside the rectangle.

Add Details
With the main outer shape of your t-shirt sketched, it’s time to draw seams, hems, and creases. You can include the details we added to our example sketch, or create your own. You can also make a pocket, and buttons, or add a formal shirt collar.
Step 2 - Permanently Line the Shirt Outline
In our second step, switch your sketching medium to a permanent one to create a defined line art. Begin with tracing the outer shape sketches of your clothes, making sure to skip any sketch lines that should not be permanent.
Then carefully line the details such as creases, seams, and hems. After defining the sketch lines you want to keep, erase what is left.

Step 3 - Add Color to your Drawing
With your t-shirt outline done, now it’s time to apply color and any extra details you want. Color your drawing with any color palette you have on hand for this drawing exercise.
To give the shirt a more realistic look, add shading to it. Shade the area around the collar to make it stand out. Darken the areas around the hems and creases for added depth.

Why not create a tropical shirt with these summer digital papers? Imagine the variety of shirts you can make by applying these ready-made patterns.
You have reached the end of our clothes drawing tutorial. Thank you for following along with us today. We hope this guide has inspired you to keep drawing and exploring our other FREE drawing tutorials to illustrate food, animals, objects and so much more.