By Nadine Spires
How to Draw a Snowflake
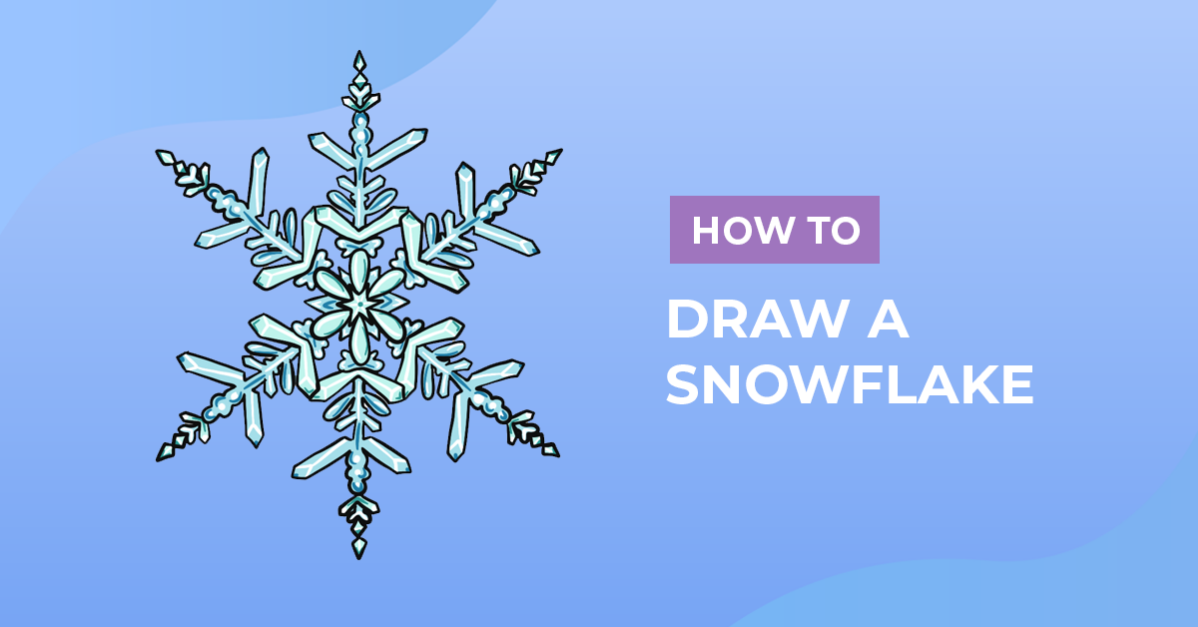
Today we are going to show you how to draw a snowflake. Each of Nature's tiny icy stars are unique and delicate, making them a favorite for all crafters, creatives and designers. Create fun and festive Christmas images with your snowflake clipart to dazzle up any project. From Christmas clipart for cards to themed décor for parties or festive backgrounds.

When you are ready to begin this drawing exercise, get your supplies ready. You can use pencils, markers, or even digital programs like Procreate. No matter what your skill level is or what medium you like to use, our drawing guides cater for everyone.
During the tutorial, we will be using Procreate for our drawing. We have a huge selection of Procreate brushes that are just perfect for learning to draw.
Step 1 - Create Your Snowflake Guides
In the first step, we need to make guidelines. These guidelines will make creating our pattern that much easier. We recommend using a sketching medium that is easy to remove or cover up for your guides.
Our snowflake will have 6 points. So we will need to make 3 guidelines. Start by drawing the first vertical guideline. You can use a ruler or Procreate drawing guides to help keep your guidelines straight.
Draw two more guidelines that cross over the center of your vertical guideline in an X shape (shown in blue).

Step 2 - Create a Rough Snowflake Sketch
Roughly sketch the design using your guidelines. You can create a simple snowflake pattern or something more complex. The choice is entirely up to you.
Starting at the center point of your guidelines, start sketching your design. You can draw loops and straight lines, circles, triangles or anything you want. On each guideline, repeat the design to create a pattern.

You can also use the isometric or symmetry guide feature in Procreate to create a repeating pattern. This will help in making an easy snowflake drawing.

Step 3 - Outline your Rough Snowflake Sketch
In this step, change over to a more permanent medium like a pen or a marker. Outline the outermost sketch lines, leaving the center hollow. Remove the rough sketches when you are done outlining your design.

Step 4 - Add Color to Your Snowflake
With the outline done, we can start adding color and bringing our sketch to life. You can use any color palette that you want to create your own unique snowflake. In this tutorial, we used two alternating shades of blue.
There are tons of Procreate Palettes available on Design Bundles if you need more color choices.

Step 5 - Add Depth to Your Snowflake
In the final drawing step, we are going to add depth. We used white to add highlights and dark blue for shadows by drawing some lines on our snowflake. You can add even more depth with shading and texture.

How did your unique snowflake design turn out? You can make snowflake templates for kids to color in, or stickers for Christmas orders. There is no end to the patterns and designs you can create.
Don't forget to check out our FREE Procreate Brushes. Download instantly and start using immediately with personal and commercial use licenses included.