

By Christine Hattingh
How to Draw a Tree
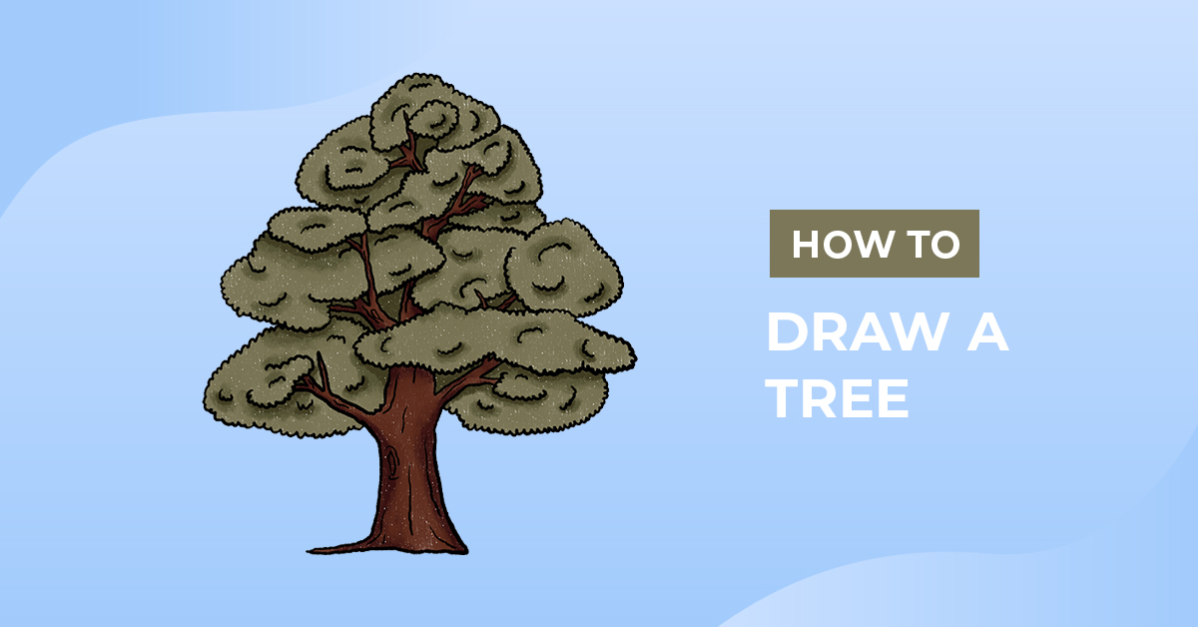
In today's drawing guide, we take you step-by-step through drawing a tree. Trees are one of the most common objects found in nature and are a fantastic addition to any artist's portfolio. Apply your nature illustration to family crafts or sublimated pillows, or create fun activity sheets to entertain the little ones.

Create this easy three-step drawing with any art medium you have on hand. Whether you enjoy using crayons, painting, or creating digital artwork, this drawing guide is for you.
You can find a wide range of FREE Drawing tutorials at Design Bundles. Learn and explore how to draw new things, whether it's nature clipart, illustrating food, or creating characters. We have a guide for you.
Step 1 - Make a Rough Tree Sketch
In our first step, we will create rough sketches of our tree. We will shape the tree trunk and branches, then add leaves. We recommend a light medium that you can erase or cover up with color for your sketches.
Shape the Trunk
Start drawing the shape of your tree trunk. The trunk should be wider at the bottom and narrower toward the top. Create soft sketches with an organic look, as we did in our example below.

With your tree trunk sketched, add a couple of branches coming off of it. Make your branches narrow and broader at the base as you did with the trunk.

Add Leaves
Fill in the spaces around your tree branches by drawing little wavy lines in the shape of a cloud. Add as many or as few leaf sections as you need to fill your tree.

Step 2 - Define the Tree Outline
Swap your sketching medium for a permanent one. In this step, we are going to trace our sketches to create a defined outline. You can use any lining medium, such as a rough inker, from this versatile Procreate brush set, permanent marker, or black pen.
Outline the Sketch Lines
Begin your outlines by carefully tracing your leaf sketch lines. Pay close attention to overlapping sections. Only define the lines you want to make darker.

Then, define the tree trunk and branches that run through the leaves. Looking at our example sketch below, we have many levels of branches, where only parts of it are seen. For all other sketches that you did not outline, you can go ahead and remove them.

Add Details
Create extra texture on your drawing to enhance the look of your tree line art. You can add rough lines on your branches and more leaf lines to fill large open spaces.

Step 3 - Apply Color to your Drawing
With your outlines done, it's time to add life to your artwork. For your tree drawing, you will need at least brown and green. For more dimension, use two or more shades from your chosen color palette.

Create depth by adding darker shades in areas where minimal light would reach. Take your tree art to the next level by learning these four methods to blend in Procreate to create fun nature clipart.

With your tree clipart created, your possibilities for how to use it are endless. Create coloring pages and print them out. For your family or friends with a green thumb, surprise them with a personalized t-shirt that features a fun pun, like "You're tree-mendous!" or "Grow with the flow."
Add more garden clipart to your digital library by learning how to draw marigolds, or add more landscape elements by drawing a palm tree.



