By Christine Hattingh
How to Draw a Unicorn
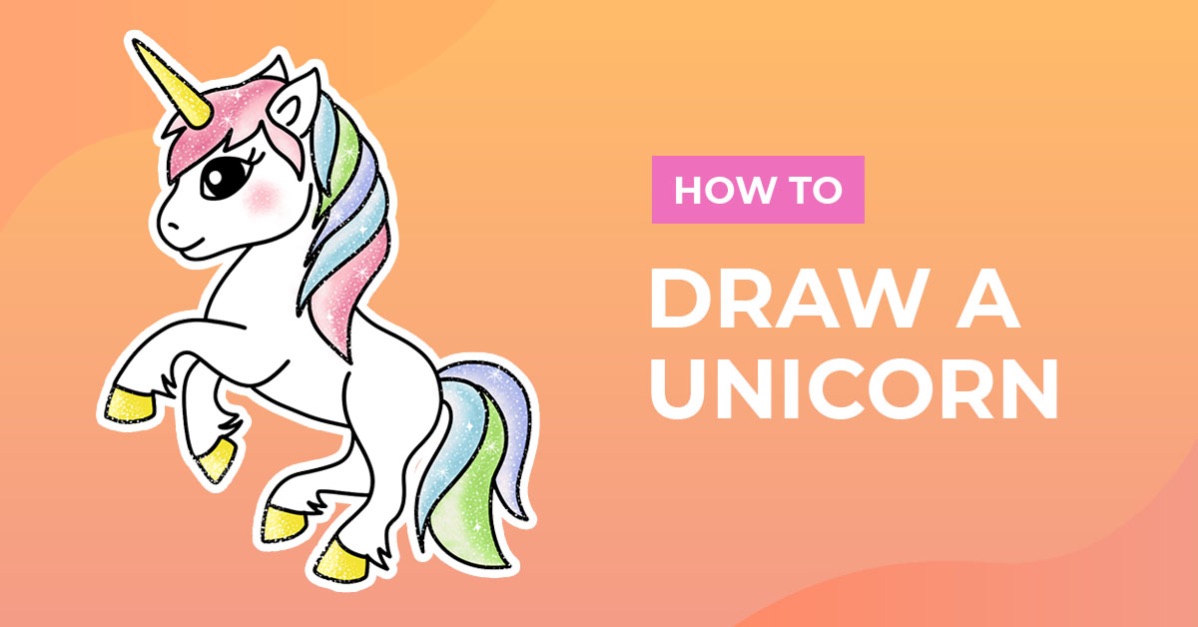
With a little imagination, color, and some sparkles, you can easily learn how to draw a unicorn. Unicorns are magical, fun creatures to create for crafts such as t-shirts, mugs and so much more. You will also learn how to bring your unicorn to life with color. In this tutorial, we take you step-by-step on how to draw a unicorn.
Before starting your unicorn drawing, get all of your supplies ready. You can use anything you have on hand like markers, crayons, paint, Procreate, Photoshop, etc. If you are using Procreate like we are, we have a great selection of Procreate brushes you can use to follow along.

Step 1 - Sketch the Unicorn Body
In this step and the next, we will use a medium that is easy to remove. An example would be a pencil. This will help us plan out how to draw a unicorn. We used these pencil Procreate brushes to make our sketches.
Let’s start with the unicorn head and body. Sketch an egg shape for the head and a long oval for the body. The narrow side of the egg shape (head) is where the mouth will go.
The one end of the long oval (body) should be placed below the head, leaving a gap for the neck. We placed our unicorn body and head at angles (see below). This will play a big role in the pose of the unicorn.

Next sketch the neck and legs. Our unicorn is rearing so the front legs are more bent and higher up compared to the back legs.

Go over the whole sketch and start adding curves for a seamless unicorn body. Take note of the curves we added by the mouth, back, and legs in the image below.

Step 2 - Sketch the Unicorn Details
In this step, we are going to sketch the unicorn details. First, start by sketching the iconic unicorn horn halfway on the forehead curve.
Then, add in the ears by drawing one that you can fully see. Add the second on the other side of the head with just part of it showing. It will give depth perception.
Next, sketch the hooves then add in two flicks of hair at the back of the legs close to the hoof.

Now sketch the mane of the unicorn. It should go around the unicorn horn and ears, stopping halfway down the back. Now add the tail on the rear.
We sketched the unicorn mane and tail to make it look like sections.

Step 3 - Outline the Unicorn Sketch
In this step, we are swapping over to a Procreate ink brush for our unicorn outline. You can use any medium that is permanent or darker than what you used for your sketch.
Using the rough sketch we are going to outline the unicorn. Remember to leave out any overlapping rough sketches such as the neckline under the hair. Remove the rough sketch when you are done.

Step 4 - Color in the Unicorn
This step is optional if you want to add color to your unicorn outline. For our unicorn, we are only using five colors. We are going to leave the unicorn body color white. Feel free to use however many colors add your own creative touch to it.
We used the following pastel colors for our unicorn, pink, blue, yellow, green, and purple. You can also add lighter shades next to your main colors to add more detail.
Add some sparkle effects on your unicorn by using white. Then make small dots and stars on the areas where you added color. If you are using supplies like paint, pencils, etc, you can use a correction pen to add your dots and stars.

The final step on how to draw a unicorn is to add a background. We will be using light shades of pastel colors. Next, add color to your background and add white sparkles as you did before.

You have just created a cute and magical creature. We hope you have enjoyed learning how to draw a unicorn. Why not have a look at our other amazing drawing tutorials like how to draw a turtle or how to draw a giraffe?