By Christine Hattingh
How to Draw Braids
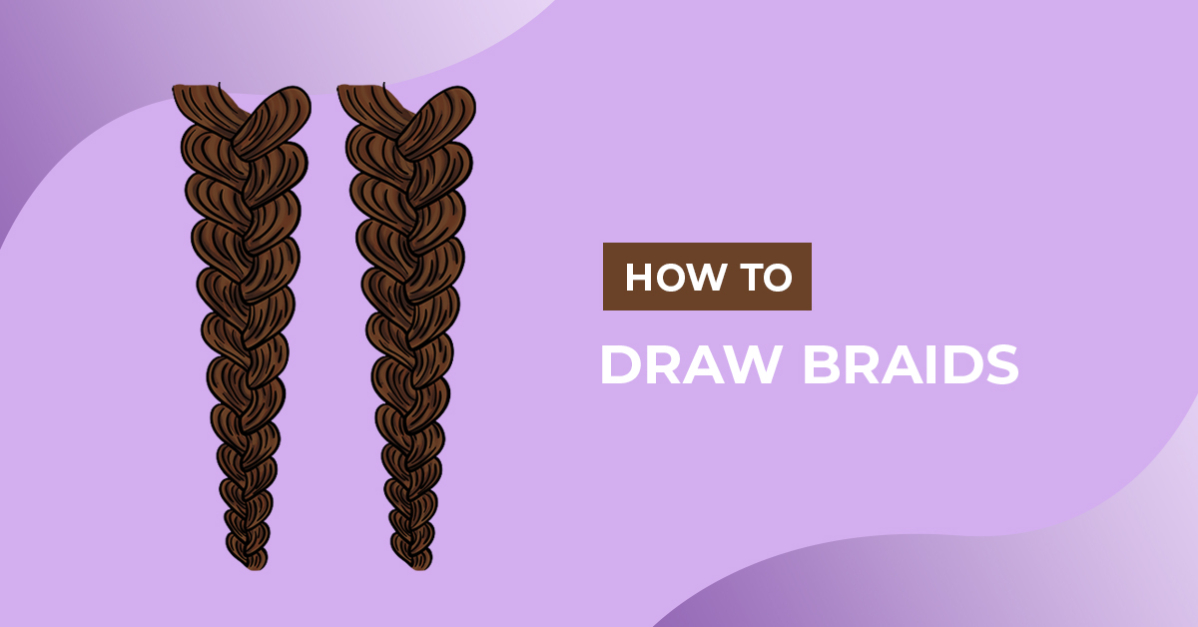
In this tutorial, we show you how to draw braids in just four easy steps, perfect for beginners. Braids are a timeless and elegant hairstyle that can be worn and styled in many ways. Use your braid illustration as hair clipart, a practice guide for hair color blends, product packaging, or create textured elements. Our drawing guide will take you through creating the shape, making outlines, and applying color.

Are you learning to draw braids to add unique hairstyles to characters? Our how to draw a mermaid or draw a gnome tutorials will work perfectly to apply your new drawing skill.
To follow along, you can use any traditional or digital medium. These can include pencils, paint for color or marker, and Procreate. We used Procreate and these inking brushes to create our hair outlines and add color.
Step 1 - Create your Drawing Guide
Let’s get started with creating a drawing guide. This guide will help with the overall size and where each hair section within the braid will go. For this step, you will need a pencil or light-colored sketching medium.
Use a ruler to draw two lines closer to the bottom of your drawing area for your thickness guide. If you plan to create the tied-off bottom of a braid, angle the lines to be a long “V” shape.

Looking at our guide image below, draw left and right-angled lines between the thickness guide you just made. Start with one side and at the top and move your way down. As you get closer to the bottom, draw your lines closer together.
The next set of angled lines should cross over the first. Make sure the ends touch each other to create the braid sections.

Step 2 - Adding Shape to the Braids
With your sketching medium, add shape to your guides to define how your braids will look. Start on the sides and draw curved lines between each guide section.
Then draw the center line to shape the overlapping hair illustration. Our example sketch on the right shows that we have short curved lines going through the center from one guideline to the next.

Add shape to your braid or other elements to complete your hair sketch. When you are ready to define your lines, you can move on to the next step.
Step 3 - Create a Permanent Braid Outline
In our third step, swap your sketching medium for a permanent one. To create your line art, use any dark and defining medium, such as a black crayon, ink pen, or marker. Carefully trace your sketch lines and pay close attention to your guides. You must create the braid sections, and there will be many rough sketches that you will not outline.
Create the Main Outline
Looking at our image below, we show you each section we outlined using different colors. We made sure to trace the rounded sides and the center shape line.

Add Detail Lines
Add hair detail lines to your braid to create texture and movement. Draw a couple of curved lines in each section to achieve this effect. After adding all your line work, clean up your drawing by removing your rough sketches.

Step 4 - Apply Color and Depth
In our fourth and final step, we will add color, texture, and depth to our braid clipart. You can use any coloring medium and a hair color palette to make your braid blonde, brunette, or black.
Start applying your base hair color first, then gradually layer on darker shades to create depth. Apply your shading and highlights by shading around the edges or use individual strokes to create texture depth.

Great work on creating and following along with this braid drawing exercise! Did you know you can draw easy braids with a single brush stroke using this Procreate braid brush available for our Plus Members?
Sign up today for our Gold Plus Membership for a 30-day FREE Gold Plus Membership trial. Combine your hair drawing with other elements to create unique artwork for stickers, sublimation designs, and so much more.