By Christine Hattingh
How to Draw Bubble Letters
In today’s fun drawing exercise, we are going to show you how to draw bubble letters. With a quirky shape and soft colors, your bubble letters will be perfect for all your crafts and projects. We will take you through the steps on how to create bubble letters that you can turn into SVG or sublimated fonts.

For this easy drawing guide, you will need three supplies. You will need a sketching medium like a pencil, a lining medium, and colors.
If you are using traditional mediums like paint or crayons we would recommend using printable guides such as this Procreate letter grid builder to practice with.
Don’t forget to check out the Bubble Fonts available from Font Bundles if you don’t have the time to make your own.
Step 1 - Sketch your Bubble Letter Guide
With your sketching medium, draw all or only some of the alphabet letters that you want to use. For each alphabet drawing, make sure you round the letters.
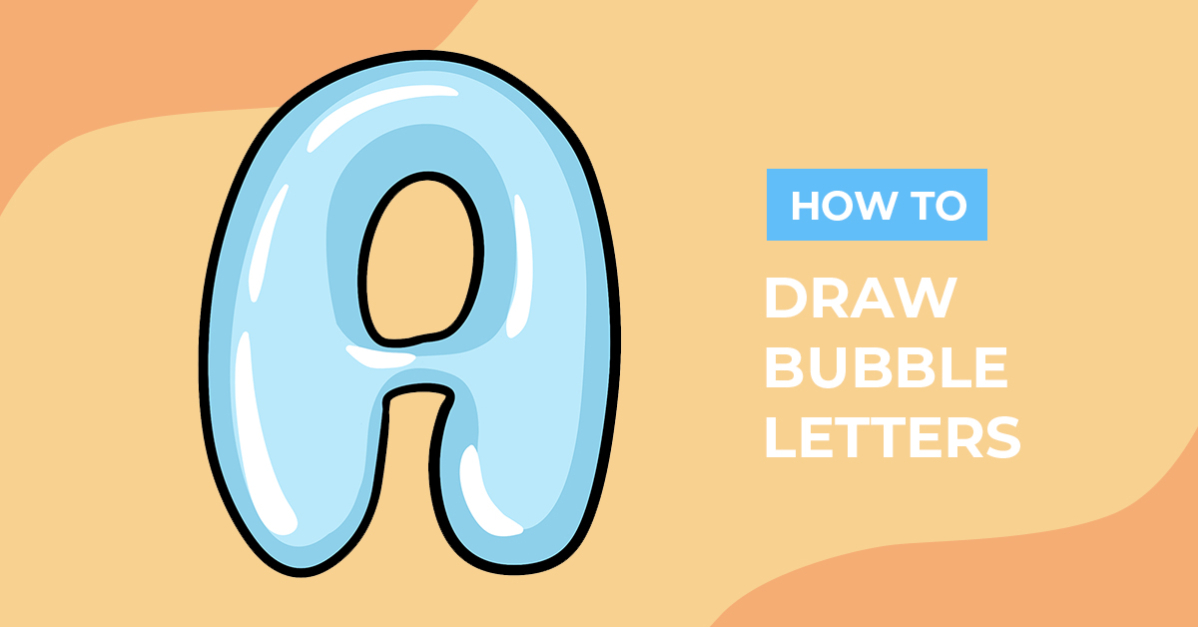
To show you an example, we drew the letter “A” with a rounded top in our image below. This will help with creating a rounded bubble effect in the next step.
Remember to start sketching simple lines as you will create your own shape later on.

Step 2 - Create your Bubble Letter Outline
In our second step, use your lining medium to start drawing around your letter sketches.
This can be any type of dark, defining, or permanent medium. Looking at our example below, draw an outline around the outside of your letter sketch, creating a space between the sketch and your outline.
Then, using the same outline style, line the inner parts of your letters, while keeping them round. Remember to make as much of your outlines rounded as possible. Only add corners in some places that you feel would need it.

Once you have created the outline of your bubble letters, remove your letter guide sketches. If you haven’t used a removable sketch medium, you can hide your sketches with opaque colors in the next step.

Step 3 - Color your Bubble Letters
To create playful bubble letters, we would recommend using at least two shades for your base color. With the two shades, you can add depth and create the perfect bubble effect. You can use any colors you have available, from pastels to dark purples and red.
Fill in your whole bubble letter with the darker color of the two shades you chose. If you are using a medium that doesn't layer well, begin with the light color section below and fill your darker shade around it.

With your lighter shade, layer your color in the center of your letter. Make sure to keep your color application rounded. Also leave a space around the lighter color to see the darker shade below it. Feel free to apply your light shade the same way as we did in our below image.

Step 4 - Add Highlights to your Letters
Your bubble letters are almost done, all you need to add are highlights. For our bubble letters clipart, we used white and a calligraphy Procreate brush to add a couple of highlight lines to our letters.

Keep using the same process on all your bubble letters until you have a full alphabet or a word. There you go, your bubble letters are ready to be added to your next craft or project. Take your design a step further and make sublimation designs in DesignScape with your newly created bubble letter font.
We hope you had a fun time with this letter drawing lesson. Check out our FREE drawing tutorials and learn how to draw animals, food, and everyday objects.