By Nadine Spires
How to Draw Crystals
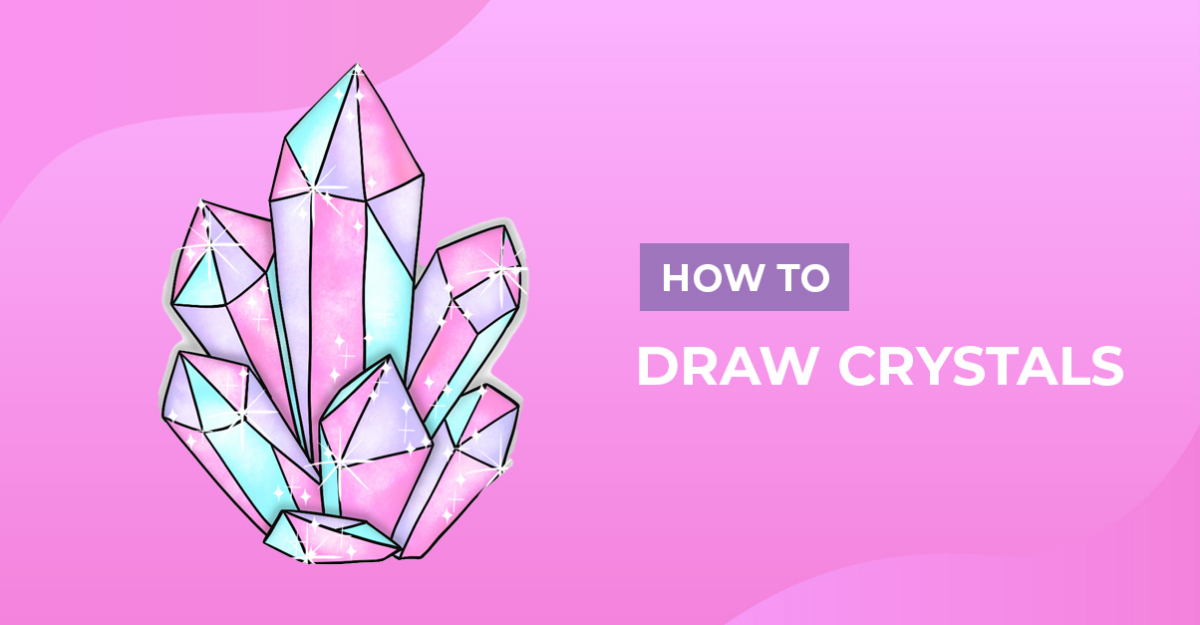
If you love Nature's geometric wonders, then this tutorial on how to draw crystals is just for you. Crystals come in many shapes and colors. They are absolutely beautiful, whether you use them to decorate your home or for spiritual healing. Use this design for small business packaging, t-shirts, wall décor and tons of creative ideas.

You can draw this stunning design using any medium you have available. There are plenty of tools available to get the job done, including markers, pens, colored pencils, Photoshop, and Affinity. Our drawing tutorials are a great way to learn new drawing skills while having fun.
During this tutorial we will be using Procreate, these ink Procreate brushes to outline the design and a Procreate holographic brush for that magical touch.
Step 1 - Create the Rough Sketch of your Crystals
We first need to create rough geometric shapes for the crystals. Use a medium that is easy to remove or hide when you outline the design later on. You can use a pencil or a light colored medium.
Sketch the Basic Shapes
Crystals are three-dimensional, consisting of straight lines forming geometric shapes. You can use a ruler, Procreate drawing guides, or draw the lines freehand like we did.
In our example image below, we first sketched a small crystal outline shape. Create the sketch using a series of diagonal and horizontal line segments. This will be the bottom part of our main design. Then we continued adding different-sized shapes behind each other.
As you can see, our shapes are long, flat with a sharp point at the top and two sharp corners at the bottom.

Sketch the Inner Geometric Lines
Next, we are going to sketch the inner geometric lines. How you draw these lines will depend on your perspective. We used triangles, squares and rectangles, connected to one another, for the inside of each crystal shape.

Step 2 - Outline your Rough Crystal Sketch
In this step, you can use a pen or a marker to outline your design. Outline all sketch lines, keeping your lines as straight as possible. This would be a good time to use a guide like a ruler. When you have completed the outline, go ahead and remove the rough sketches.

Step 3 - Add Color to your Crystals
In the final step, we are going to add color. For our crystal color palette, we chose pastel pink, blue, and purple to color the different sides. Feel free to use any color you have on hand, as crystals come in a rainbow of colors.
If you are looking for color options, Design Bundles offers a great selection of FREE Procreate Color Palettes.

Apply some texture and highlights to the shapes with the holographic brush. A light or white color is a good choice here.
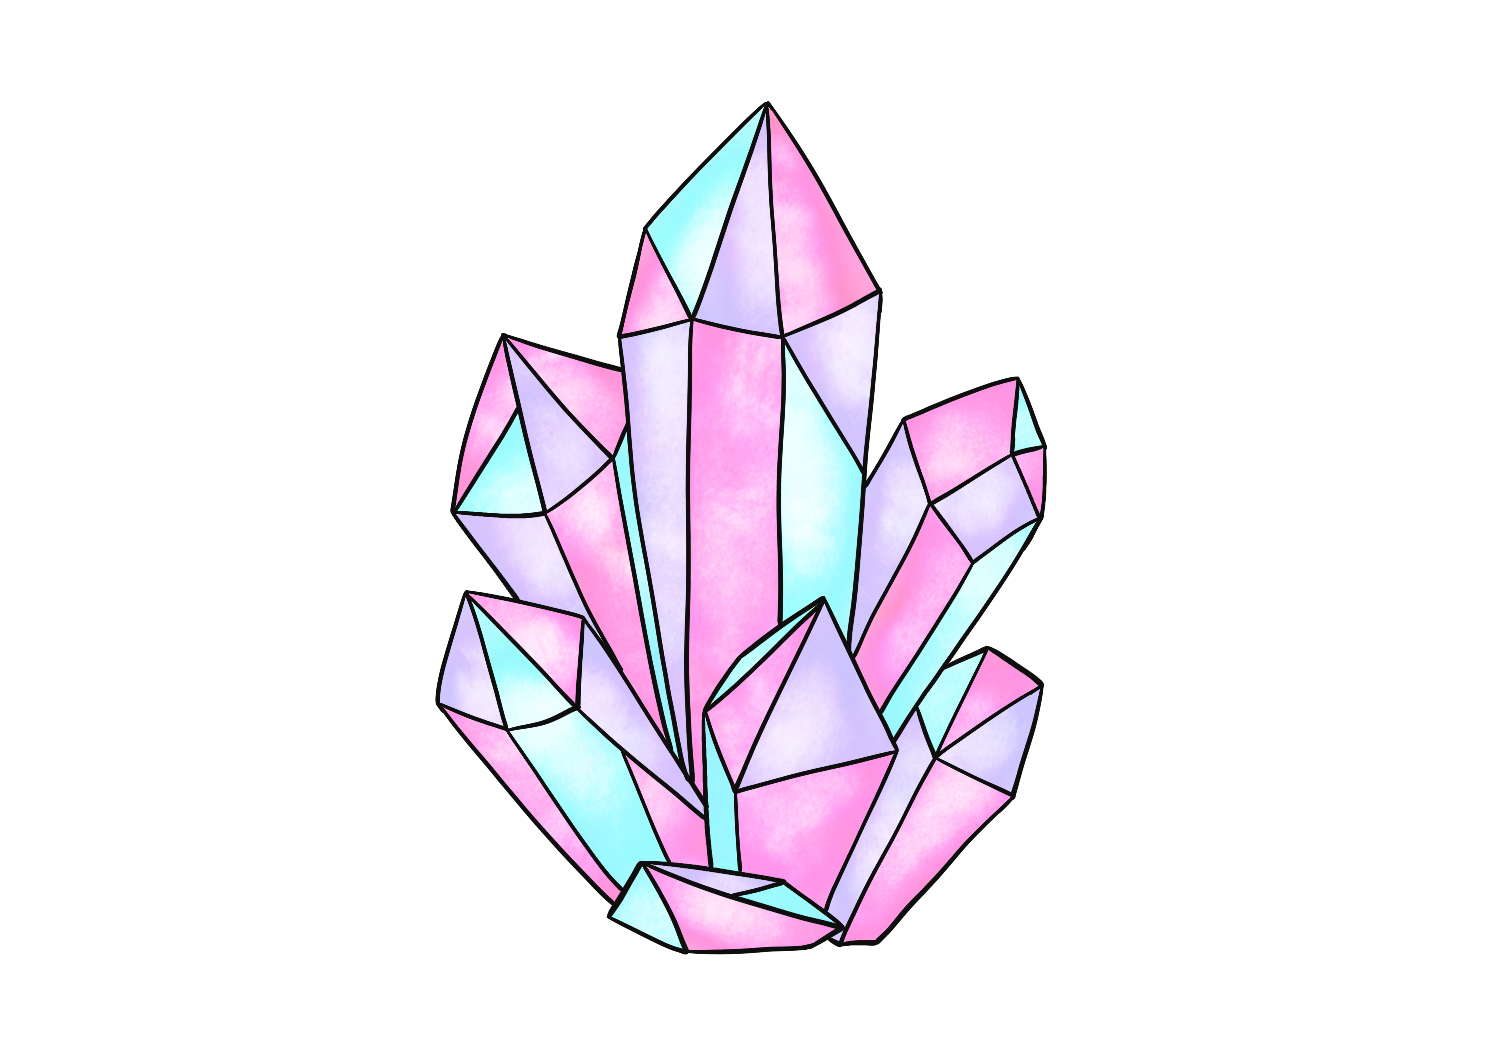
Create separation between the crystals and make the colors pop with some light shadowing. Add the shadow to the top areas of each crystal shape.

To complete our colorful design, let's add one final detail. We drew a few star shapes with simple white lines to make our crystals extra sparkly.

What an amazing job you did drawing your very own crystal clipart! Following these techniques, you can draw any shape and size while using any combination of colors you want. We hope that this tutorial has inspired you to learn how to draw and take your skills to new and creative heights.