By Christine Hattingh
How to Draw Eyebrows
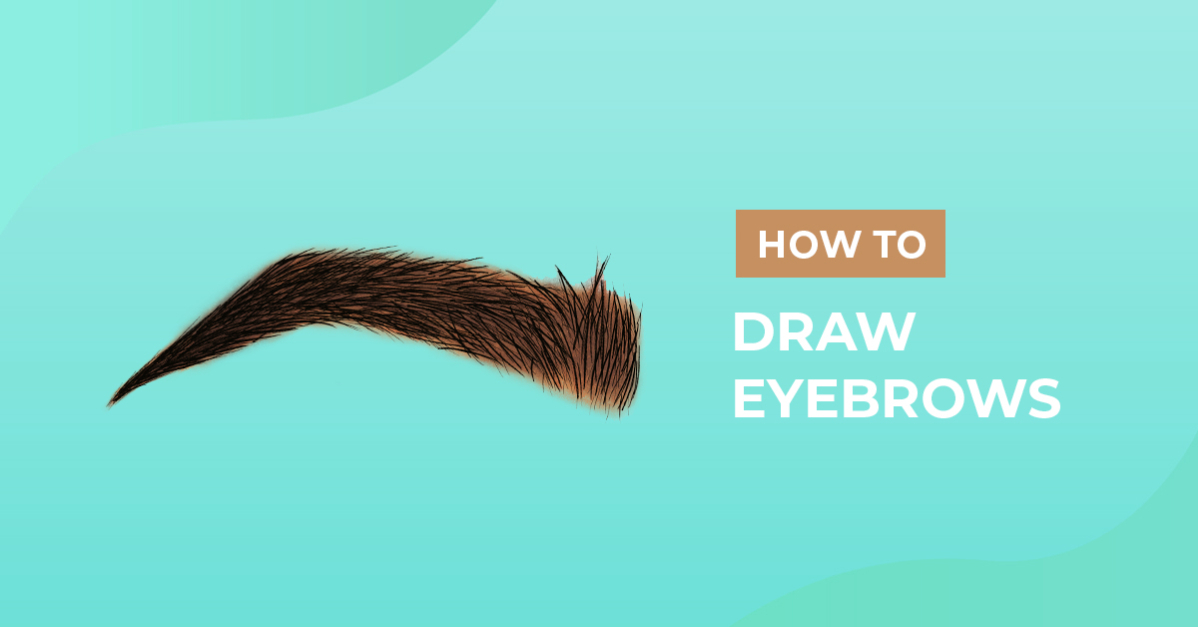
Today we are taking you step-by-step through how to draw eyebrows. Eyebrows are one of the most prominent facial features, and they play a significant role in framing the face and highlighting the eyes. With your brow illustration, create a variety of crafts, such as makeup clipart and sublimated pouches, or add them to your digital beauty collection.

Create custom makeup customer sheets by combining your eyebrow clipart and our tutorials. Combine this eye drawing tutorial and draw lips for a full-face beauty planner.
Artists of any skill level can follow along with our FREE drawing tutorials. Any drawing medium, such as paint, pastels, and crayons, can also be used. Digital apps like Procreate or Photoshop are also a great way to create digital artwork.
Step 1 - Create an Eyebrow Guide
Get started with a sketching medium, like a pencil, to create the sketched guides. These pencil sketches will help create the eyebrow shape and determine the hair direction.
Brow Guidelines
Make three guidelines for the eyebrow head, arch, and tail in your drawing area. Space the lines out as wide as you would like. The further they are, the wider your eyebrow will be.

Shape the Eyebrow
Create sketches that flow from the head guideline to the arch and then the tail. Your brow should be higher toward the arch and narrow by the tail guide.

Hair Direction
Next, plan the direction the hair strands will go. Our example image below shows how the hairs close to the brow head are angled upward (shown in red). Then, as we move closer to the arch, the strands go sideways, and they are angled downward by the tail.

Step 2 - Fill and Define the Eyebrows
With your brow shape made and hair direction planned, it’s time to fill and define the eyebrow line art. For our second step, you will need a medium to fine-tip tool to create the eyebrow outline. We are using these Procreate inking brushes to draw individual strands of hair.
Begin by drawing a few strands of hair in the eyebrow shape. Make sure they follow the eyebrow sketch directions.

Then, with finer lines, create a mixture of short and long eyebrow hairs to fill the brow shape. You can see in our image below we added a couple of short fine strands along the bottom, and some hair goes in different directions.

If you think your brow drawing is still a bit too sparse, use a thicker liner to add darker strands, especially from the arch to the tail.

Step 3 - Color your Eyebrow Illustration
This step is optional if you want to add color to your artwork. Create a natural-looking eyebrow drawing with one of these hair palettes. Apply your darker shade toward the eyebrow tail and make it lighter close to the head.

Easily change the shape of your brows by adjusting the guidelines. Or create blank templates with just the shape outline to practice different ways to fill eyebrows.
Great work, your illustration is ready to be added to your makeup clipart collection and made into custom projects. We hope you enjoyed this drawing guide and found our steps helpful.
Why not explore more of our beginner drawing tutorials and discover new things to draw? Expand your collection by learning how to draw all kinds of things. You will find something to draw from wild animals, delicate flowers, and yummy foods in no time.