By Christine Hattingh
How to Draw Glasses
In today's beginner-friendly drawing exercise, we are showing you three easy steps to draw glasses. Glasses come in all shapes and sizes and can help us with reading or protect our eyes from UV light. Follow our step-by-step instructions and create reading clipart, personalized bookmarks, or branding such as business cards.

For our how to draw glasses tutorial, we are using Procreate. If you are, too, you can use any brush or download FREE Procreate brushes from Design Bundles.
You are welcome to use any medium you have access to. From traditional supplies such as colored pens, crayons, and paint to digital applications, you can illustrate your glasses any way you want.
Step 1 - Create the Rough Glasses Sketch
Using an erasable or light-colored sketching medium, let's begin making our rough sketches. A tip to remember when drawing glasses is to ensure you mirror your work. The frame's shape needs to be the same on both sides.
Make a line through the center of your drawing space to get your artwork drawn evenly. You can use grid paper or the assisted drawing function in Procreate drawing guides.

Shape the Frame
Begin your drawing by sketching the bridge that connects two lenses. This is the part that sits on the nose. Draw two curved lines over the center guideline, ensuring the bottom curve is rounder than the top one. See our example image below.

Next, shape the outer edge of the frame that connects to the bridge. You can draw simple shapes such as rectangles, circles, or ovals.

Then, draw two smaller shapes, one on each side of the frame, to create the lenses of your glasses. Make sure they are the same size and shape.

Add the Arms
Now it's time to draw the arms of the glasses. These are the parts that go over the ears. Start by drawing two long curved rectangular shapes extending out from the sides of the frames.
For our glasses, we have the arms folded so that the left arm extends towards the right and the right arm extends towards the left.

Step 2 - Outline your Illustration
Trace your sketch lines with a permanent marker or pen to create a defined reading glasses outline. Carefully follow your lines and darken the areas you want to include in the line art. If any of your sketches overlap and you wish to avoid having them, do not darken them.
If there are any extra details you would like on your artwork, like reflection lines in the lenses, feel free to add them now.

Step 3 - Add Color to your Glasses
In our final step, switch to your coloring tools and add color to your glasses. Use any color combination or multiple shades as your palette. We chose two shades of green to apply as a base color.
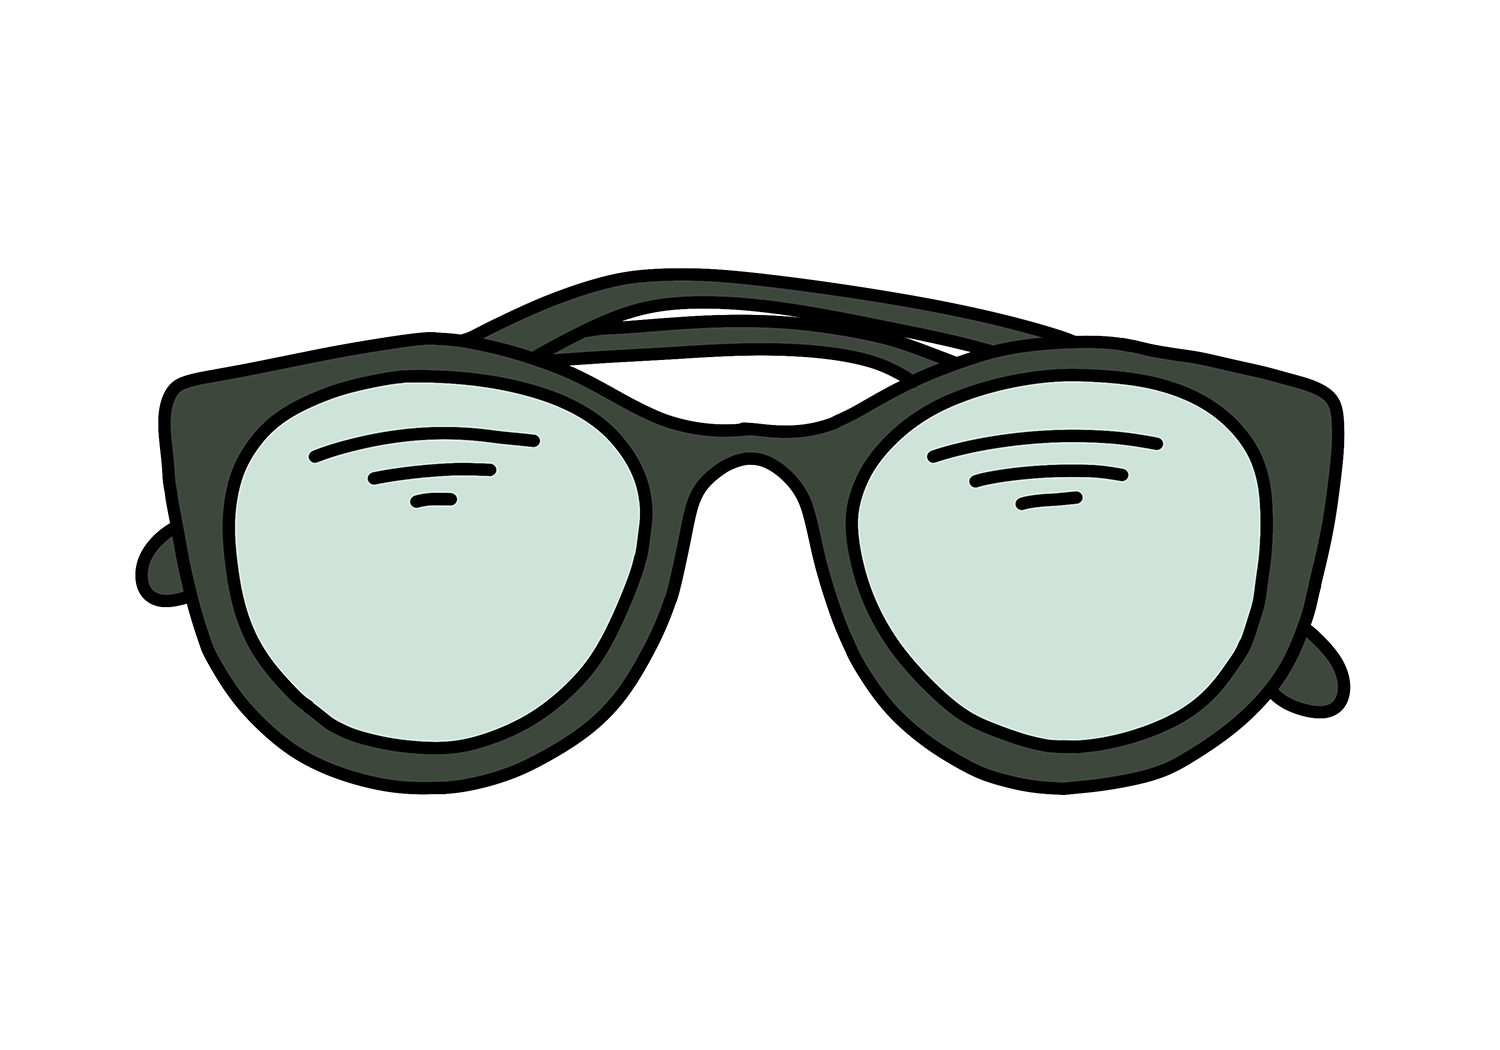
Next, we added style to our frame using a quirky dot pattern brush in this Procreate chalk brush set. With a highlight and shadow color, we added shading and more color to the lenses.

Create a collection of glasses by changing a few elements in the sketching process. You can make themed artwork by adding retro clipart elements for vintage sunglasses.
Great job following along with our three-step drawing guide. You may also enjoy our tutorials on how to draw a book and drawing a camera.