

By Christine Hattingh
How to Draw Hair
Are you ready to take your art to the next level with some stunning hair designs? In this comprehensive guide, we'll take you through the steps of how to draw hair. Whether you're a beginner or an experienced artist, you'll learn new techniques for creating beautiful, flowing locks that will bring your characters to life.
You can use your newfound skills to create stunning character designs, illustrations, and digital art. Use your clipart to enhance your graphic design projects, such as posters, flyers, and social media graphics.

You will need sketching, lining, and color medium for this drawing guide. You may also want a reference photo to help shape and flow lines. When creating your drawing, use a medium that you're comfortable with, so feel free to use traditional supplies or digital drawing apps.
Unlock your creativity by making a collection of hand-drawn elements to add to all your crafts. Follow our FREE drawing tutorials to learn how to illustrate a variety of animals, foods, and objects.
Step 1 - Understanding Hair Structure
Before you start drawing, it's important to understand the basic structure of the hair. Hair is made up of individual strands that come together to form a shape. How it falls and moves depends on its texture, thickness, and length.
For this first step, it is recommended that you use a pencil that you can easily erase to make corrections. If you do not have one available, use a light-colored medium to hide behind outlines or colors.
Create your Base
Let's begin by roughly sketching a face shape first. This will serve as a base for the hair and help when adding parts, fringes, or creating a hairstyle like pigtails.

Sketch the Outer Shape
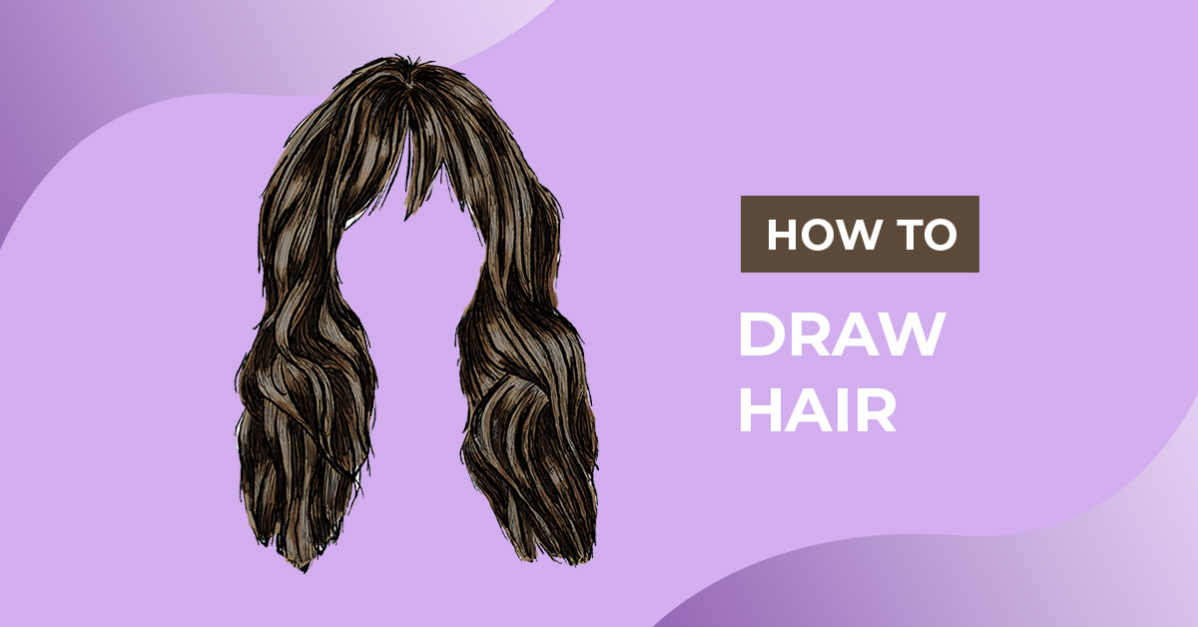
Then, create the outer shape or style of the hair drawing. Take note of our example image below, how we added a fringe and shaped it around the face and roughly added edges at the ends.

Add Flow Lines
In some areas of the hair shape sketch, draw a few lines to show the flow direction of the section. This is not to add texture but more to create movement.

Step 2 - Darken the Hair Lines
With a darker or more permanent medium, begin tracing your hair sketch lines. In this step, the goal is to create a clean line art drawing from your rough sketches.
You can use any medium, such as inking Procreate brushes, fine-tip markers, gel pens, etc. Get started by outlining the outer shape of your hair illustration.

Then, following your flow sketch lines, create the sections of hair. Feel free to add extra lines for more movement inside the areas.

Step 3 - Add Texture to the Hair Outline
Now it's time to add hair texture and volume to your drawing. To create the illusion of volume, use thick or clustered strokes to shade the areas that would naturally be darker, such as the shadows underneath the hair and the areas where the strands overlap.
To create a more realistic look, add wispy strands of hair around the edges of the hairstyle. These can be made using light, wispy strokes extending beyond the primary shape.

Then, fill the gaps by creating individual strands using short, quick strokes. Pay close attention to the direction of the strands and try to keep them flowing in the same direction as the overall shape of the hair.

Step 4 - Apply Color to your Drawing
Add some color to your illustration using any coloring medium and color palette. Apply shades of dark and light hair color to add even more depth to your drawing.
If you are going for a minimal style of hair clipart, you can use any of the four methods to blend color in Procreate to add shading, texture, and gradient effects.

Now that you have the basic techniques down, it's time to have some fun and experiment with different hairstyles. Try drawing hair in different lengths, textures, and styles. You can also try using different shading techniques, such as cross-hatching or stippling, to create different effects.
Add your drawings to your digital collection or use them on character clipart creator kits to add a fun spin to your designs. Thank you for joining our drawing exercise! We hope you had a great time learning how to draw hair step-by-step.



