By Design Bundles
Fixing Font Clipping in Inkscape
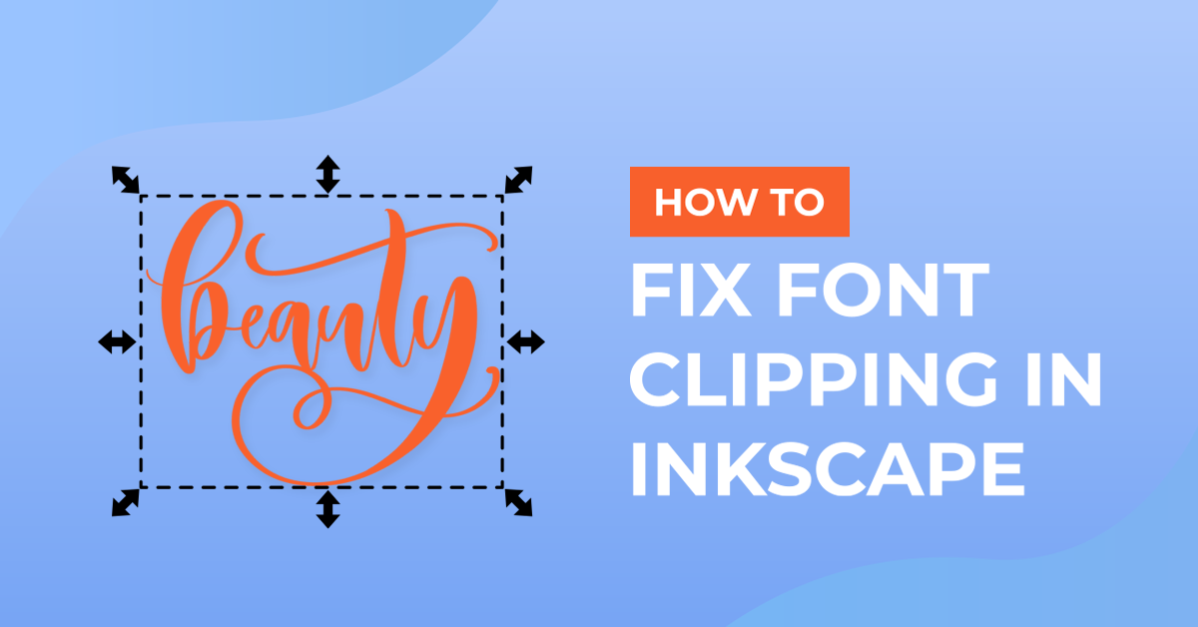
Today we are going to show you how to fix font clipping in Inkscape. This is sometimes a common issue seen with fonts that have PUA encoded glyphs. The glyphs appear to be clipped or cut off outside of the bounding box. In Inkscape, an open source program for Windows and Mac, we will quickly show you how to fix this.
We will be using a script typeface called Lovely Melissa but you are welcome to choose from our other modern script fonts if you want.
If you need further information, have a look at our tutorial on how to install fonts on a PC or a Mac.
Step 1 - Add your Text and Glyphs
Begin by opening Inkscape. Once you have typed out your text, add your alternate glyphs as needed. As you can see in the image below, the glyphs for our font have been cut off top and bottom.

Step 2 - Use Object to Path
To solve this problem, we are going to use the Object to Path action. This will allow us to manipulate the text object with more flexibility. Keep in mind that once you use this action, the text will no longer be editable.
Select the font you created that has the clipped glyphs.

Now, go to the Path menu at the top of the screen and select Object to Path.

The font glyphs will now be fully visible in Inkscape without any clipping.

As easy as that we have fixed our clipping issue. We hope that this quick and easy tutorial has been helpful. Inkscape is a powerful, easy to use program that is highly recommended for crafters looking to start creating their own designs.