By Design Bundles
3D Illusion in Illustrator
1 - In Illustrator, create a “New Document”.

2 - Select the “Polygon Tool”, click inside your document and input a “Radius” of 0.2 cm and 5 “Sides”. Fill it with the color of your choice.


3 - Go to Object > Pattern > Make, click “OK2 on the “Pop Up Window” and check your “Pattern Options”.


4 - Check the “Preview” box and decrease the “Width” and/or “Height” to fix the white space if needed.

5 - Select the “Rectangle Tool” (M), click inside your document, create a 10 x 15 cm Rectangle and Fill it with your “Pattern”.


6 - Go to Object > Envelope Distort > Make with Mesh and use a “Mesh” with as many “Anchor Points” as possible. We used 25 “Rows” and 15 “Columns”.


7 - In the Top Menu click on the “Envelope Options” button and make sure the “Distort Pattern Fills” box is checked. Rotate your Rectangle a bit.


8 - Use the “Direct Selection Tool” (A) to select some of the “Anchor Points” then move them to give the idea of a “Fold”.


9 - Repeat in other areas of the “Pattern” until you are satisfied.


10 - If you notice an area you don't like, just select it again and fix it.


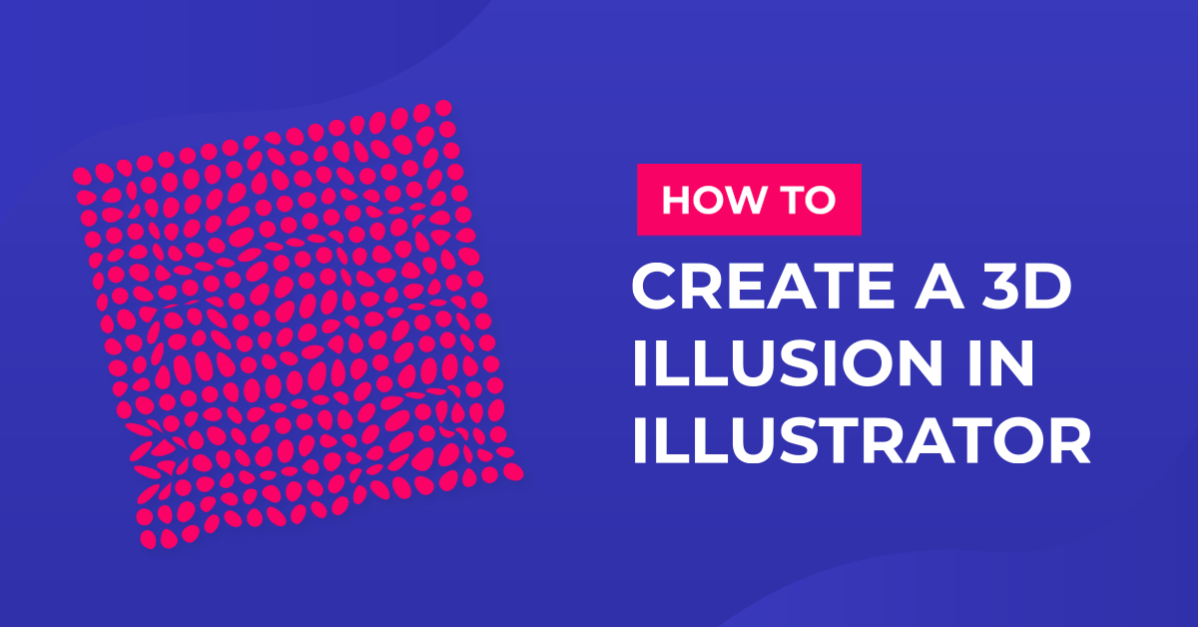
11 - Your work should be similar to this.

2 - Select the “Polygon Tool”, click inside your document and input a “Radius” of 0.2 cm and 5 “Sides”. Fill it with the color of your choice.
3 - Go to Object > Pattern > Make, click “OK2 on the “Pop Up Window” and check your “Pattern Options”.
4 - Check the “Preview” box and decrease the “Width” and/or “Height” to fix the white space if needed.
5 - Select the “Rectangle Tool” (M), click inside your document, create a 10 x 15 cm Rectangle and Fill it with your “Pattern”.
6 - Go to Object > Envelope Distort > Make with Mesh and use a “Mesh” with as many “Anchor Points” as possible. We used 25 “Rows” and 15 “Columns”.
7 - In the Top Menu click on the “Envelope Options” button and make sure the “Distort Pattern Fills” box is checked. Rotate your Rectangle a bit.
8 - Use the “Direct Selection Tool” (A) to select some of the “Anchor Points” then move them to give the idea of a “Fold”.
9 - Repeat in other areas of the “Pattern” until you are satisfied.
10 - If you notice an area you don't like, just select it again and fix it.
11 - Your work should be similar to this.
by @lornacane
Related Tutorials
Illustrator Tutorials
3D Heart with Mesh Tool in Illustrator
Illustrator Tutorials
3D Indented Text Effect in Illustrator
Illustrator Tutorials
Layered 3D Text Effect in Illustrator
Illustrator Tutorials
Anaglyph 3D Text Effect Poster in Illustrator
Illustrator Tutorials
Decorated Egg in Illustrator 3D and Flat
Illustrator Tutorials