By Design Bundles
Blood Text Effect in Illustrator
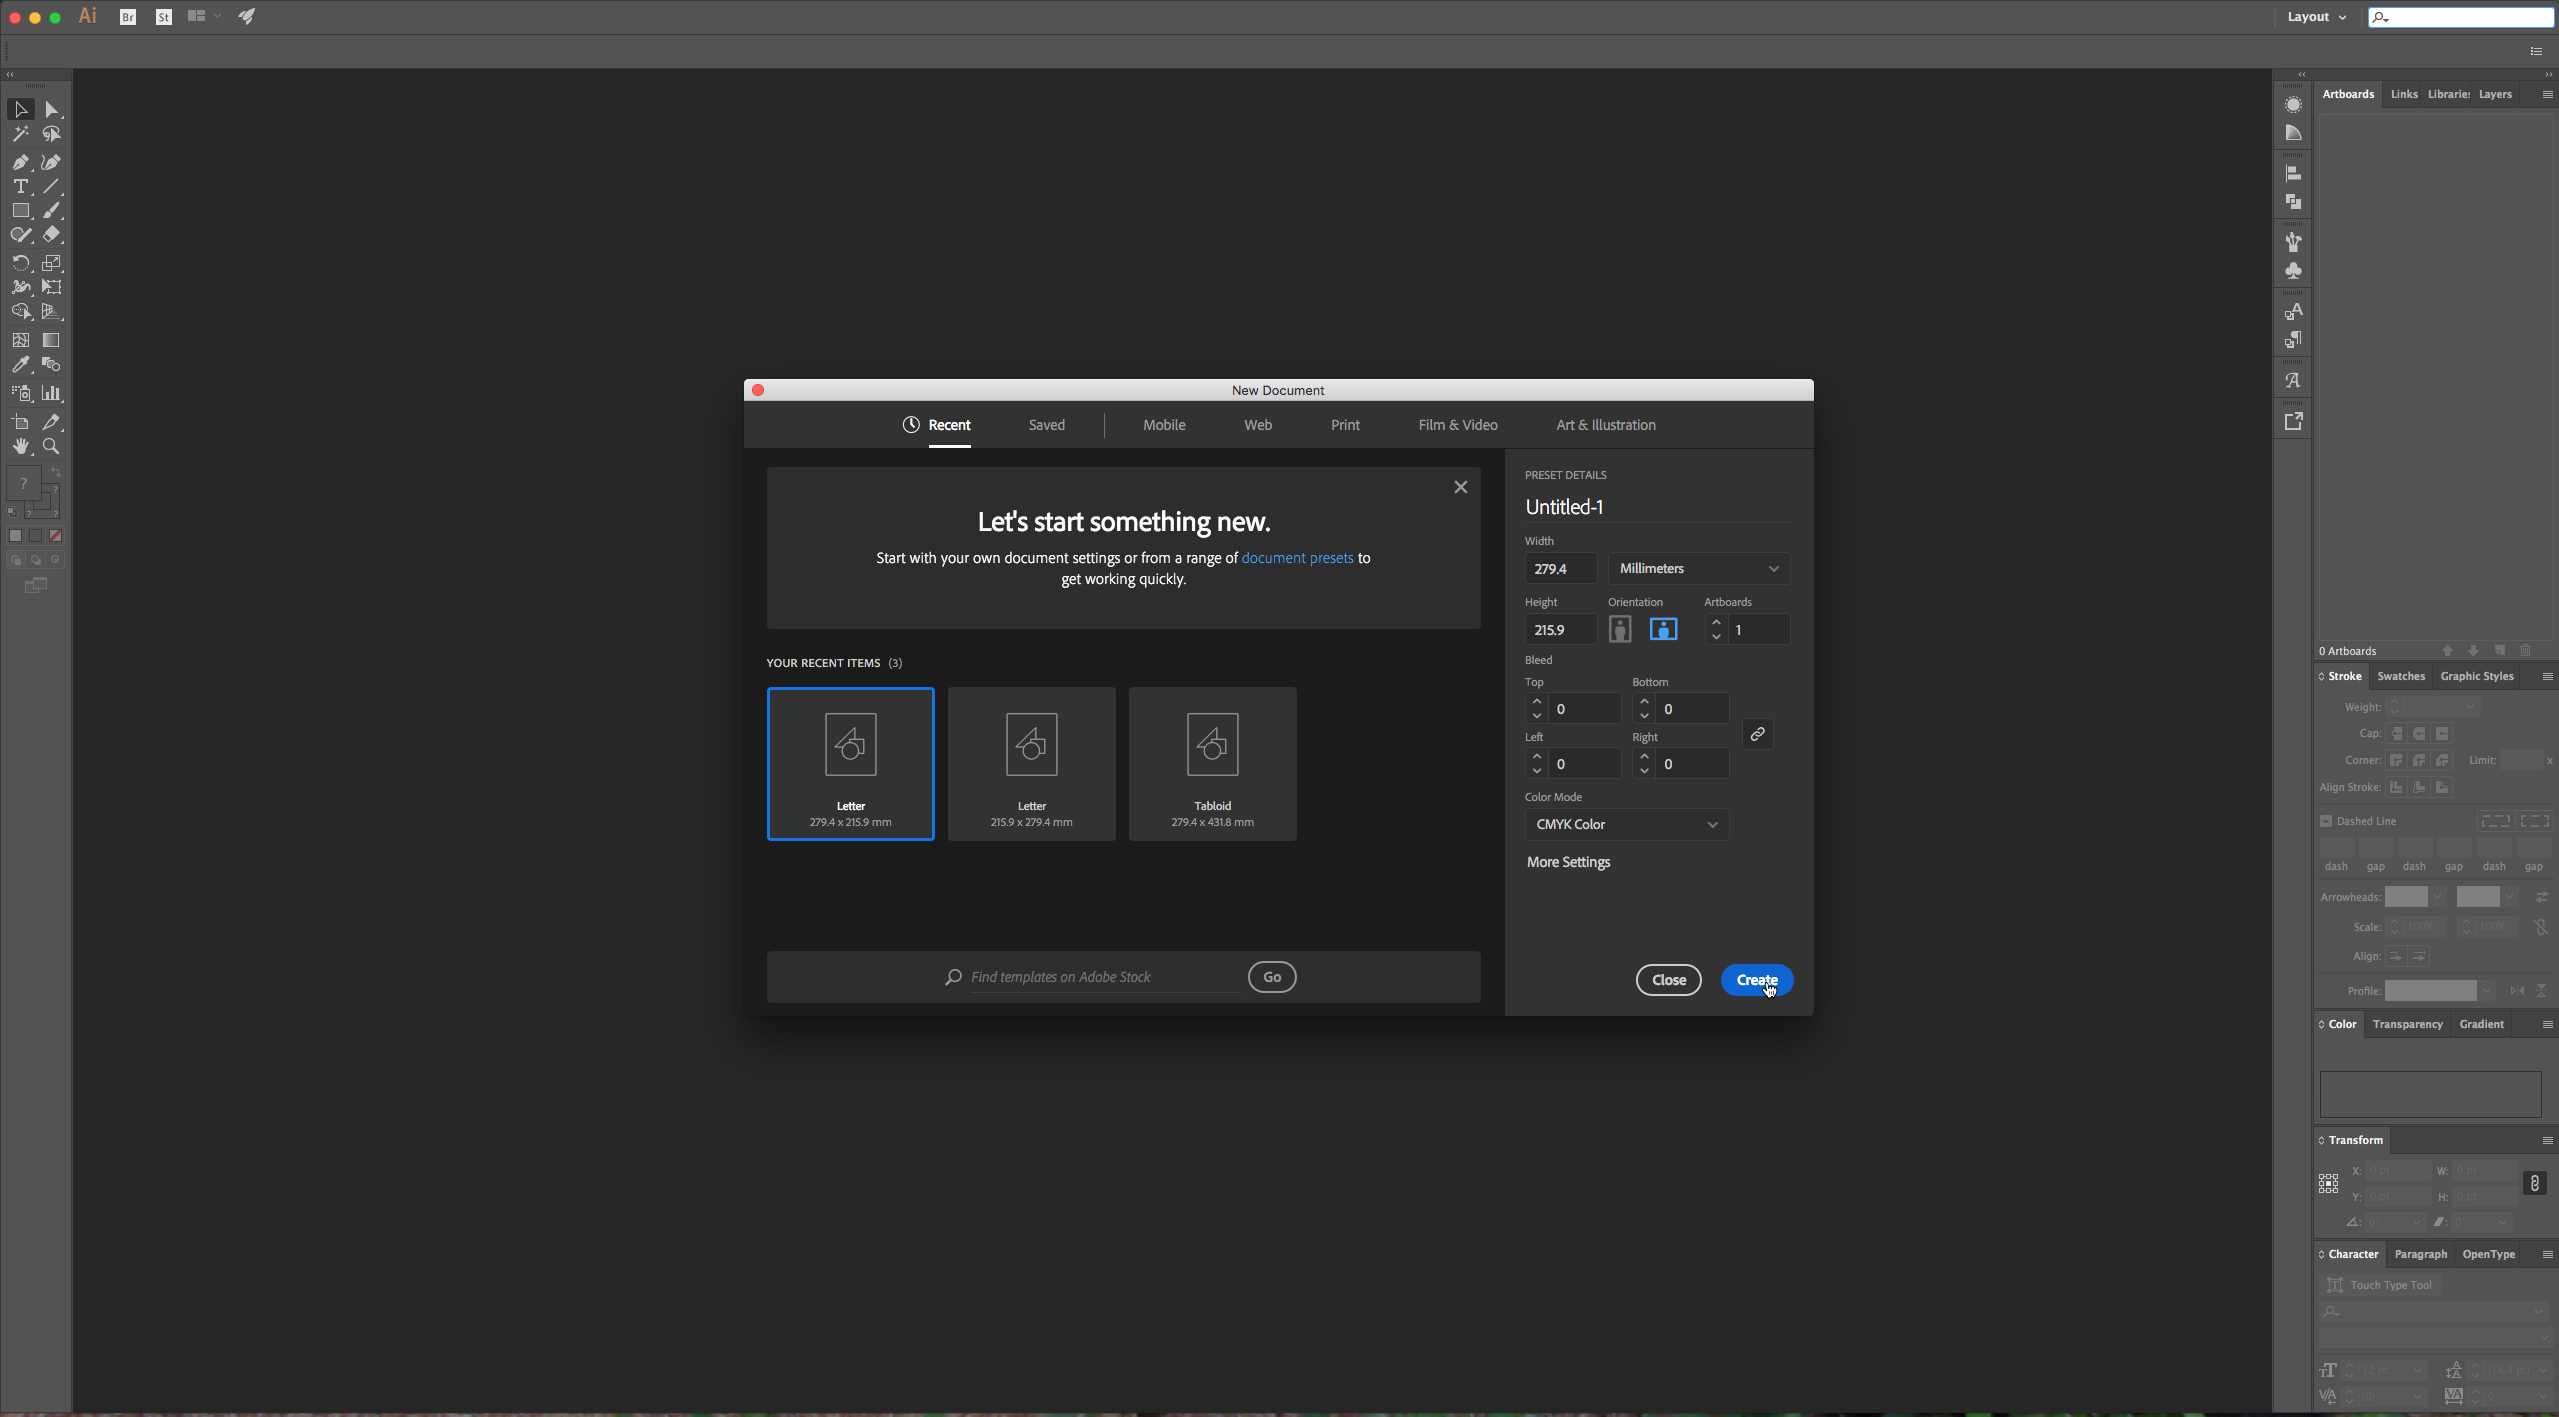
1 – In Illustrator create a New Document.
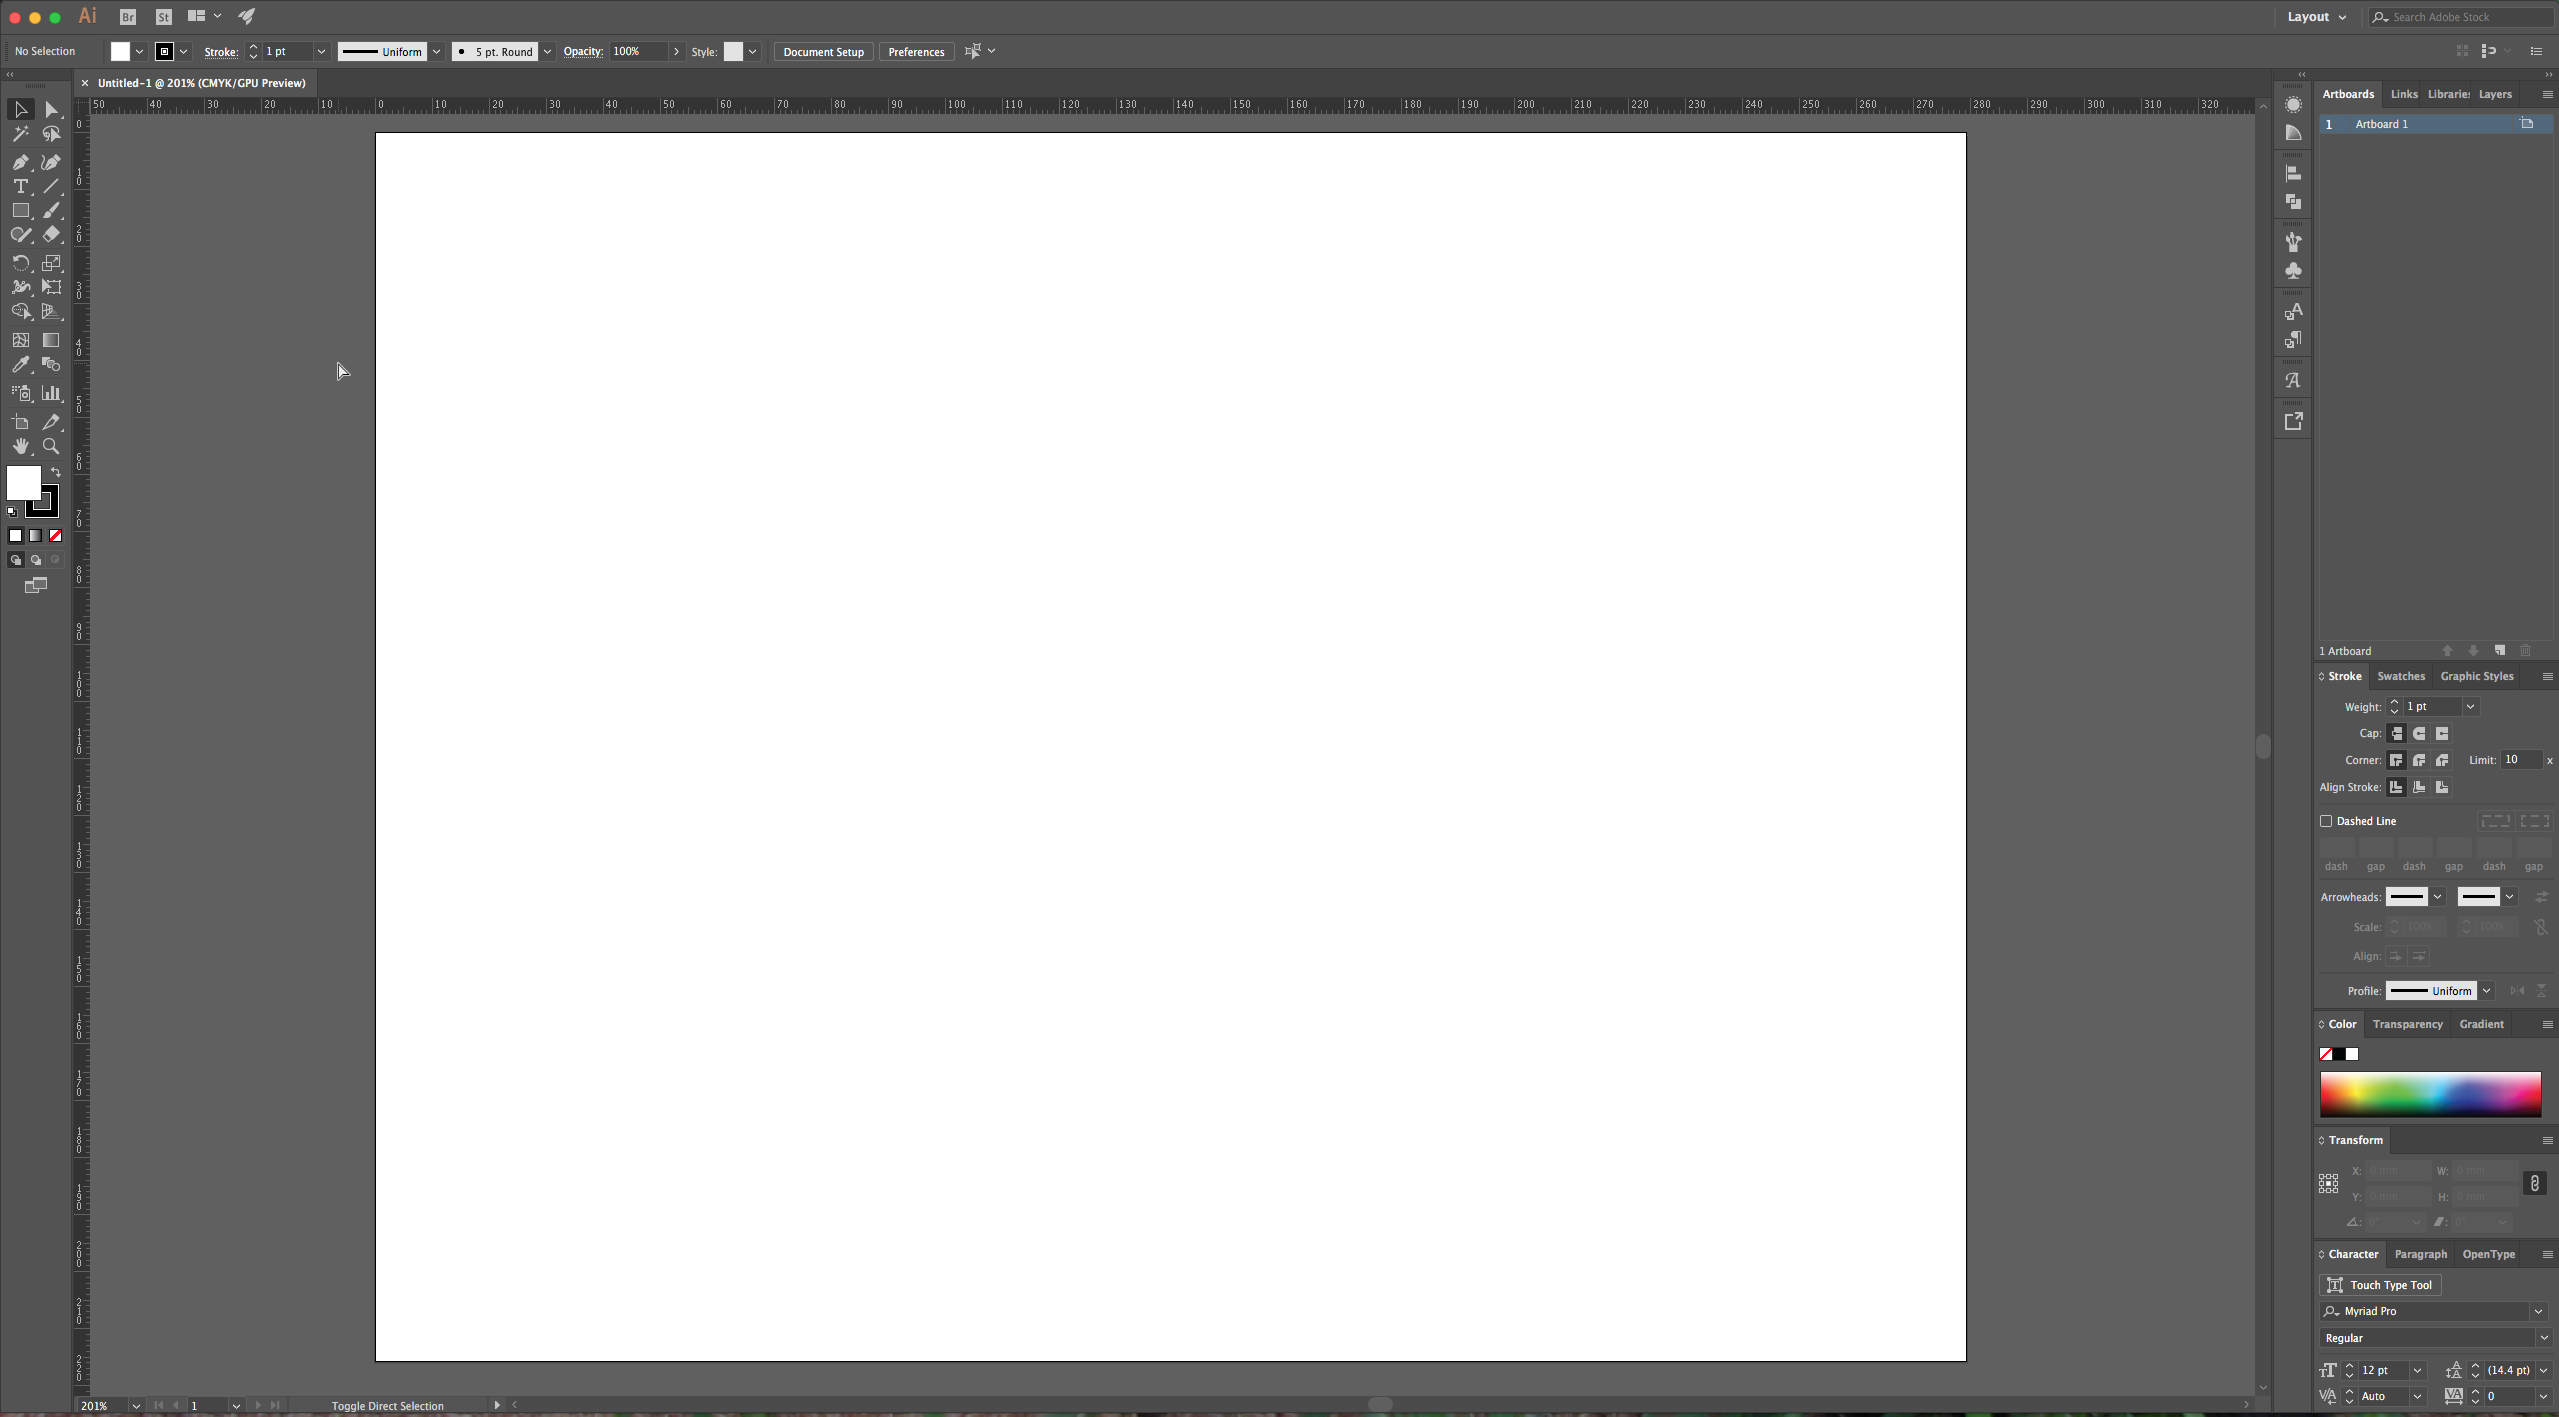
2 – Type some text and choose a font. In this case we used Pindunk Typeface from Font Bundles.
This font has some alternates and you can access them by selecting just that character with your “Type Tool” or you can select the alternates in the “Glyphs” menu.
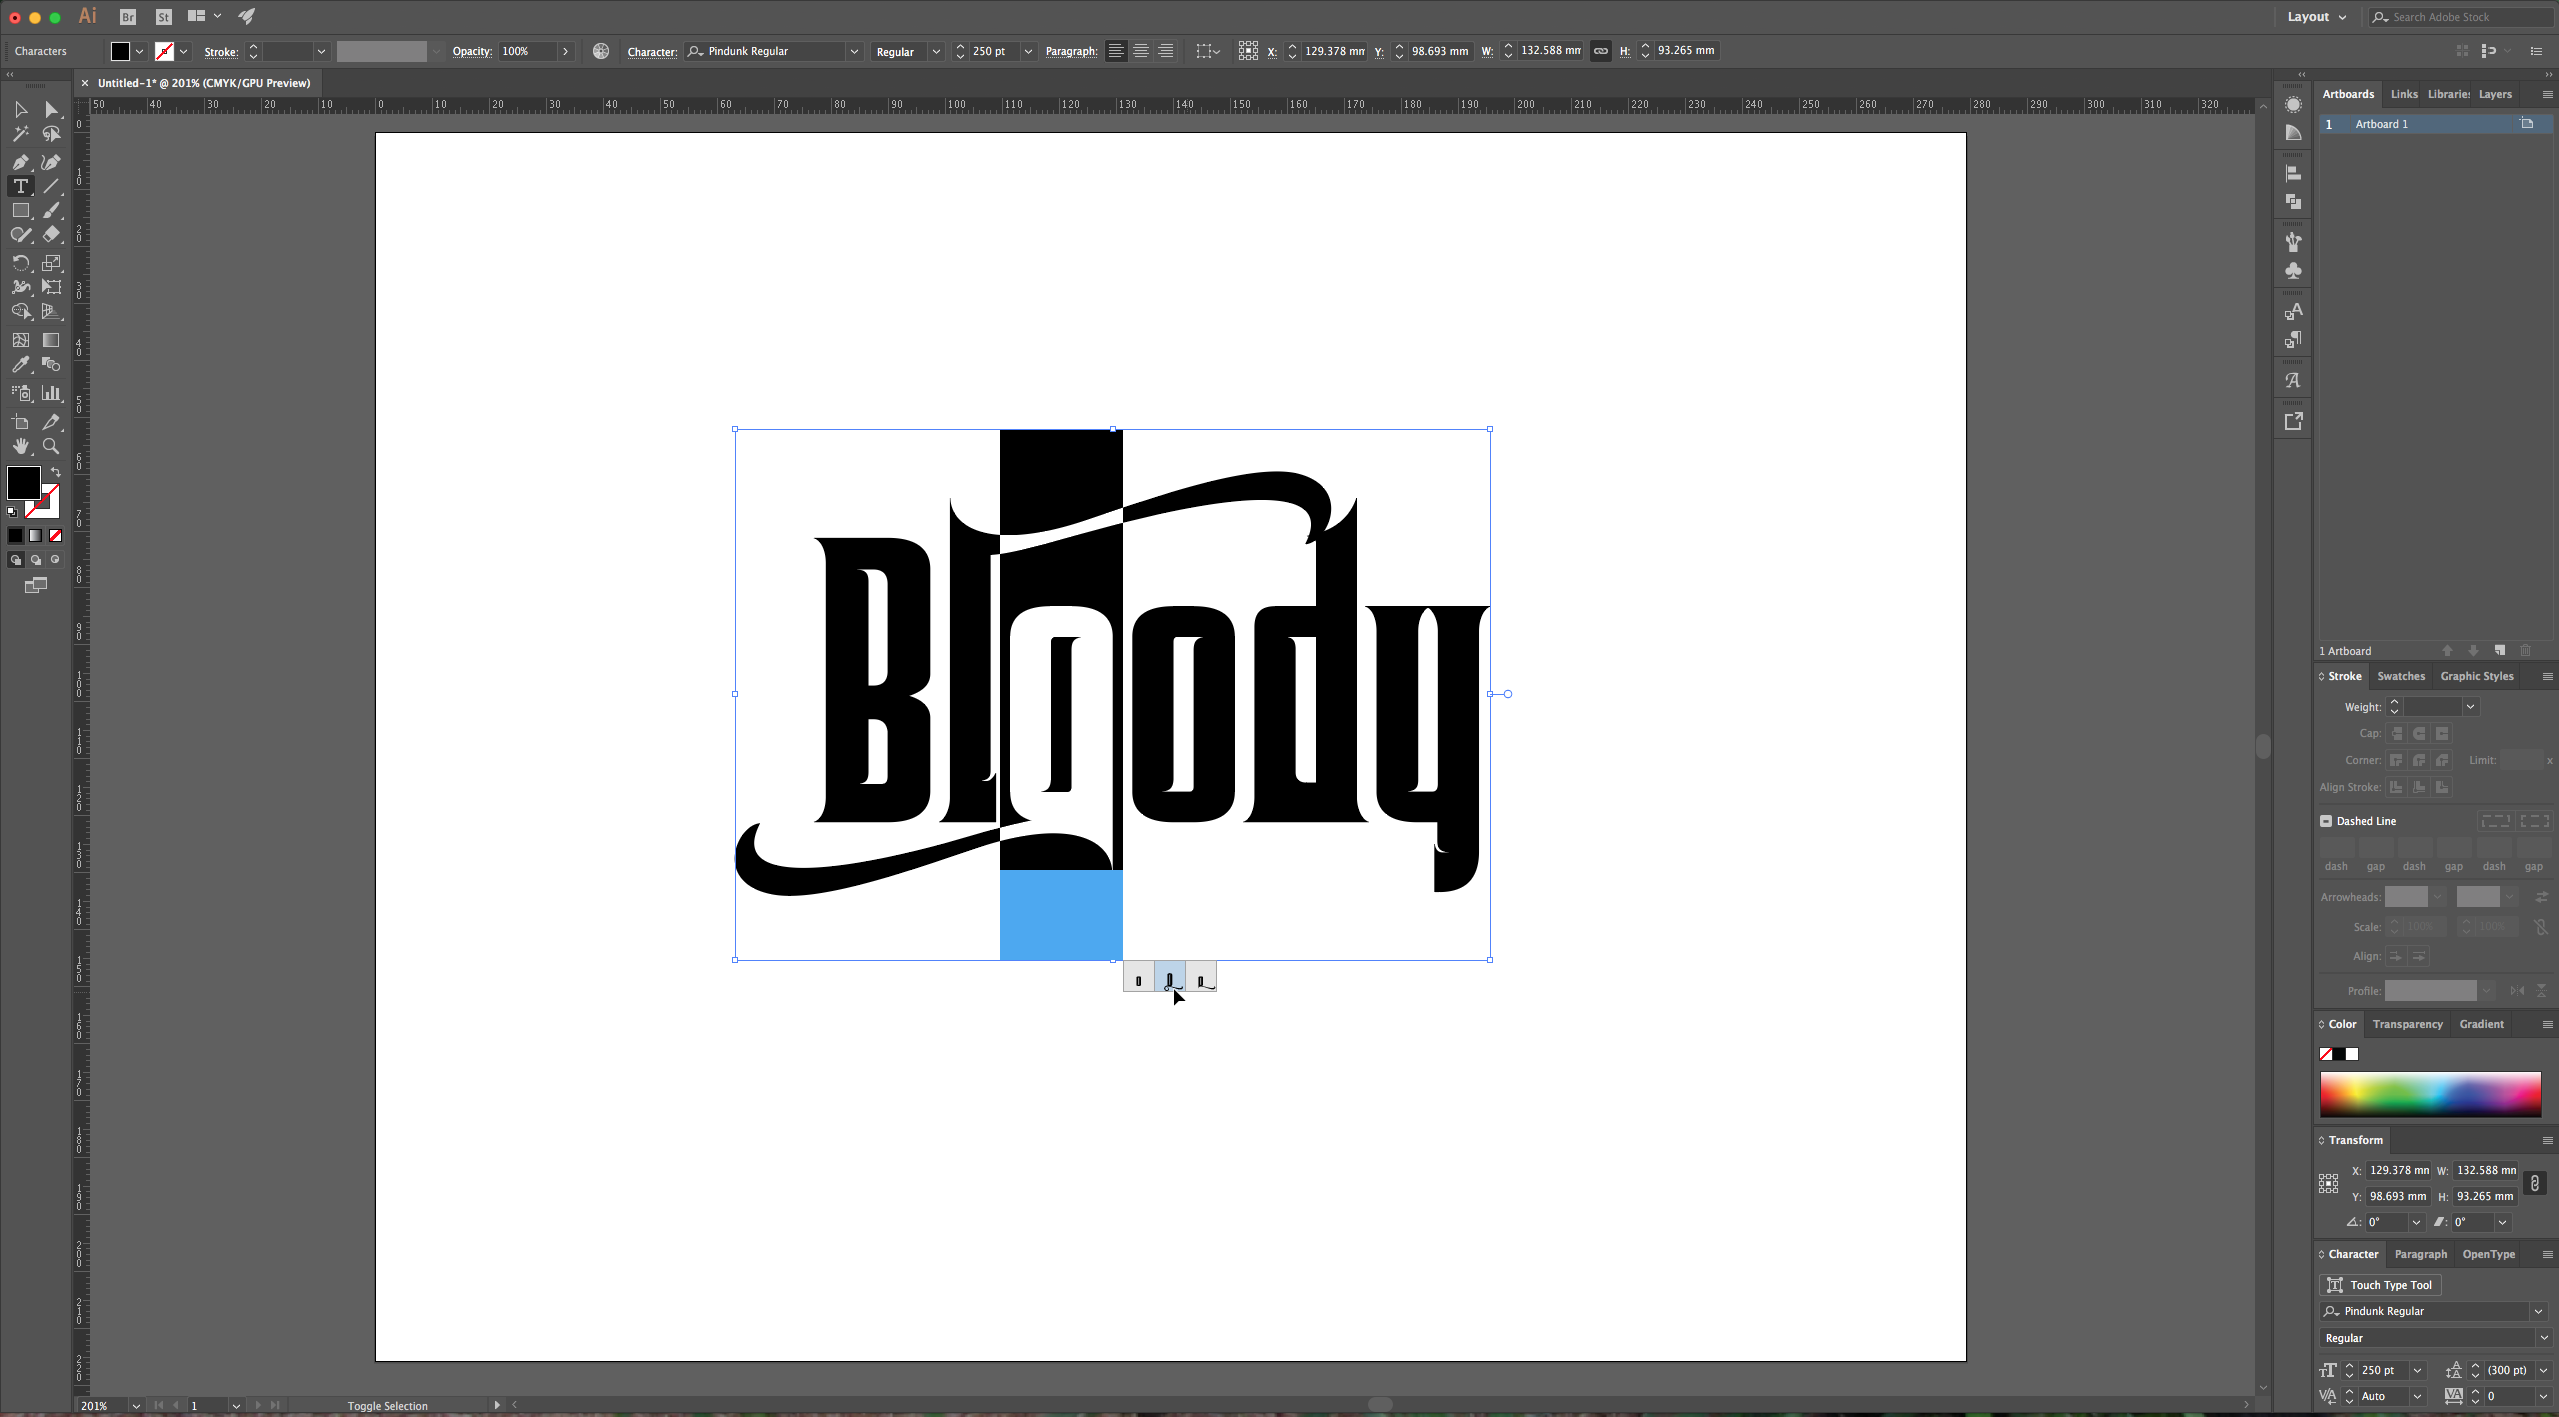
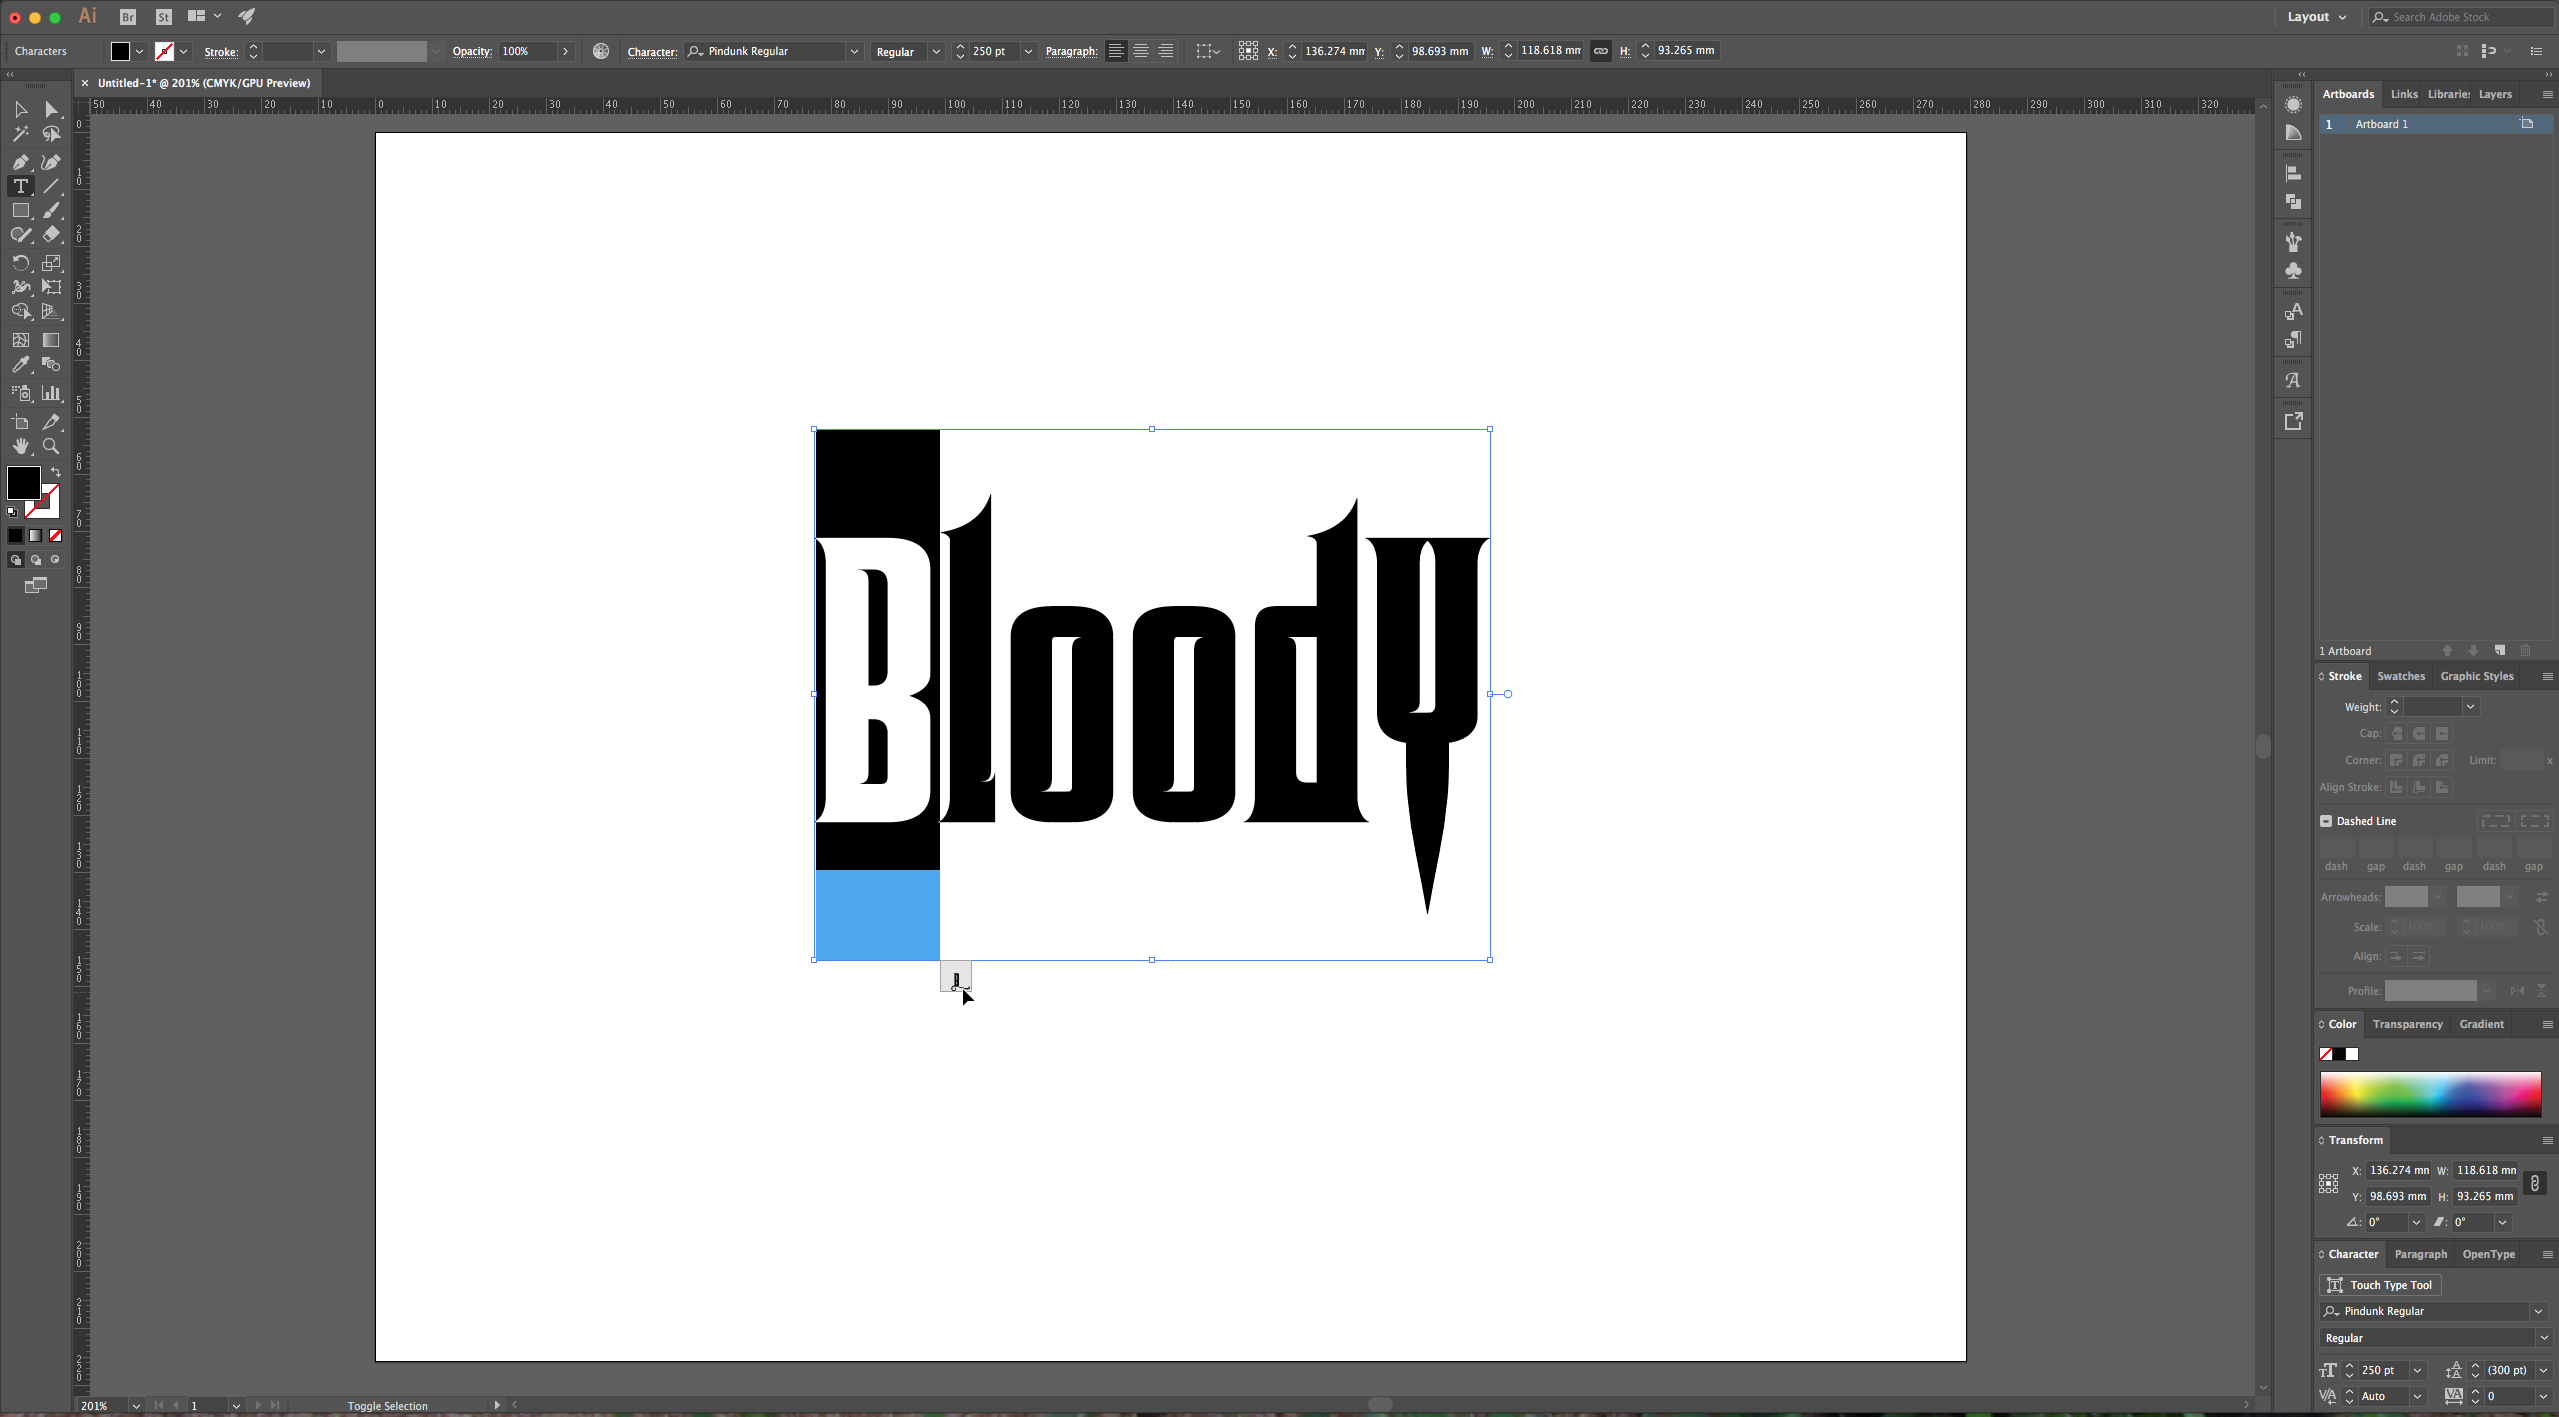
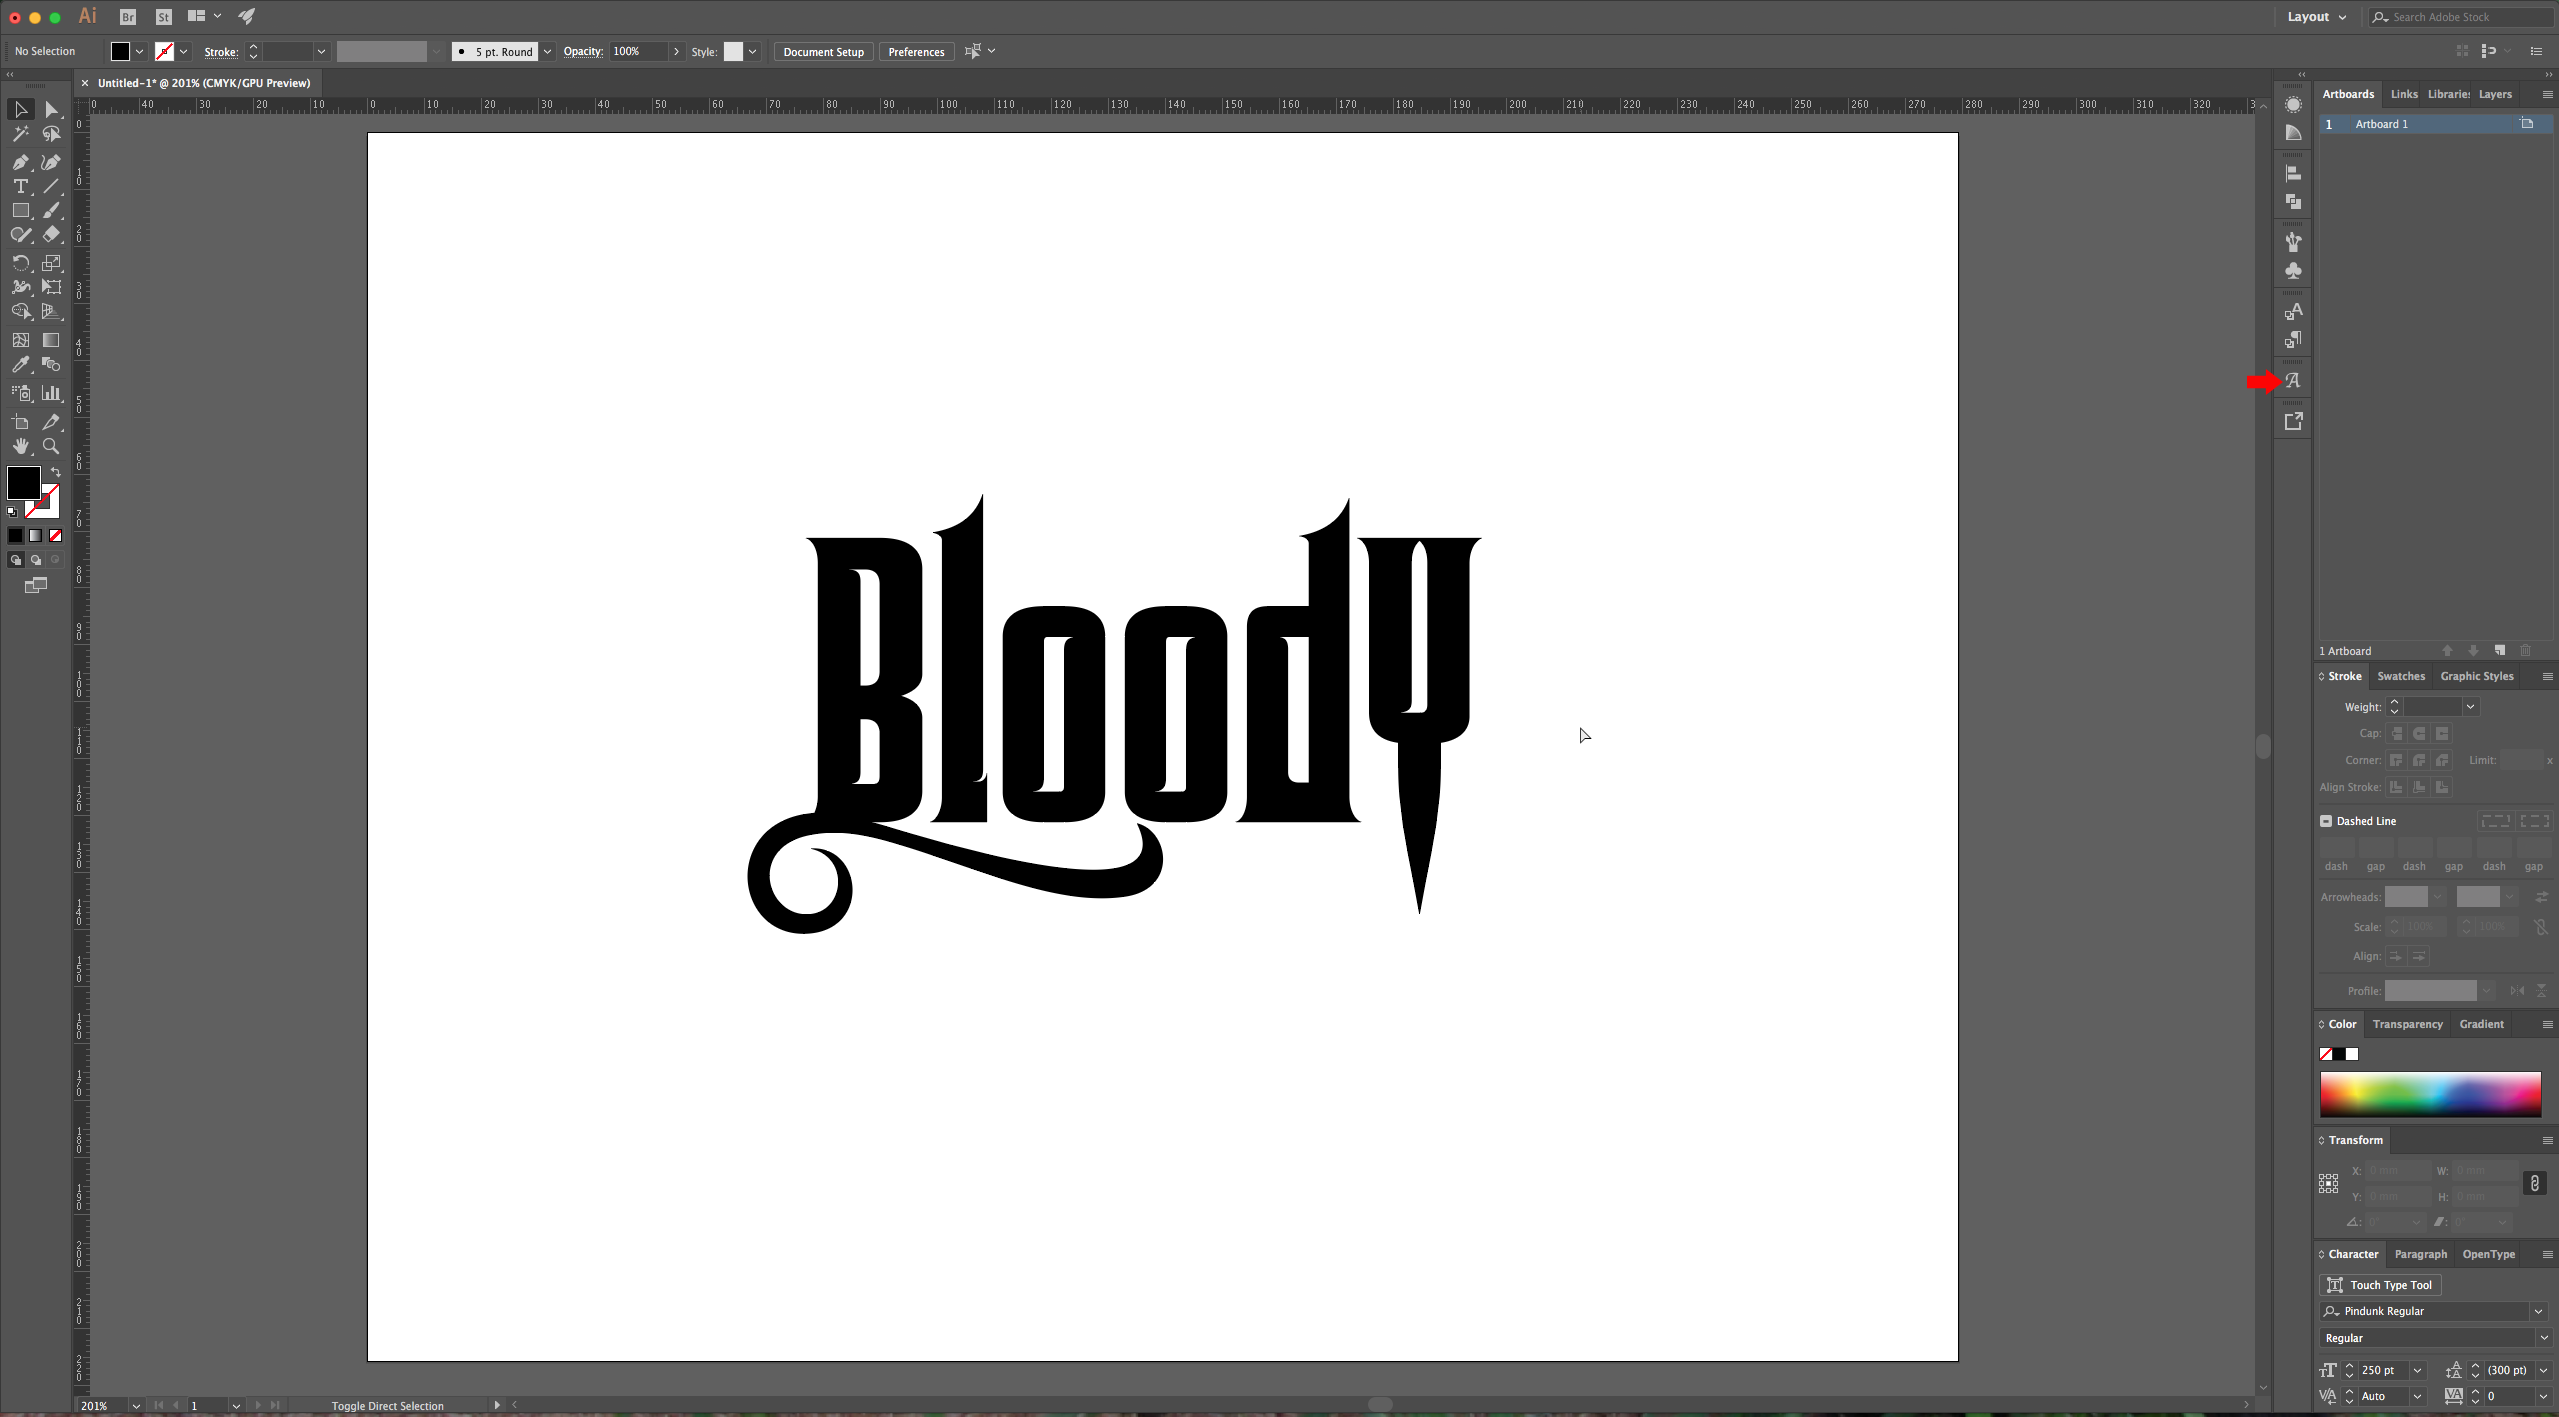
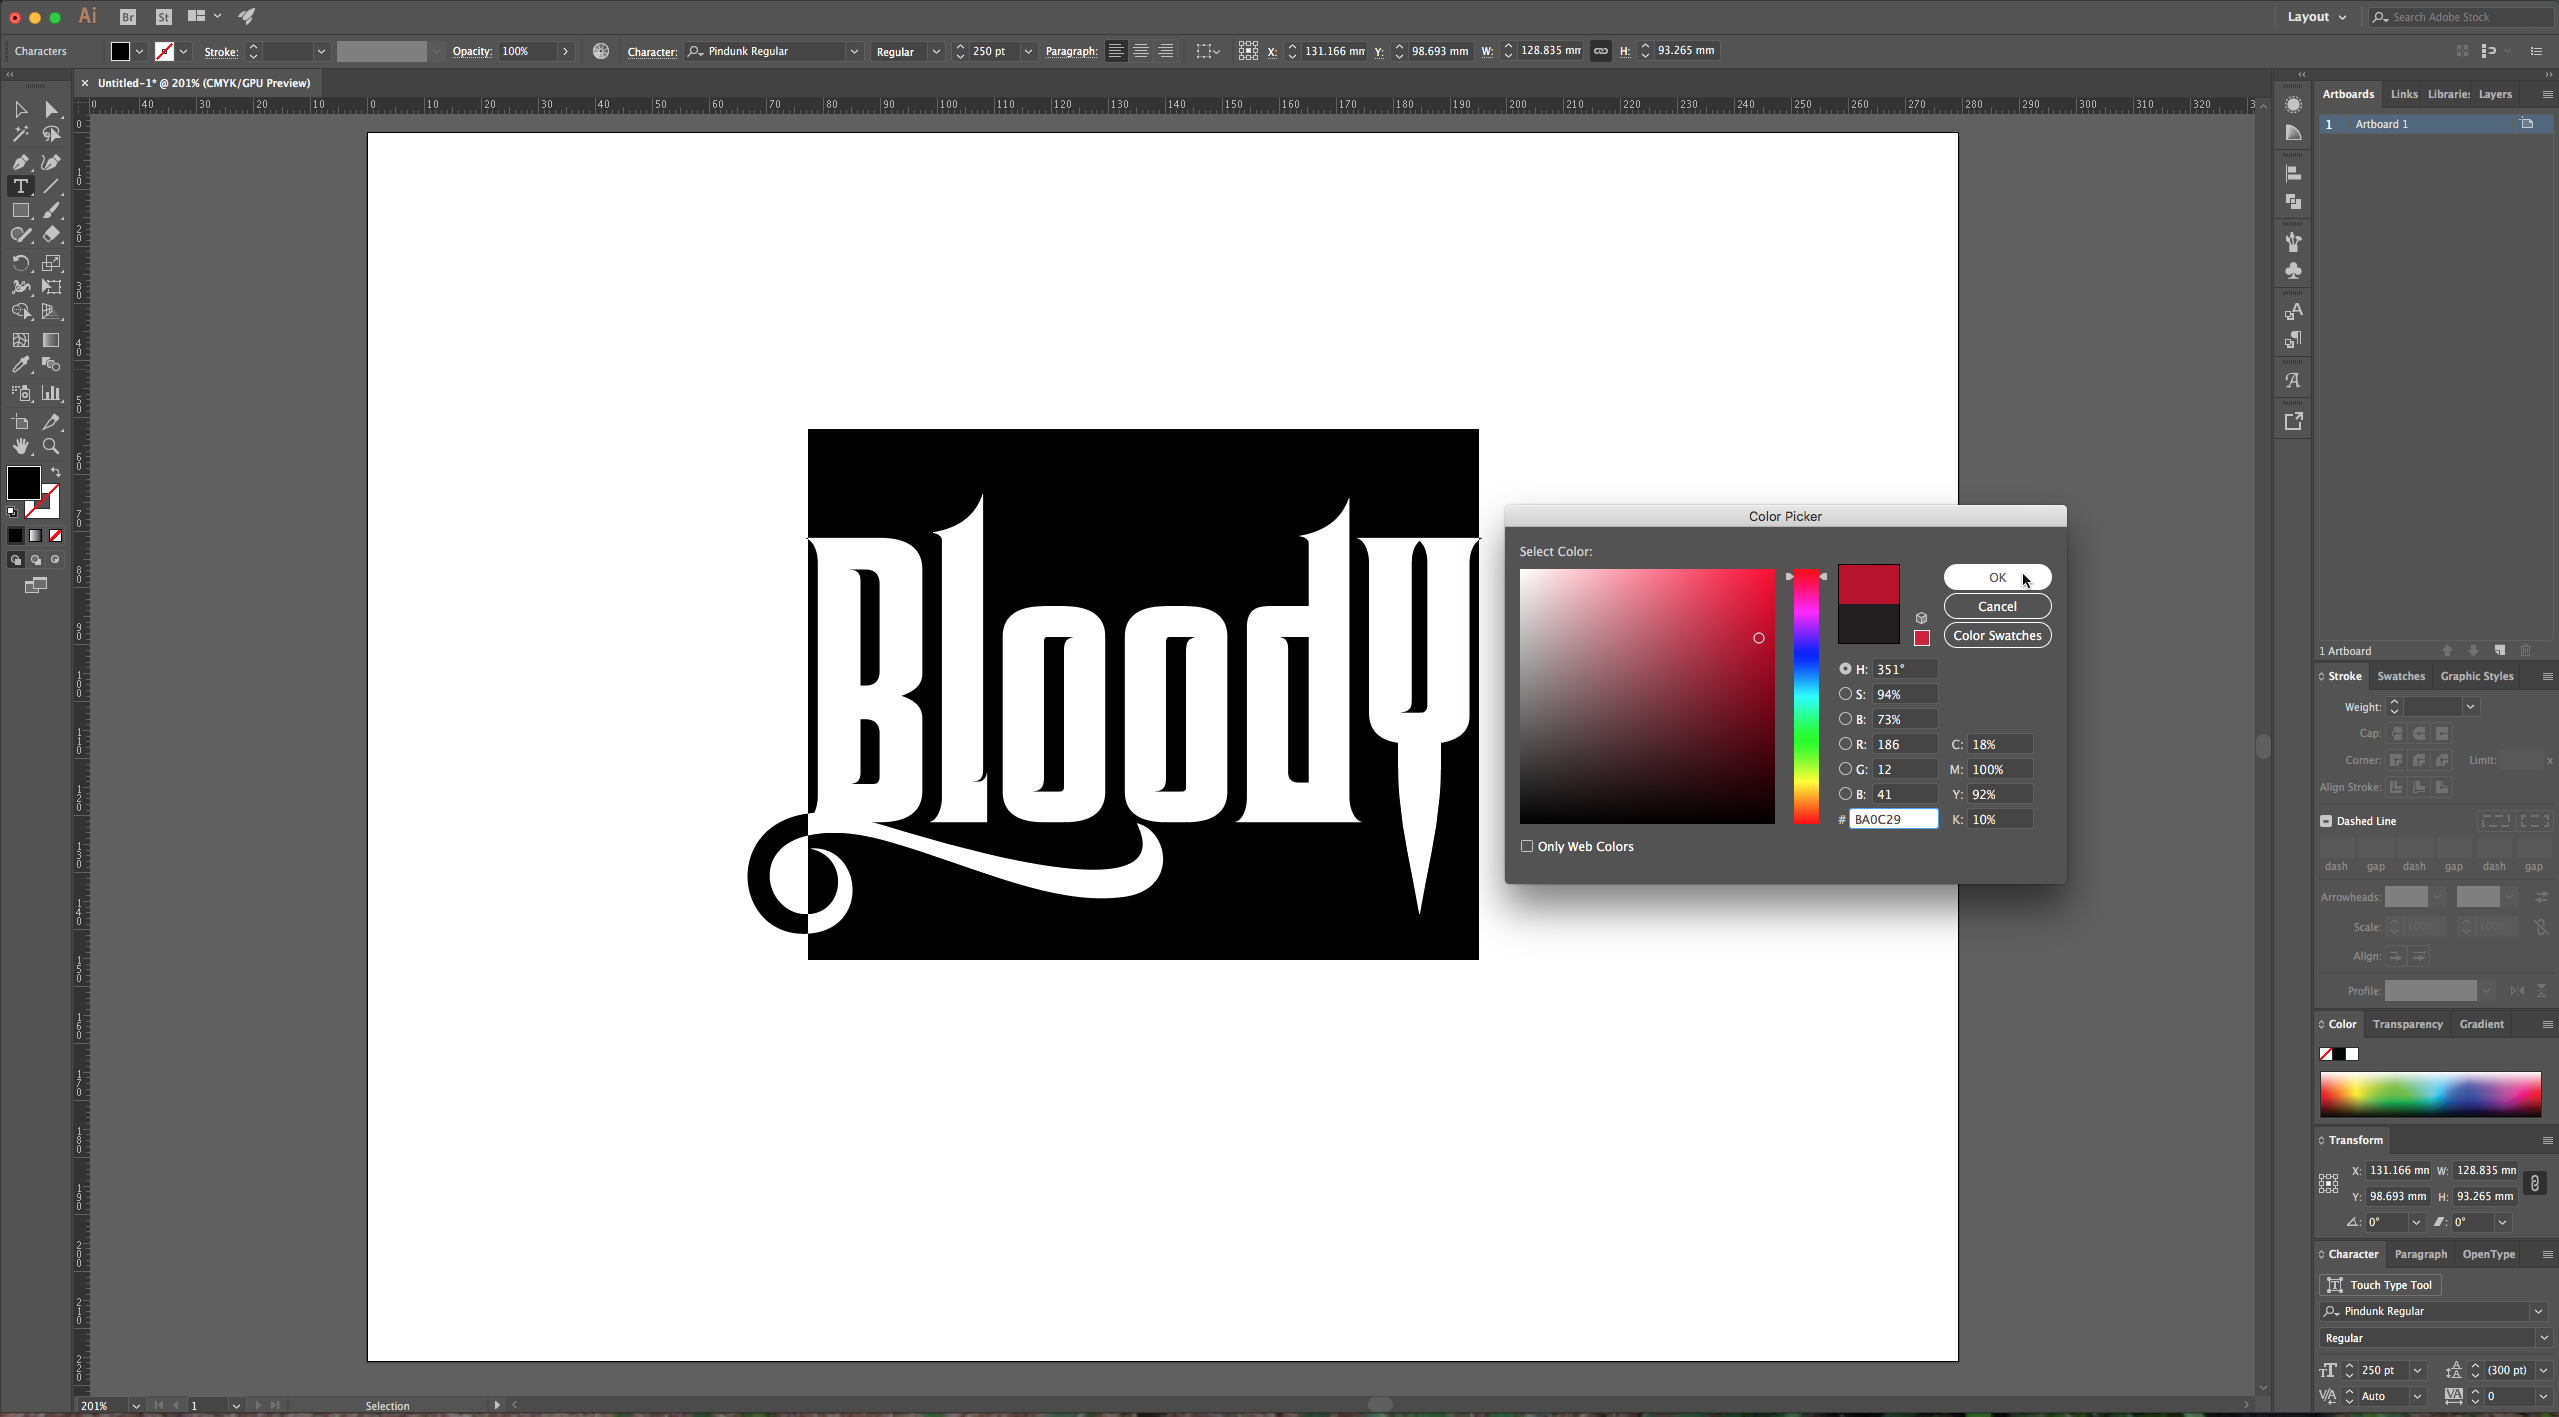
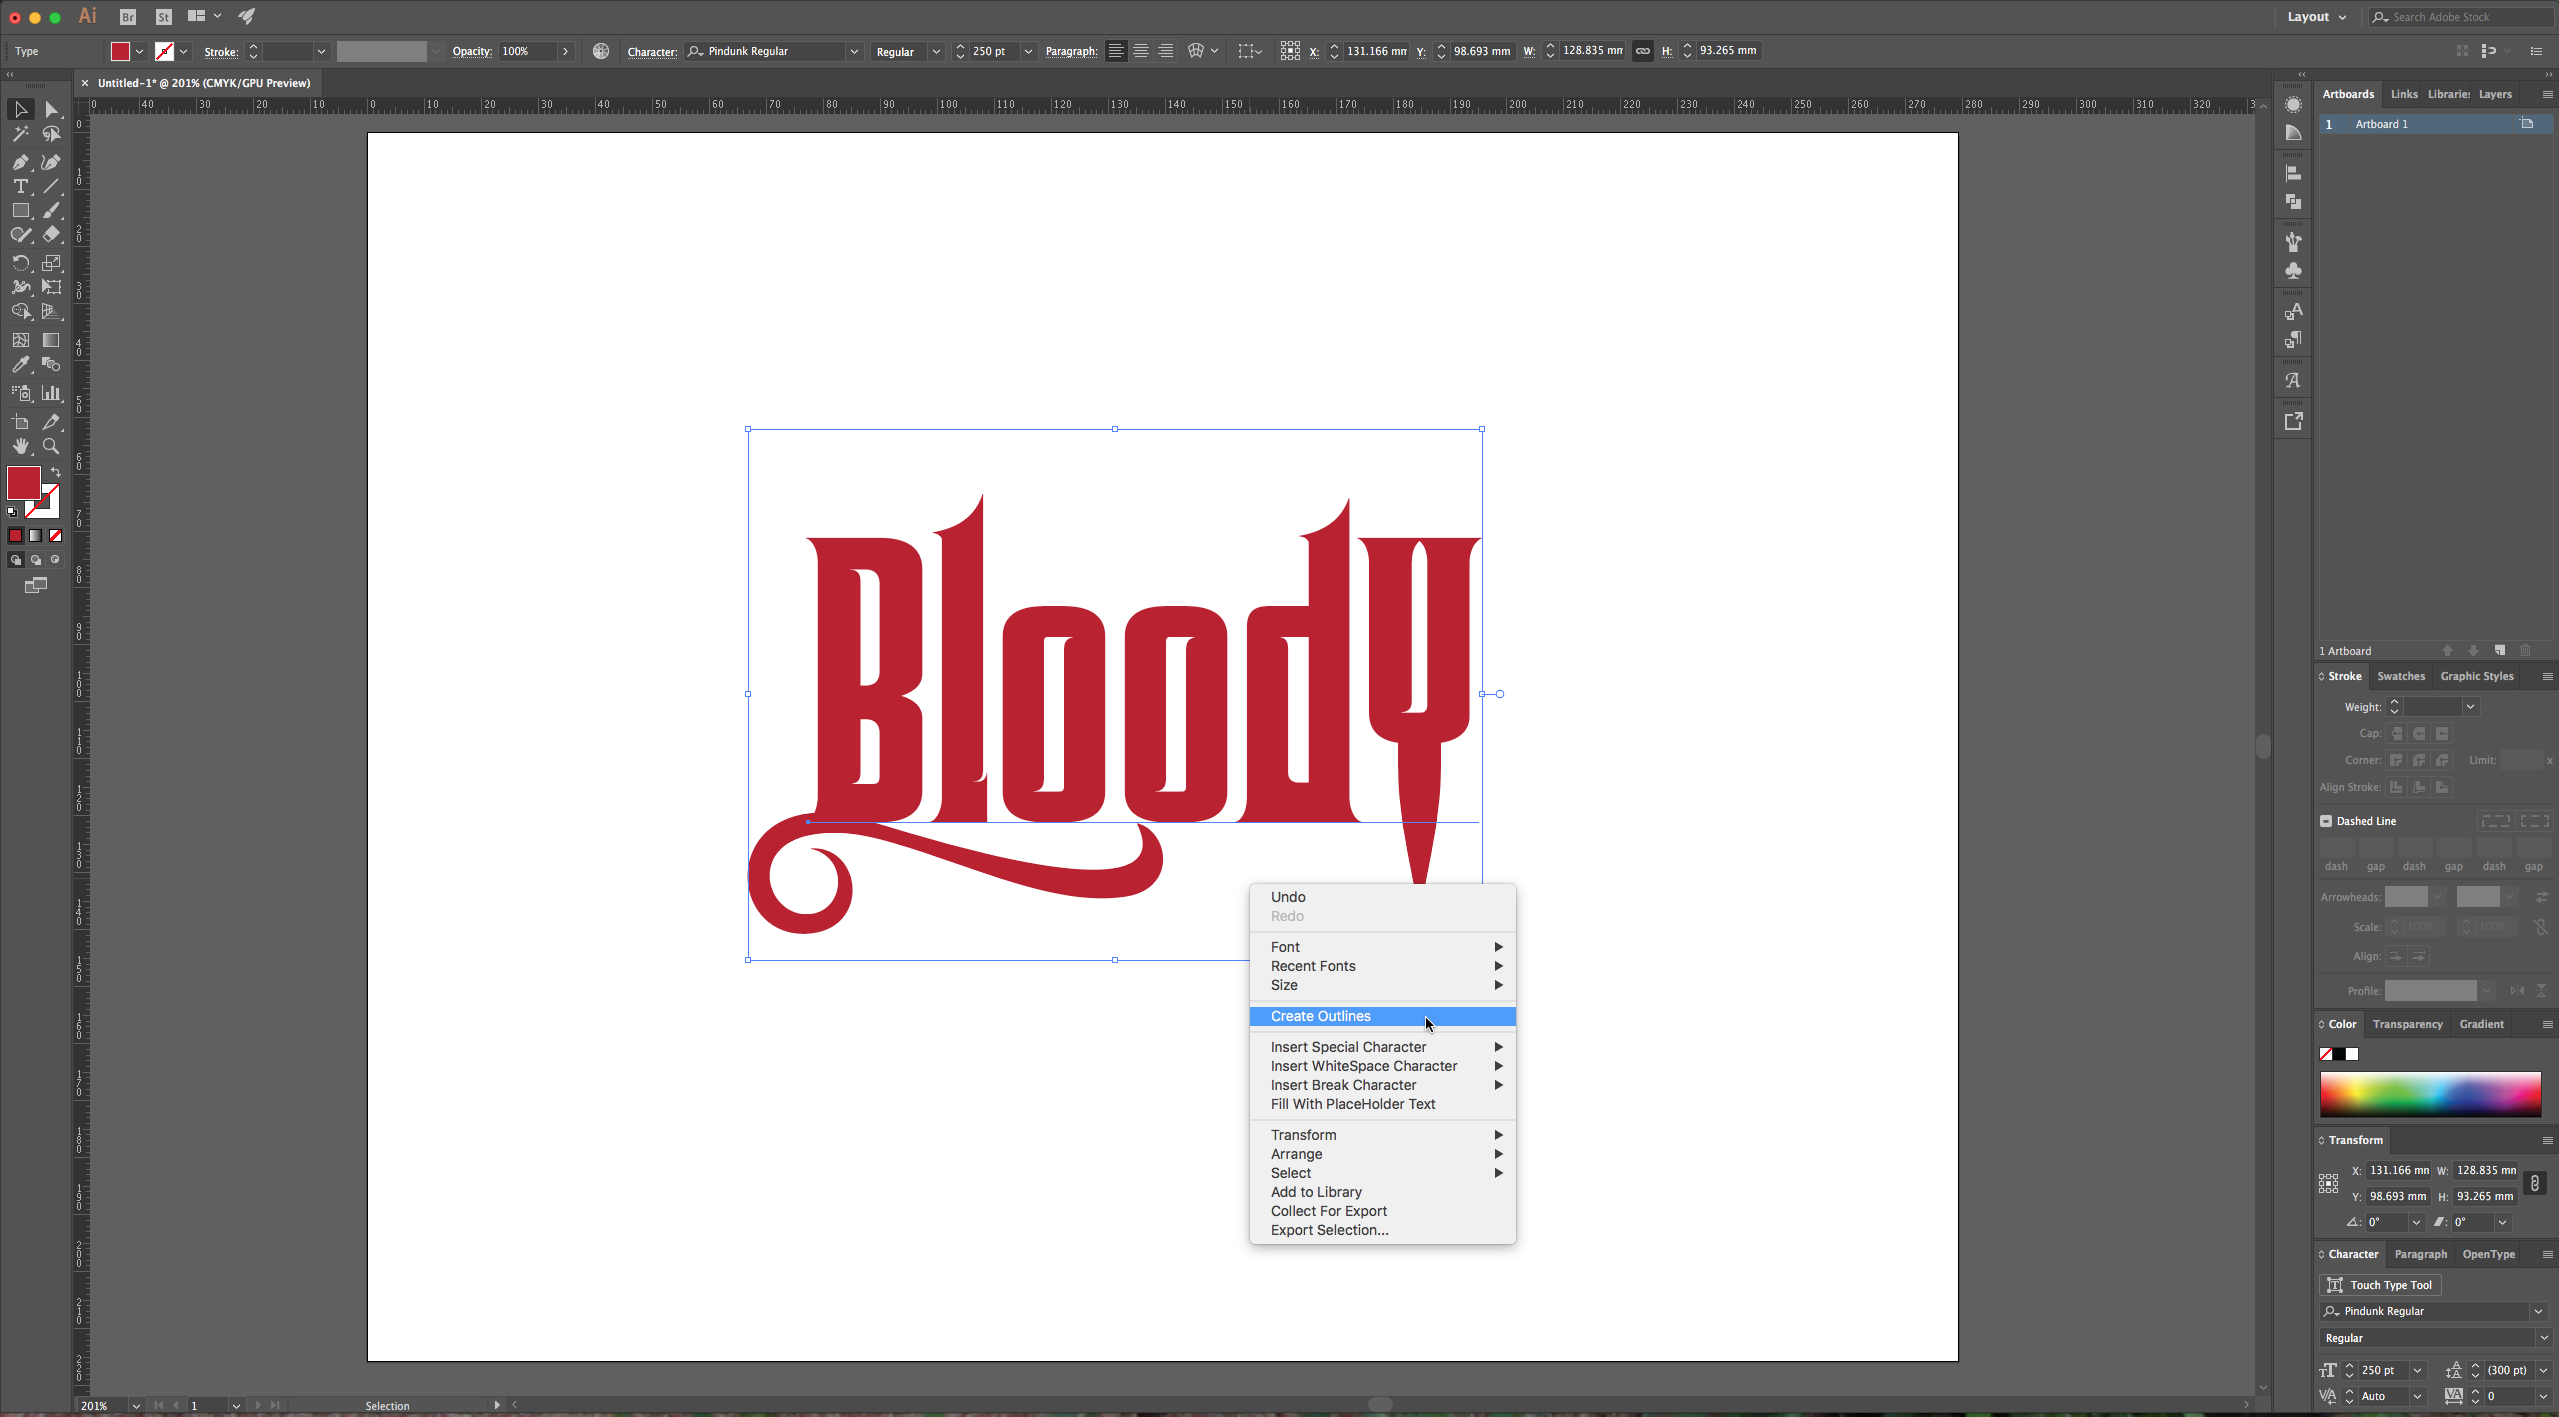
3 – Give your text a deep red fill color, we used #BA0C29. After you are happy with your text right-click on top of it and choose “Create Outlines” (After you do this your text won’t be editable).
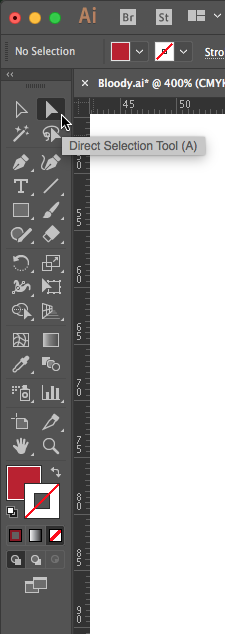
4 – Select your text with the “Direct Selection” Tool (A) and then remove some of the angles in your characters to make the inside of your letters more rounded.
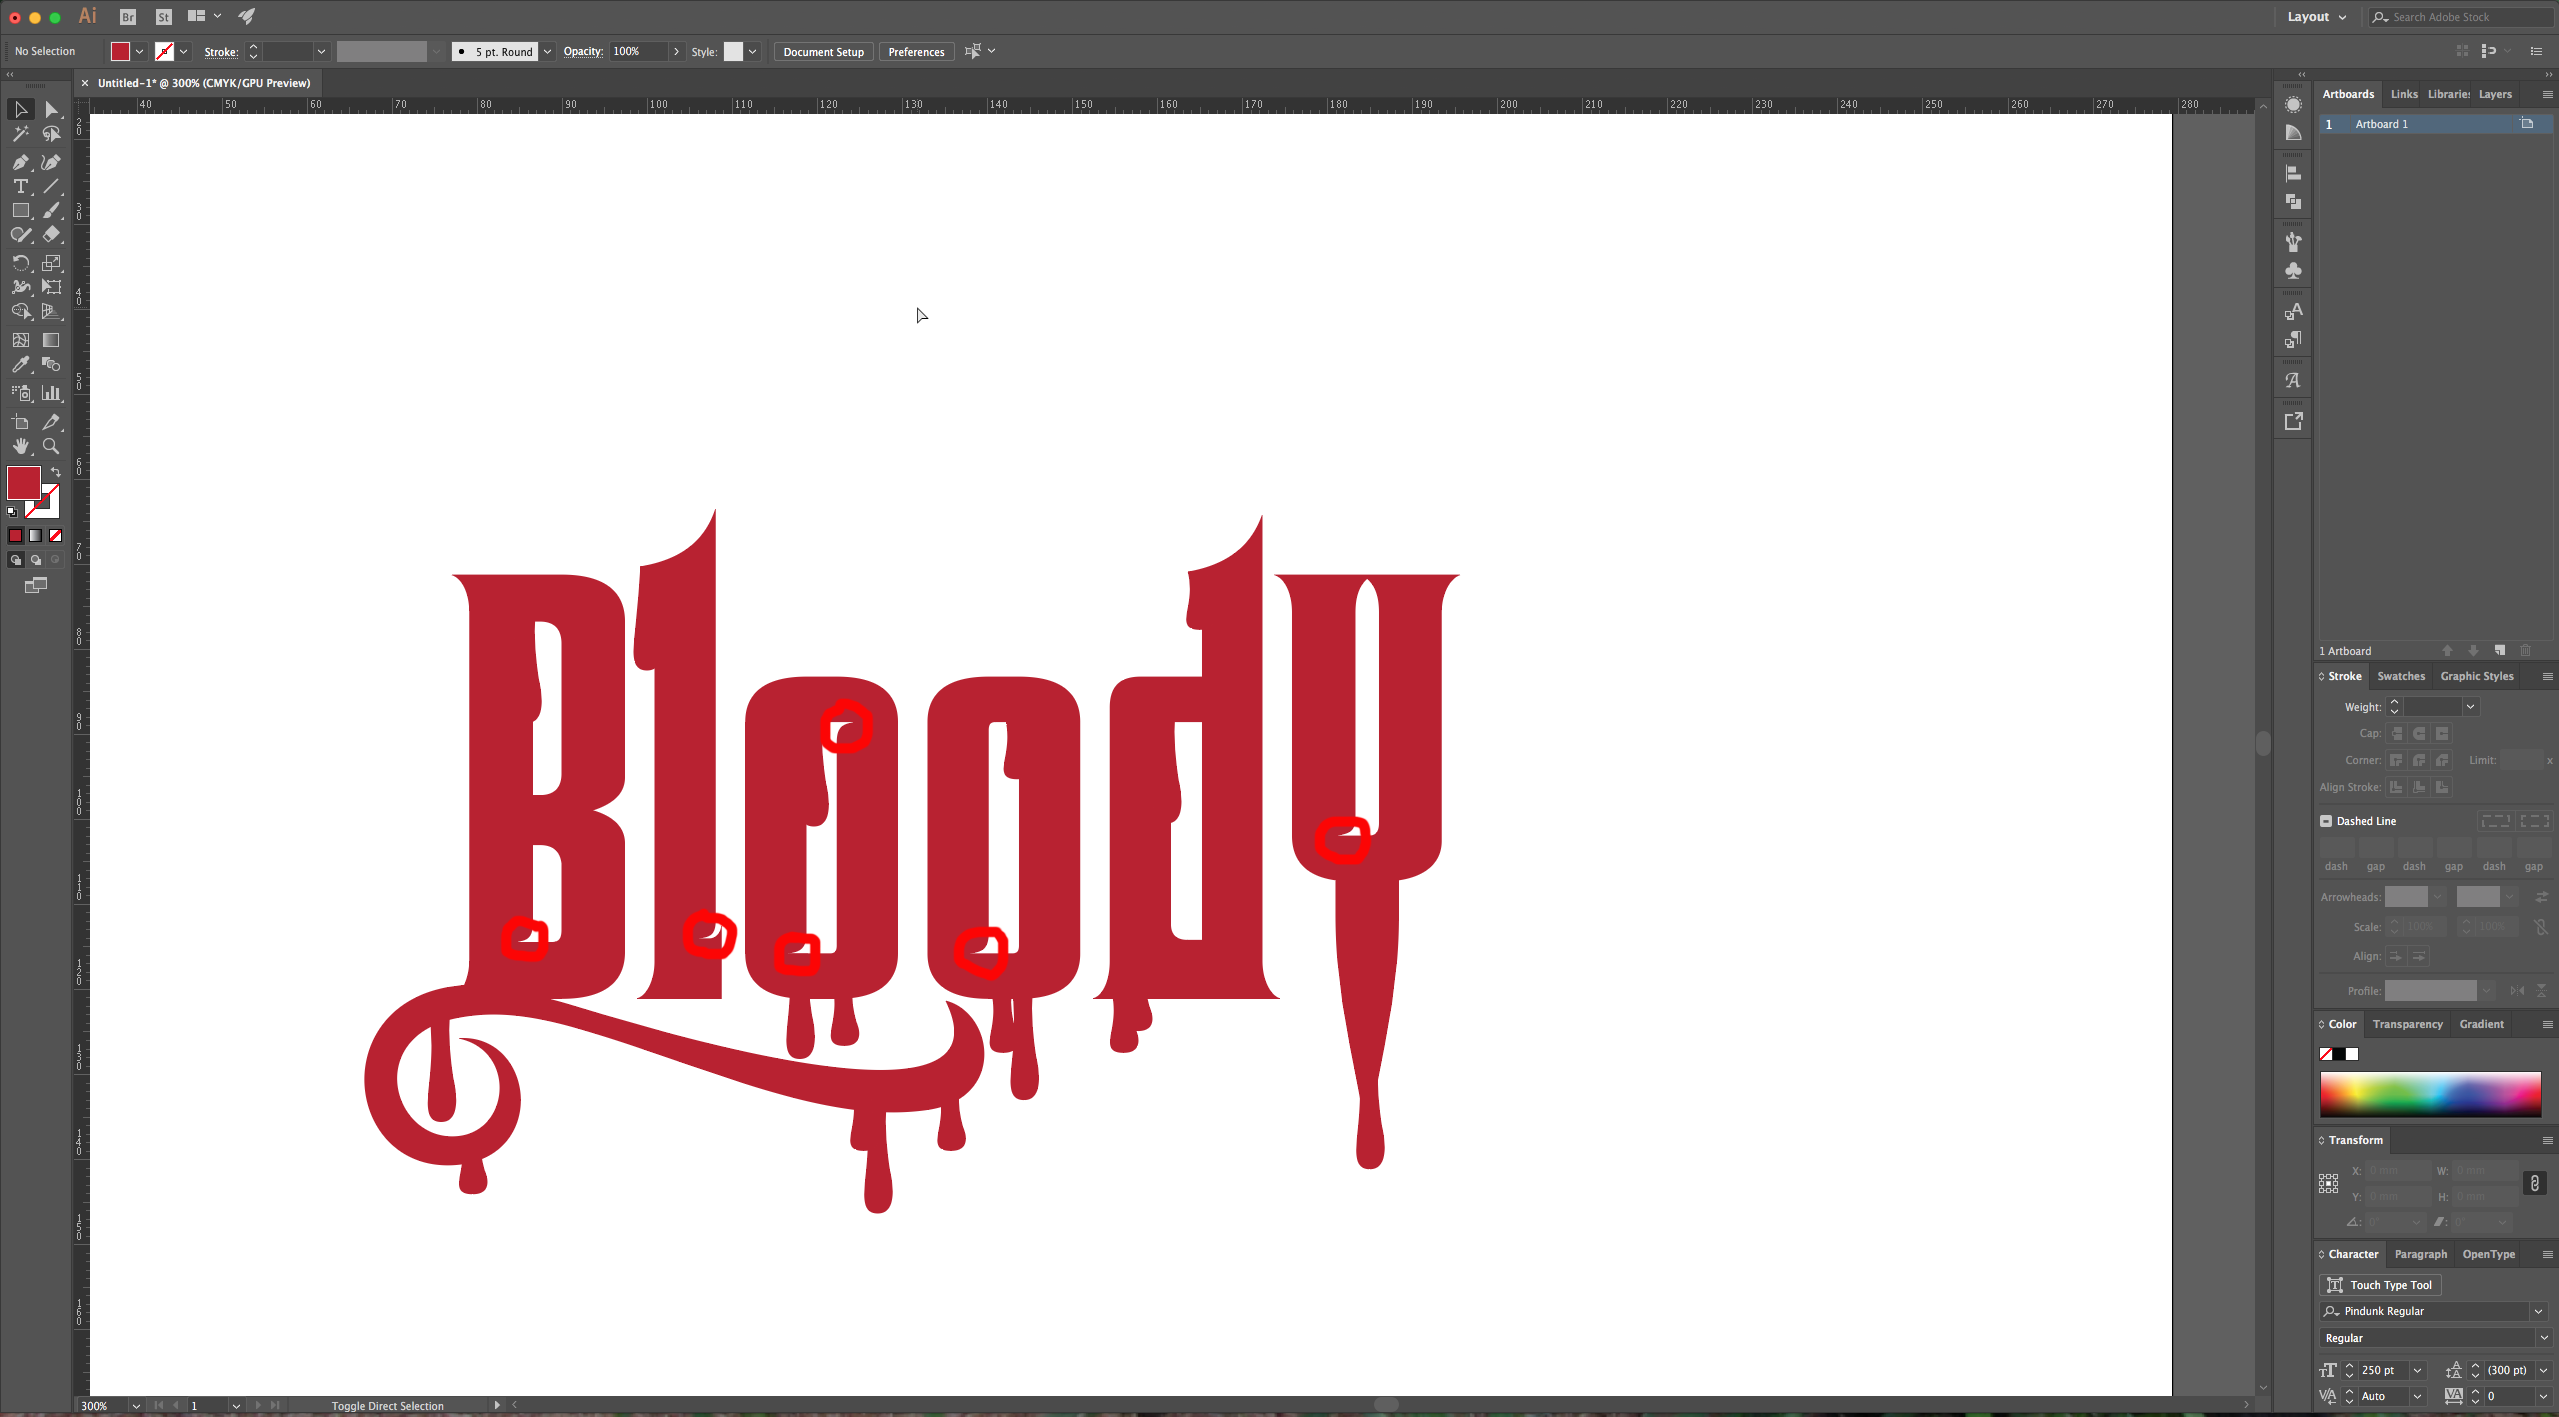
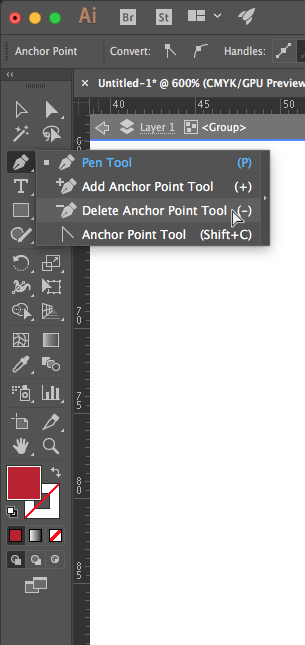
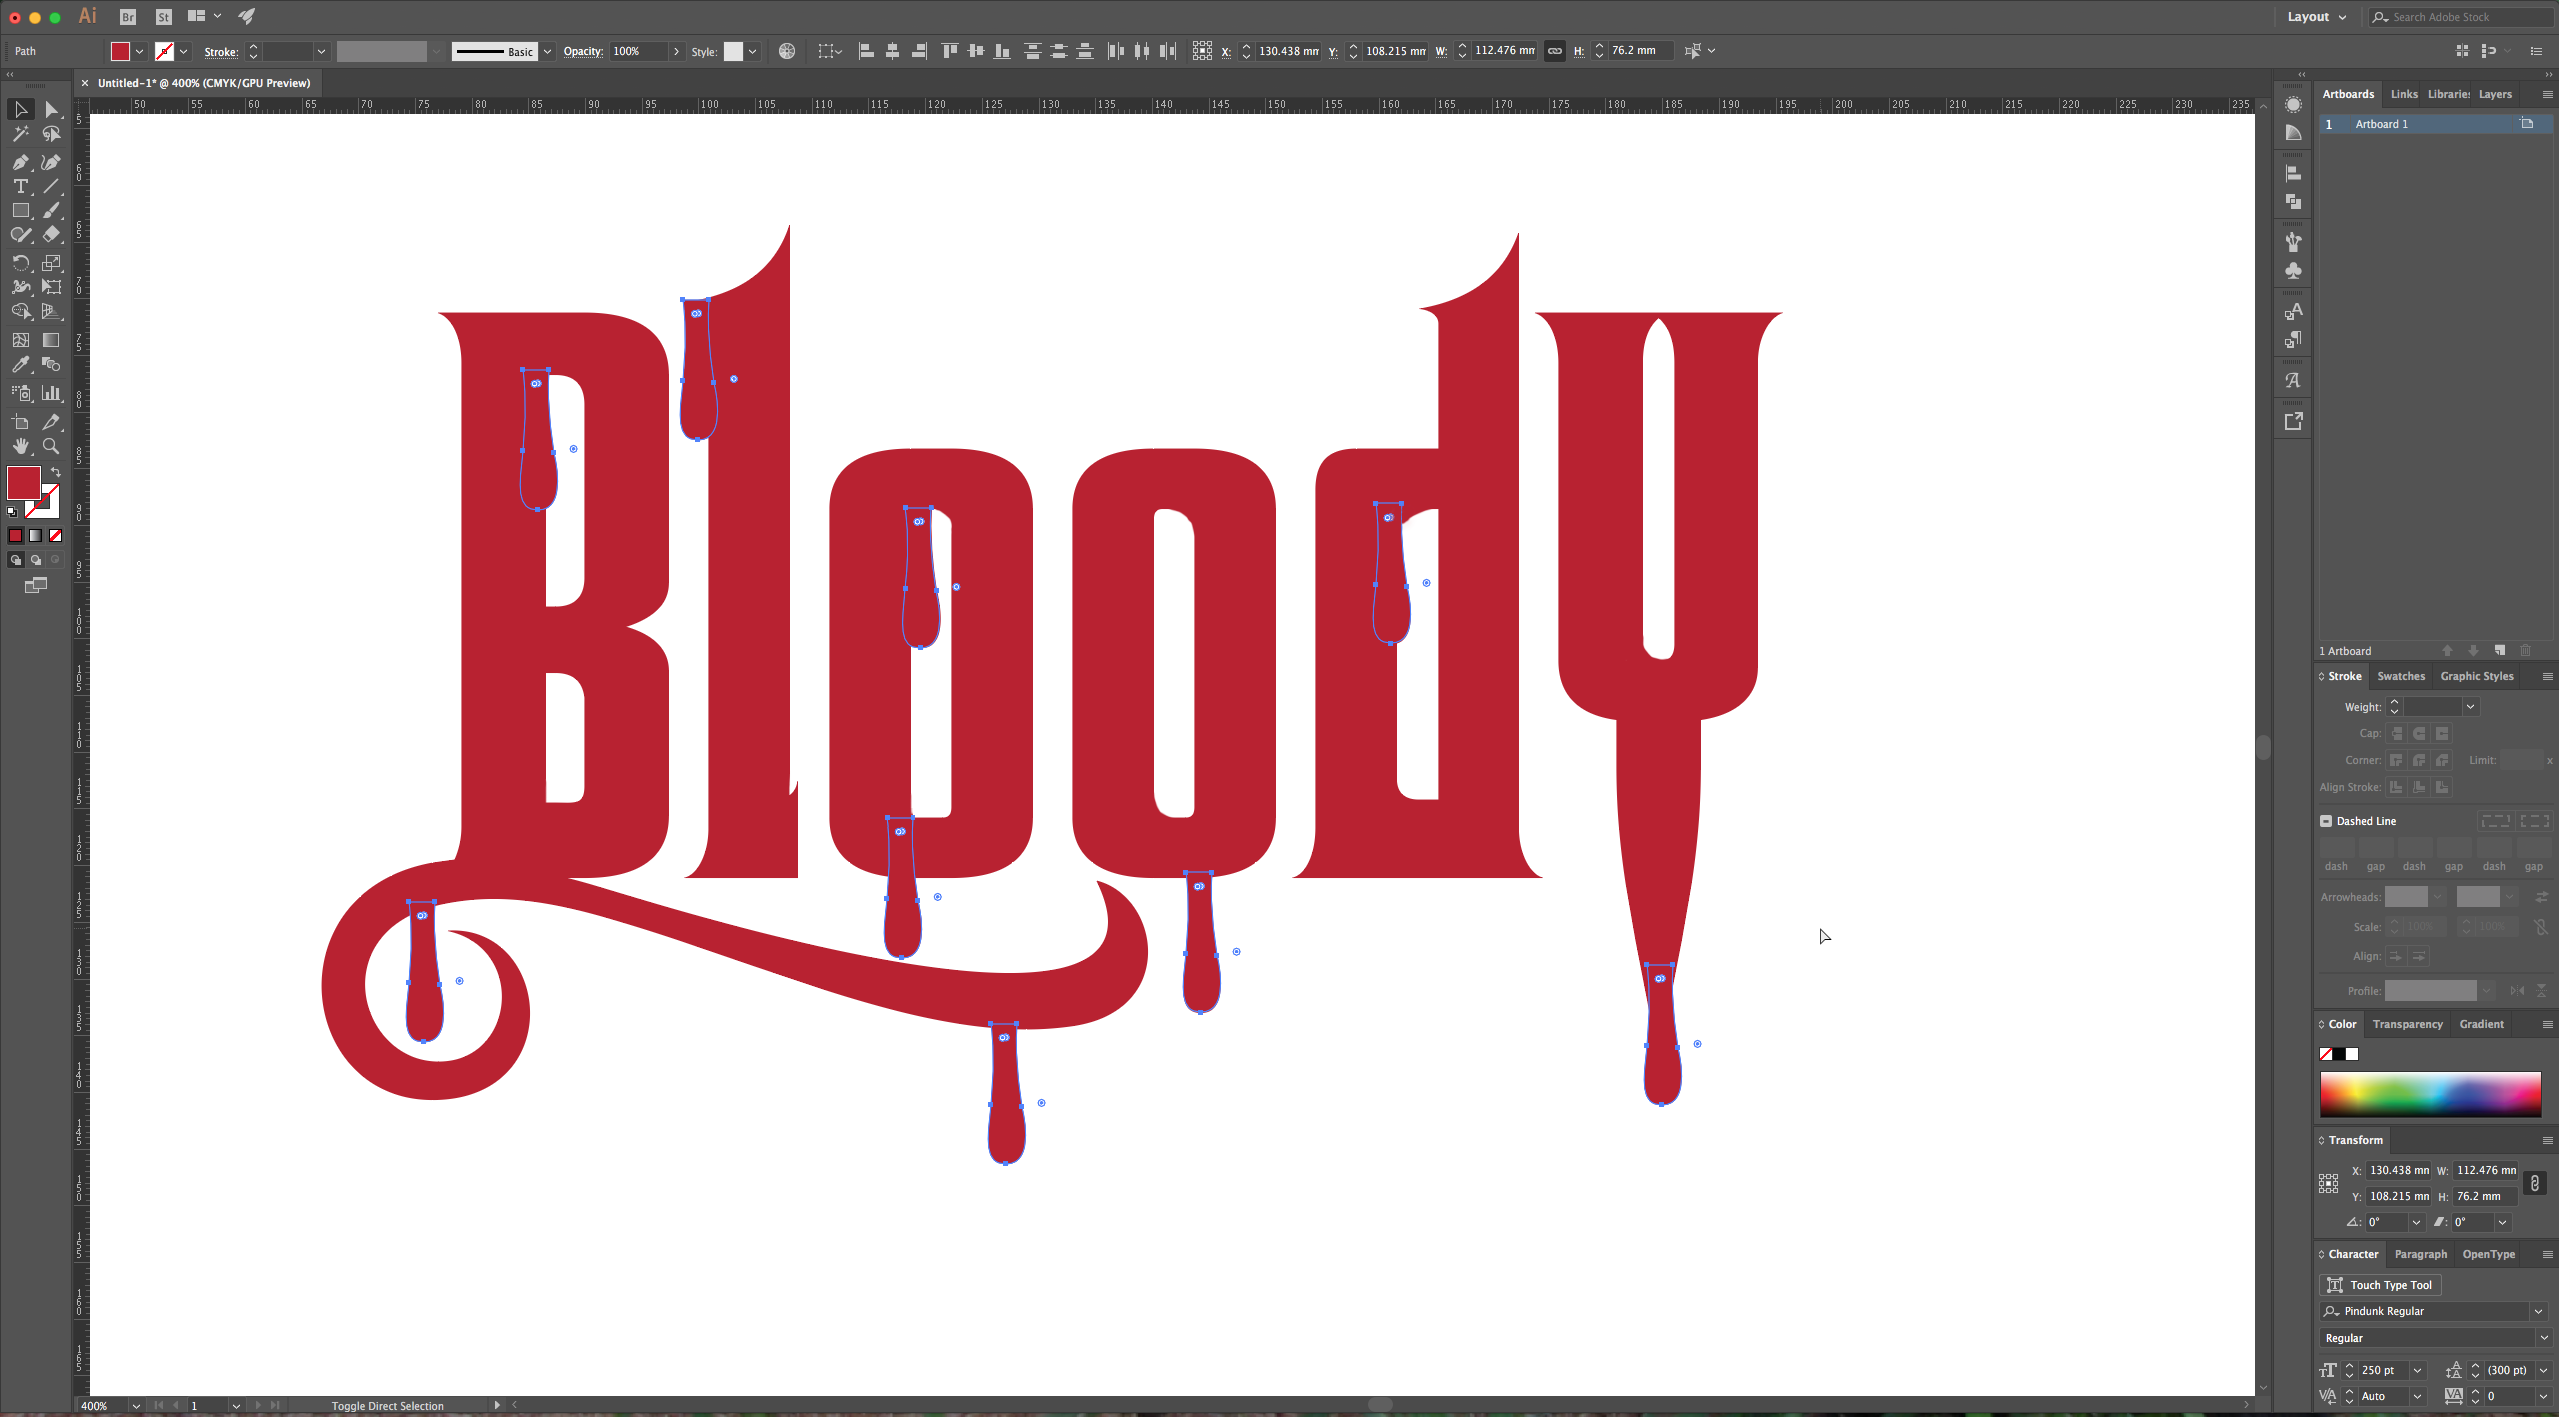
5 – Select the “Pen Tool” (P) and draw some blood drops to make the impression that your text is dripping. You can copy (Command/Control + C) and paste (Command/Control + V) them and alter some of them until you are happy with the way it looks. Then you can group or merge your drops. With your drops selected go to the “Pathfinder” menu and select “Unite”.
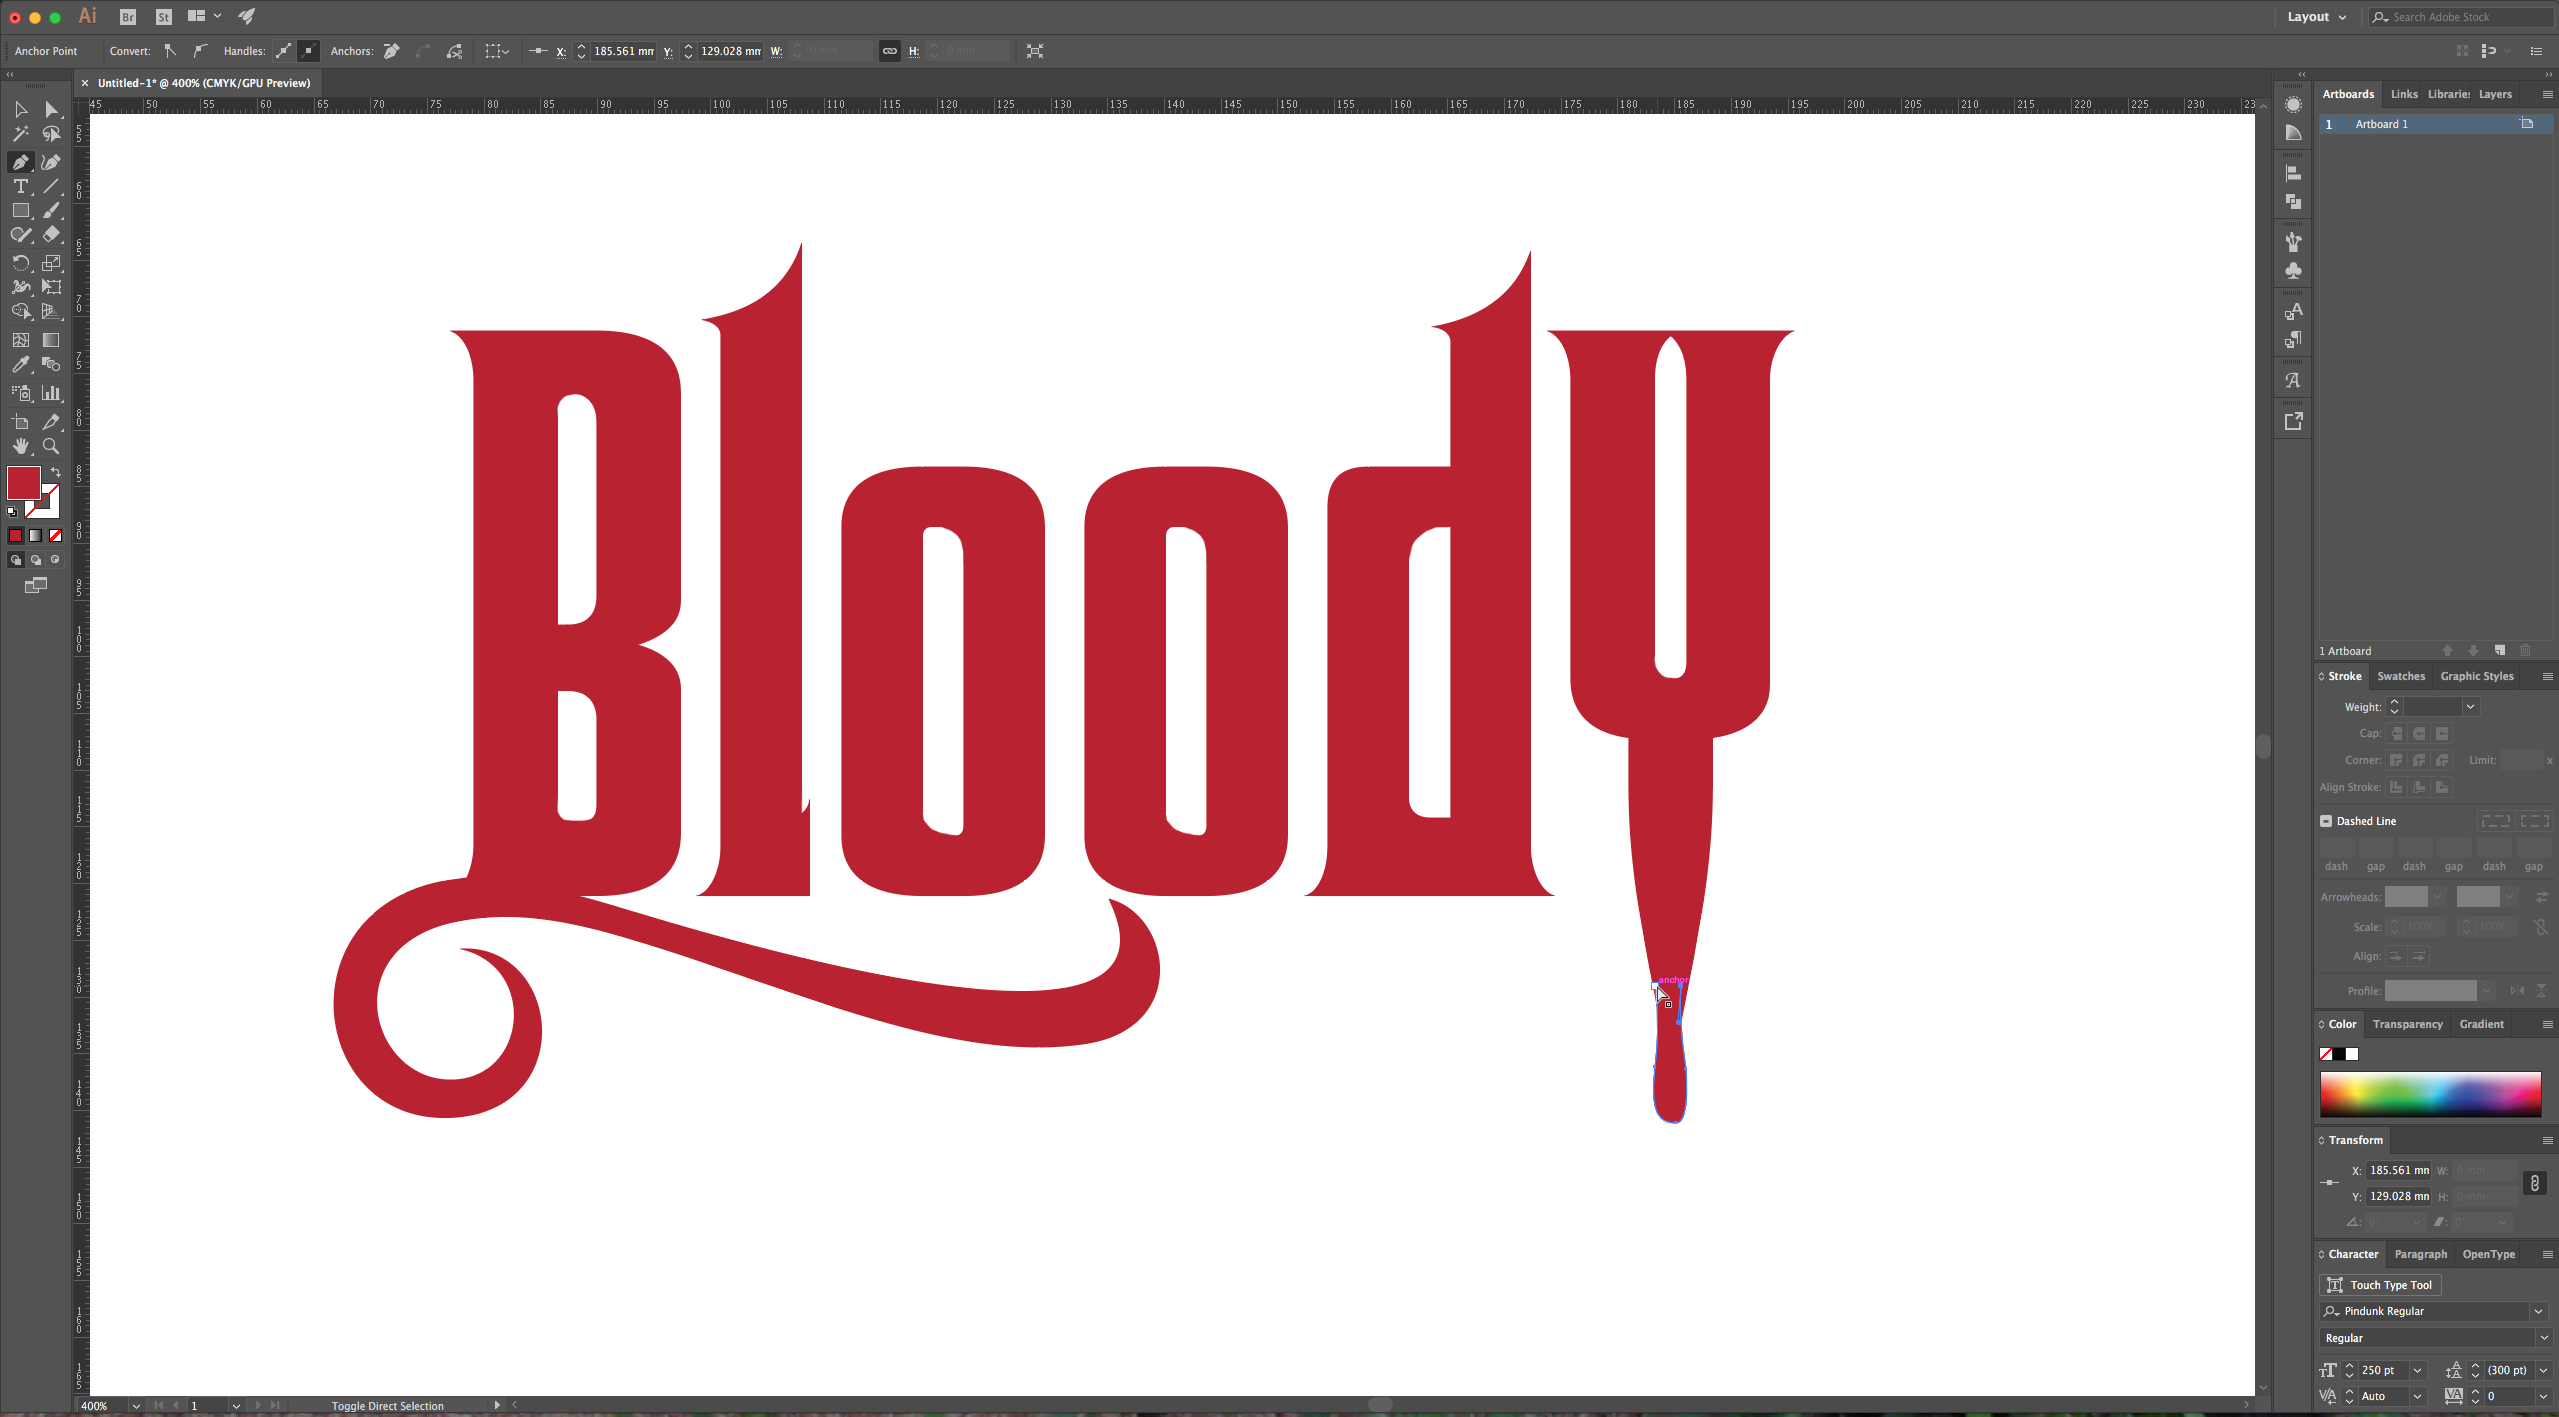
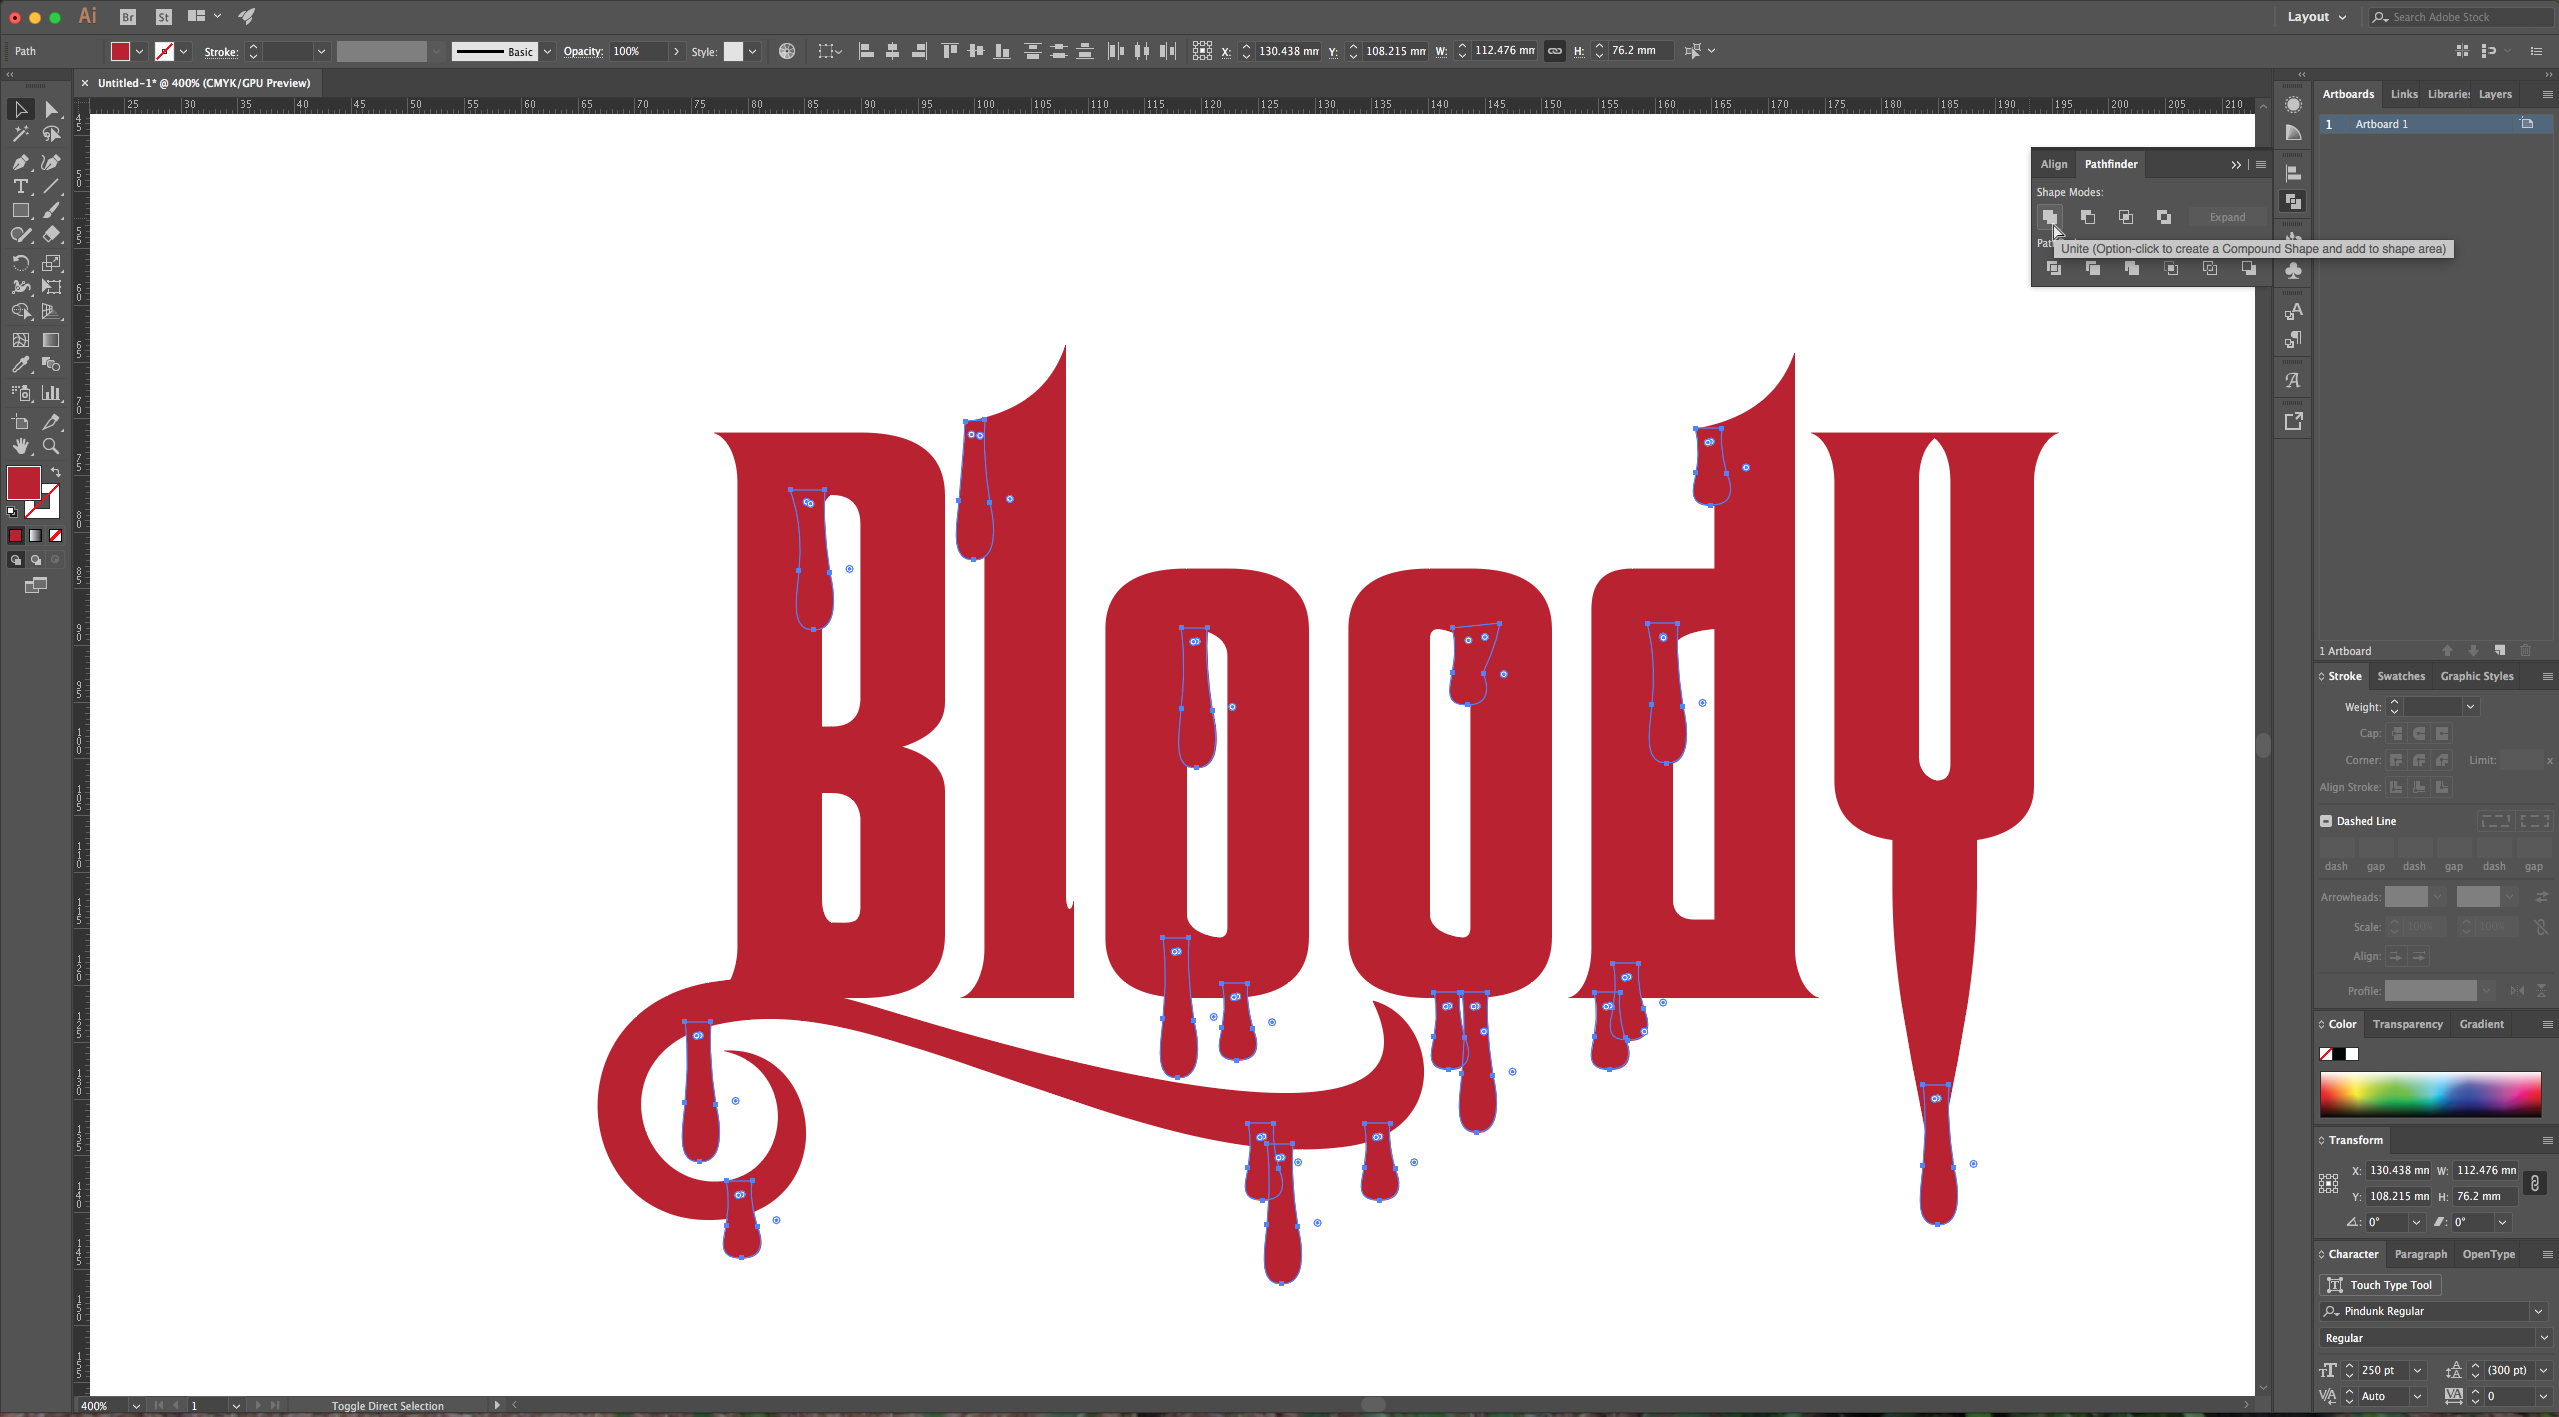
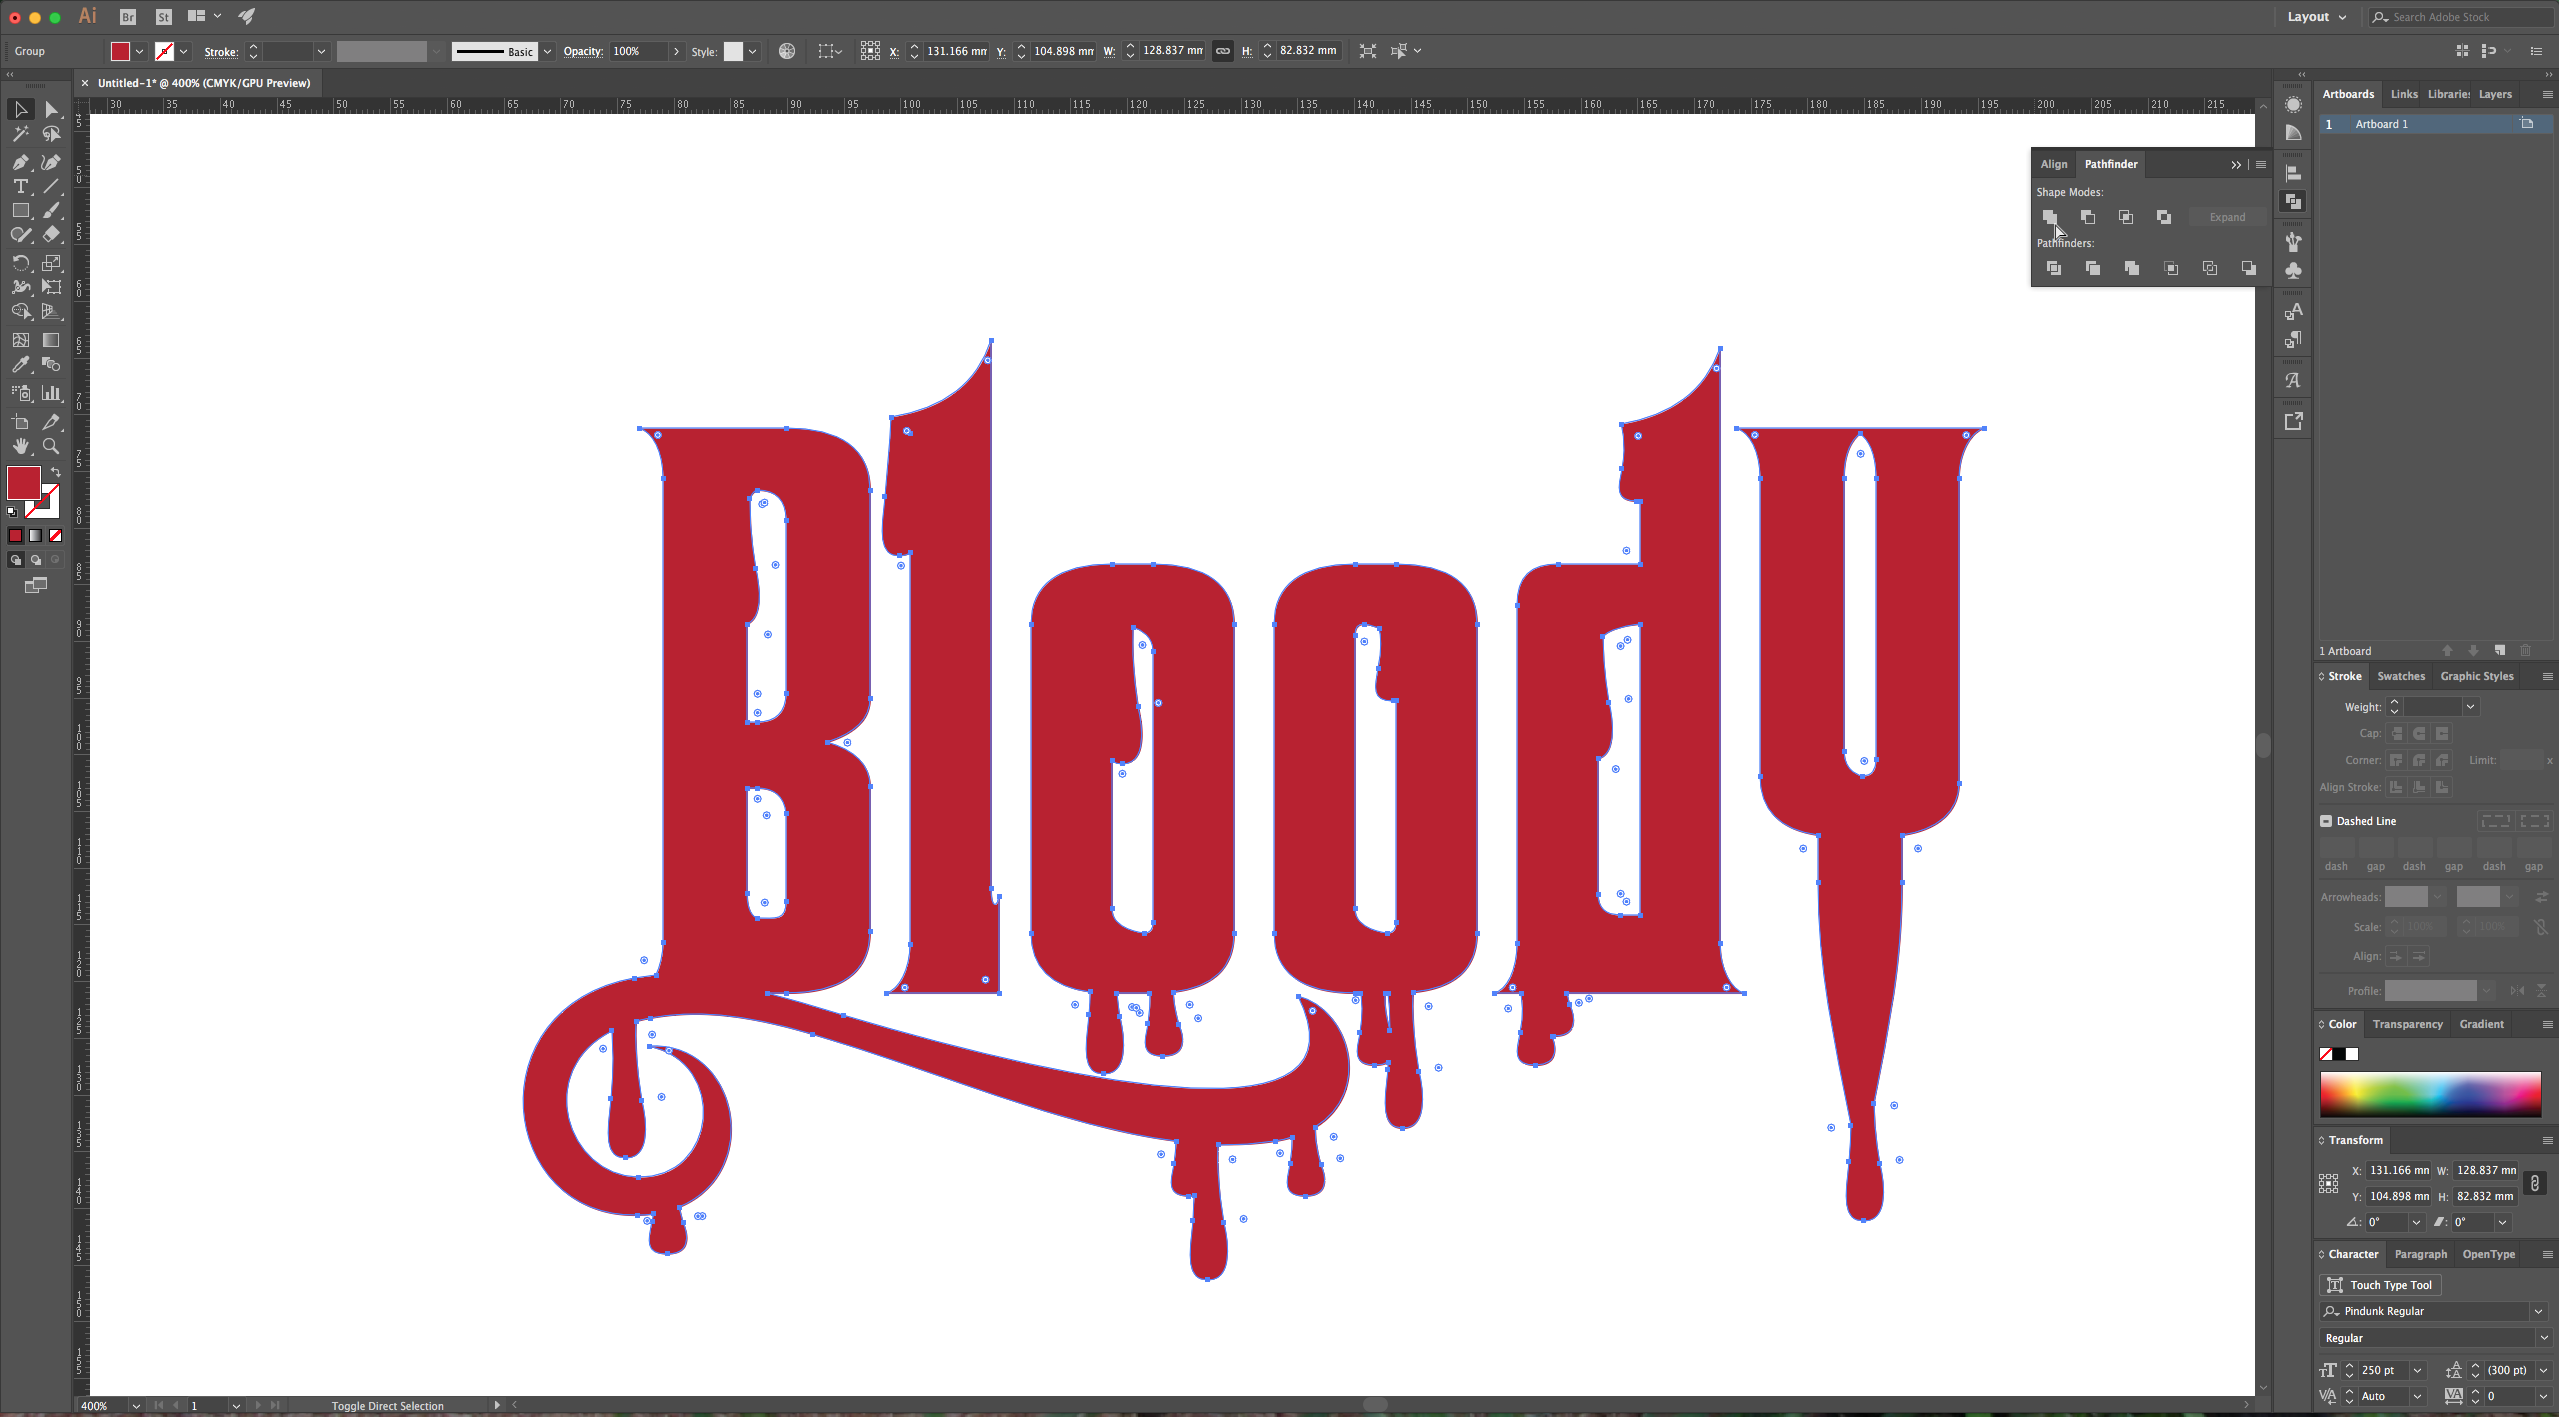
6 – Then select your text and your drops and in the “Pathfinder” menu select “Unite” again to merge them all together.
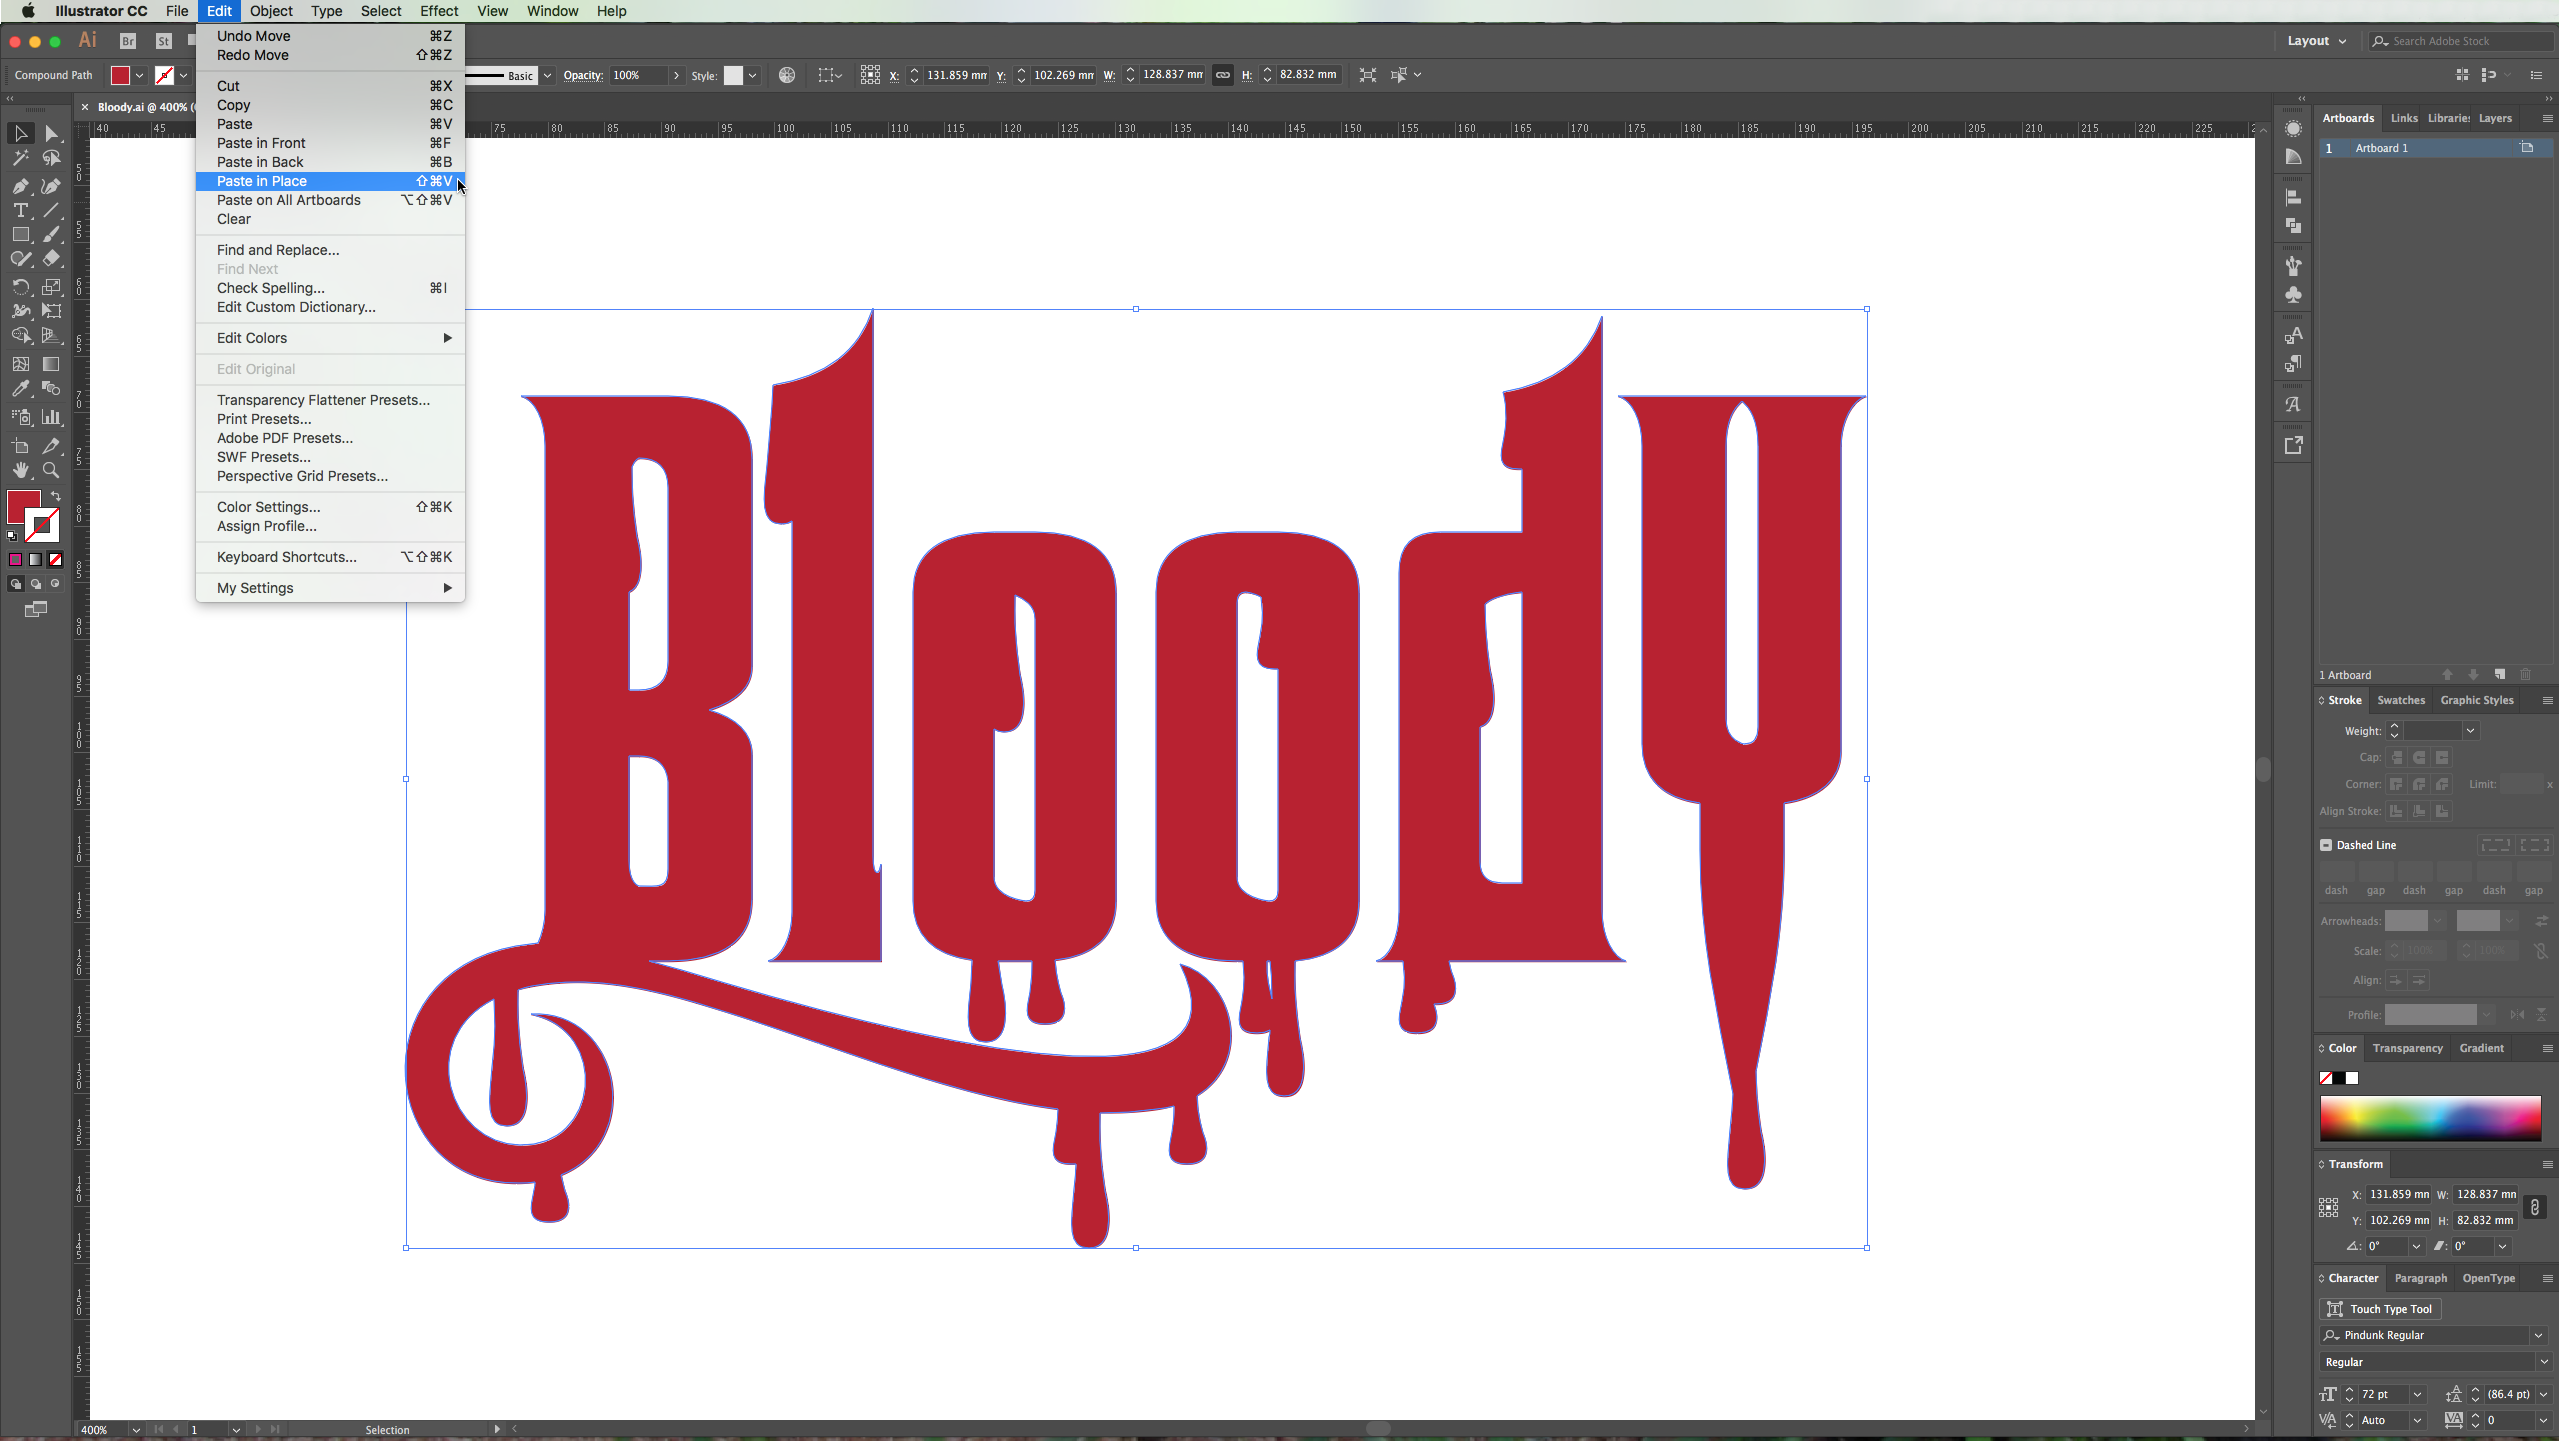
7 – Make a copy of your text (Command/Control + C) and then click “Paste in Place” (Shift + Command/Control + V) five times so you will have 6 copies of your text to work with. Select the one in the front and move it two clicks to the left and two clicks down. Then select the text right behind it and change its color to a lighter shade (we used #E56777).
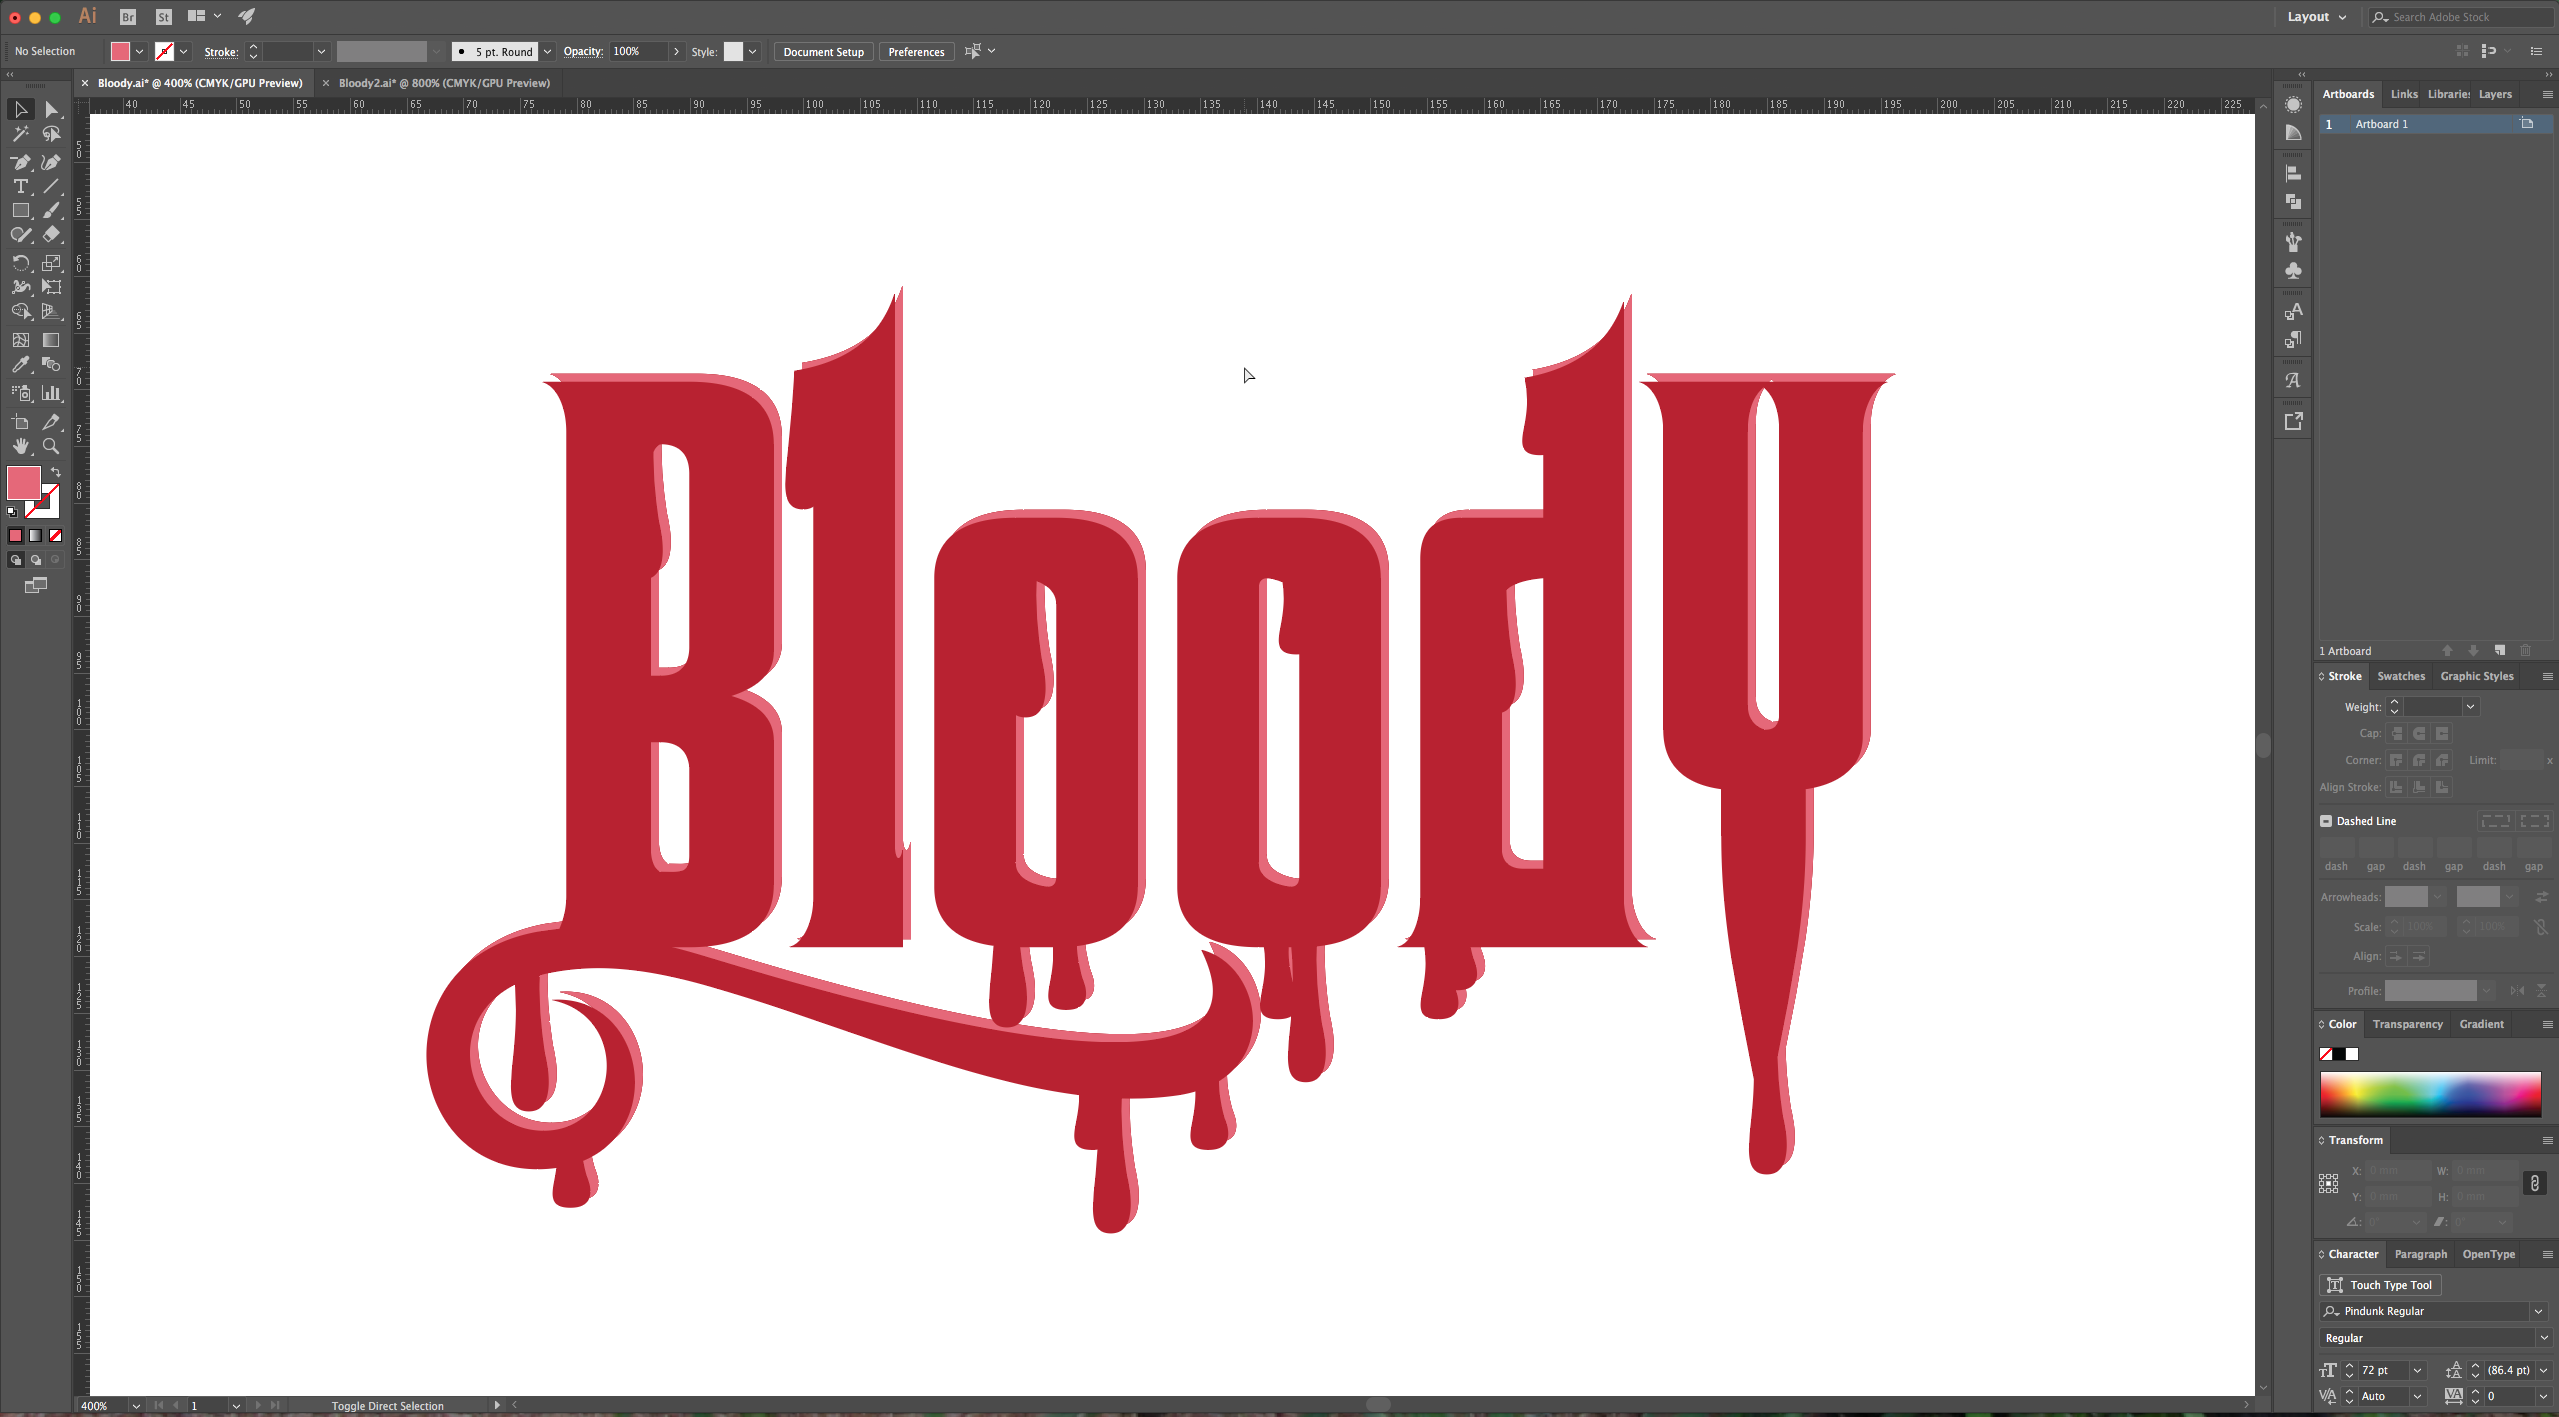
8 – Select that lighter text and the one you moved and in the “Pathfinder” menu click in the option name “Minus Front”. Then select the resulting paths and with the “Direct Selection” Tool you can modify the paths to make them more realistic.
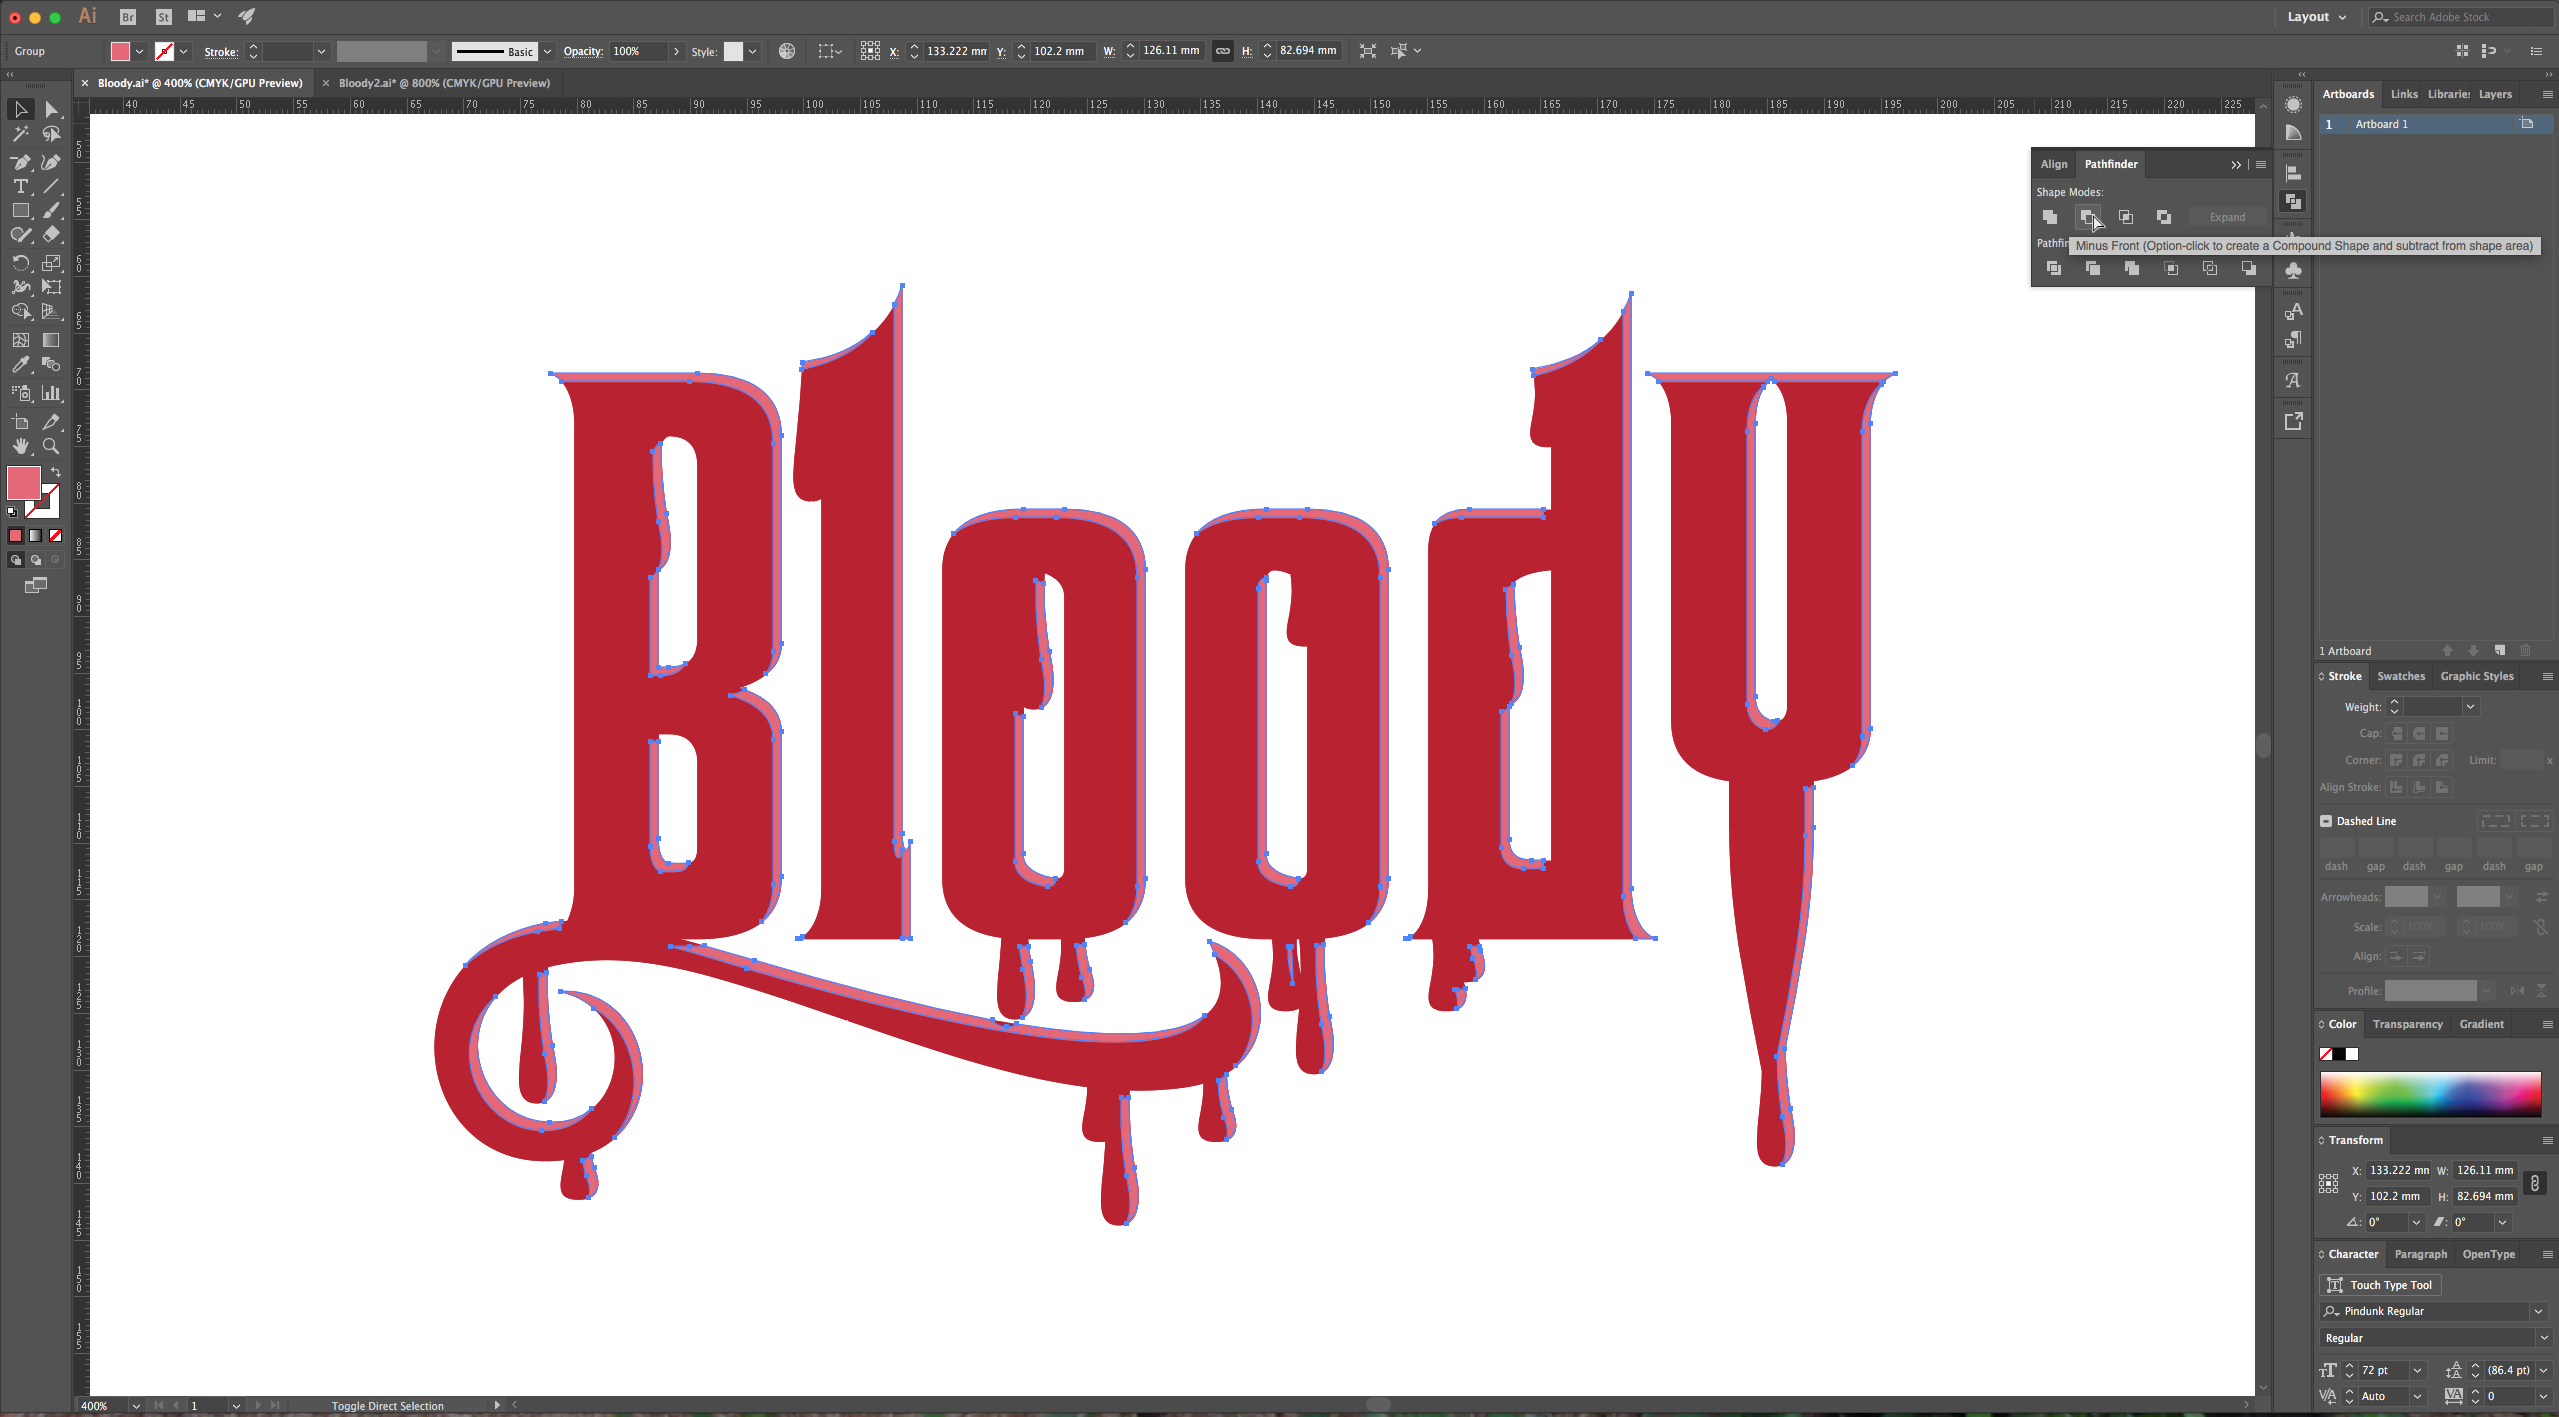
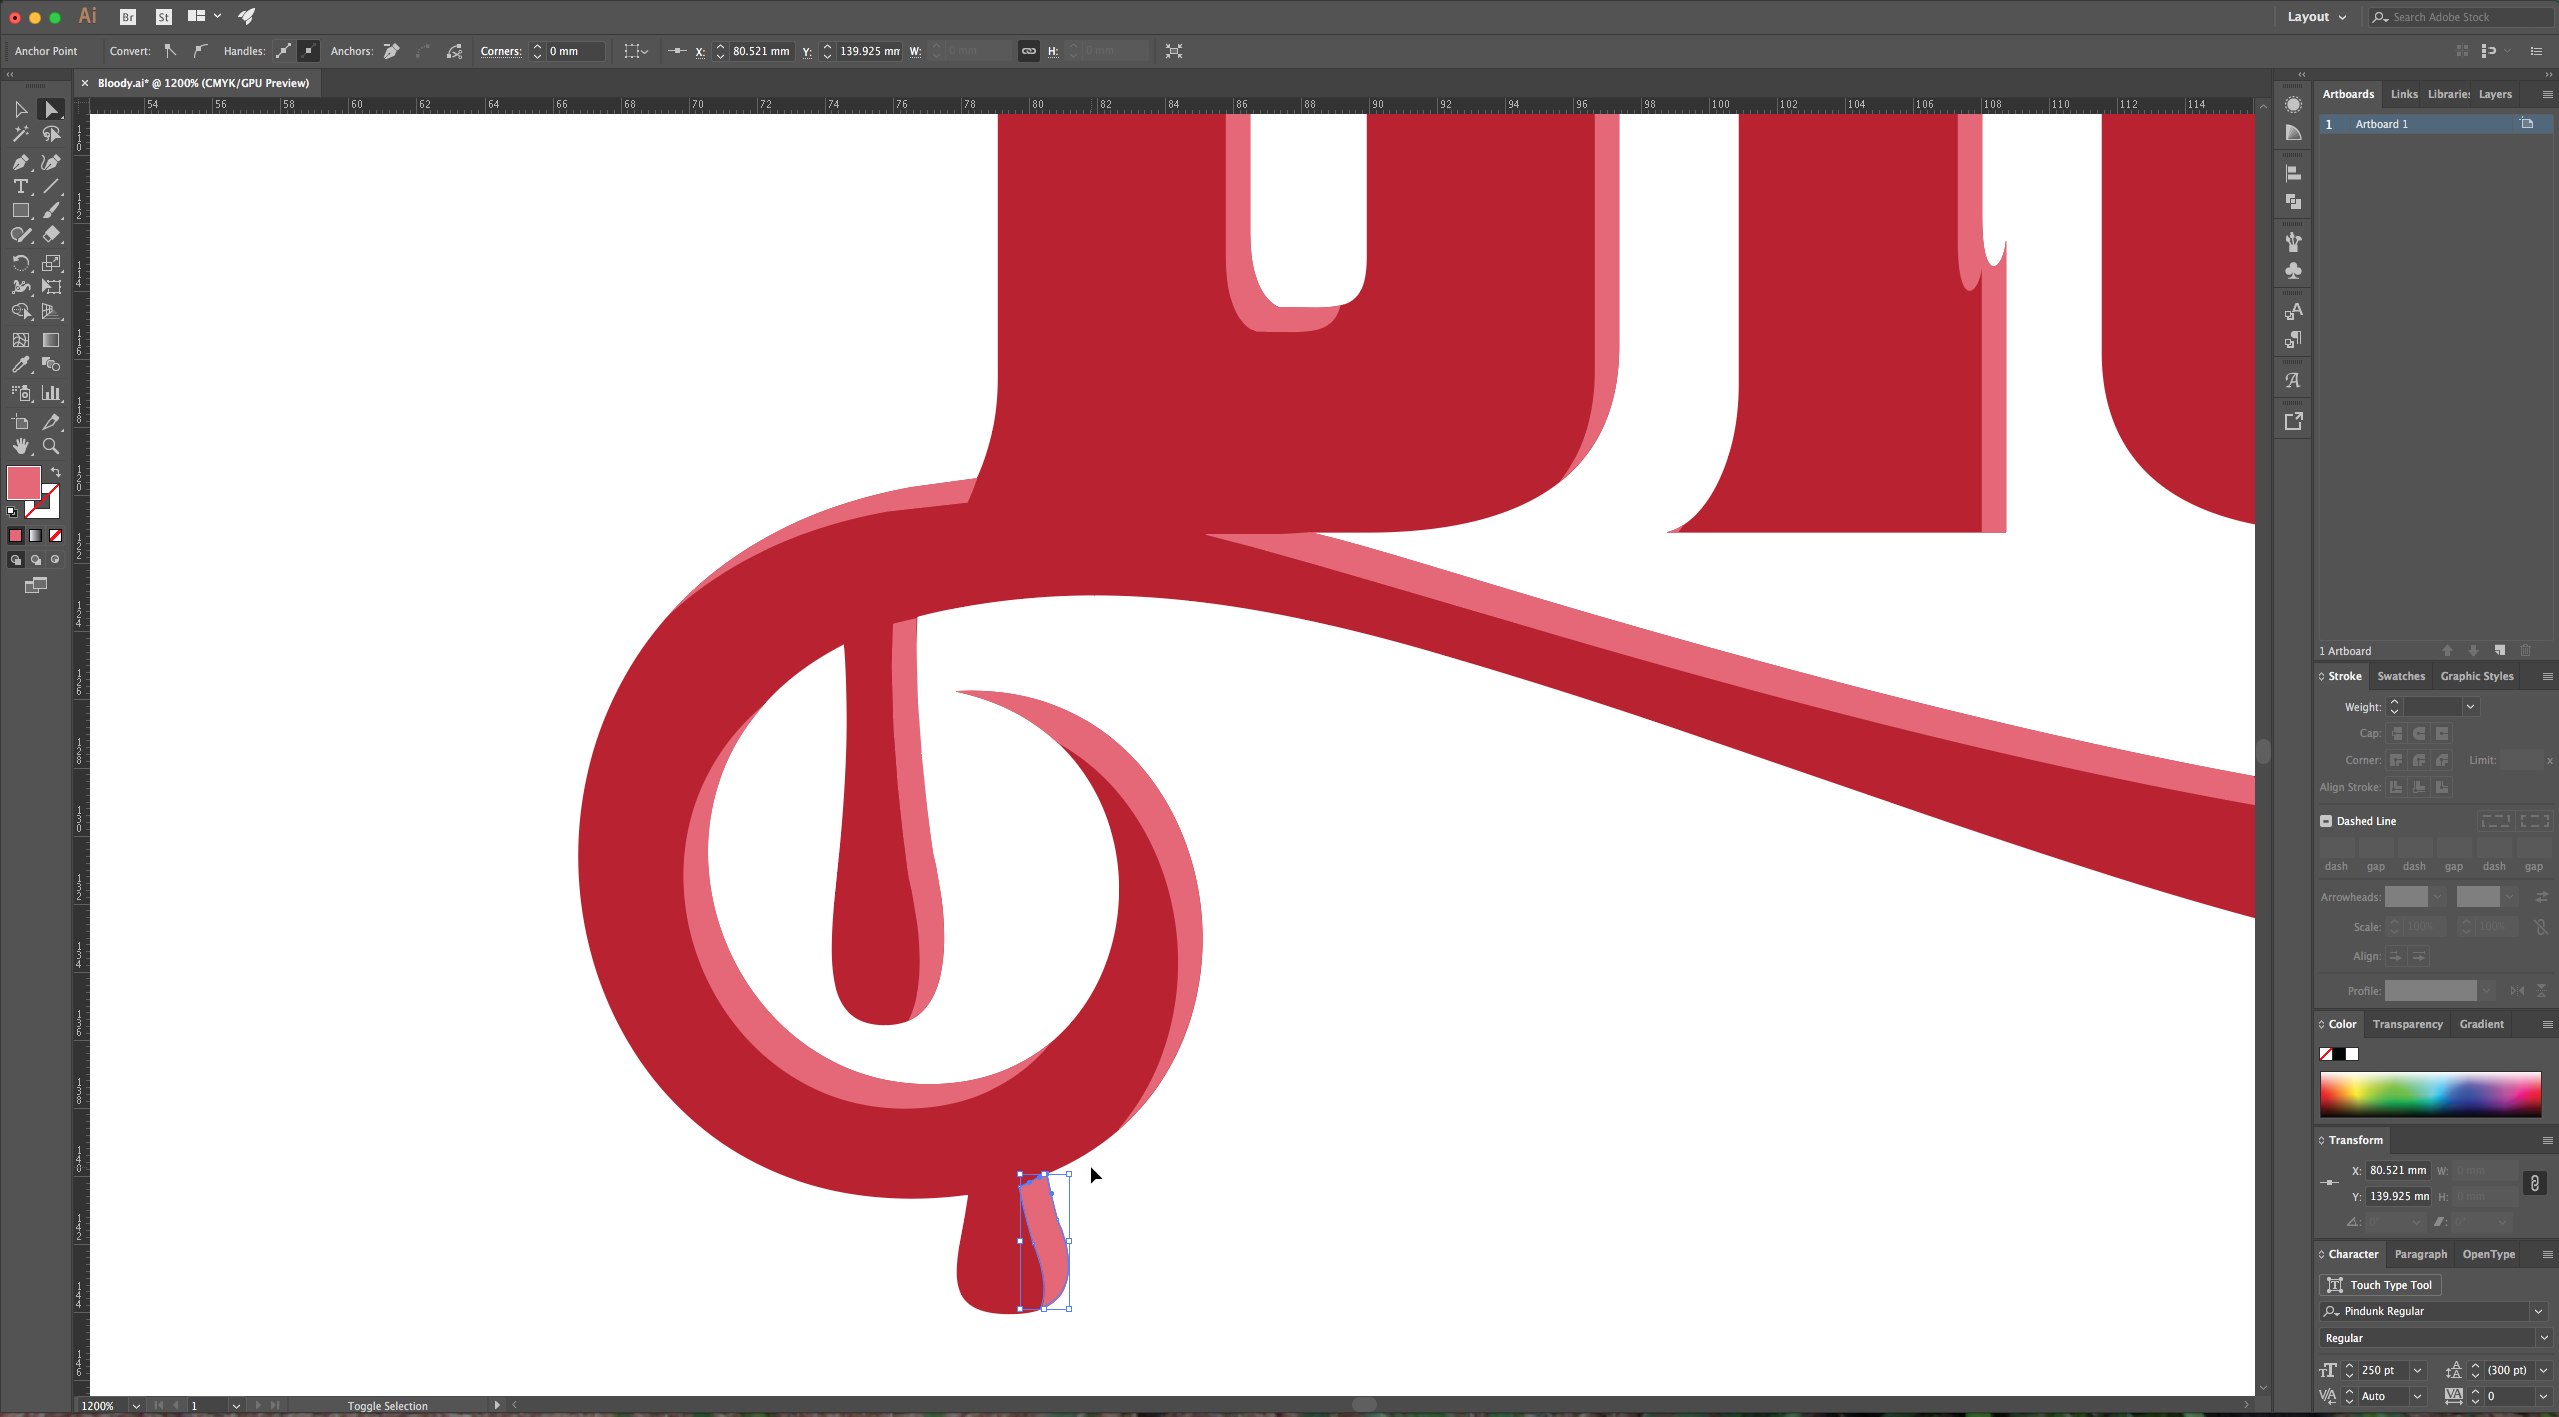
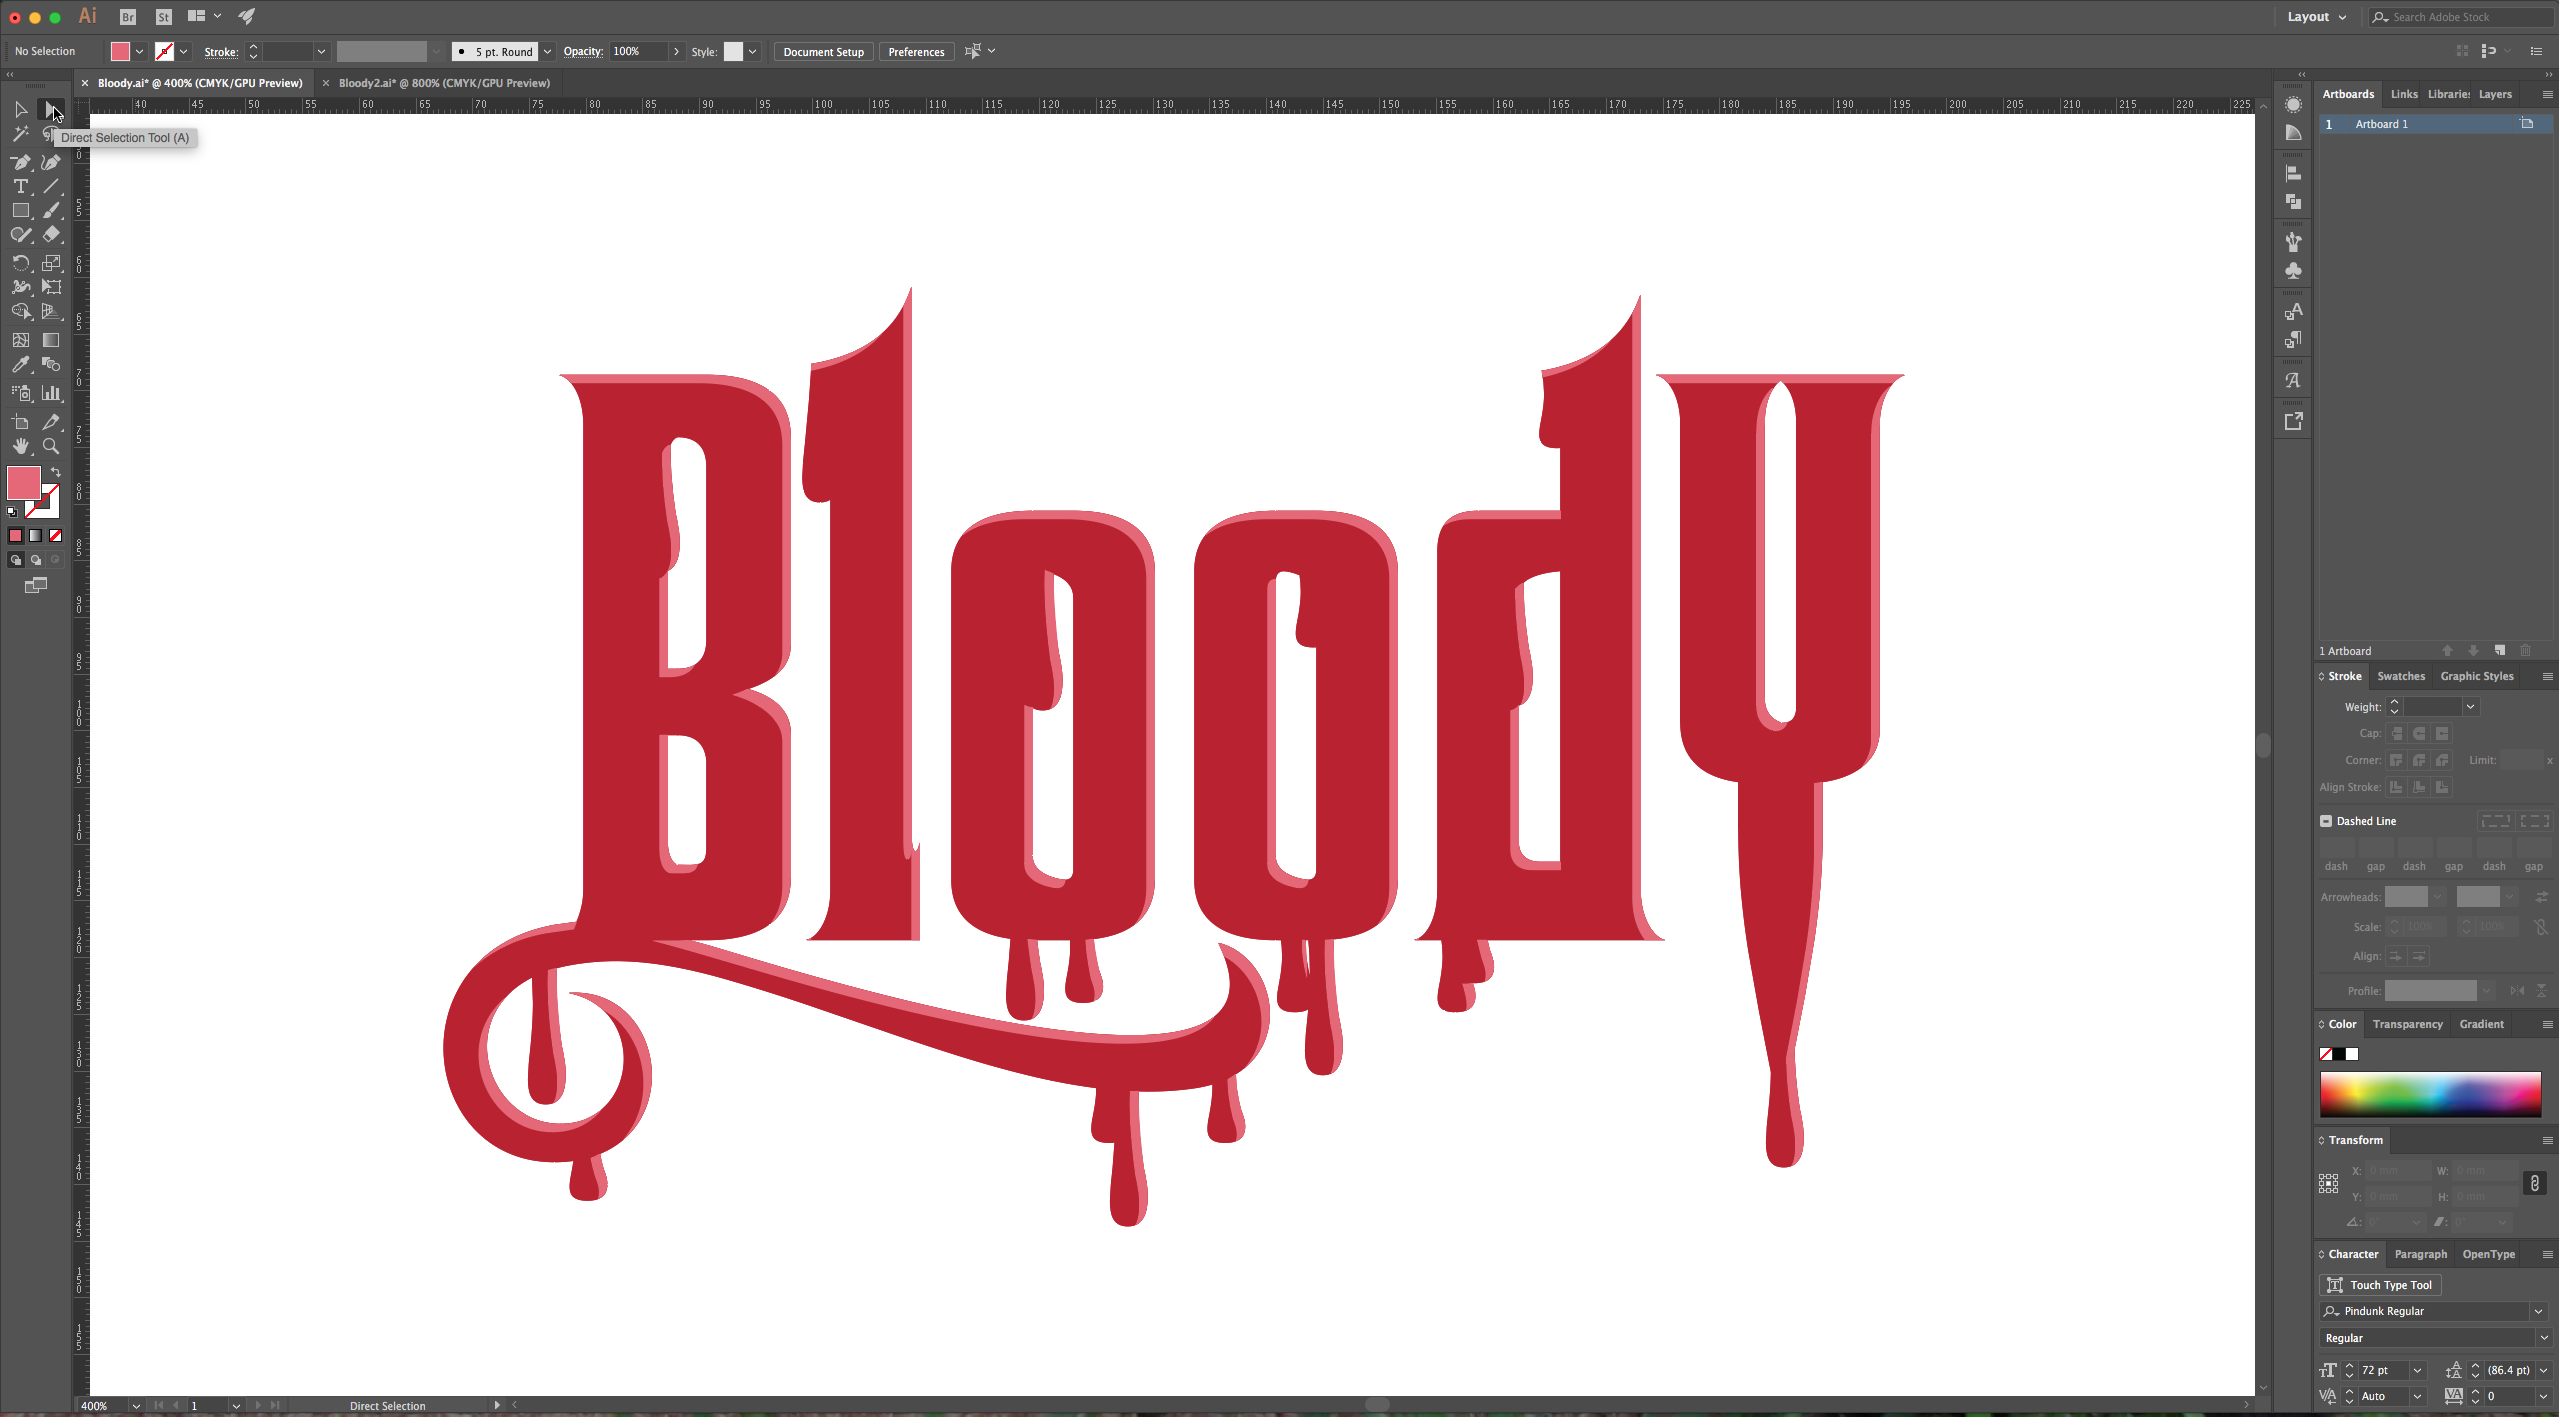
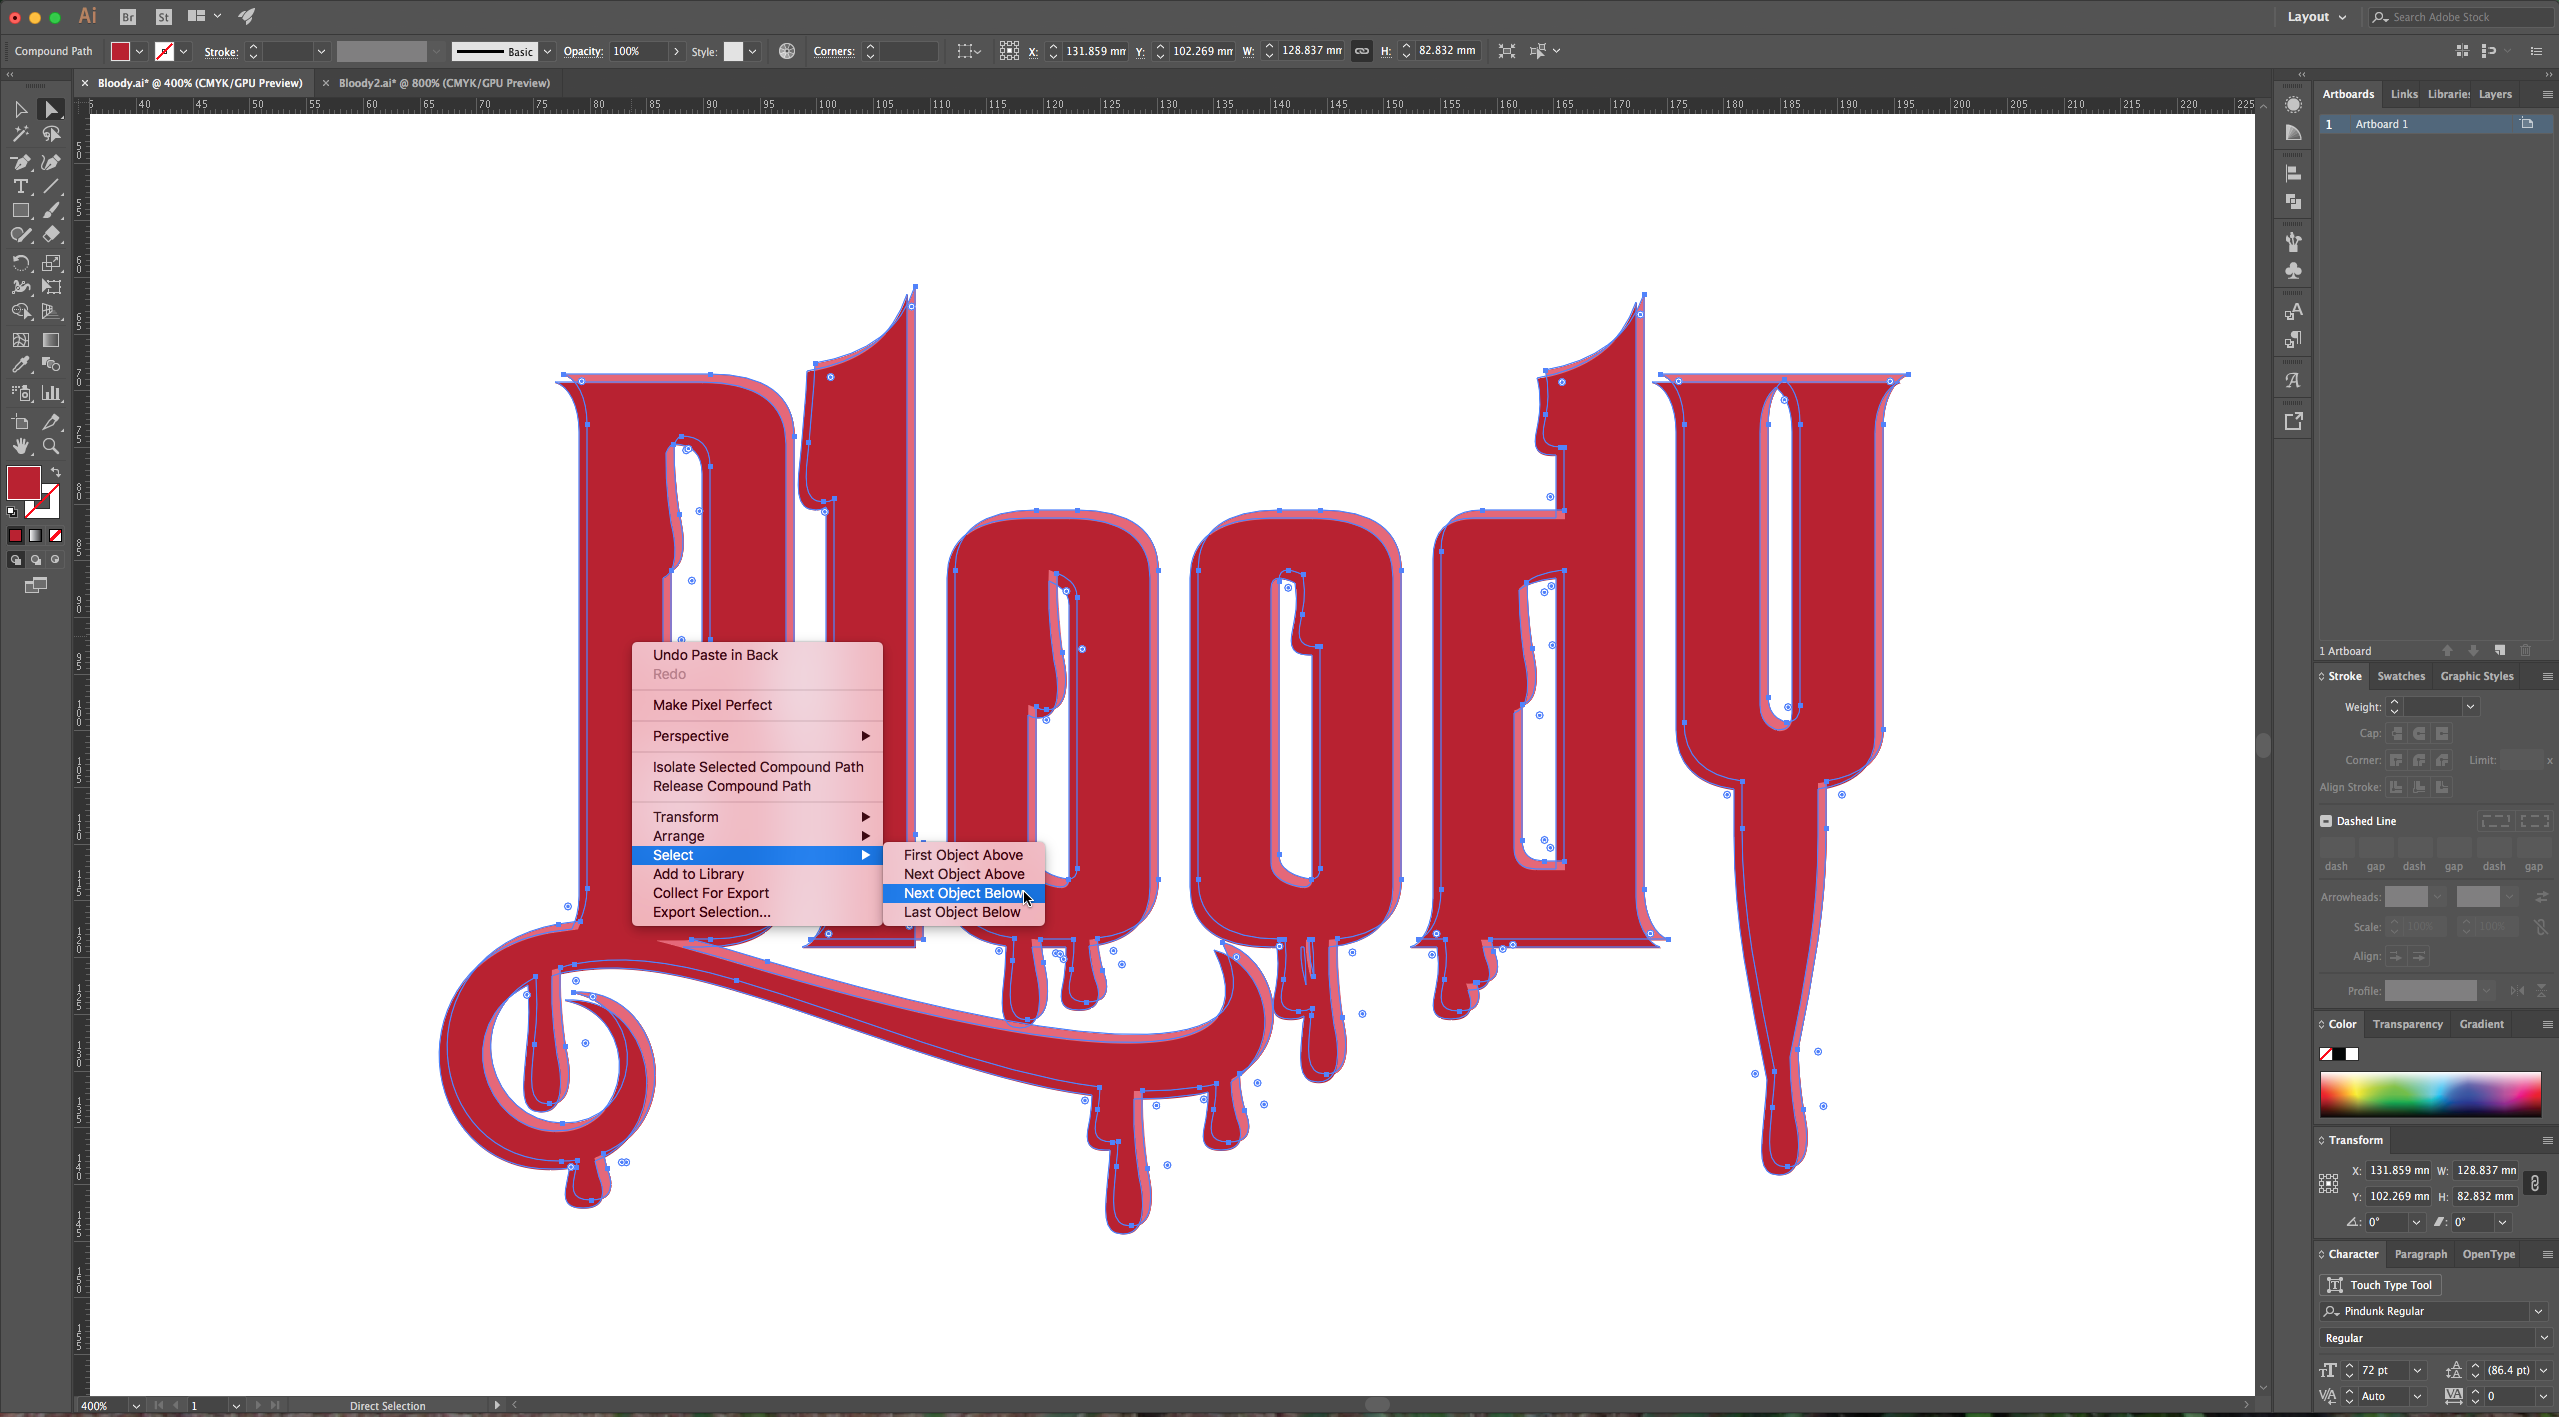
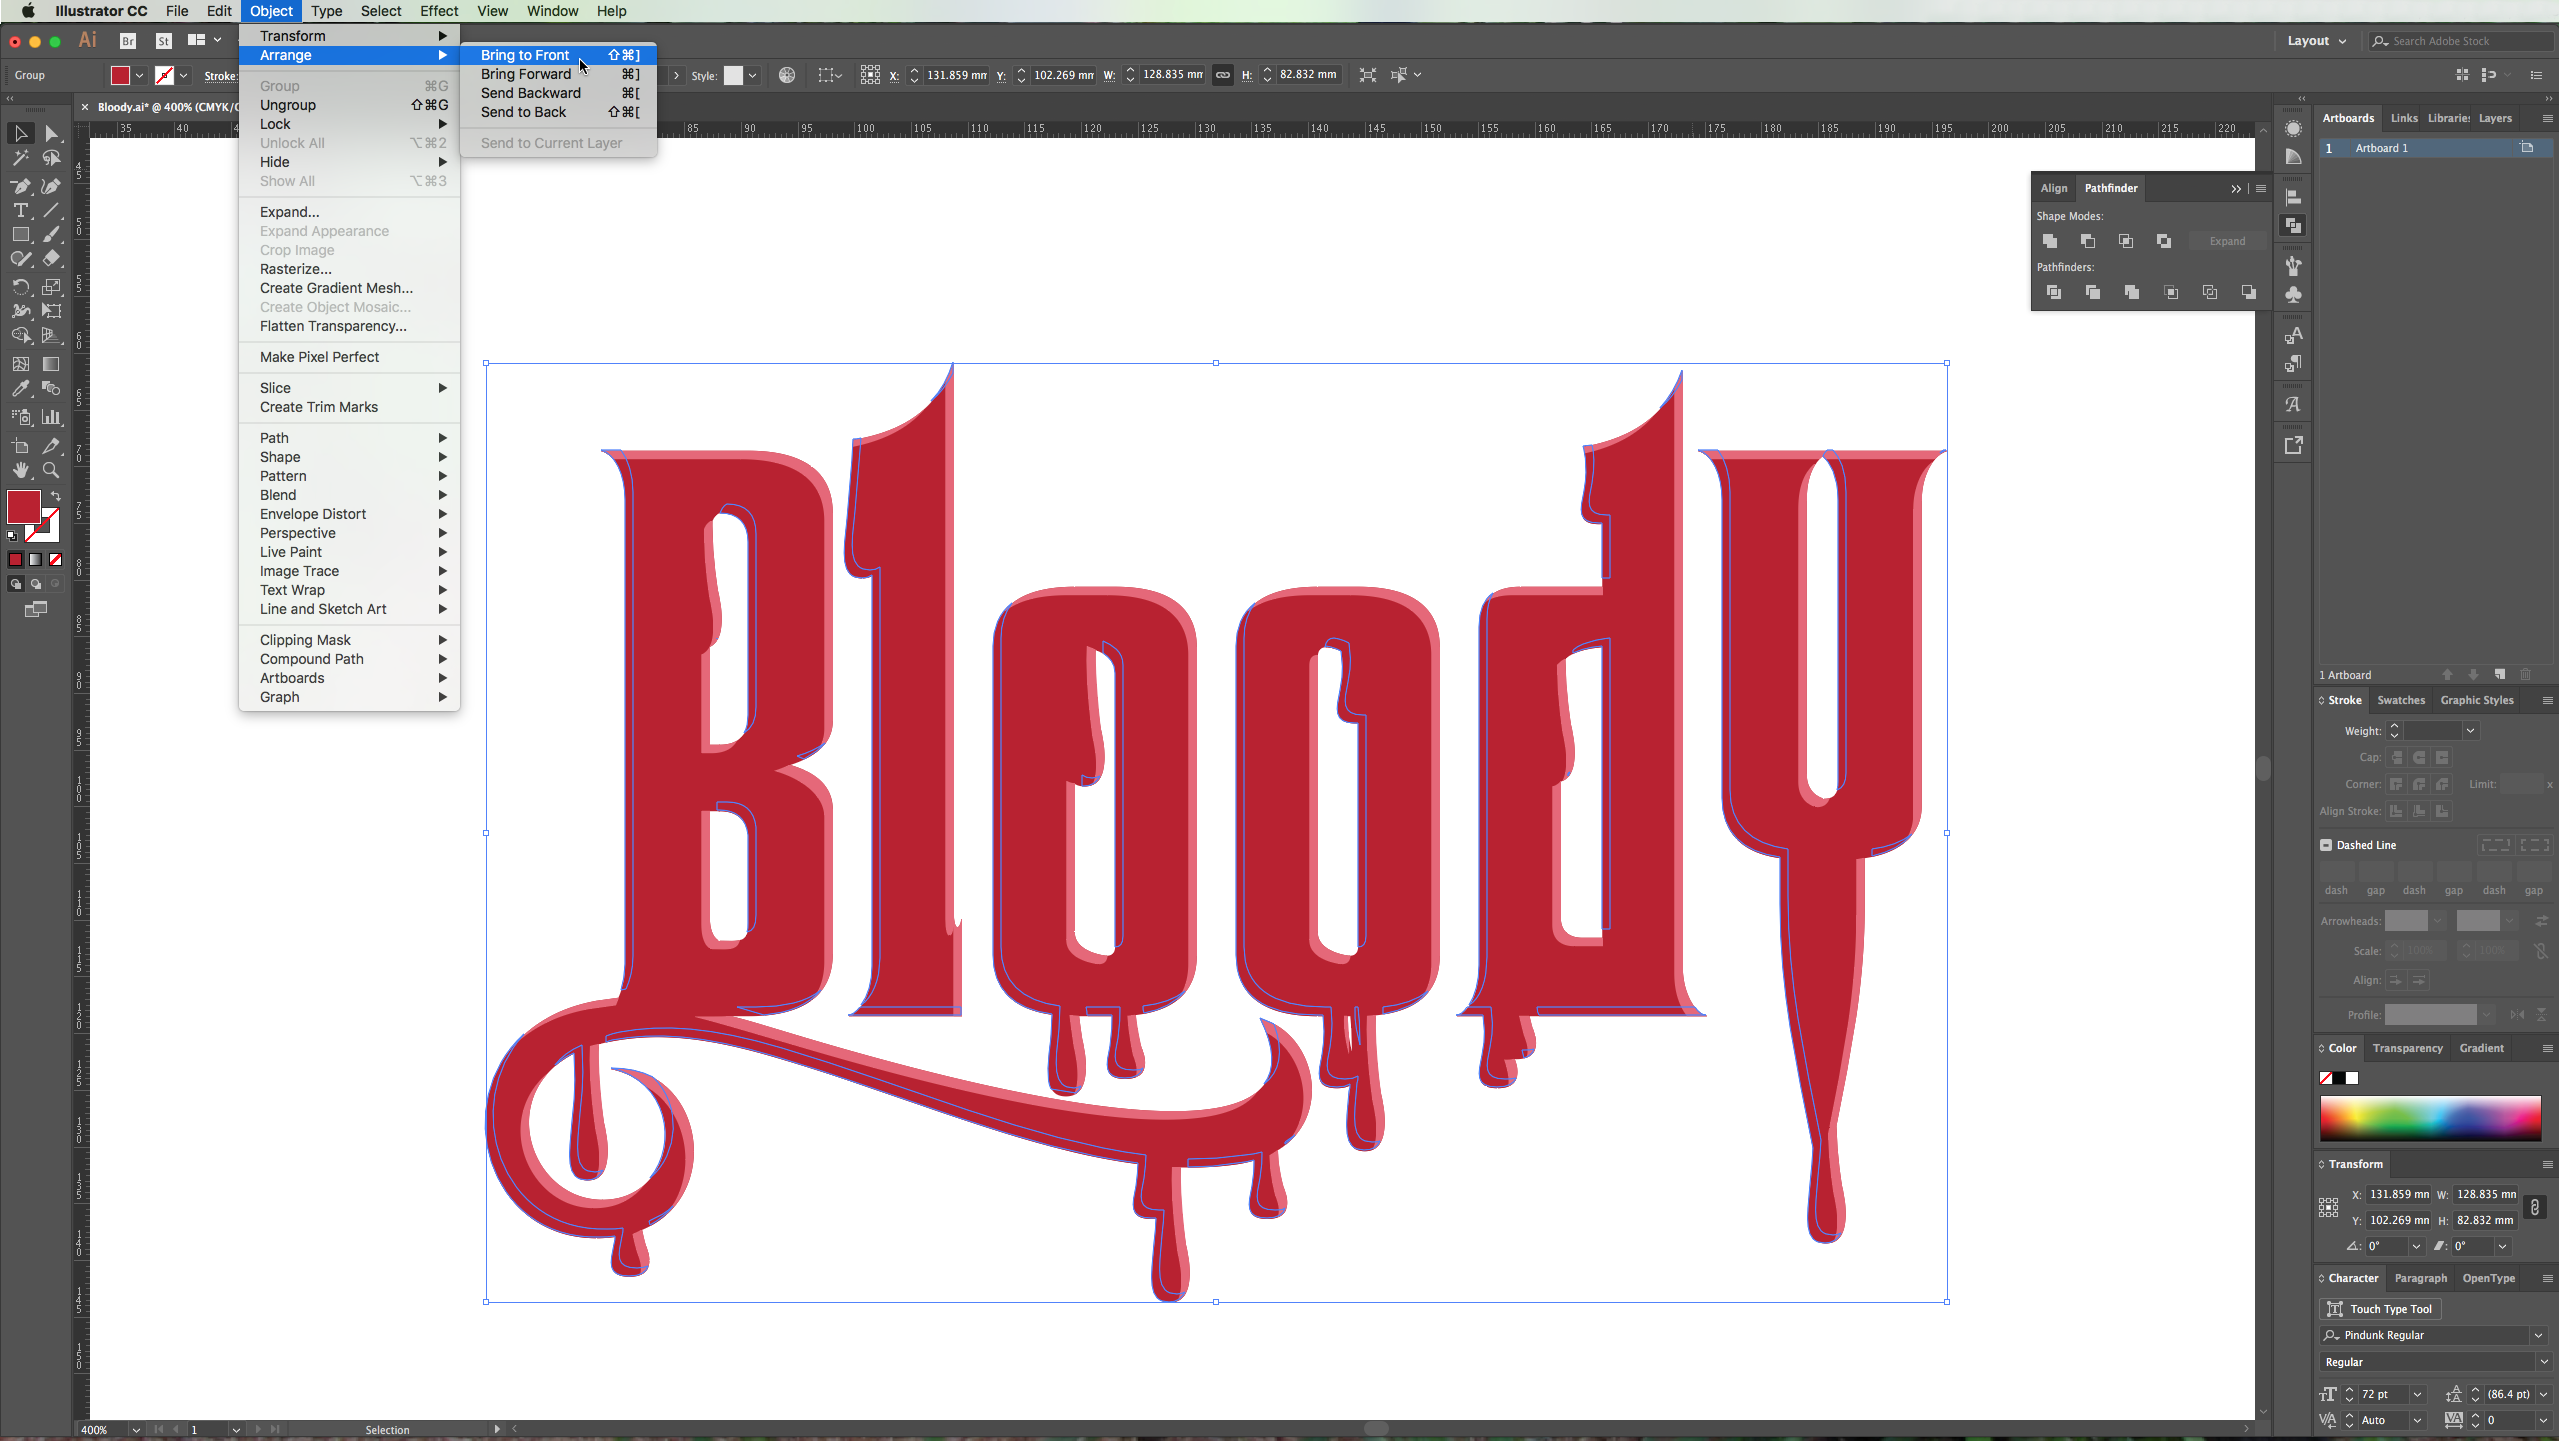
9 – Now, move the next text layer two clicks up and two clicks right. Select the next one by right-clicking on your text and choosing Select > Next Object Below (make sure that you still have another copy of your text under before using the Pathfinder function). Then go to the “Pathfinder” menu and choose the “Minus Front” option again. If your path is not on top go to Object > Arrange > Bring to front and bring it forward and the change its fill color to a darker shade (we used # a11d2a).
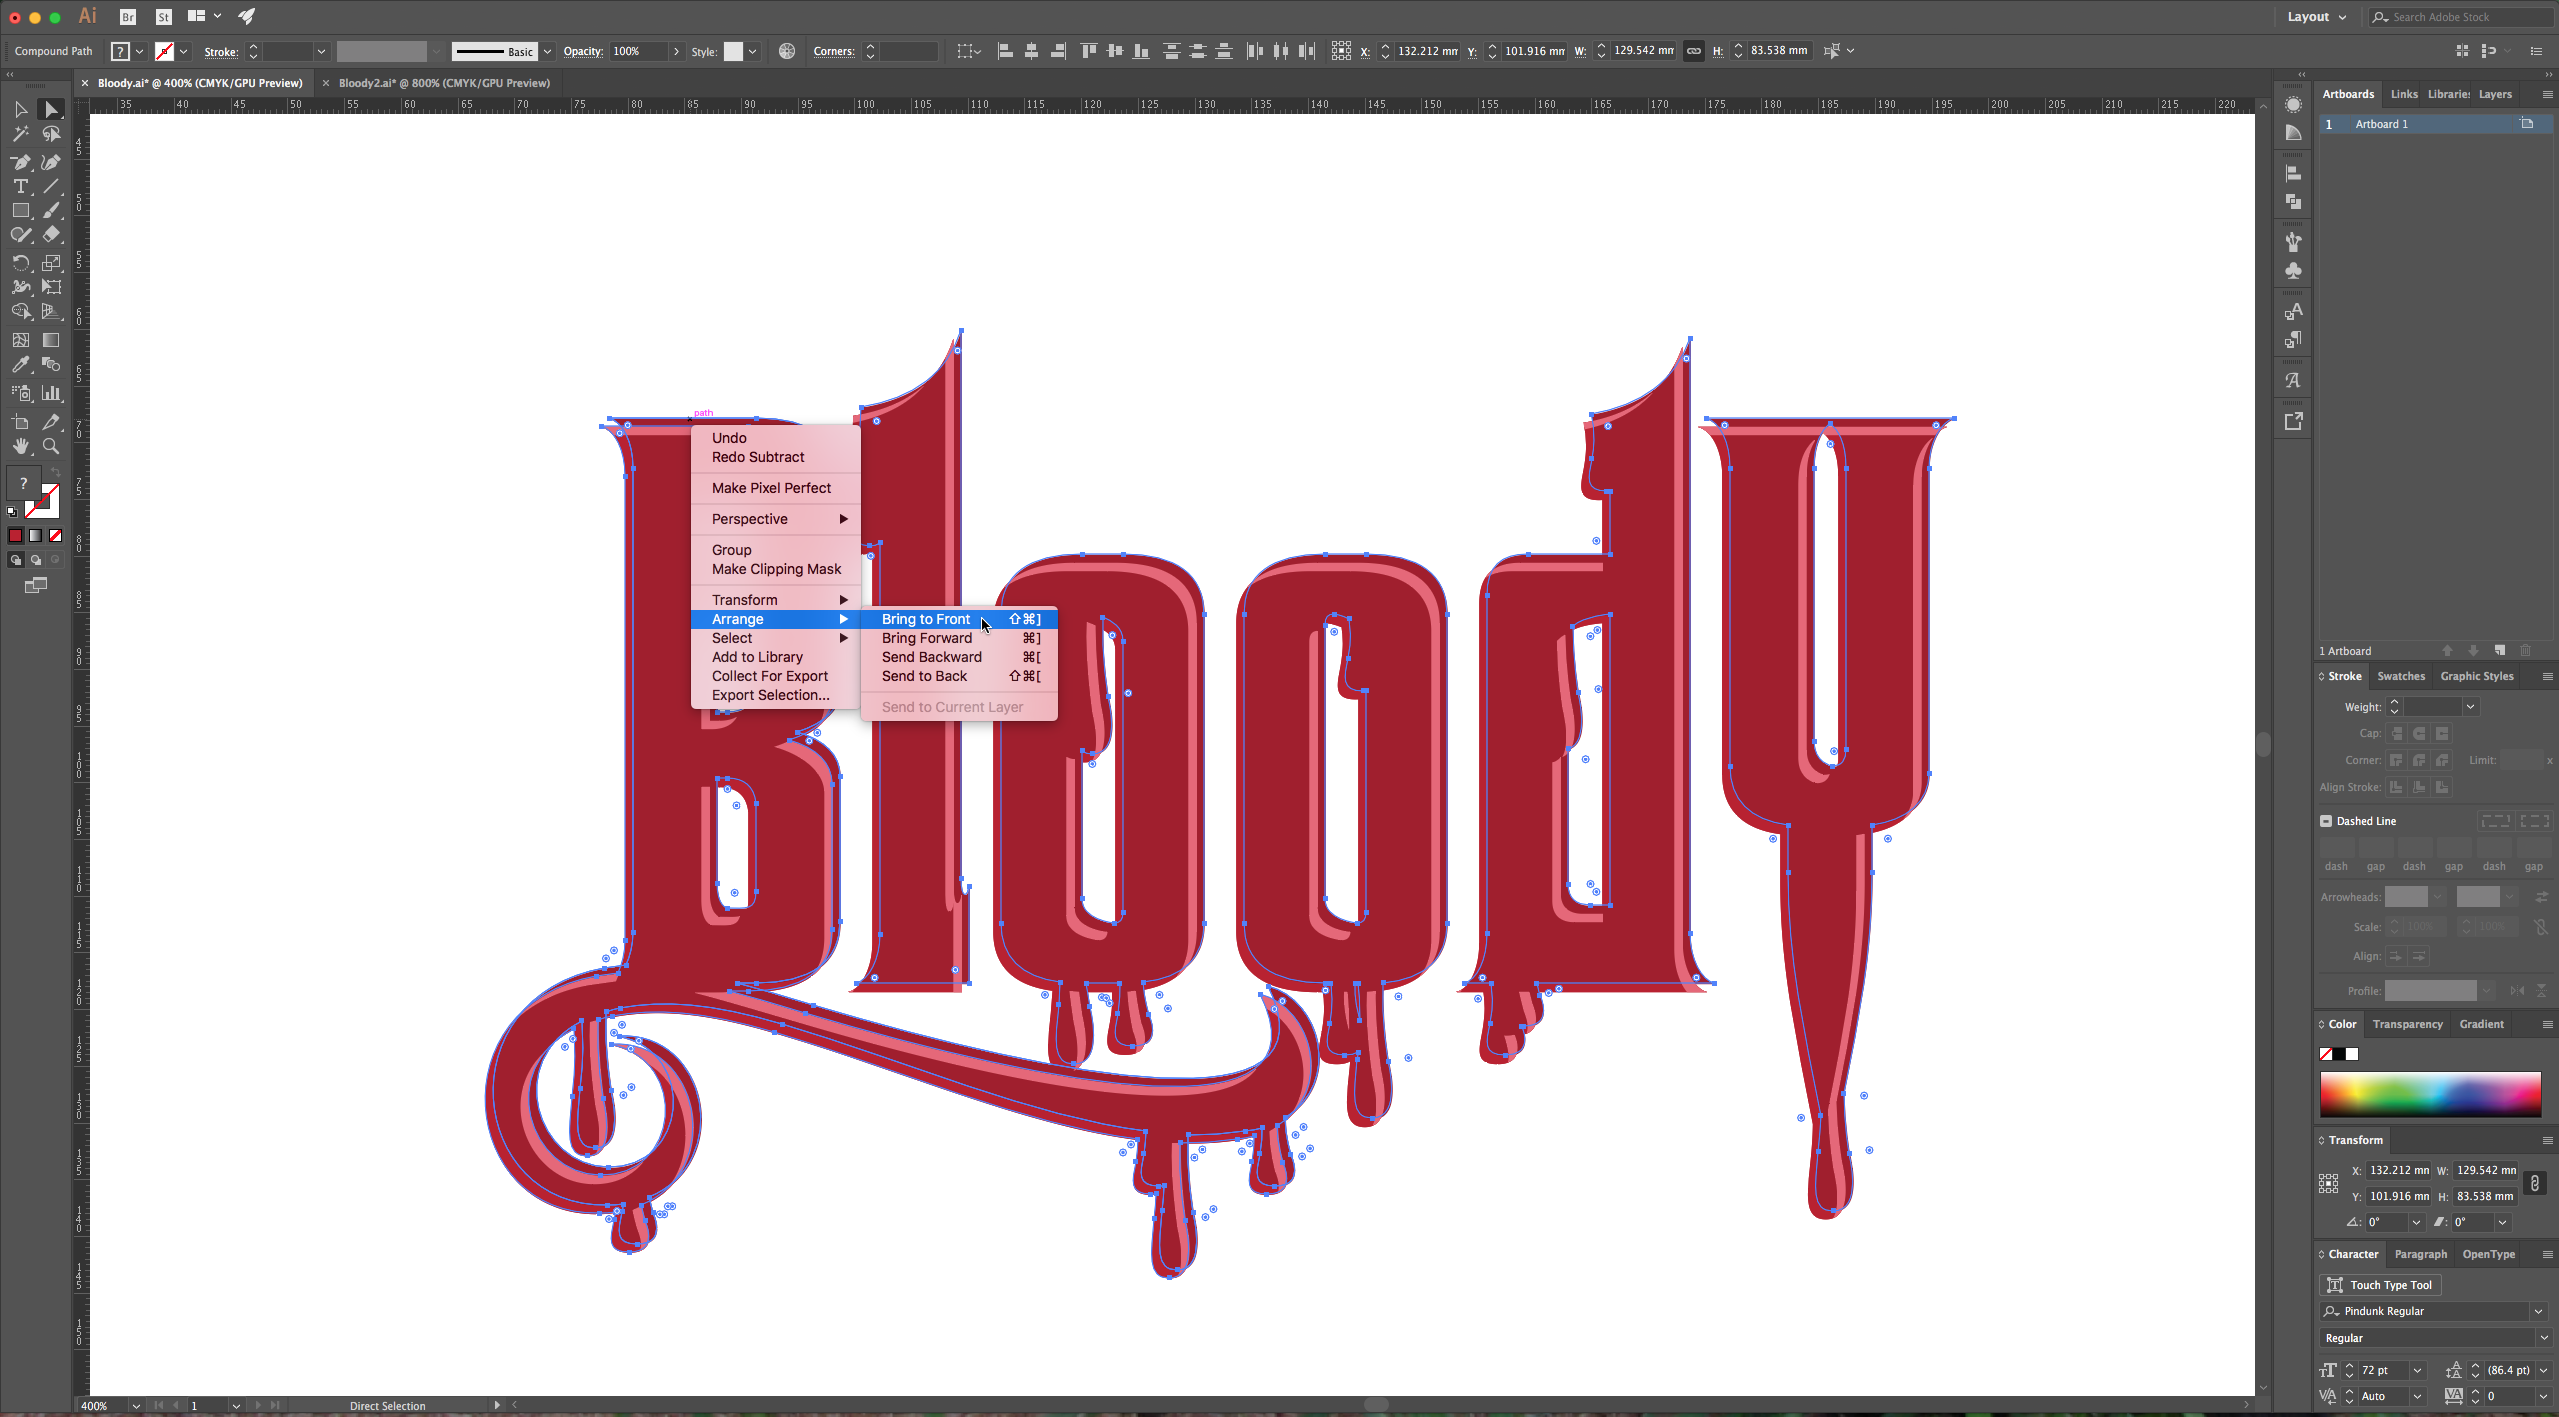
10 - Select the resulting paths and with the “Direct Selection” Tool you can modify this paths too to make them more realistic.
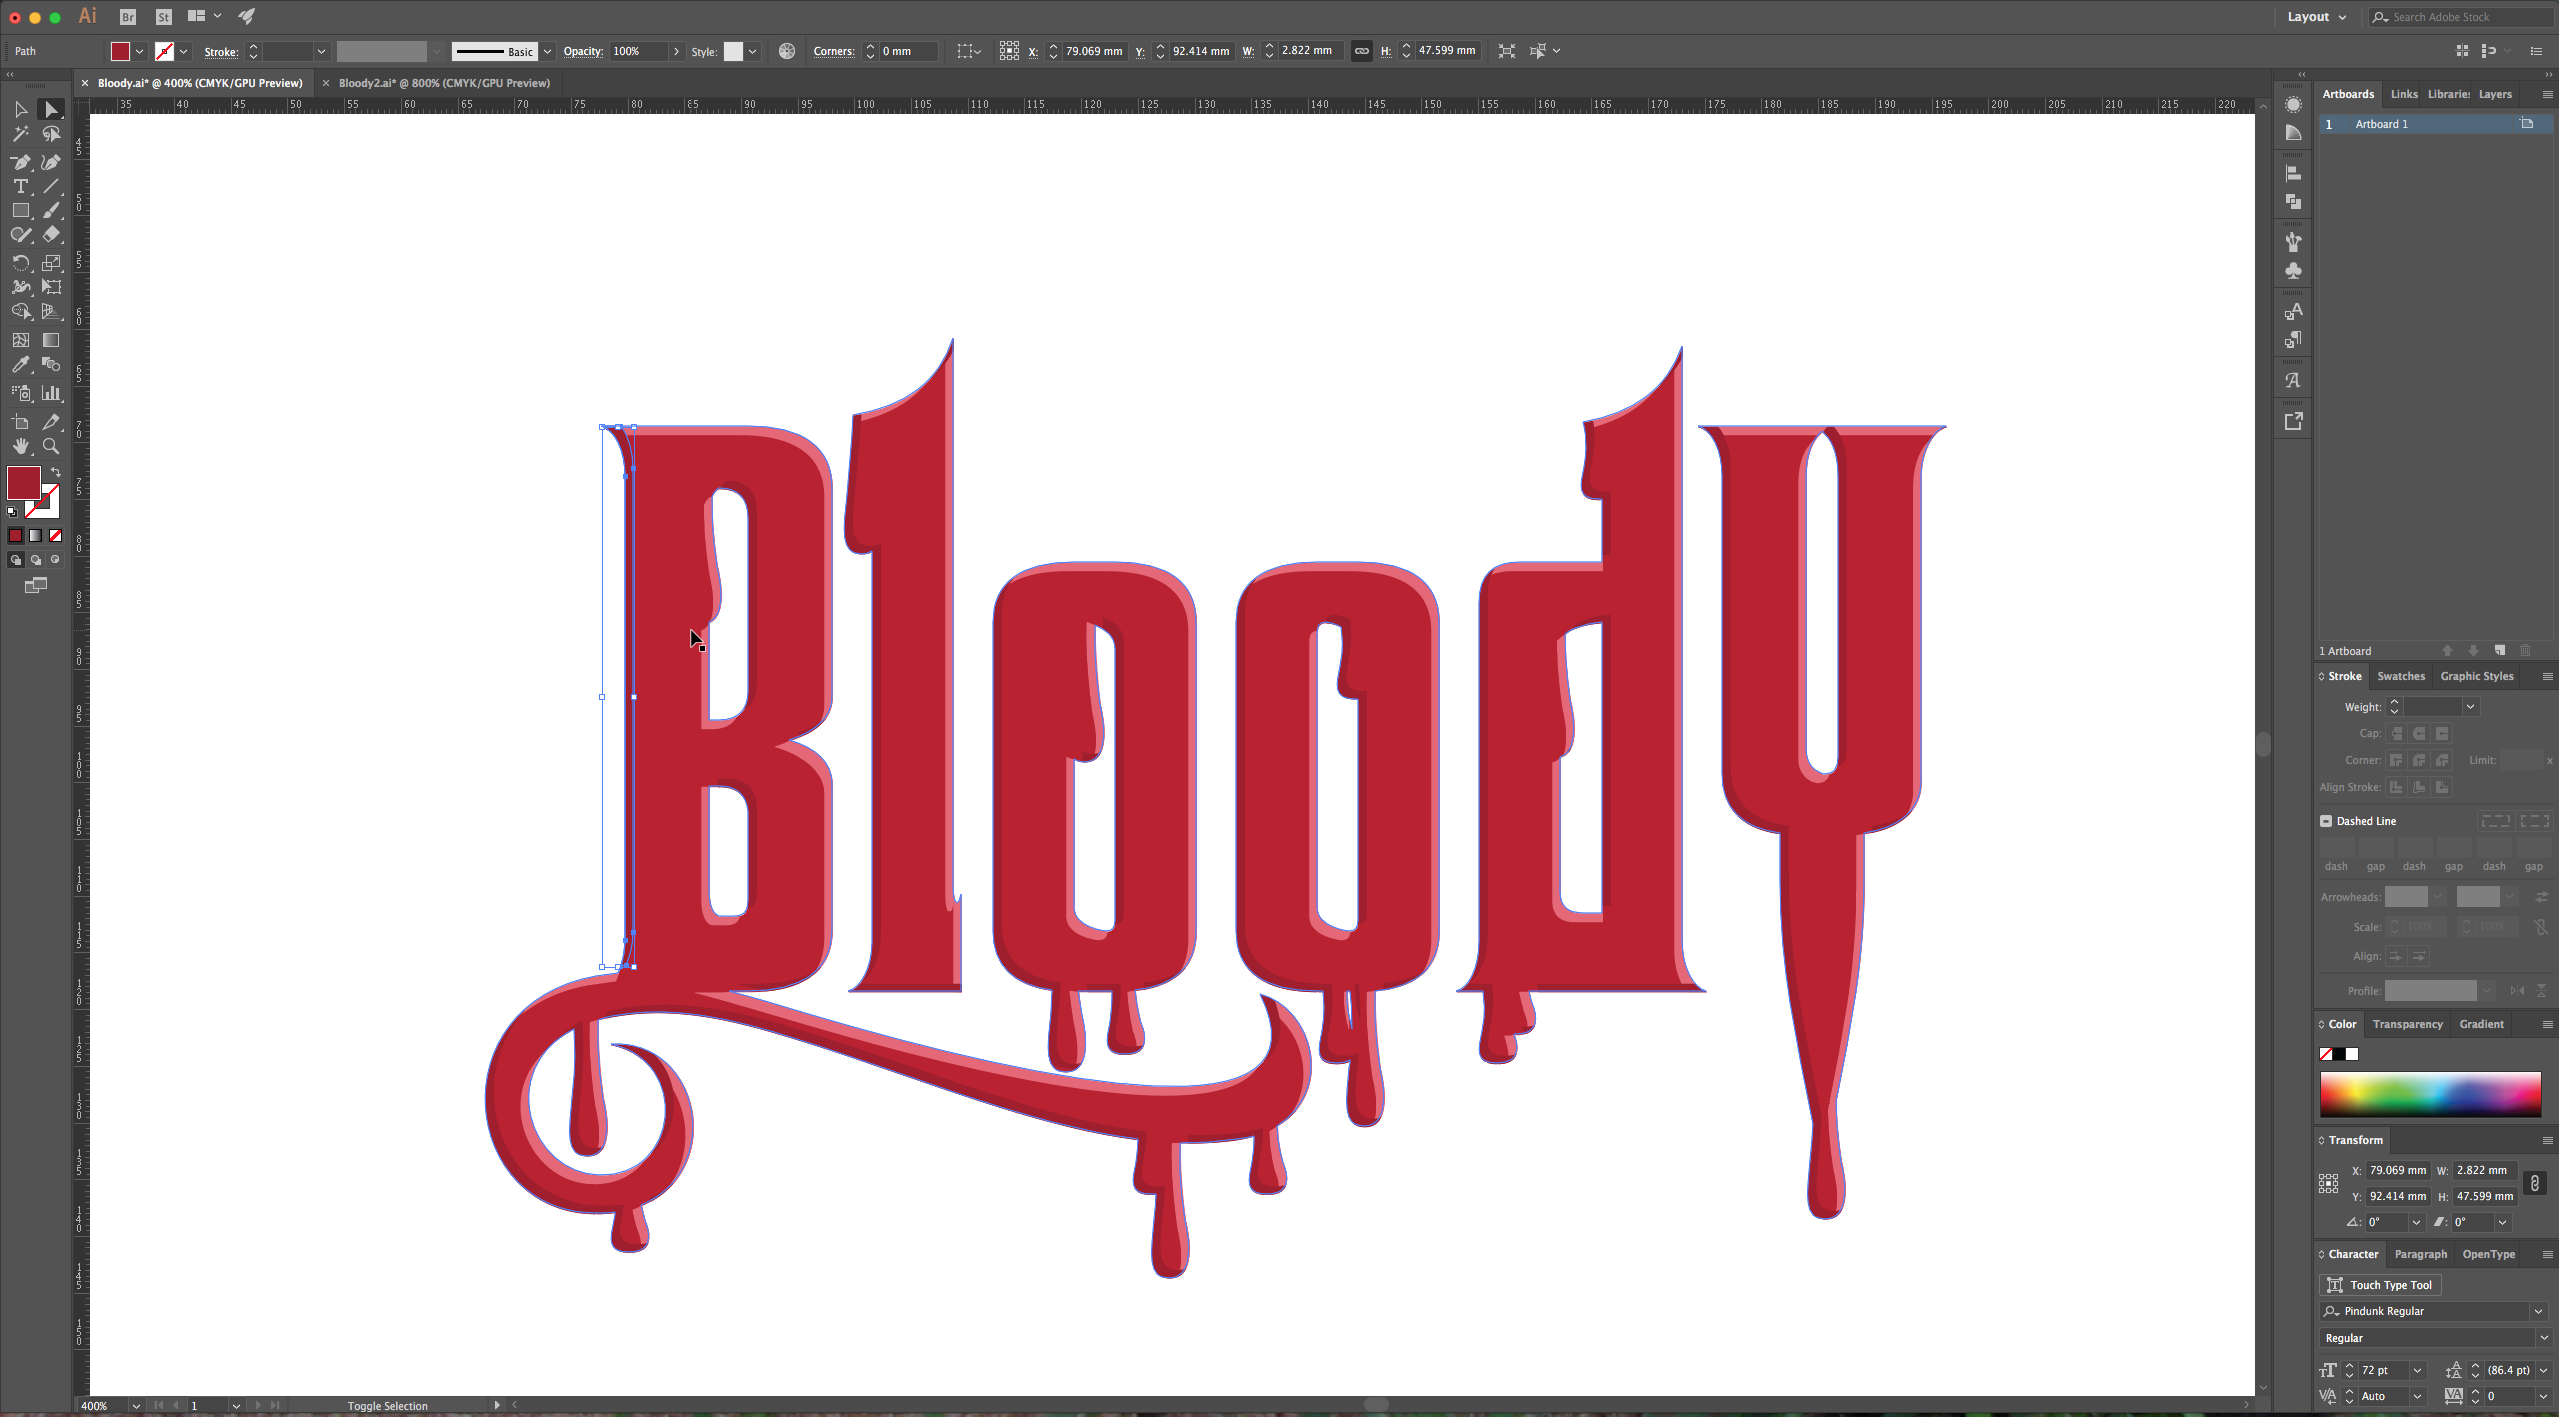
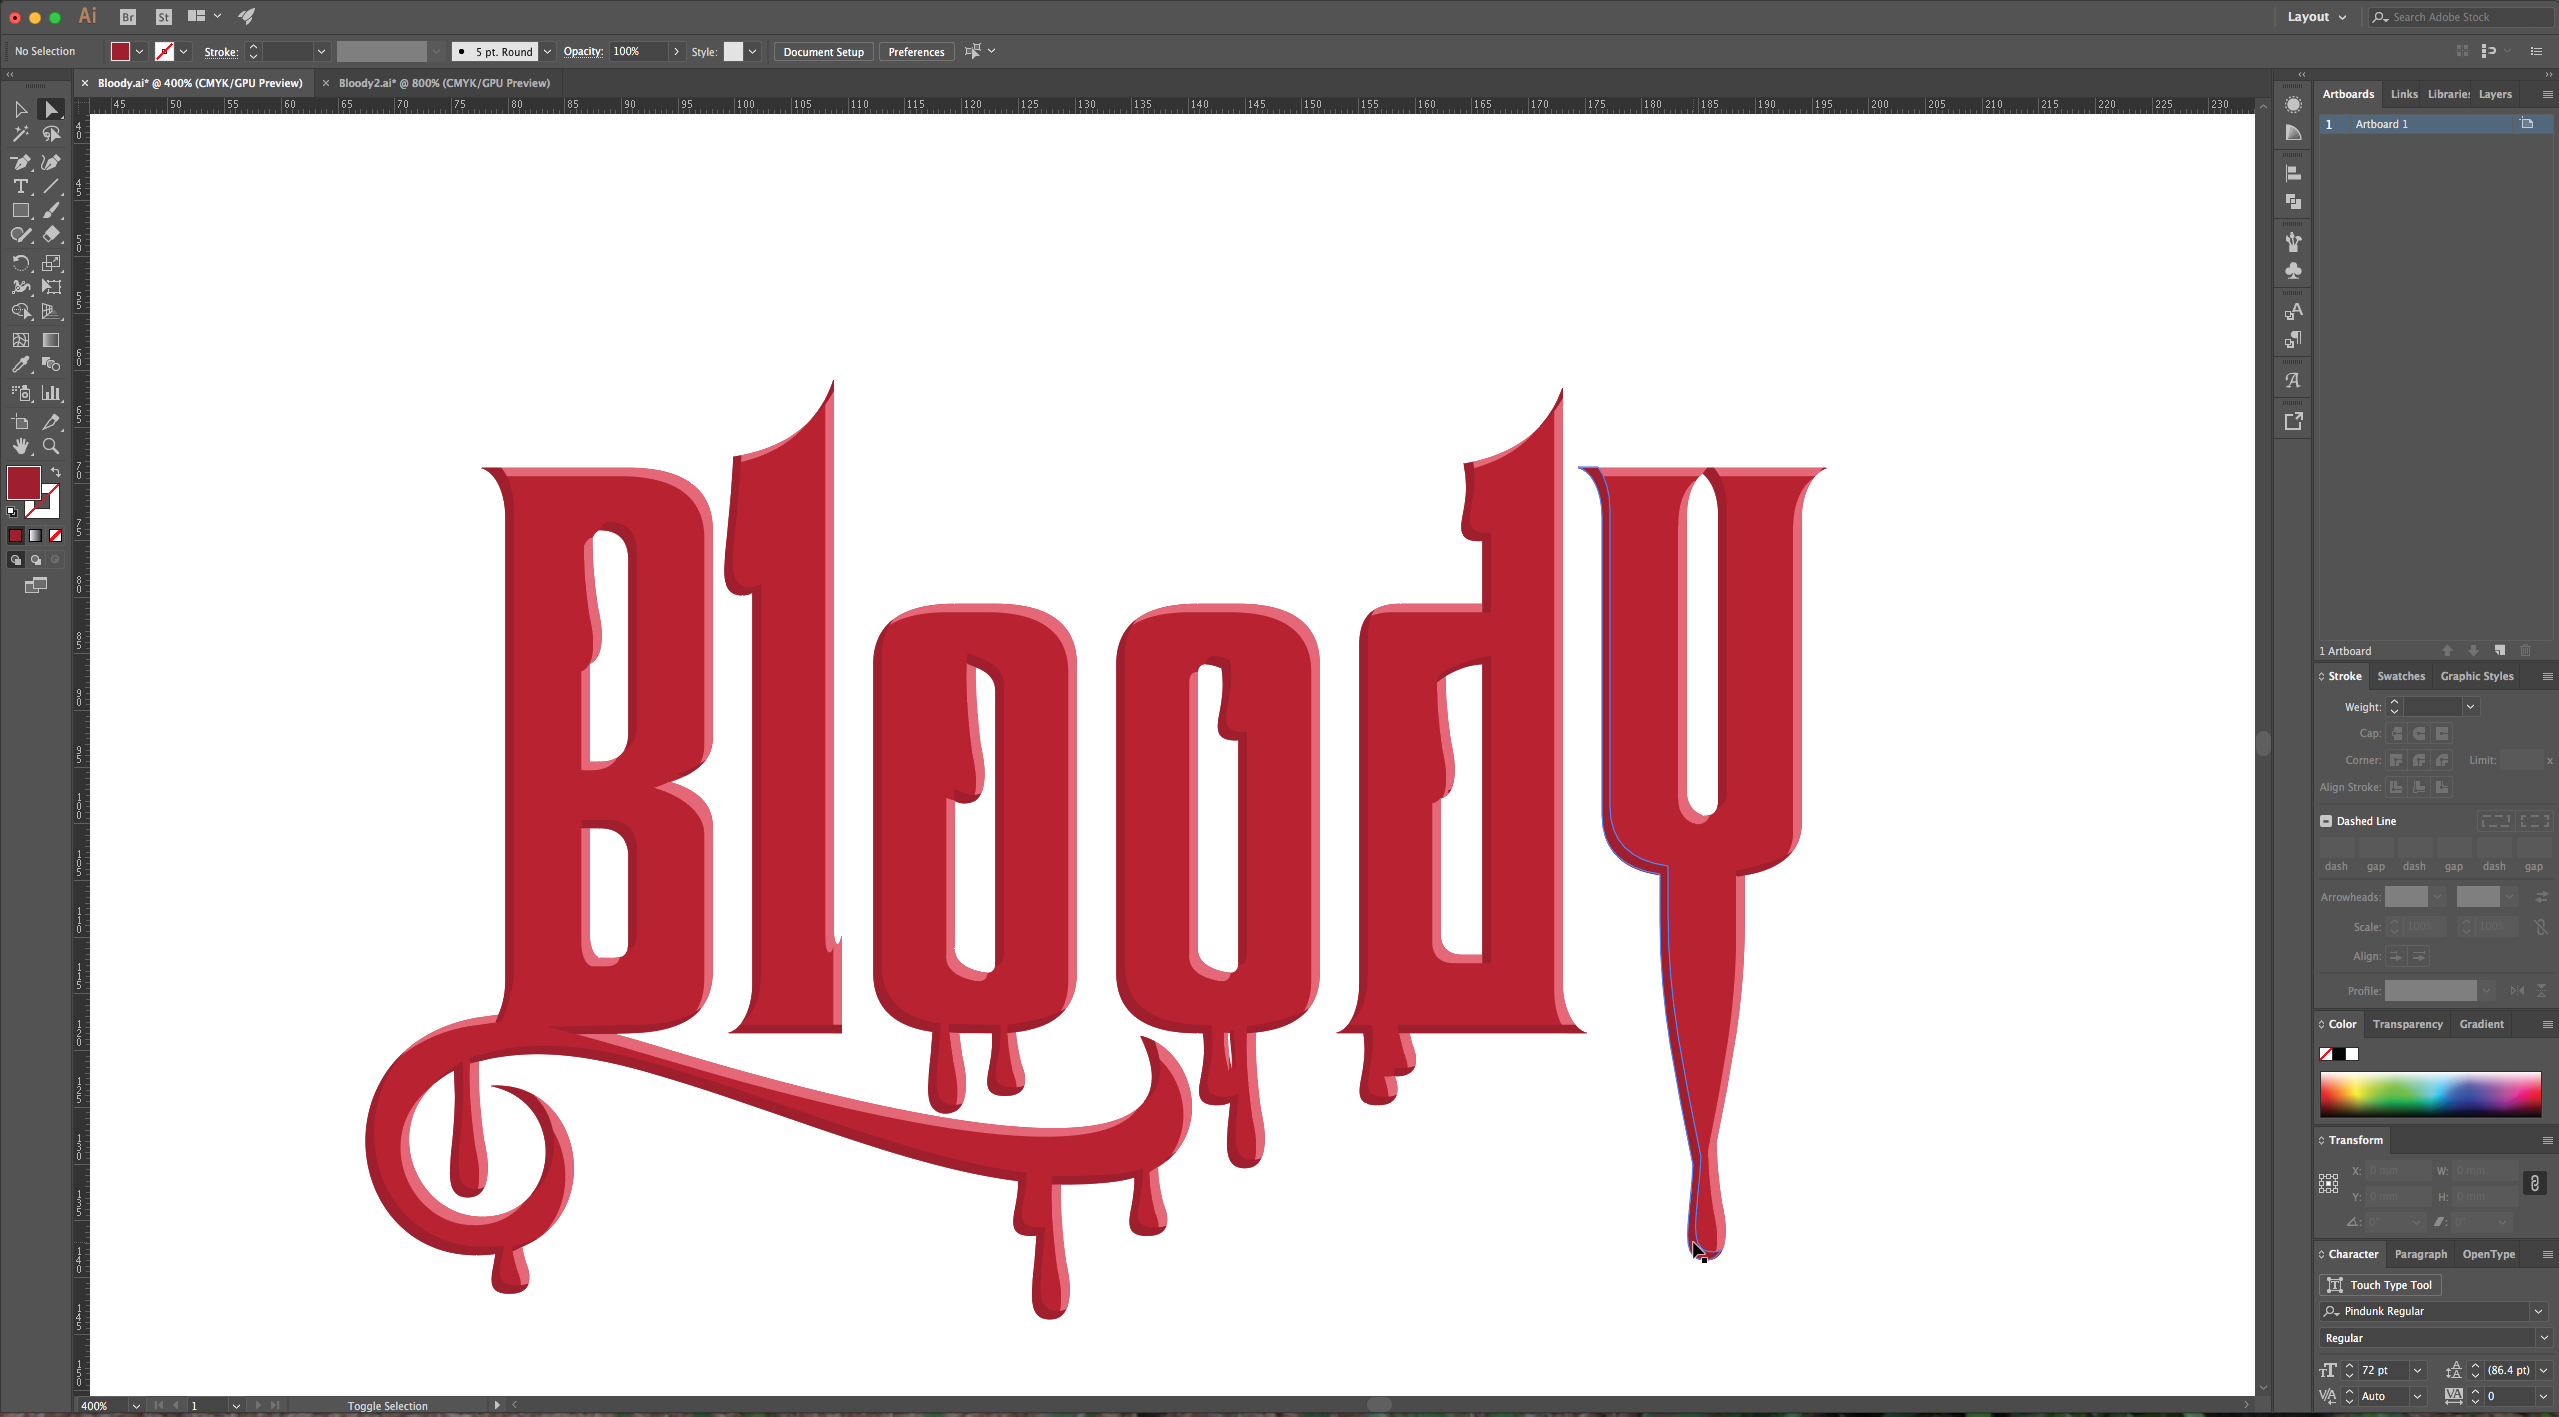
11 – Select your text making sure the you are selecting the one that is complete and then make a copy (Command/Control + C) and Paste in Back (Command/Control + B). Give it a 6-point Stroke, filled with a dark shade of red (we used #7F0917) and make its Cap and Corner Rounded.
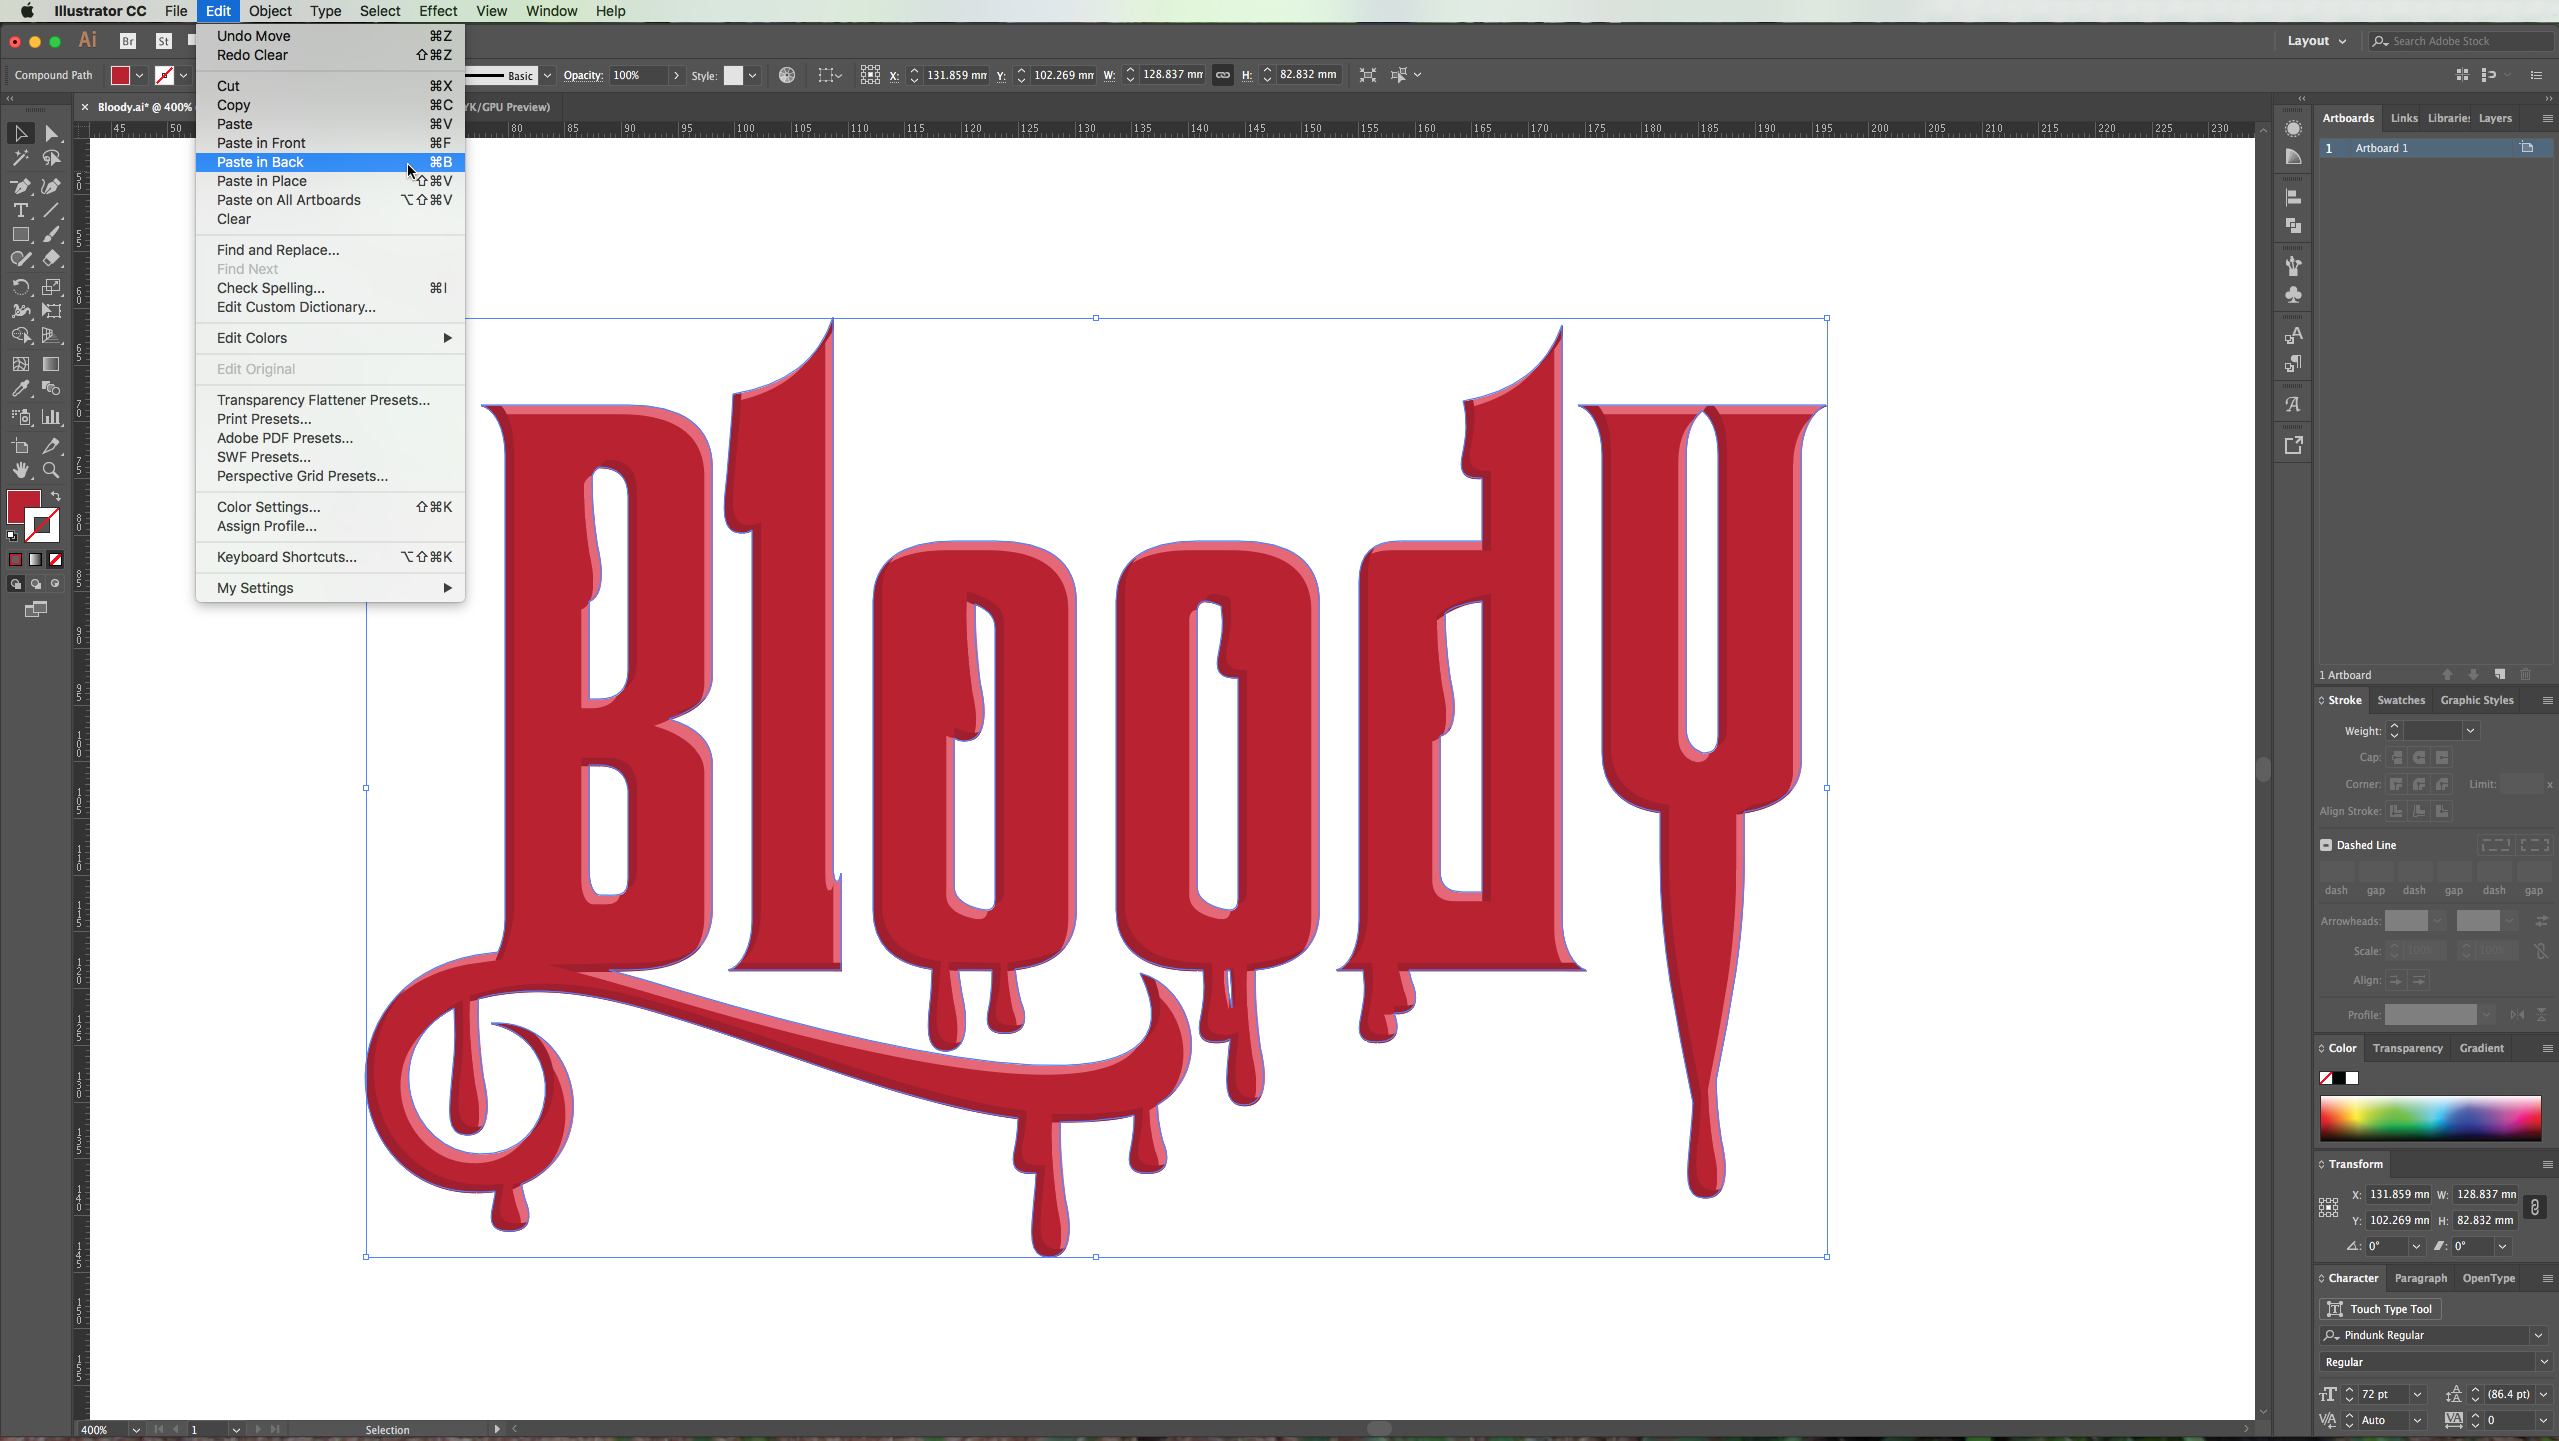
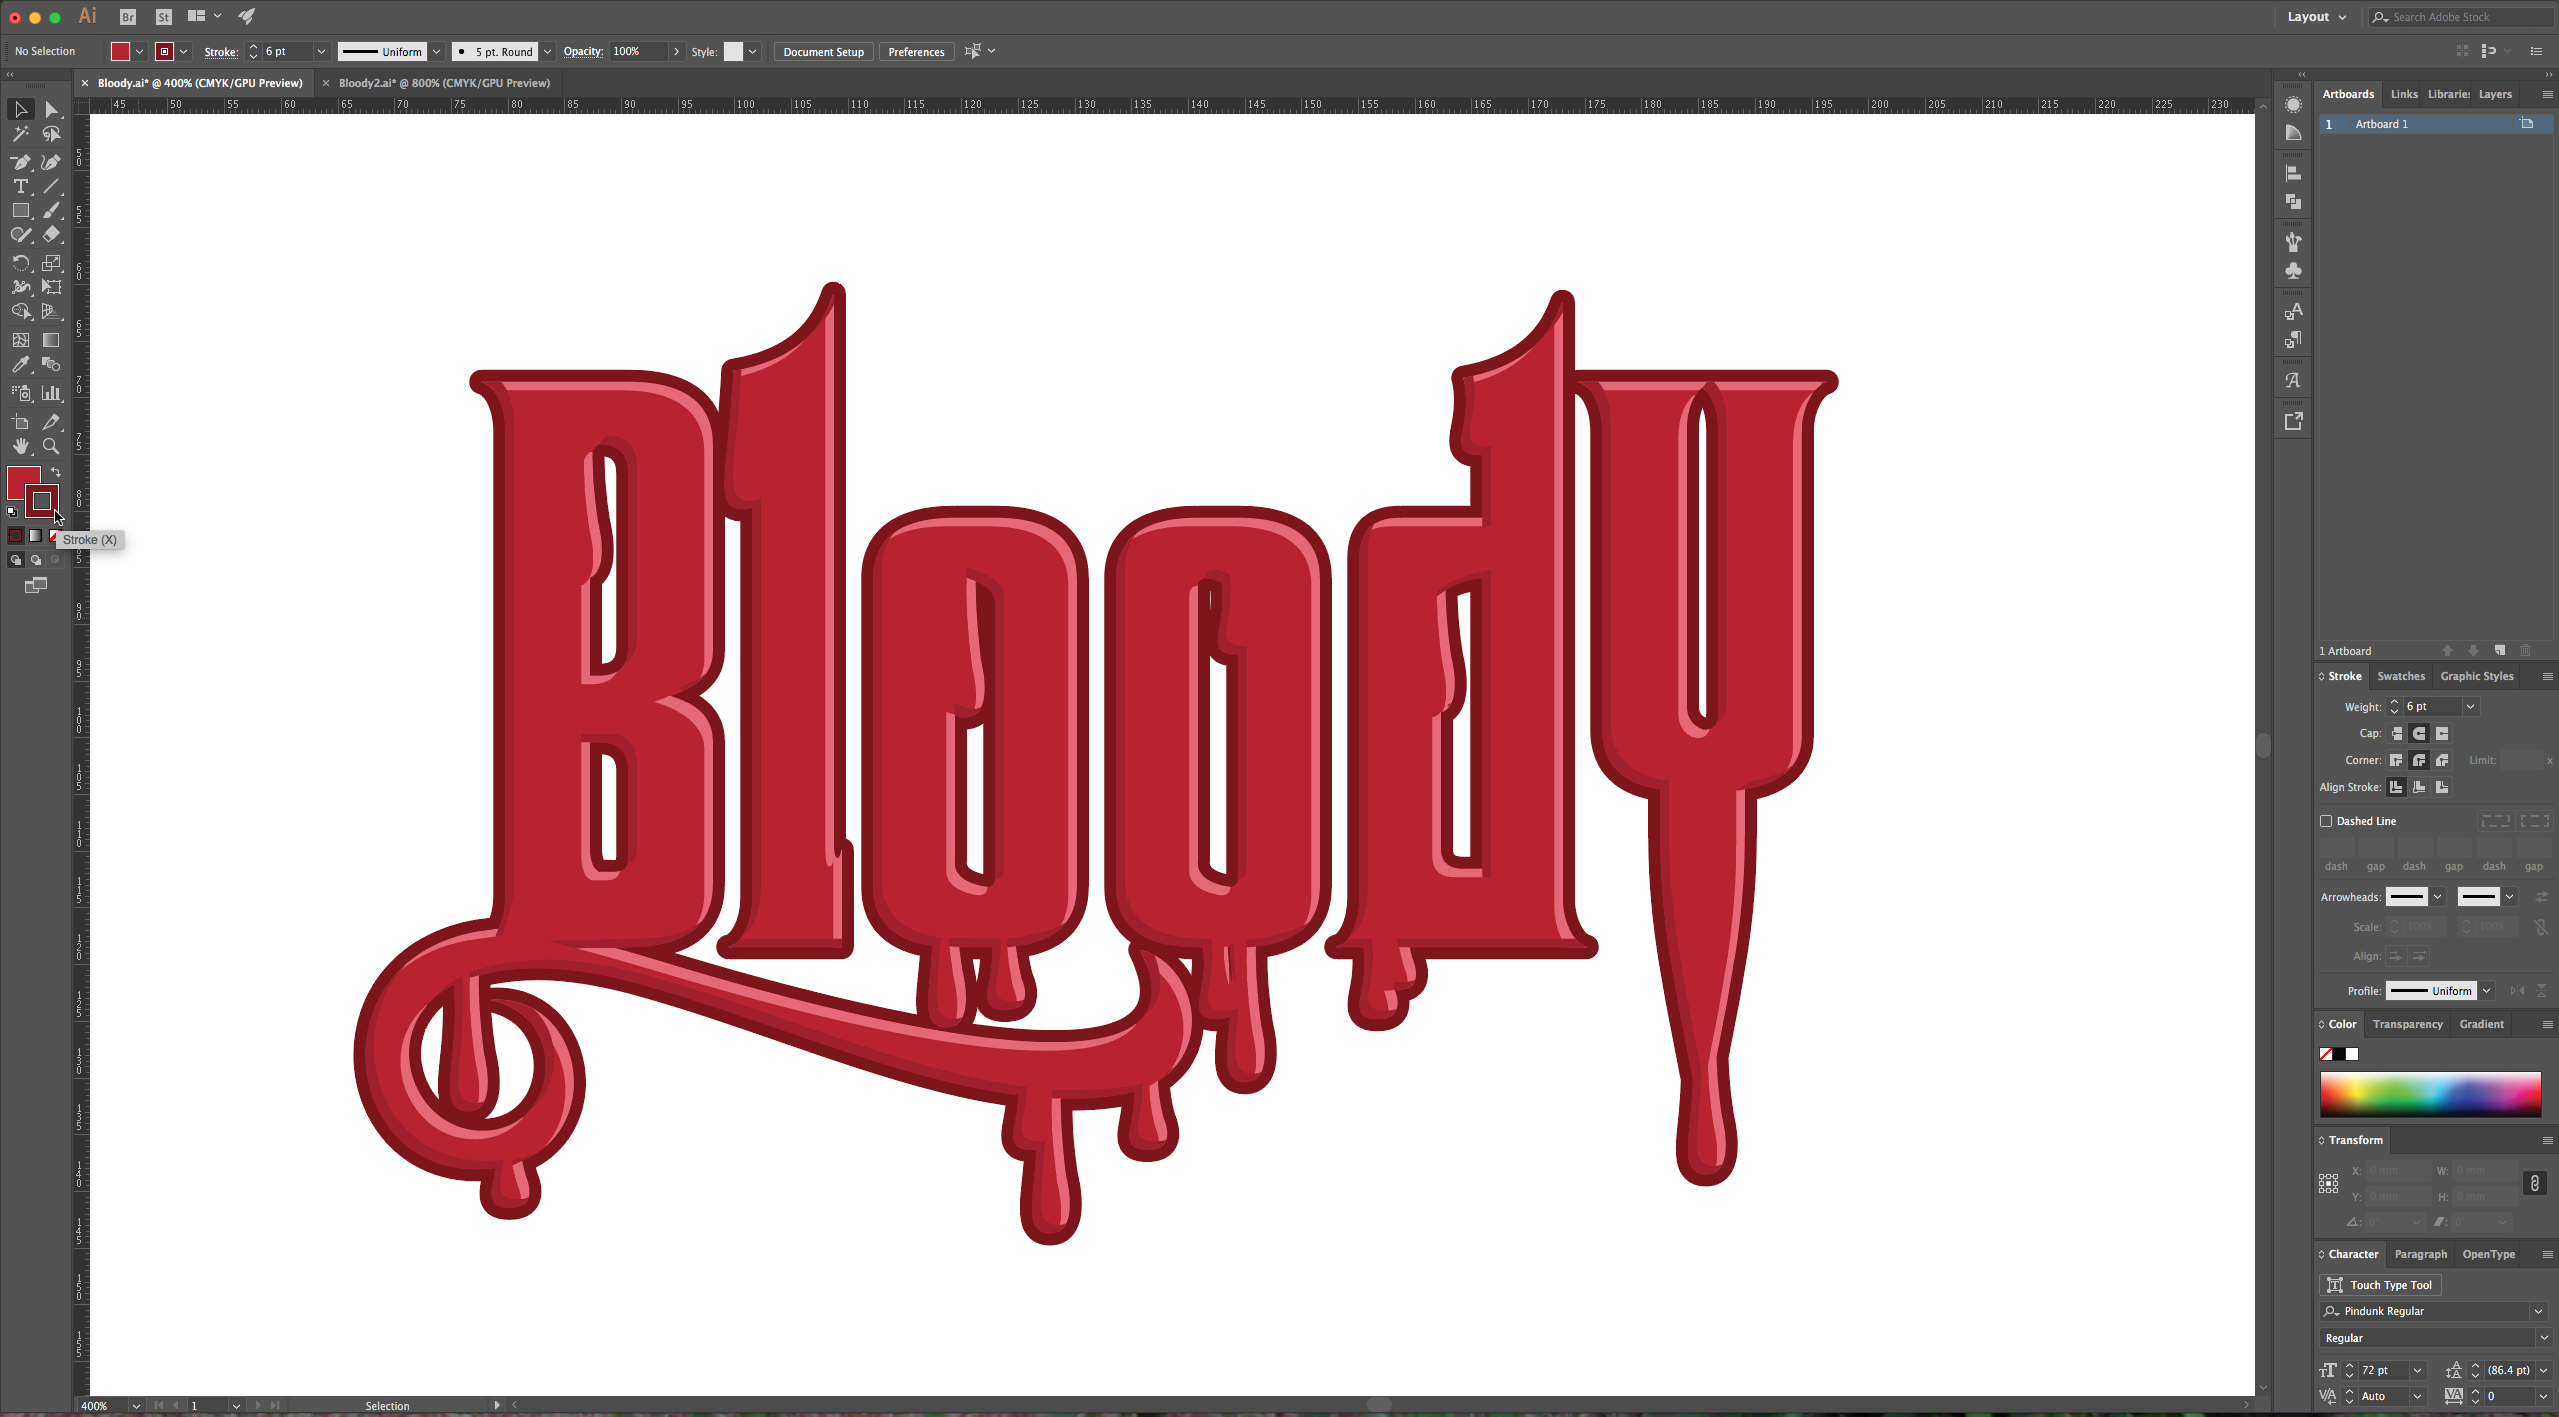
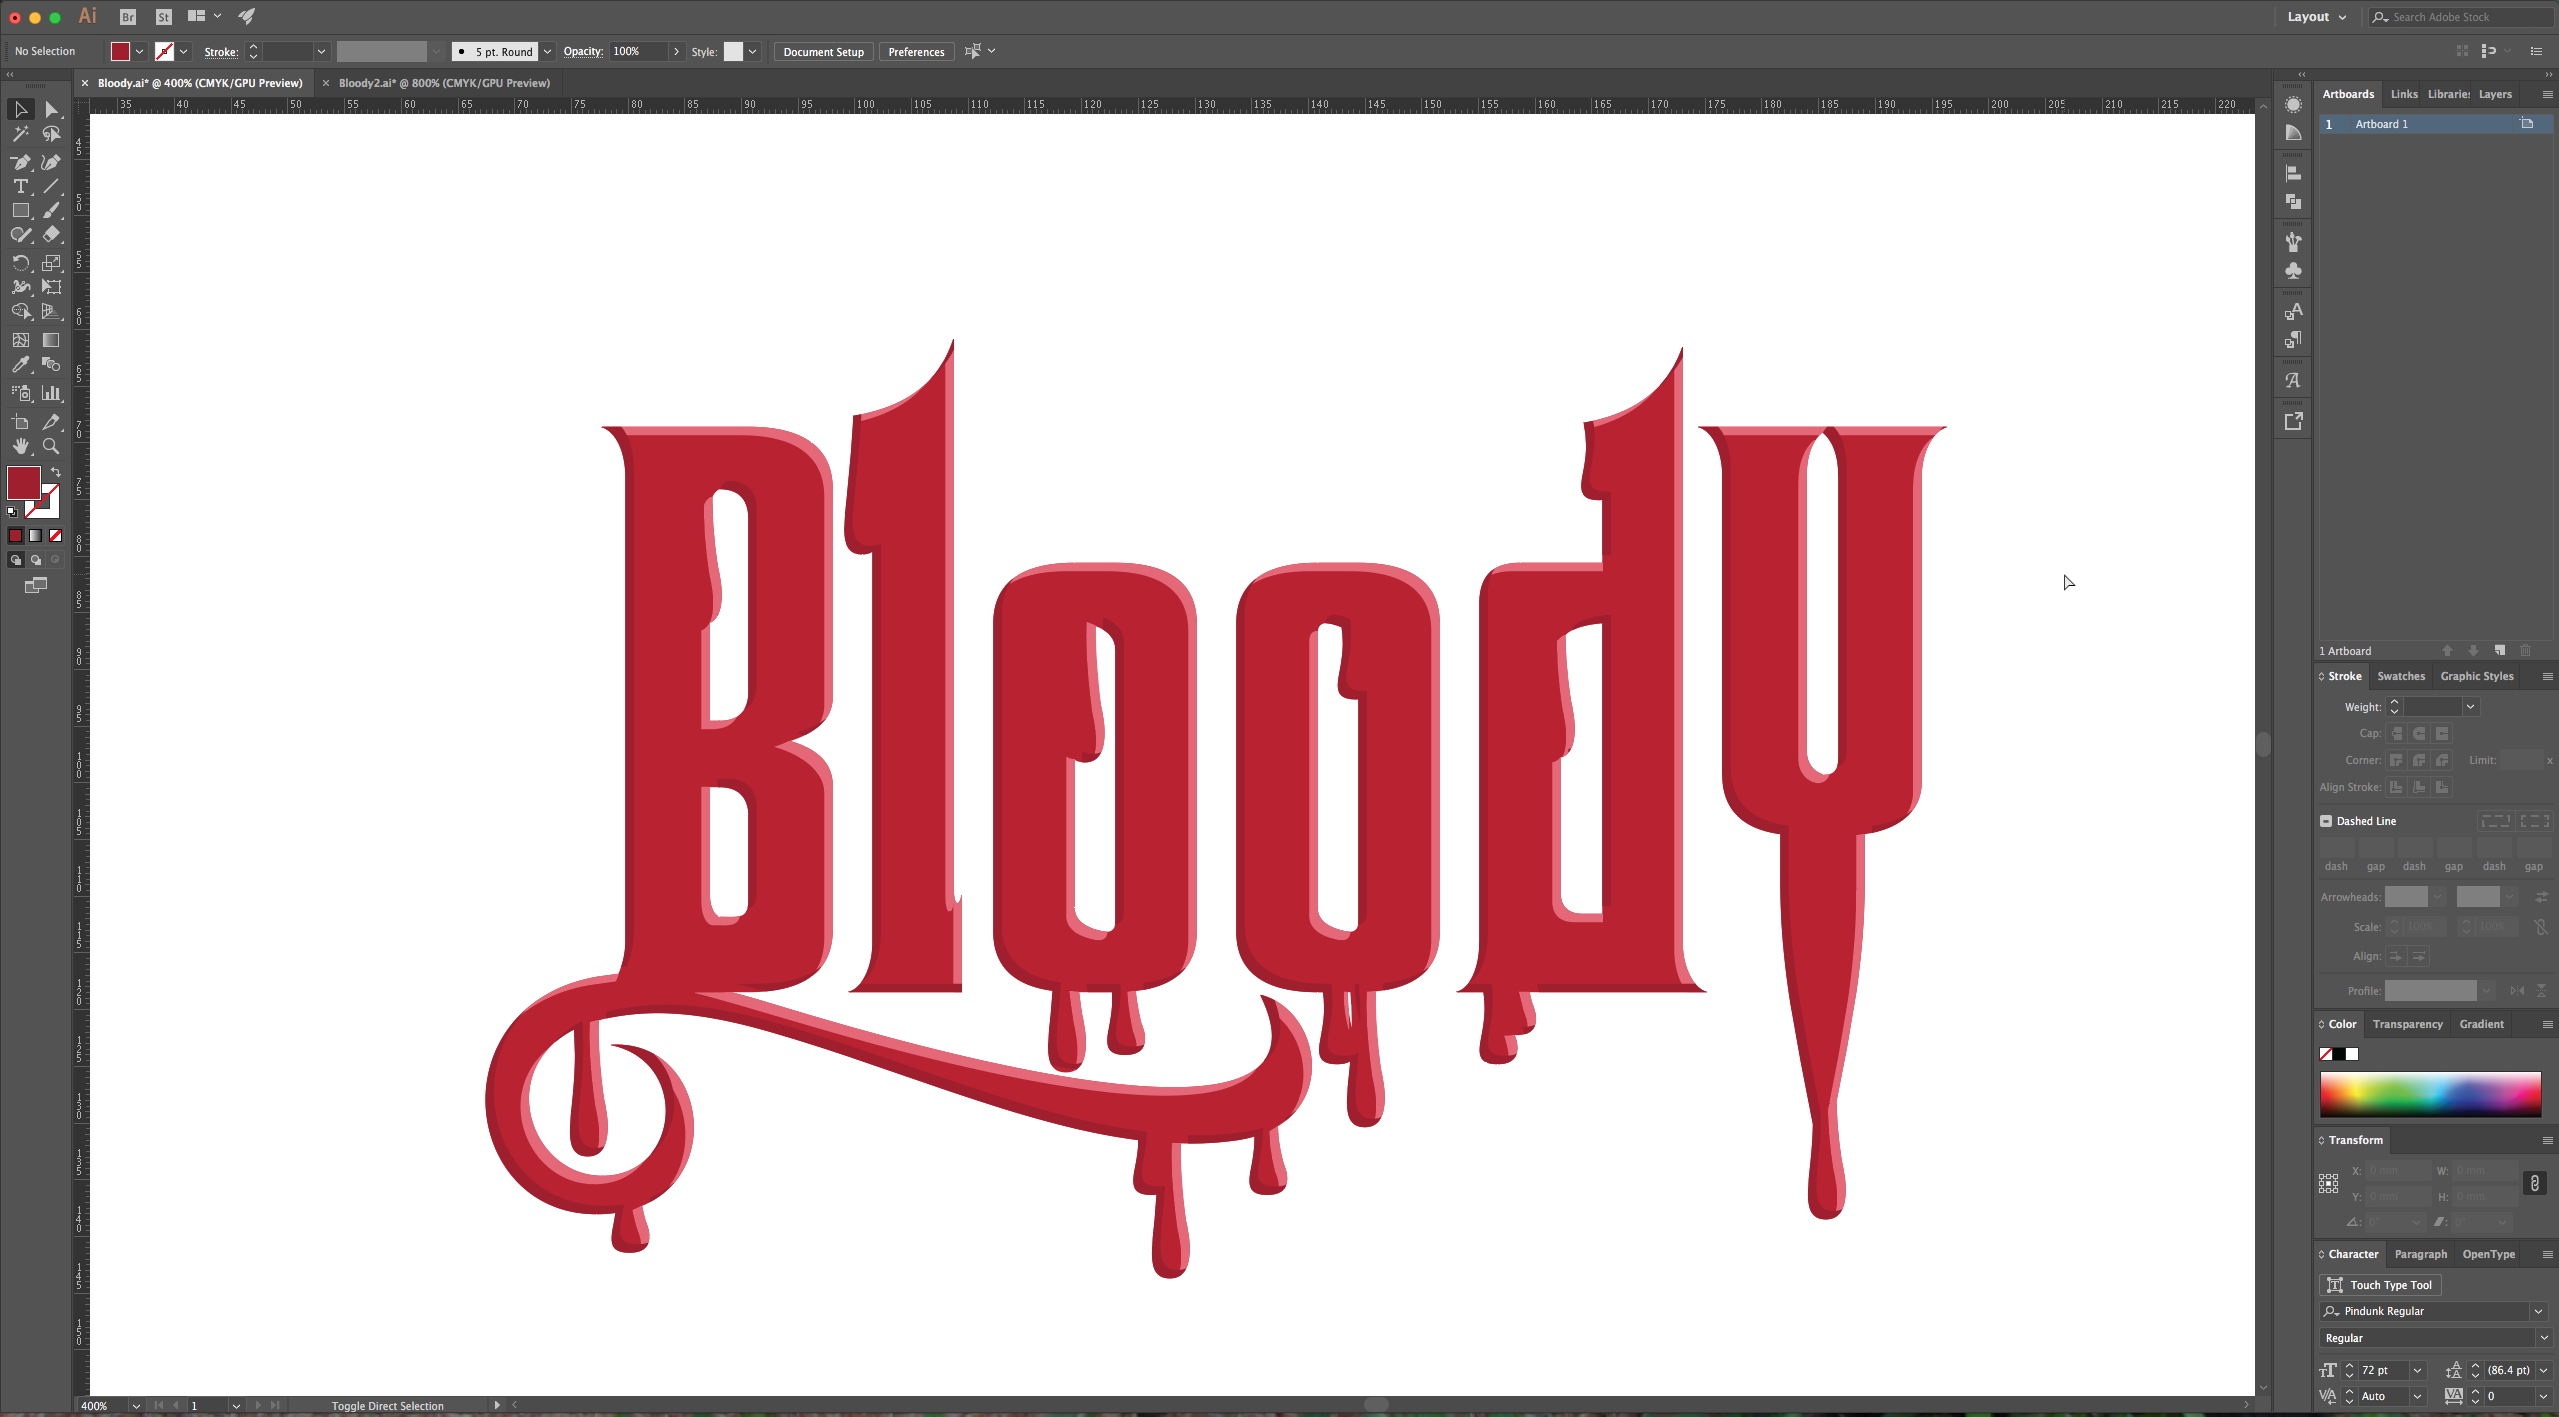
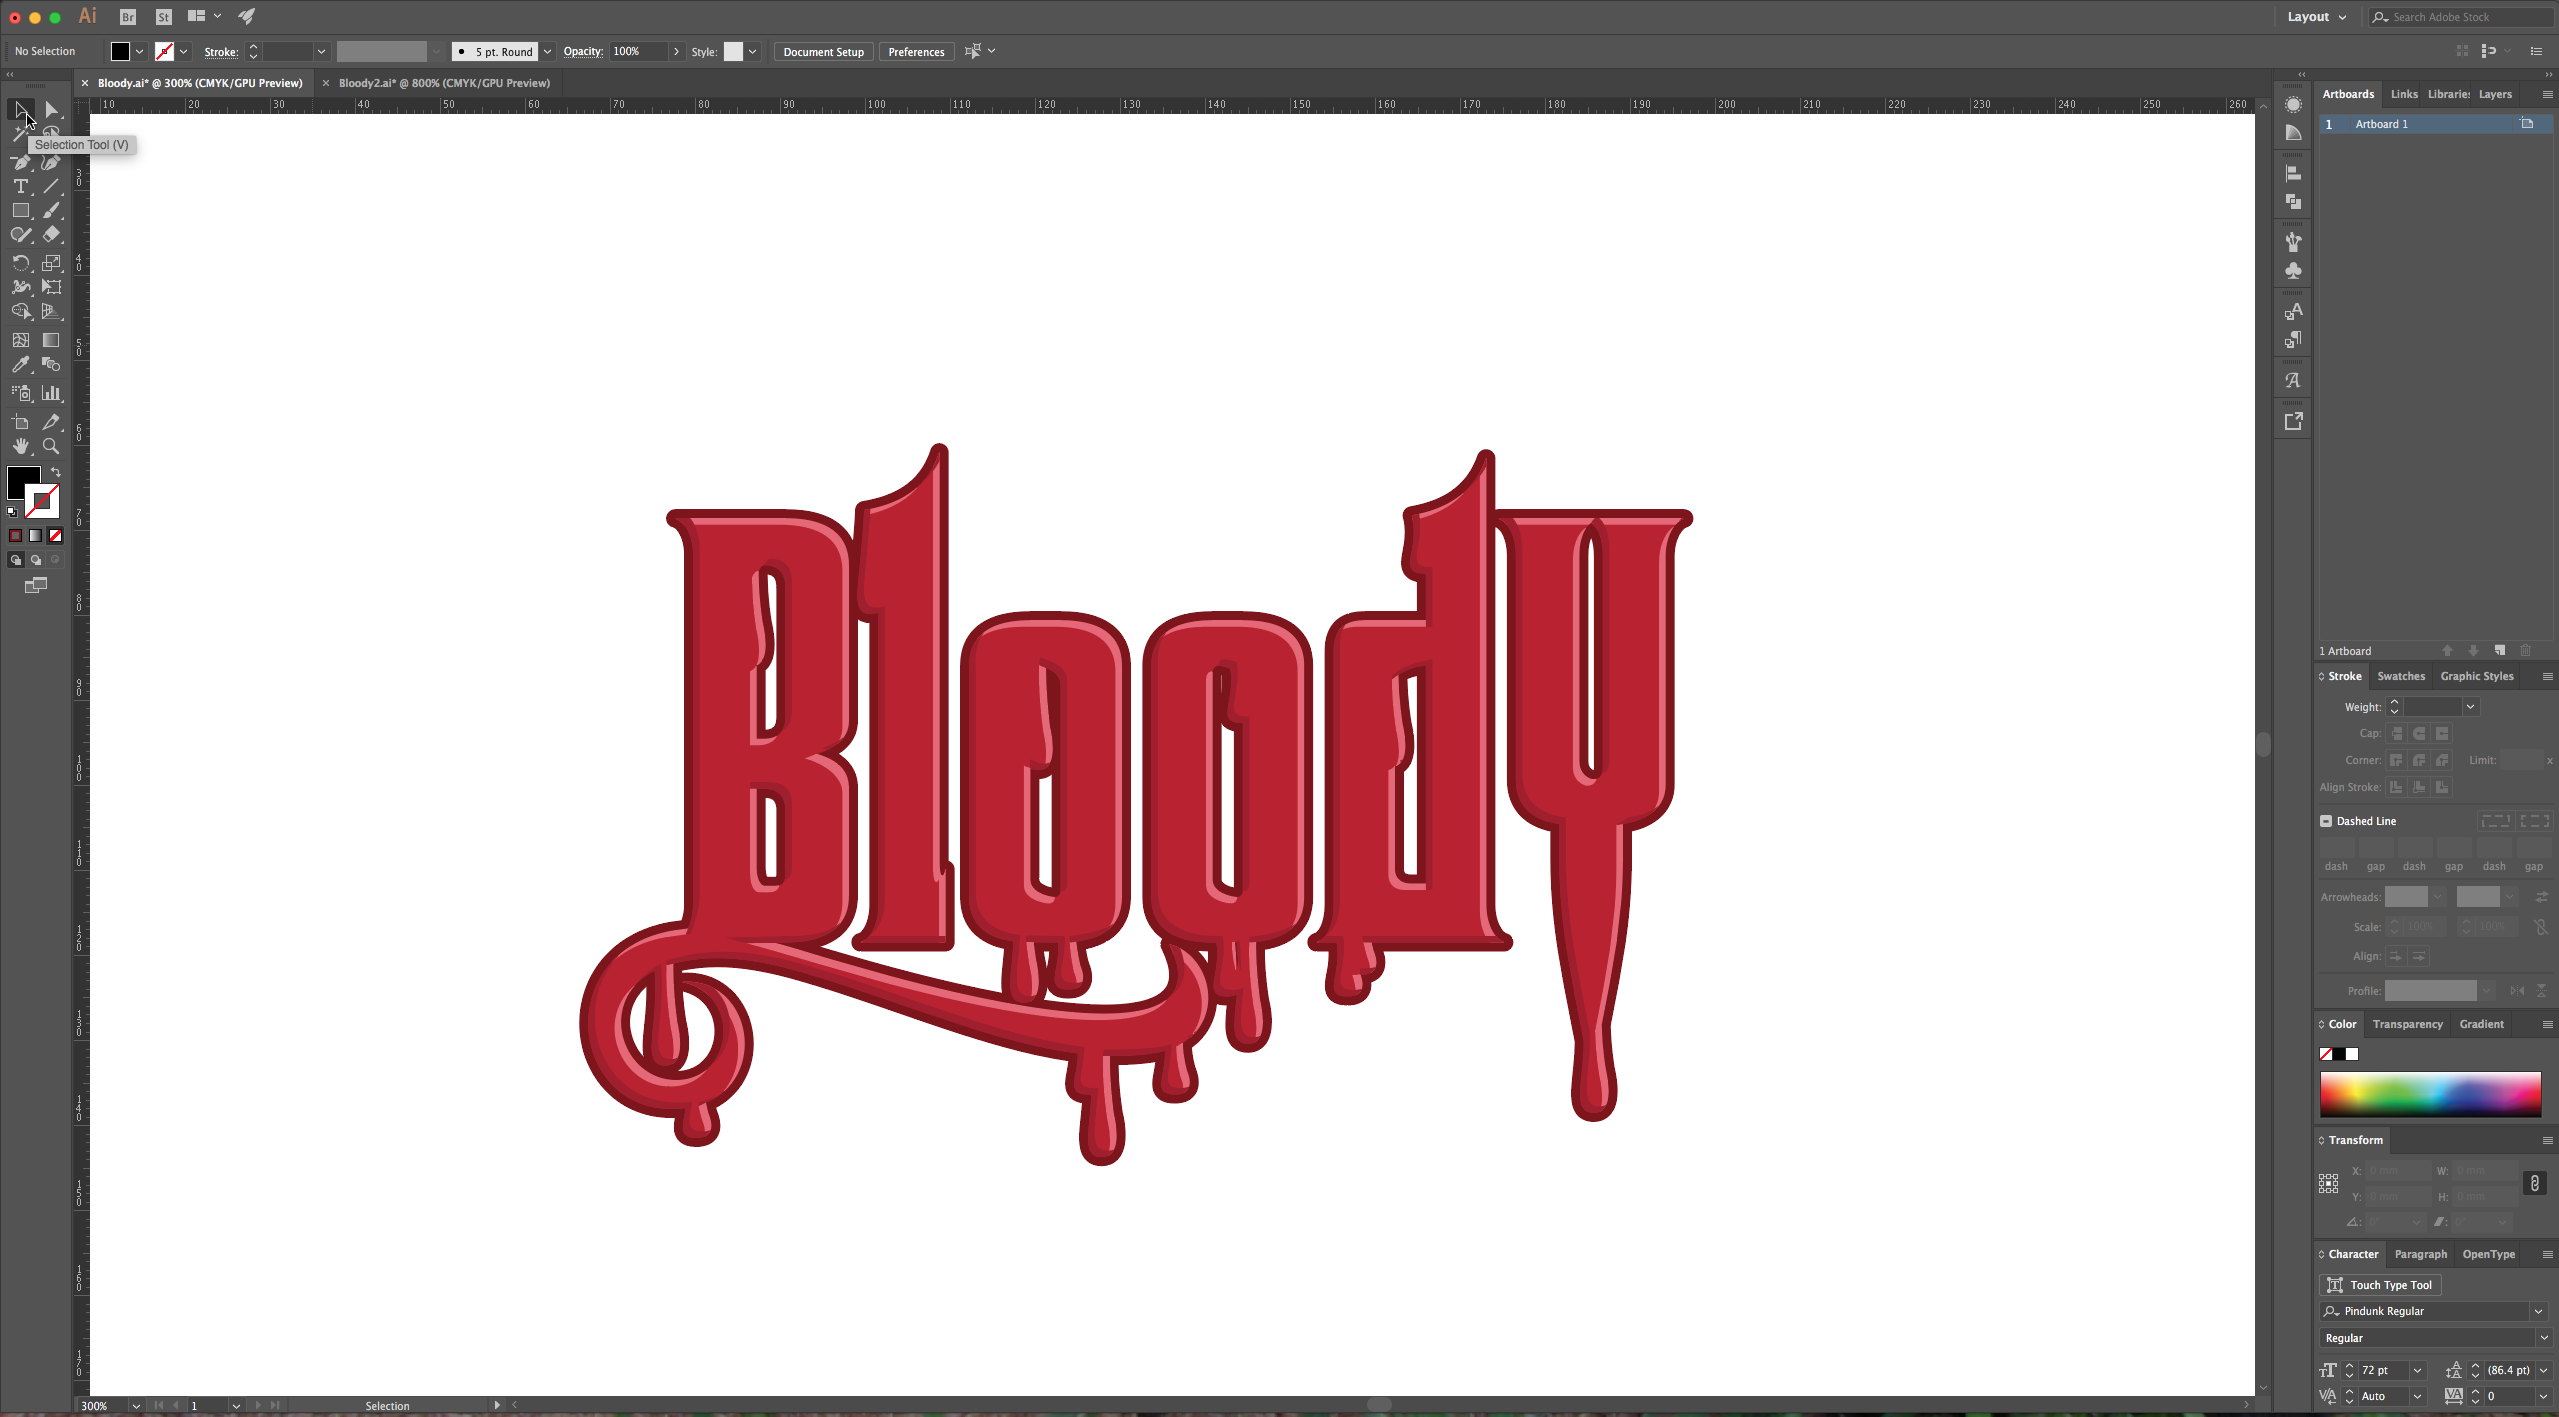
12 – Your text should look like this:
2 – Type some text and choose a font. In this case we used Pindunk Typeface from Font Bundles.
This font has some alternates and you can access them by selecting just that character with your “Type Tool” or you can select the alternates in the “Glyphs” menu.
3 – Give your text a deep red fill color, we used #BA0C29. After you are happy with your text right-click on top of it and choose “Create Outlines” (After you do this your text won’t be editable).
4 – Select your text with the “Direct Selection” Tool (A) and then remove some of the angles in your characters to make the inside of your letters more rounded.
5 – Select the “Pen Tool” (P) and draw some blood drops to make the impression that your text is dripping. You can copy (Command/Control + C) and paste (Command/Control + V) them and alter some of them until you are happy with the way it looks. Then you can group or merge your drops. With your drops selected go to the “Pathfinder” menu and select “Unite”.
6 – Then select your text and your drops and in the “Pathfinder” menu select “Unite” again to merge them all together.
7 – Make a copy of your text (Command/Control + C) and then click “Paste in Place” (Shift + Command/Control + V) five times so you will have 6 copies of your text to work with. Select the one in the front and move it two clicks to the left and two clicks down. Then select the text right behind it and change its color to a lighter shade (we used #E56777).
8 – Select that lighter text and the one you moved and in the “Pathfinder” menu click in the option name “Minus Front”. Then select the resulting paths and with the “Direct Selection” Tool you can modify the paths to make them more realistic.
9 – Now, move the next text layer two clicks up and two clicks right. Select the next one by right-clicking on your text and choosing Select > Next Object Below (make sure that you still have another copy of your text under before using the Pathfinder function). Then go to the “Pathfinder” menu and choose the “Minus Front” option again. If your path is not on top go to Object > Arrange > Bring to front and bring it forward and the change its fill color to a darker shade (we used # a11d2a).
10 - Select the resulting paths and with the “Direct Selection” Tool you can modify this paths too to make them more realistic.
11 – Select your text making sure the you are selecting the one that is complete and then make a copy (Command/Control + C) and Paste in Back (Command/Control + B). Give it a 6-point Stroke, filled with a dark shade of red (we used #7F0917) and make its Cap and Corner Rounded.
12 – Your text should look like this:
Related Tutorials
Illustrator Tutorials
Repeating Outline Text Effect in Illustrator
Discover how to make a repeating outline text effect in Illustrator.
Illustrator Tutorials
How to Create a Marquee Sign Text Effect in Illustrator
Illustrator Tutorials
Plastic Text Effect in Illustrator
Illustrator Tutorials
Glitch Text Effect in Illustrator
Learn how to create a glitch effect in Illustrator following these techniques.
Illustrator Tutorials
Gradient Stroke Text Effect in Illustrator
Illustrator Tutorials