By Design Bundles
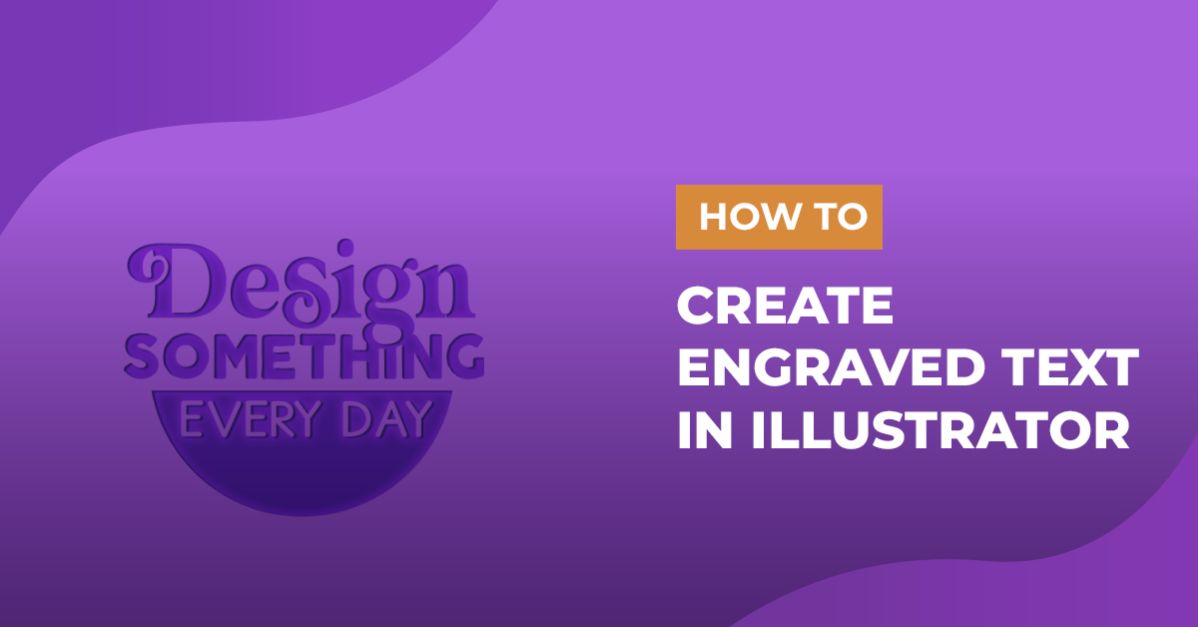
Engraved Text Illustrator
For this tutorial, we are using “Butler” free font from Fabian De Smet and/or GarmentDistrict Regular.
1 - In Illustrator, create a “New Document”.

2 - Select the “Rectangle Tool” (M) and drag your cursor from the top-left corner to the bottom-right corner of your document to create a rectangular shape. Fill it with a “Radial Gradient”, we chose two shades of brown from the “Swatches” palette and used the lighter one for the center and the darker one for the outer portions.


3 - In the “Layers” panel, lock your layer by clicking on the small lock icon to the left of the thumbnail and then create a “New Layer” by clicking on the button at the bottom of the Panel.


4 - Select the “Type Tool” (T) and type your text. Choose the font you like and make it as big as you want. Then, with your text still selected, set the “Fill” and “Stroke” colors to “None”.


5 - Go to the “Appearance” Panel and choose “New Fill” from the pop-up menu in the top right corner. Click on the “Fill” swatch and choose a dark shade of the colors used for the background.


6 - With the “Fill” selected in the “Appearance” Panel, click on the “Effects” button at the bottom of the panel and choose Stylize > Inner Glow. Change the “Mode” to “Normal”, the “Fill” color to a shade slightly darker than the light shade used for your “Background” (#BCAA8A), the “Opacity” to 90 and the “Blur” to 1.76 mm (around2 pixels) and check the “Center” radio button. Depending on the size of your text, you may need to tweak the “Blur” value.


7 -With your text still selected, create a “New Fill” in the “Appearance” Panel and drag its thumbnail to place it under the one you just applied the effect to. Select this new Fill and change the color to slightly darker shade than the original text color (#4b413d).


8 - With the “New Fill” selected go to the “Effects” menu and choose Distort & Transform > Move and change the “Vertical Move” to -0.3528 mm (around -1 pixel). (Depending on the size of your text you may need to change this value).


9 - Create a “New Fill” as before, fill it with white and place it under the other two. With that “Fill” selected apply a “Transform” Effect but this time use 0.3528 mm for the “Vertical Move” value.


10 -If the white seems too bright, select the “Fill” layer and lower its “Opacity” to 70% in the “Transparency” Panel.

11 - The text remains editable and, you can apply this effect to other text or even vector objects by creating a “Graphic Style”. Just select your text and in the “Graphic Styles” Panel click in the icon at the bottom.


Remember that you need to select your text to apply the effects to the fills, otherwise it will seem that you are applying the effects but you will not see them.