By Design Bundles
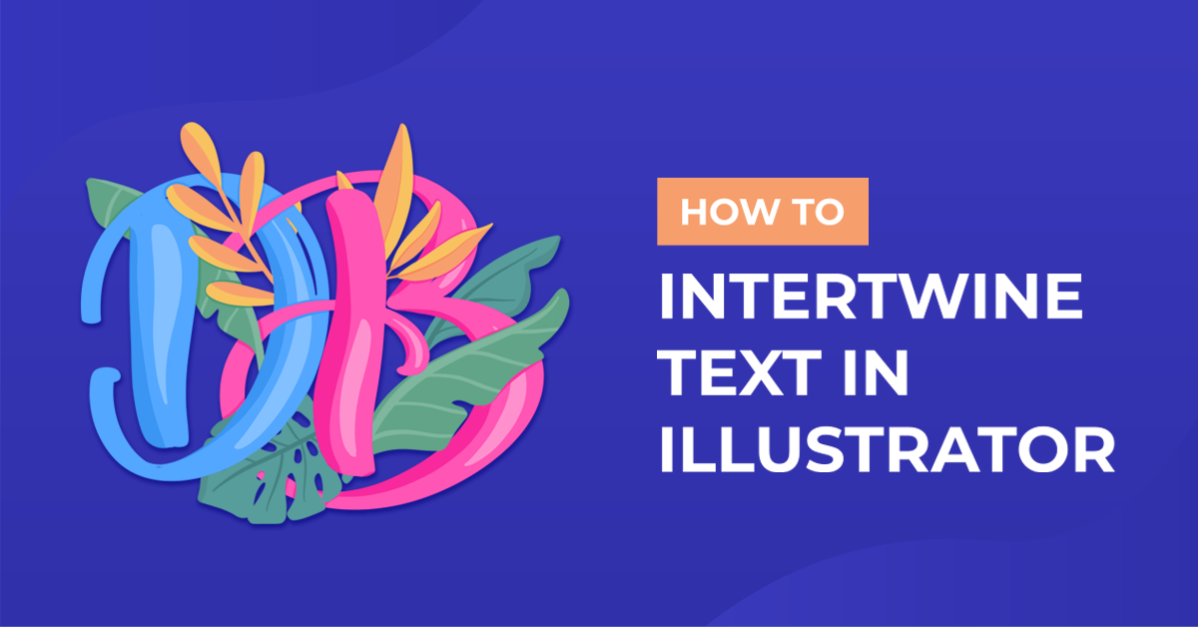
How to Intertwine Text in Illustrator
This tutorial will show you how to intertwine text in Illustrator. You can use intertwined text in your logos, on posters, cards, flyers, and sublimation designs to help draw attention. Intertwining text makes your designs pop and more attractive.
There are a few different ways of creating intertwined text in Illustrator. If you're more of a visual learner, you can check out the following video for one way.
Follow the steps below for another way on how to intertwine text.
Step 1 - Add a Text Object
Select the Text Tool (T), pick the font you want to use, click the canvas, and type your word(s). Edit the text size and spacing to your liking.
We typed out "Design Bundles" with the handwritten script font, Sunset Chaser, from Font Bundles.

Make sure you're happy with the font because you won't be able to change it after the next step.
With the text selected, go to Type > Create Outlines (Shift+Ctrl/Cmd+O). This will create shapes out of the text object, making each letter its own shape object.

Because our letters overlap in some areas, we want to unite the shapes. Open the Pathfinder panel in the toolbar on the right with the letters still selected and click Unite.

Step 2 - Add Another Text Object or a Shape
You can add another text object to intertwine with the first text or add a shape. We will be using a flower graphic from Design Bundles' Plus Hub. Flat designs are the easiest to work with for this technique.
Open the flower file. Select the flowers and click Shift+Ctrl/Cmd+G to ungroup the set of flowers. Pick which flower you want to use. We chose to use the upper far left flower but excluded the lines on the leaves.
The flower graphic is made up of multiple separate shapes. We will edit the shapes to make them easier to work with.
Edit Flower Shapes Using Pathfinder Tools
You can copy (Ctrl/Cmd+C) and paste (Ctrl/Cmd+V) the flower to another artboard or document if that makes it easier for you.
Unite Same Colored Shapes
Ungroup the flower shapes. Select the stem and leaves that are of the same color and click Unite in the Pathfinder panel.

The new united shape is now in front of the flower head, and we want to move it to the back. Select the stem and leaves, right-click, and choose Arrange > Sent to Back.

Merge Different Colored Shapes
Next, select all the flower shapes and click Merge in the Pathfinder panel. This will help to clean up the flower shapes even more.

Now, copy and paste the flower on top of the text you created earlier. Resize, rotate, flip, or move the flower to your liking.

Step 3 - Divide the Text and Flower Shapes
Select everything except the flower head shapes. Click Divide in the Pathfinder panel. The text and flower shapes are now made up of new smaller shapes.

With the new shapes still selected, ungroup.
The Divide tool also created new empty shapes in between the text and flower shapes. Select an empty shape that doesn't have a fill and stroke. Go to Select > Same > Fill Color.

With all the empty shapes selected, like in the following image, press Delete. This will help clean up the design a little making it easier to select shapes.

Step 4 - Change Shape Colors to Create Intertwined Design
Now to the fun part. You get to pick which parts you want in the back and which parts you want in the front. Because the flower is in the front, we want to choose shapes and change their color to the text color to make it look like it's behind the text.
Select one or more shapes to recolor. Hold Shift while clicking to select more than one shape. Then select the Eyedropper Tool (I), and click on a piece of the text to change the color of the selected shapes to the text color.
See the following image for a better understanding.

Be careful if your design is more complicated than the one we're making. You want the intertwining to make sense, so be mindful of the shapes you choose to place behind or in front.
After recoloring the shapes, you should have a design similar to the image below. Isn't it cool how the stem and leaves look like they weave back and forth between the front and back of the letters?! They even go through some of the loops of the letters.

We could stop here, but we're actually going to clean up the design a little bit to make a better design file.
Step 5 - Clean Up Design Using Compound Paths
It's important to clean up your design file, especially if you are creating an SVG file to be used in Cricut Design Space.
When you select all the shapes with the Selection Tool (V), you will see that the design is quite messy. You can also look at it in Outline mode by going to View > Outline (Ctrl/Cmd+Y).
The image below compares the two different modes. Notice the outlines of the shapes. Even though the shapes of the same color are touching, they're still their own separate shapes. We want to combine the shapes of the same color.

If you're still in Outline mode, click Ctrl/Cmd+Y to go back to Preview mode. To clean up the design, select one of the shapes and go to Select > Same > Fill Color. Then go to Object > Compound Path > Make (Ctrl/Cmd+8). Repeat this step for the rest of the colors.
Notice how clean the "After" example looks in Outline mode in the following image.

Now that you know how to intertwine text in Illustrator, you might want to learn how to create a neon text effect, engraved text effect, or sketch text effect in Illustrator.