By Design Bundles
How to Use the Pathfinder Tool in Illustrator
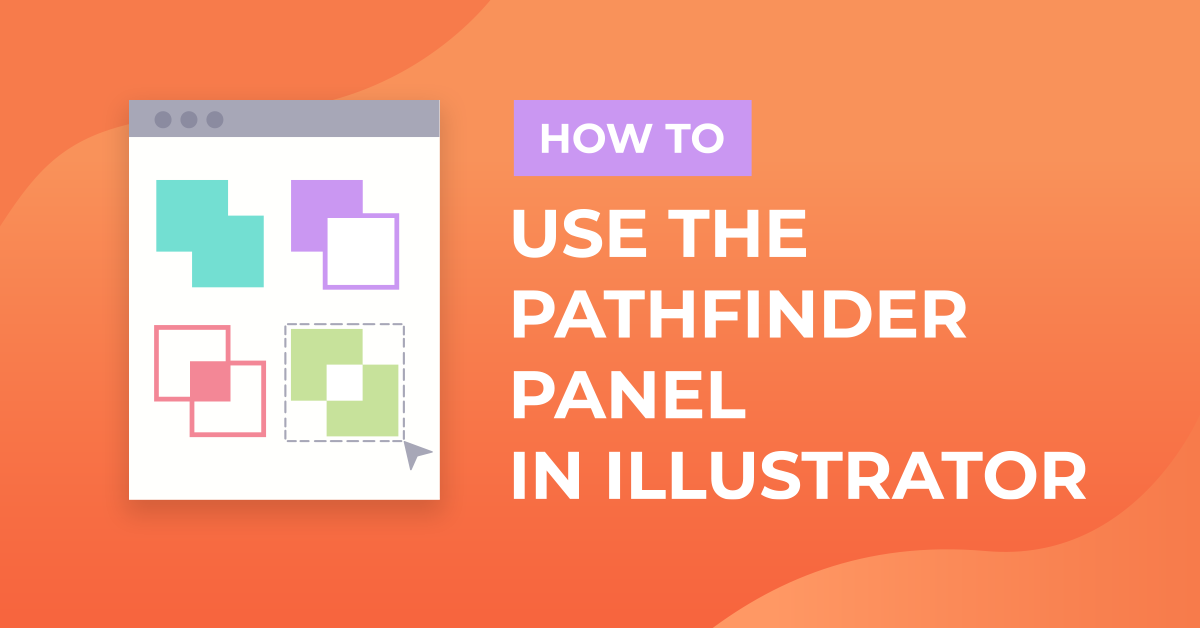
The pathfinder tools are really useful to design unique and custom shapes. Within the Pathfinder Panel, you have 4 Shape Modes and 6 Pathfinders. Shape Modes will create new shapes with the selected/overlapping shapes, whereas pathfinders will break/change existing paths.
In this tutorial we will cover all of the Pathfinder tools:
1. Locate the Illustrator Pathfinder Panel
Start by opening your Pathfinder Panel by clicking Window > Pathfinder.

2. Pathfinder Tools
Your Pathfinder Panel will present you with 10 different icons/actions. We will show you what each of these can help you to achieve.

Unite
The Unite pathfinder tool will combine all selected objects into one solid shape, creating 1 outlining path. This tool is also useful for uniting overlapping text into 1 solid shape, particularly script fonts. For this demonstration, we are using the font Sunkissed from Design Bundles.

1. Outline your text to create individual letters/shapes.

2. Select all the individual shapes/letters and select the Unite tool to create 1 single outlined shape.

Minus Front
When selecting 2 overlapping shapes, the Minus Front tool will remove the front layered shape from the shape layer below where it overlaps, creating 1 single outline path.

1. Create and select your 2 overlapping shapes.

2. Select the Minus Front tool.

Intersect
When selecting 2 overlapping shapes, the Intersect tool will create a new shape from the overlapping section of the 2 shapes.

1. Create and select your 2 overlapping shapes.

2. Select the Intersect tool.

Exclude
When selecting 2 overlapping shapes, the Exclude tool will remove the overlapping section of the 2 shapes to form 1 shape.

1. Create and select your 2 overlapping shapes.

2. Select the Exclude tool.

Divide
When selecting 2 overlapping shapes, the Divide tool will create a new shape from the overlapping section of the 2 shapes, to give you 3 shapes.

1. Create and select your 2 overlapping shapes.

2. Select the Exclude tool, then ungroup the shapes. They can then be separated individually.

Trim
When selecting 2 overlapping shapes, the Trim tool will remove the top shape from the overlapping section of the below shape.

1.Create and select your 2 overlapping shapes.

2.Select the Trim tool, then ungroup the shapes. They can then be separated individually.

Merge
When selecting 2 overlapping shapes, the Merge tool will join 2 shapes of the same hue and will trim from shapes of other hues.

1.Create and select your 3 overlapping shapes.

2. Select the Trim tool, then ungroup the shapes. They can then be separated individually.

Crop
When selecting 2 overlapping shapes, the Crop tool will remove the exposed part of the under layer, leave the overlapping section of the other (removed) shape and the path of the remaining top layer section.

1.Create and select your 2 overlapping shapes.

2. Select the Crop tool, then ungroup the shapes. They can then be separated individually.

Outline
When selecting 2 overlapping shapes, the Outline tool will create an outline of every section of the 2 shapes.
1.Create and select your 2 overlapping shapes.

2.Select the Outline tool, then ungroup the lines. They can then be separated individually.

Minus Back
When selecting 2 overlapping shapes, the Minus Back tool will achieve the opposite of Minus Front. Minus Back will remove the back layered shape from the shape layer above where it overlaps, creating 1 single outline path.

1. Create and select your 2 overlapping shapes.

2. Select the Minus Back tool.

The Pathfinder Panel opens so many creative opportunities in Illustrator. Experimenting with these tools and different shapes/combinations will help you to understand what you can achieve. This is a great tool to get to know and will give you full flexibility to design different shapes and custom designs for SVGs, icons, logos and so much more.
Next up, learn how to make a triangle in Adobe Illustrator.