By Design Bundles
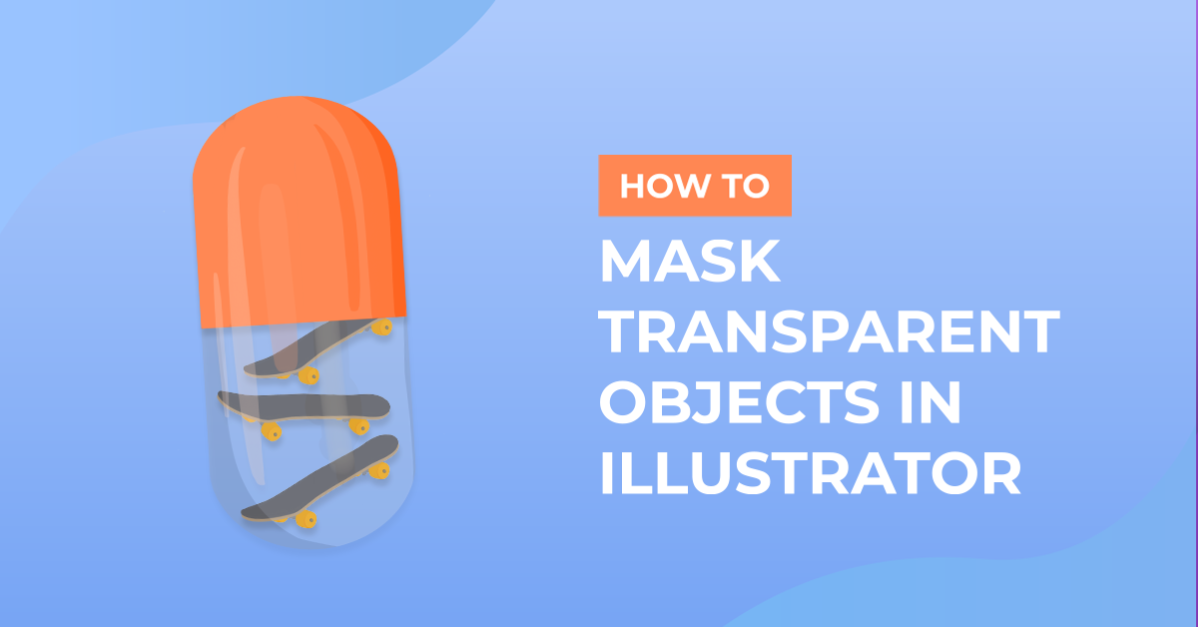
Mask Transparent Object in Illustrator
For this tutorial, you will need a monochromatic Vector Image of a Glass to apply the effect to. If you don’t have the image you can create the outline of it using the “Pen Tool” (P).
1 - In Illustrator, open the image you chose to work with or create a “New Document”.

2 - If your “Page Rulers” are not active, go to View > Rulers > Show Rulers (Command/Control + R) to bring them out. Then, click and drag from the Left Ruler to the Center of the Vector to add a “Guide”.


3 - Select the “Rectangle Tool” (M) , cover the left side of the “Glass” with a rectangle.


4 - Select both vectors (“Shift” key), head to the “Pathfinder Panel” and choose “Minus Front” to remove the right portion of the “Glass”.


5 - With the other side selected, go to Effect > 3D > Revolve... Use “0” in the first four boxes, a 360°, a 0 pt “Object”, from “Left Edge” and “Plastic Shading”. If you want a bit of depth, change the first value to 3°.


6 - Click “More Options” at the bottom of the panel and change the “Shading Color” to “None”. Click “OK”.


7 - Open the “Color Panel” and change the “Fill” color to light shade of blue (we used 25% Cyan).

8 - Go to Object > Expand Appearance to make your vector editable again.


9 - Right-click on top and choose “Ungroup” twice.

10 - Use the “Pent Tool” (P) with only “Stroke” color selected and create a “Path” inside the “Glass”. Follow the borders of the bottom portion remaining slightly separated from them. When you are about half way to the Top proceed to the other side giving the line a curve upwards. The idea is to create the liquid contents of the “Glass” (in our case wine).


11 - Use the “Swap Fill and Stroke” arrow (Command/Control + X) to make the “Fill” color active and use a “Radial Gradient” from Red (Location 0%) to Black (Location 70%), with a 49.5° Angle. Tweak the gradient to your liking using the “Gradient Tool” taking into consideration where you want to place the Highlights and the Shadows.


12 - “Copy” (Command/Control + C) and “Paste in Front” (Command/Control + F) the “Path”.


13 - Then, use the “Direct Selection Tool” (A) to change the curve in the upper portion and make it Concave.


14 - Change the “Gradient values a bit. We used a 95.8° Angle, changed the “Location” of the Black to 100% and used an “Aspect Ratio” of 124.3.


15 - Select the front of the “Glass”, right-click on it and choose “Bring to Front”. Head to the “Transparency Panel” and change the “Blending Mode” to “Multiply”.


16 - “Copy” (Command/Control + C) and “Paste in Front” (Command/Control + F) this “Path”. Then, change the “Blending Mode” to “Soft Light” and the “Opacity” to 30%.


17 - Using the “Pen Tool” (P) add a closed “U” shaped “Path” in the center of the “Glass”. Start from the Top and fix whatever is needed using the “Direct Selection Tool” (A).


18 - Fill the path with a “Linear Gradient” from Black to White. Place the “Location” of the “Midpoint” at about 25% and use a 90° Angle.


19 - Adjust the length of the “Path” to fit the “Glass” if you think is needed.

20 - Use the “Ellipse Tool” (E) to create an “Oval” shape at the bottom of the “Glass” and fill it with Black.


21 - Change the fill to a “Radial Gradient” from Grey (Location 0%) to Transparent (Location 100%), with a 0° Angle and give it and “Aspect Ratio” of 12.5%. Head to the “Transparency Panel” and change the “Opacity” to 50%.


22 - Right-click on top and choose “Send to Back”. Move the “Shadow” to place it where it looks better.


23 - With the “Shadow” path still selected, head to the “Appearance Panel”, click on the “Effects” Menu at the bottom and navigate to Blur > Gaussian Blur. Use a 25 Pixels “Radius” and click “OK”.


24 - Head to the “Transparency Panel” and click the “Make Mask” button. Select the “Mask” thumbnail and use the “Rectangle Tool” (M) to create one that covers the “Shadow” path. Fill it with a “Linear Gradient” from White to Black and use a -90° Angle.


25 - Check out your Artwork!

by @lornacane