By Design Bundles
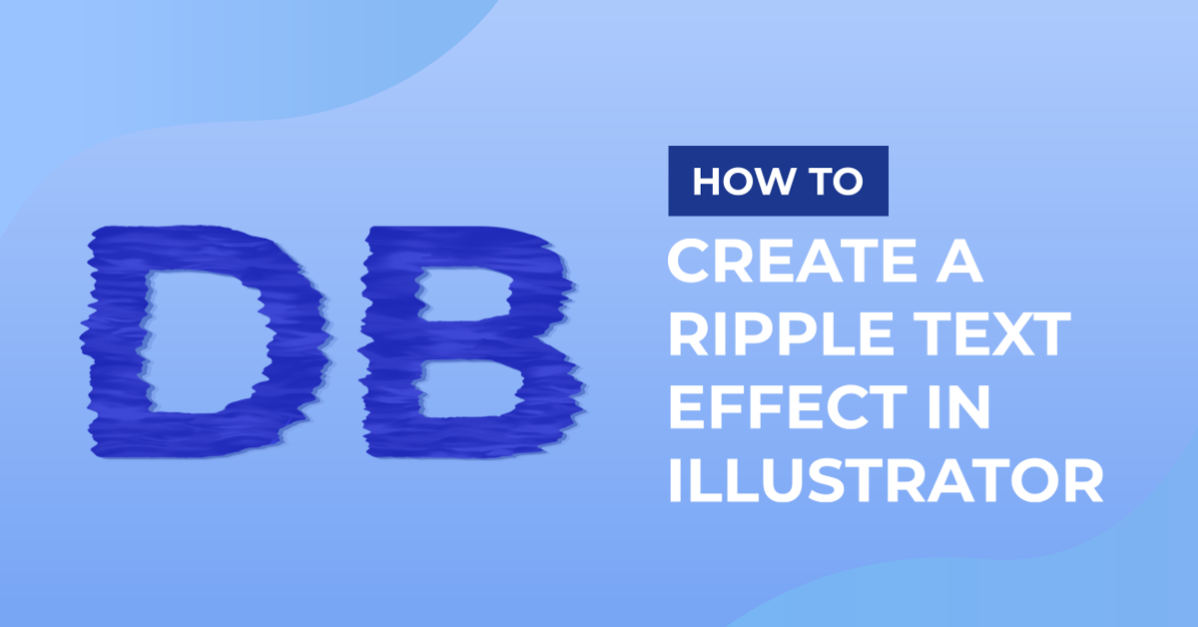
Ripple Text in Illustrator
1 - In Illustrator create a “New Document”.

2 - Select the “Type Tool” (T), choose your font (we used Myriad Pro Bold) and type your text.


3 - Select your text and center it by using the “Horizontal and Vertical Align Centers” buttons in the upper menu. Make sure you are aligning to the “Artboard”.

4 - With your text still selected go to Object > Expand and make sure that the “Object” and “Fill” boxes are checked. Click “OK”.


5 - Right-click on top of your text and chose “Ungroup”.

6 - In your “Toolbar” select the “Wrinkle Tool”, double-click on it and set the “Horizontal Wrinkle Option” to 100% and the “Vertical Wrinkle Option” to 0%, then click “OK”.


7 - Select one of your letters and with the “Wrinkle Tool” click on it to apply the effect. Experiment with it until you are satisfied. Repeat with the rest of the letters.


8 - Select al, your text and fill it with a “Gradient” using different shades of blue. Make the Gradient “Linear” with a 90° Angle.

9 - Add a “New Layer” by clicking on the button at the bottom of the “Layers” Panel.

10 - Select the “Rectangle Tool” (M) and draw a rectangle that covers your entire document. Fill it with a very dark blue and drag the layer to position it at the bottom underneath your text.


11 - Copy your text (Command/Control + C), create a “New Layer” and making sure your new layer is selected “Paste in Place” (Shift + Command/Control + V). Lock the two bottom layers by clicking left of their thumbnails to bring out the little lock icon, then select your new layer and give the “Stroke” the same shade of blue you used to fill your background. Set the “Fill” to “None”.


12 - Select one of the letters and apply the “Wrinkle Tool” again, click several times to get a very exaggerated effect. Go to the “Transparency Panel” and change the “Blending Mode” to “Soft Light” and repeat on each letter.


13 - Your text should look like this:

- You can use this effect with shapes too, and apply it only to the lower portion of your shapes or text to give the impression of sinking. You can play around with the gradient fill to give a more realistic effect.


You have just learned how to create a ripple effect in Illustrator.