By Nadine Spires
How to Trace in Inkscape Using Single Scan
The Trace Bitmap tool in Inkscape is a very useful tool for converting a JPG to an SVG. In this Inkscape tutorial you will learn how to use the Single scan settings. Designers can create digital art, turn a color image into an outline or convert a PNG to a SVG cut file.

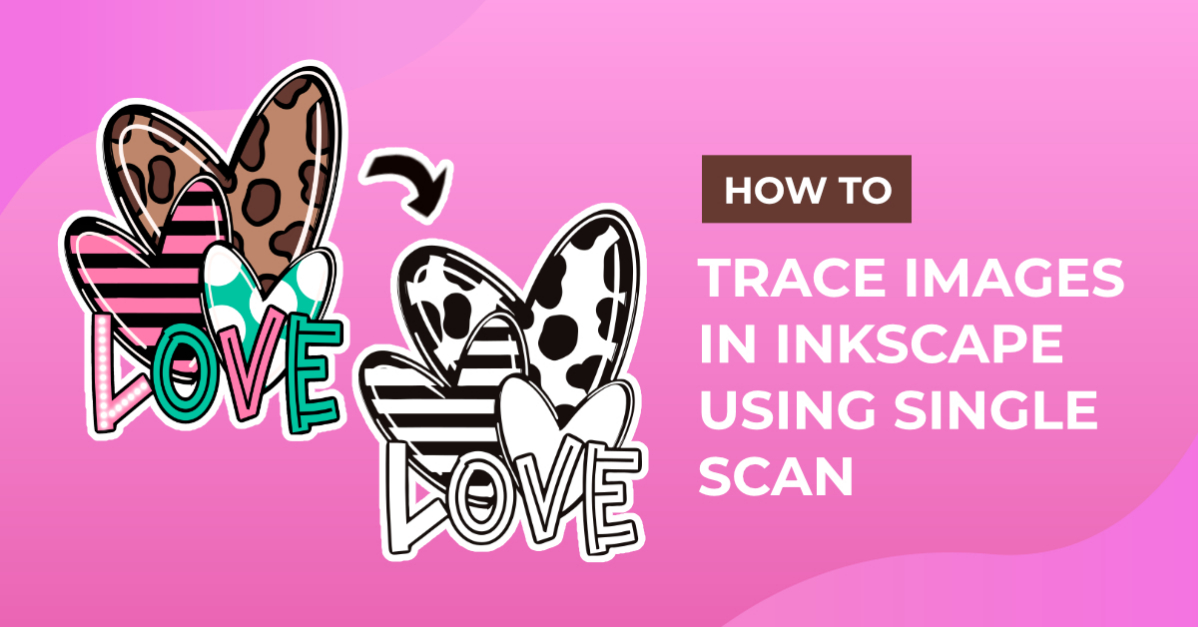
We are going to use this Retro Valentine Heart and a Valentine Sublimation PNG. For the Centerline Tracing option, we will use a Little Sunflower Single Line design from the Plus Hub.
Love what you see in the Plus Hub but not a member yet? Then sign up today for our FREE 30-day Gold Membership trial!
We also have a quick and easy tutorial on how to unzip files to your computer if needed. For this tutorial we will be using Inkscape V1.2.
The Trace Bitmap tool is great for converting an image into a vector, but it's not always accurate. For more control when tracing, we recommend using the Bezier Tool.
Single Scan Image Trace in Inkscape
The Single Scan trace option results in a black, white and gray trace result. Open Inkscape and then go to File > Open. Locate and open your purchased file. We will be using PNG files, but you can also open EPS files in Inkscape.
Let’s begin with a single color PNG file. When you open a file, you will see the png bitmap image import window. Leave the settings as is and click Ok.

Next, with the image selected, go to Path > Trace Bitmap. The settings window will open on the right side of the screen.

Single scan is recommended for single color designs and should be the first one selected under the Trace Bitmap settings. Check the box for Live updates at the bottom of the menu.
With Live updates, you can see changes instantly without manually updating the preview. If this option slows your system down, uncheck it and click on the Update preview button after each change.
Brightness Cutoff Settings
Just below the Detection settings, you will find a drop-down menu. First ,select the Brightness cutoff setting. Increase the Threshold if nothing shows in the preview window. We had to increase our threshold to 0.523 in order to see the preview.

Brightness cutoff creates a type of image silhouette. To give you an idea, we duplicated the design two more times.
For the design on the left, the Threshold was set to 0.523. Click Apply when you are ready to trace. The traced image will be placed on top of the original. You can use the Move tool to reposition the traced image.
We repeated this for the two remaining hearts with the following Threshold settings:
2nd Heart - Threshold 0.700
3rd Heart - Threshold 1.00
In the image below, the third heart shows as a black square. This is the result of increasing the threshold too much where all the detail is lost.

There was a slight loss of detail with the second heart. For online graphics, this is fine but it can cause issues with cut files.

Tracing an image will create a vector that can be edited by using the Edit path by nodes tool on the top left toolbar. Our tutorial on how to use the Bezier tool shows you how to do this.
Invert the Traced Image
Inverting the image creates a cutout effect surrounded by a black box. Only the brightest areas of the design are traced. This would be a great idea when creating stencils. Just check the box that says Invert image, found below the Threshold.

Adjust the Speckles Settings
The other settings available under the Details section can be used to tweak the trace and get a better result. The Speckles settings refers to the small details in the trace. In the image below, Speckles was set to 0 and was applied to the first image trace.
With the second image trace, we set Speckles to the max input of 1000. While detail was retained, many of the smaller areas were lost.

Smooth Trace Settings
The Smooth settings help to smooth out jagged edges when tracing multiple curves. You would need to zoom in quite a bit to see the difference, but in vector projects this is quite useful.
Our image below shows the left design where Smooth was set to 0.00. Looking closer, you will notice that the curved edges are not entirely smooth.
We applied a Smooth setting of 1.34 to the design on the right. This smoothed the ragged edges making this a cleaner cut file that is easier to work with your Cricut or Silhouette cutting machine.

Optimize and User-Assisted Trace
The last two settings are Optimize and User-assisted trace. The Optimize settings reduces the number of nodes and simplifies everything.
User-assisted trace allows you to select the areas you want to trace. You will need to use the Bezier Tool for this. User-assisted trace can be CPU intensive, possibly slowing down your system or taking longer to complete.
Select the tool from the panel on the left side and draw a selection around your design. We chose to trace the pink heart, so we drew a selection around it.

Now, add a fill to your selection. You can use any color from the color palette at the bottom. Then, select everything. Under the Trace Bitmap settings, check the box for User-assisted trace.
You may need to increase the Threshold to get a preview.

When you click Apply, you won’t see the traced image until you delete the selection. Then, you can reposition it where you want.

Edge Detection Settings
Edge Detection settings detect the darkest or thickest edges of the image. Click on the design, then click on the drop-down menu and select Edge Detection.
To get finer and lighter areas, increase the threshold. Decreasing the threshold will make the darker areas more pronounced. The rest of the settings under Details can also be applied here.

Color Quantization Settings
Color Quantization will first separate the colors, and then create a black and white trace. When adjusting the number of colors, you can get some interesting results. With this setting, to get a clear background, you need to check the box for Invert image.
The scan will be based on the number of colors ranging from 2 to 64. The following visual guide shows the difference between the color settings and inverting the images.

Autotrace Settings
The Autotrace settings are pretty straightforward. You don't get a preview and will need to click Apply to see the result. However, changing any of the other settings seems to have very little impact.
The trace itself is quite good, clean and has good contrast. If you are looking for a quick tracing option, then this might be the one to go for.

Centerline Tracing (Autotrace)
With Centerline Tracing, you need to apply it first to see the result. It will trace the center of a design and create an open path or single line. It works best with hand-drawn designs and single line projects. Here is an example of what happens when you use Centerline Tracing with a PNG file.

The result is clearly not good. One of the other tracing options would be a better choice for this type of image.
Centerline Tracing works better when tracing a monoline or single line PNG. The Filter iterations and Error threshold don't give a noticeable change but they do add more nodes. You would then need to simplify the design.

At the bottom of the Trace Bitmap menu you will see two icons beneath the Live updates checkbox.
The "i" icon on the left is your help dialog box with instructions and explanations for each setting. The second icon allows you to stop the trace while it’s working.

The Trace Bitmap function is extremely useful when creating quick digital versions of your work. Experiment with photos as well, but keep in mind that with Single scan you will only get a black and white version.
If you enjoyed learning how to trace in Inkscape, be sure to check our other FREE Inkscape tutorials.