By Saqib Ahmad
Create Adorable Kawaii Coloring Pages with Illustrate AI and Craft Designer
Welcome to today’s fun and creative tutorial! 🌈 If you're looking for a delightful way to make personalized coloring pages for kids, kawaii-style is the way to go.
Did you know?
Kawaii means “cute” in Japanese, and it has become a beloved style worldwide—think smiley animals, soft outlines, and big sparkly eyes. Kids love them, and they’re perfect for coloring pages because of their simple, lovable look.
Ready to design your own? Let’s jump right in!
🖥️ Step 1: Visit Illustrate AI
Go to 👉 https://illustrateai.designbundles.net/
Make Sure you have Plus Membership! Explore Different Plus Membership Tiers from this Page:
https://designbundles.net/plus-choose
We’ll start by generating our kawaii outline illustration.

⚙️ Step 2: Adjust Your Settings
Start with a simple prompt like:
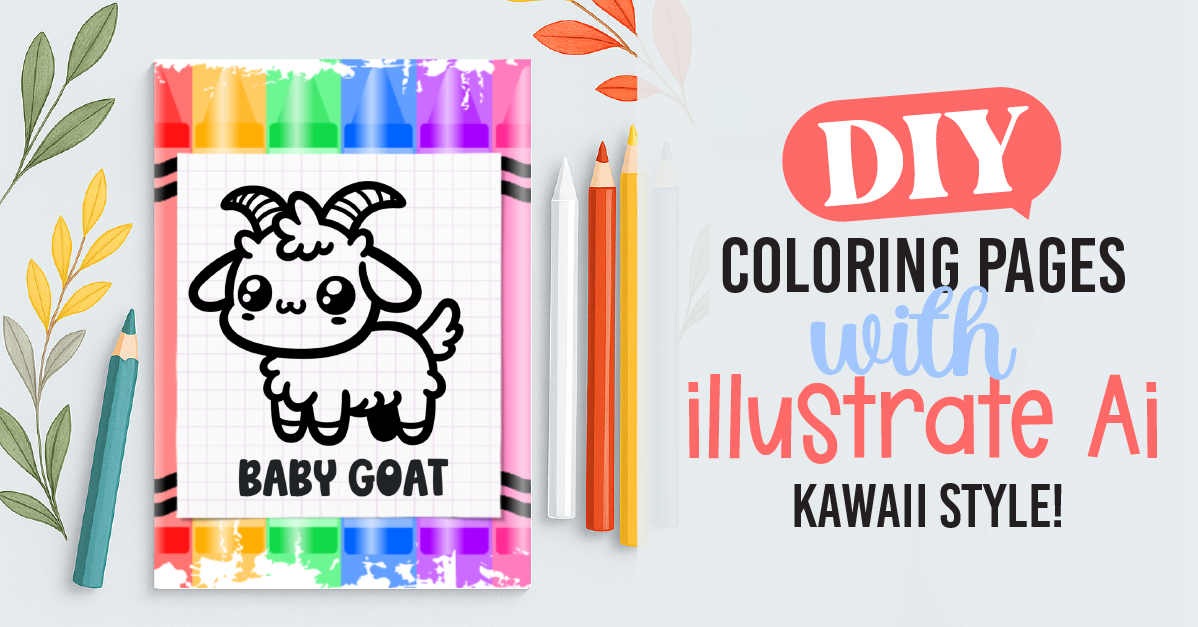
"A simple kawaii goat, black outline"
You can replace “goat” with any character or object you want: bunny, cupcake, robot—whatever your theme is!
💡 Pro Tip:
Click on the "Enhance" button to let the AI improve or rewrite your prompt for the best possible result.
Recommended Settings:

Art Style: Coloring Book (This is essential for clean, black-and-white outlines)
Image Size:
- Square for isolated characters
- Landscape if you're creating a full scene
Engine: DALL·E 3 (produces smooth, cute outlines ideal for kids’ pages)
🖼️ Step 3: Review Your Results
Once generated, you’ll see multiple cute versions based on your prompt. Scroll through and pick the one you like best.
🖍️ You can generate multiple designs using the same settings to build a full set of coloring pages!
✏️ Step 4: Edit in Craft Designer
Once you’ve chosen your image:
Click “Publish”

Then click “Edit”
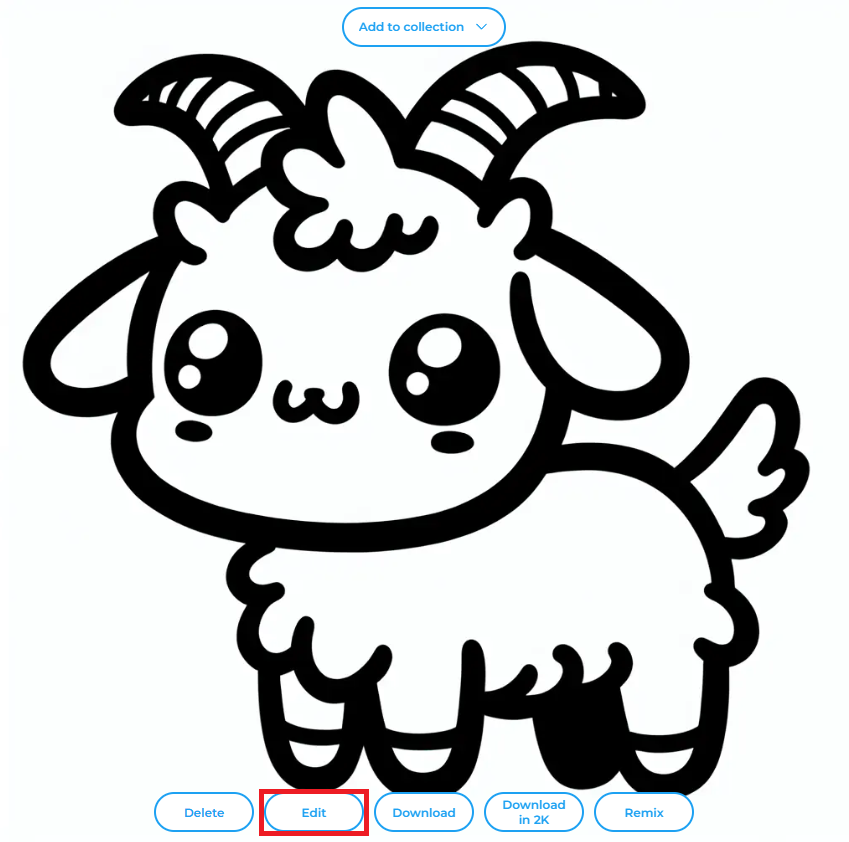
Choose “Pixel Mode”

📐 Step 5: Set Page Size
In the editor:
Click “Options”
Select your Page Size — A4 is perfect for print coloring pages, but you can also choose square for cards or stickers. (You can add Width and Height in Inches)
🧽 Step 6: Final Touches
Now let’s polish it up!
Resize and center the image nicely on your canvas.

Add a white background:

- Go to Library > My Library
- Click the + icon to upload a white background image or use a shape and fill it with white.
Make sure the white background layer is at the bottom, and your kawaii design stays on top.

Add a fun title or text at the bottom (e.g., “Baby Goat”)

Optional: Add cute borders, crayon graphics, or stars for extra flair!

✅ All Done!
And just like that—your Kawaii Coloring Page is ready to print and share! 🖨️ Whether you're making an entire book or just a fun afternoon activity, this method is quick, easy, and irresistibly cute.
💬 Have Fun & Share!
Try different animals, foods, or themes, and create your own printable collection! Want help with prompt ideas or design elements? Drop a comment and We Will be happy to help!