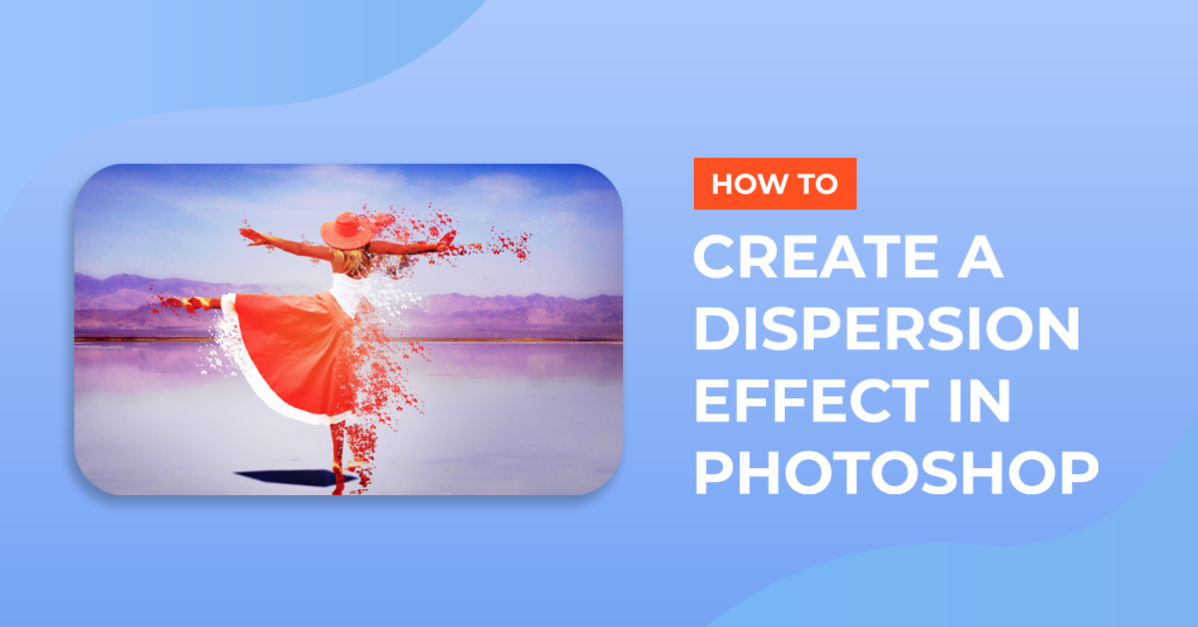
By Design Bundles
Dispersion Effect in Photoshop
For this tutorial, you will need an image that can be easily cut out and maybe one to be used as Background. You will also need some free Splatter Brushes.
1 - In Photoshop, open the image you want to use.

2 - Use the “Quick Selection Tool” (W) to select your subject and remember that you can use the “Add to Selection” and “Subtract from Selection” options. Then click the “Select and Mask” button in the top menu to refine your selection. Choose “Output to a New Layer” and click “OK”. In case you decided to use another image as “Background” just “Copy” and “Paste” your selection into a “New Layer”.


3 - Double-click on your “Background” Layer to unlock it, click “OK” in the “New Layer” window. Click on your “Girl” Layer thumbnail while holding the “Alt/Option” key to make a selection, then go back to your “Background” Layer and “Fill” (Shift + F5) your selection using “Content Aware” as “Contents”. Hide your “Girl” Layer by clicking on the little eye icon to the left of its thumbnail to check the results and if you want you can use the “Clone Stamp Tool” (S) to erase more parts of the background.


4 - Turn on the visibility and duplicate the “Girl” Layer (Command/Control + J). Select the bottom one and stretch it horizontally with the “Transform” function (Command/Control + T). When you are satisfied click the “Enter” key.


5 - “Fix” your image by covering “Holes” with pieces of your image. The idea is to have a colored area big enough for the “Splatter” Brushes to show.


6 - Make a selection of your distorted “Girl” Layer, right-click on top of the selection and choose “Select Inverse”, then click on the “Add Layer Mask” button at the bottom of the “Layers” Panel. The image should disappear and in the mask thumbnail it should be filled with black. If you notice some “Edges” you can cover them using the “Brush Tool” (B) and black as your “Foreground” color and making sure you are painting on your “Mask”.


7 - To load your “Splatter” Brushes, double-click on the “.abr” file or in your “Brushes” Panel click on the little gear icon in the top-right corner, choose “Load Brushes” and navigate to where you saved your brushes. Select the “Brush Tool” and using white as “Foreground” color paint with your “Splatter” Brushes on your “Mask” to reveal pieces of the stretched image. Change the “Size” and “Hardness” of your brush to achieve the desired effect. To “Erase” just change the “Foreground” color to Black.


8 - Now, make a selection of your “Girl copy” Layer and create a “Mask”. Use black as “Foreground” color and “erase” some portions of your image.

9 - Create a “New Layer” by clicking on the button at the bottom of the “Layers” Panel and place it on top of the “Background” Layer. Use the “Eyedropper Tool” (I) to select a color from your image and add some “Splatters” around your image to give it more detail.


10 - Enter “Quick Mask Mode” (Q), Select your “Brush Tool” (B) and use a very large (about 1400 Pixels) and very soft (0% “Hardness”) brush and click once in the center of your image. Exit “Quick Mask Mode” (Q), go to the “Adjustments” Panel and create a new “Levels Adjustment Layer” on top of everything and use the following values:


11 - Create a “New Layer” on top, change the “Blending Mode” to “Overlay” and use the same large soft brush to paint some white “Highlights” on top of your image. Lower the “Opacity” to about 60%.


12 - Check out your work.

by @lornacane