By Design Bundles
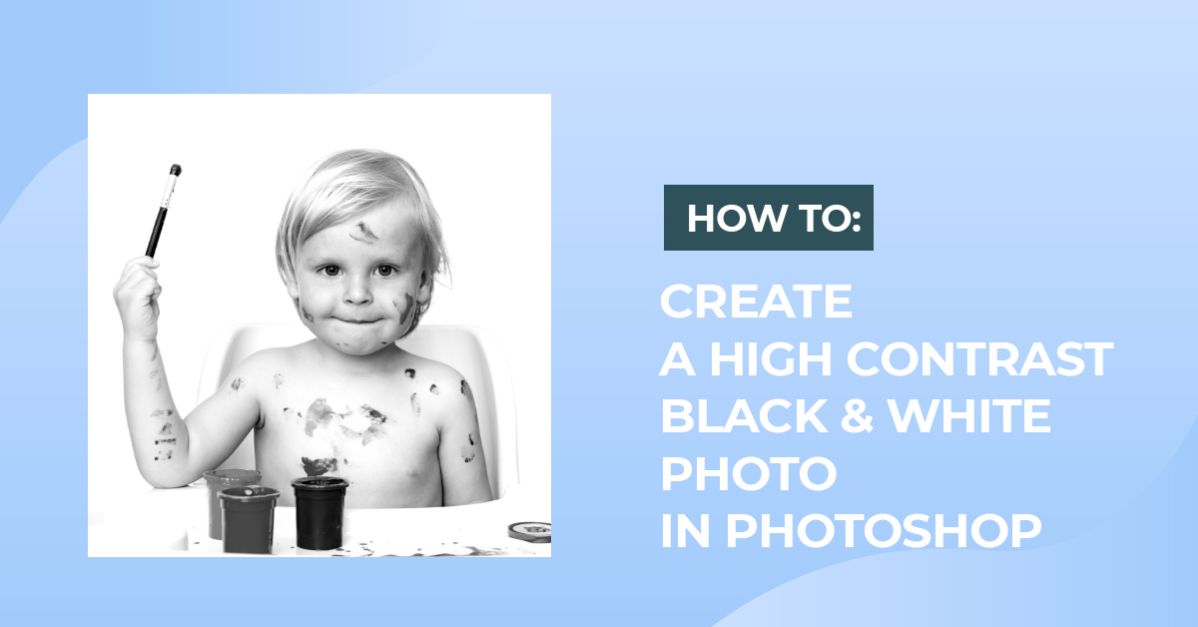
High Contrast Black and White in Photoshop
1 - In Photoshop, open the Image you chose to work with.

2 - Go to the “Adjustments Panel” and create a “New Black & White Adjustment Layer”. Tweak the different values until you are happy with the results.


3 - You can also use some of the “Presets” included in the “Properties Panel”. We tried “Infrared” and “Neutral Density”.


4 - To add more contrast, duplicate the “Black & White Adjustment Layer” (Command/Control + J) and change the “Blending Mode” of the duplicate to “Overlay”.


5 - We also tried a more dramatic look changing the “Blending Mode” of the first “Black & White Adjustment Layer” to “High Contrast Red Filter”.

6 - You can also Turn Off the first “Black & White Adjustment Layer” (clicking on the small eye icon on the left side of their Thumbnail) and just apply the effect to the full color image.

7 - Here’s another technique to achieve the High Contrast B&W. Turn Off the “Black & White Adjustment Layers”, select your original image and Right-click on top of its Thumbnail and choose “Create Smart Object”.


8 - Go to Image > Adjustments > Black & White. You can click “OK” without changing any of the Presets or you can tweak them and maybe make it “Sepia” by changing the “Tint” color to a Dark Brown (we used #2d291e).


9 - Then, go to Image > Adjustments > Exposure and use an “Exposure Value” of +0.35 and a “Gamma Correction” of 0.56.


10 - Here are the results.

Now you can greatly enhance your photos using black and white.