By Lorna Cana
How to Create a Dusty Texture in Photoshop
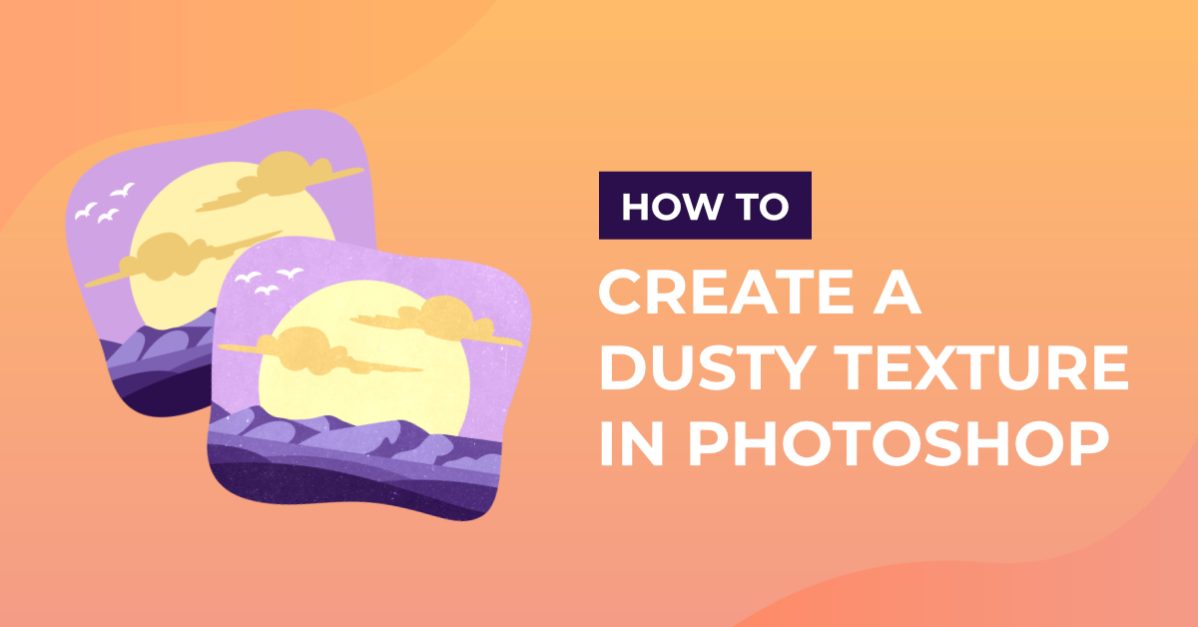
Today we will learn how to add a dust texture in Photoshop. We will make use of filters and blending modes to give a weathered vintage look to the photos. It is super simple to make and works great for many different projects like retro t-shirts and turning photos into old mementos. Knowing how to create textures from scratch opens up many design possibilities.

For this tutorial, we used a city view at night photo, but you can check out our travel and adventure photos for more options.
Step 1 - Add a New Color Fill Layer
Start by opening the image you want to add the dust texture to. Then, click on the small black and white circle at the bottom of the Layers Panel. Click on Solid Color to add an adjustment layer.

In the Color Picker box use the value (#000000) to fill the new layer with black.

Step 2 - Apply Noise Filter to Color Fill Layer
First we need to rasterize the color fill layer since we are going to apply some filters to it. To do this, right-click on top of its thumbnail and choose Rasterize Layer from the menu.

Next, start creating the dust effect, we are going to use a noise filter.
First, make sure that white is set as the Foreground color. Then, go to Filter > Noise > Add Noise and set the Amount value to 100%. Use Gaussian as the Distribution method and check the Monochromatic box.

We have a tutorial on using filters in Photoshop if you need more information.
Step 3 - Apply Two More Filter Layers
We will now apply a Torn Edge Filter and a second Noise layer to add to the vintage look. Go to Filter > Filter Gallery > Sketch > Torn Edges and use the following values:
- Image Balance: 15
- Smoothness: 12
- Contrast: 23

Let’s add a second noise filter to the dust layer.
Make sure that white is still your Foreground color and apply a second Add Noise filter to your layer. This time, set the Amount value to 10%, and leave the other values as before (Gaussian and Monochromatic box checked).

Step 4 - Change Blending Mode of Dust Layer
Next, change the Blending Mode of the dust layer to Linear Dodge (Add). This will make the black areas disappear, leaving just the white dust specks.

Now, we are going to add some scratch lines to our texture. First, let’s duplicate the dust layer (Command/Control + J). This new layer will be our Scratches layer.

Step 5 - Distort and Blur the Scratches Layer
In this step we will be adding a blur and distortion filter to the Scratches layer. To add the blur, go to Filter > Blur > Motion Blur and set the Angle to 0º and the Distance to 2000 Pixels.

Now we will add some movement or distortion to the scratch lines. Go to Filter > Distort > Wave and use the following values:
Number of Generators: 1
Minimum Wavelength: 500
Maximum Wavelength: 999
Minimum Amplitude: 1
Maximum Amplitude: 999
Horizontal Scale: 1%
Vertical Scale: 100%
Undefined Areas: Wrap Around
Click theRandomize button a few times until you get a result you like.

We decided to change the Blending Mode of this layer to Screen. The Opacity was reduced to about 30% since it blended our scratches better with the image.

Step 6 - Add a Second Color Fill Layer
We want to give our image that yellowish weathered look. So let’s add a new Solid Color Fill layer on top of everything and use a pale yellow as the fill color. We used #ffecc3.

Then, change its Blending Mode to Multiply to add a yellowish tint to your image.

We just gave our image a vintage vibe by creating a really simple dusty texture in Photoshop.

If you prefer to use ready made texture backgrounds, check out the awesome options available on Design Bundles. We also have a great tutorial on how to use textures in Photoshop to get you started.
Next, check out our other tutorials like how to enhance autumn colors, or how to add fog overlays in Photoshop.