By Design Bundles
Orton Effect in Photoshop
In this tutorial we will be creating an Orton Effect in Photoshop. Invented by Michael Orton in the 1980s, the result is usually a dreamy, picturesque look. The effect was created by combining over exposed images with one being in focus while one or more were out of focus. Now, we will show you how to achieve the Orton Effect in Photoshop.
Keep in mind this effect works best with images that have a strong back or side lighting, light breaking through trees, or mist.

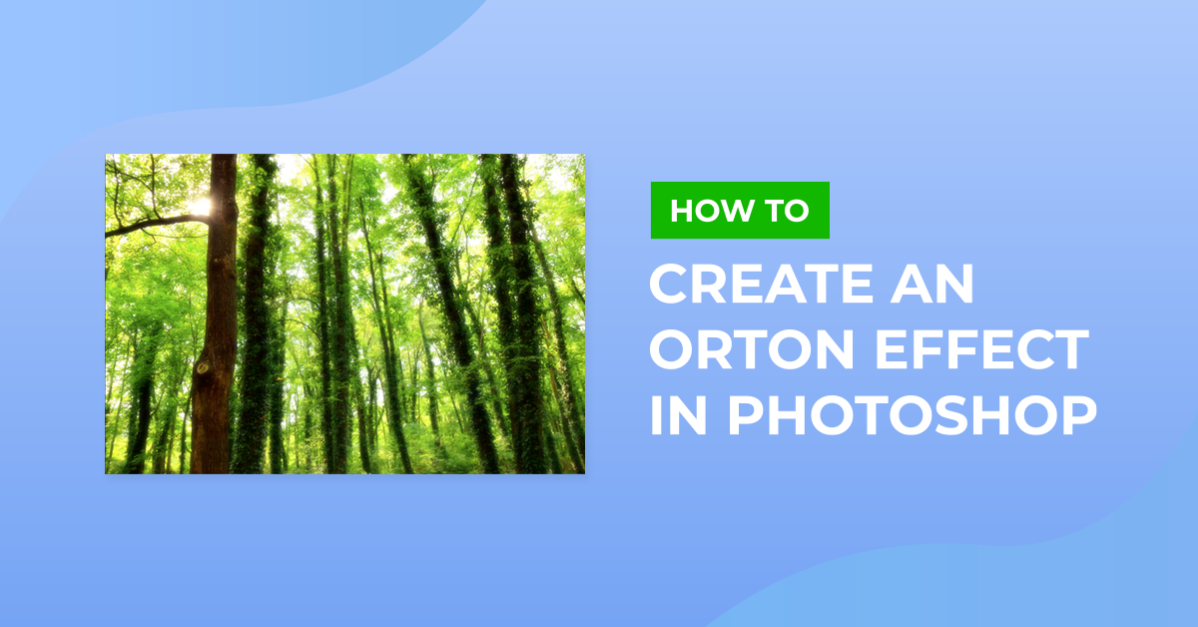
For our example, we are using a green forest photo, but you can browse a wide collection of photos from Design Bundles.
Step 1 - Duplicate the Background Layer
First, we are going to duplicate the image layer a few times. Each layer will have a different type of exposure, which will be combined to achieve the Orton Effect.
In Photoshop, open the image you chose. Then, select the Background layer thumbnail in the Layers panel. Click Command/Control + J to create a duplicate, then rename the new layer Base.

Next, create a second duplicate on top of everything and name this layer Details.

Step 2 - Apply a Soft Effect to Base Layer
Now, we are going to add a blur filter to the Base layer. We will then complement it with an adjustment layer to create the soft, dreamy portion of the Orton Effect.
Turn Base Layer into Smart Object
For now, hide the Details layer (the one on top). Do this by clicking on the small eye icon on the left side of its thumbnail.

Next, select the Base layer, right-click on top of its thumbnail and choose Convert to Smart Object. This will let you go back and correct any effect or filter applied to the image if needed later on.

Apply a Gaussian Blur Filter
Then, go to Filter > Blur > Gaussian Blur and use a 30 pixels Radius value.

Change the Blending Mode
To lighten up our image a bit and add some glow, change the Blending Mode of the Base layer to Screen.
Depending on your image, you may need to reduce theOpacity of the Base layer to tone down the brightness. In our case, we used a value of 80%.

Add Brightness/Contrast Adjustment Layer
With the Base layer still selected, go to the Adjustments panel. Now, create a new Brightness/Contrast adjustment layer. Change the Brightness to about -6 and the Contrast to 26.

Step 3 - Apply High Pass Filter to Details Layer
We now want to create the more detailed and contrasting portion of the Orton Effect. So we are going to use a high-pass filter on the Details layer. Then we will change the blending mode so all of our layers blend together for the final effect.
First, turn theDetails layer back on and also convert it to a Smart Object.

Apply a High-Pass Filter
Then, go to Filter > Other > High Pass and use a 1.5 pixels Radius value.

Change the Blending Mode
We can now change the Blending Mode of the Details layer to Soft Light.

Your image should be similar to the one below. Remember that your layers are smart objects. This means you can still make adjustments after the Orton Effect has been applied.

The Orton Effect creates a soft, ethereal look that works great with certain images. Just note that less is better as overdoing it may result in washed-out blurry shots.
We hope you enjoyed creating the Orton Effect in Photoshop. If you want to learn more, have a look at our guides on how to create a light leak, add fog overlays, or how to add light rays in Photoshop next.