By Design Bundles
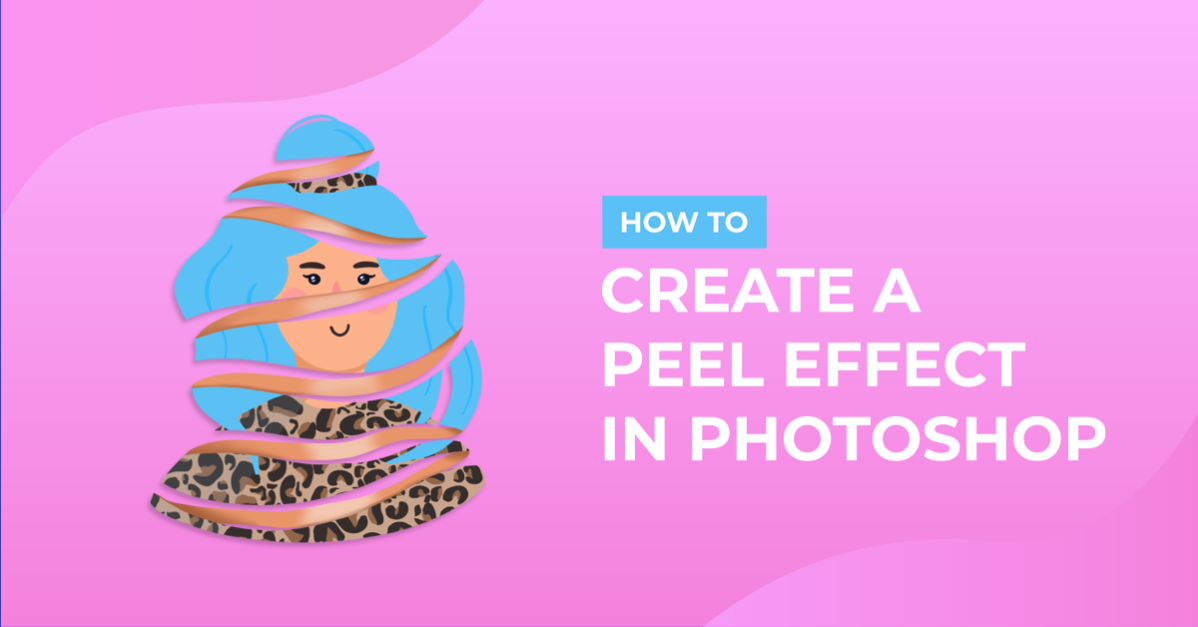
Peel Effect in Photoshop
For this tutorial, you will need an image or portrait to work with.
1 - In Photoshop, open the image you chose. In case you need it, “Fix” the image. We used Image > “Auto Contrast”.


2 - Use the “Quick Selection Tool” (W) to make your selection. Make sure to use the “Add to Selection” option (or the “Subtract from Selection” if you wish to do so). Once you are done, click on the “Select and Mask” button on the Top menu. Play around with the settings until your image borders are neat and then choose the “Output to Layer Mask” option for saving.


3 - Create a “New Layer” by clicking on the small button at the bottom of the “Layers” Panel. Move it under your image and “Fill” it with Black using the “Paint Bucket Tool” (G).


4 - If you notice some inconsistencies with your image’s borders, select the “Brush Tool” (B), make sure you are working on the “Mask” thumbnail and using Black, erase the portions of the image that you don’t need (or bring them back by using White instead).


5 - Duplicate your Image Layer (Command/Control + J) and hide the bottom one (click on the left side of its thumbnail to hide the small eye icon). Select the “Lasso Tool” (L) and create some selections on your image (like the front side of the “Peel”).


6 - Go to Select > Inverse (Shift + Command/Control + I) and then “Delete” your selection.


7 - Create a “New Layer” on top of everything, use your “Eyedropper Tool” (#cea58a) to select and intermediate color from your subject’s skin as “Foreground” color. Then, create other set of “Peeling” selections with the “Lasso Tool” (L), but this time they should seem like the back side of the “Peel”.


8 - Use the “Paint Bucket Tool” (G) to fill your selections with the color you chose. Drag the Layer under the Top Image one, go to Image > Transform > Warp and play around with the “Mesh” Points to give your “Back Peel” a more rounded look. Once you are happy, click “Return/Enter”.


9 - Select the “Eraser Tool” (E) and get rid of the portions that should not be visible.


10 - Double-click on this layer’s thumbnail and apply the following “Layer Styles”:
Gradient Overlay:

Then lower the “Fill” to 75%.

11 - Create a “New Layer” on top of your “Back Peel” one, name it “Shadow” and right-click on top of its thumbnail to “Create a Clipping Mask”. Use the “Brush Tool” (B) with a “Soft” brush and use Black to paint some “Shadows” in the parts where the “Top Peel” overlap with the “Bottom” one.


12 - Double-click on your “Top Peel” Layer and apply the following “Layer Styles”:
Bevel & Emboss: (Gloss Contour: Sawtooth 1)

Drop Shadow:

13 - Double-click on your “Back Peel” Layer and add the following “Layer Styles”:
Bevel & Emboss: (Gloss Contour: Rolling Slope - Descending)

14 - Check out your “Artwork”:

by @lornacane