Get Unlimited Access to Millions of Craft Designs, Templates, Fonts and More! Start Creating for Free Now

DesignBundles.NET
Pricing
DesignBundles.NET

Categories

New

Account

Start Free Trial
Pop Art Effect in Photoshop

By Design Bundles

Pop Art Effect in Photoshop

For this tutorial, you will need an image or portrait with a white or very neutral background.

1 - In Photoshop, open the image you chose.

2 - Duplicate your image twice (Command/Control + J). Hide the top one by clicking on the small eye icon to the left of its thumbnail.

3 - Select the first duplicate (the one in the middle) and go to Filter > Filter Gallery > Artistic > Poster Edges and use the following values:

4 - Double-click on its thumbnail and apply the following “Layer Styles”:

Stroke: (#ffffff)

Inner Glow: (#000000)

5 - Create a “Vibrance Adjustment Layer” and crank up the “Vibrance” value to +100.

6 - Select the second duplicate (the one on top) and go to Filter > Pixelate > Color Halftone and use the following values:

7 - Change the “Blending Mode” to “Soft Light”.

8 - Make a copy of this layer and change the “Blending Mode” to “Saturation”.

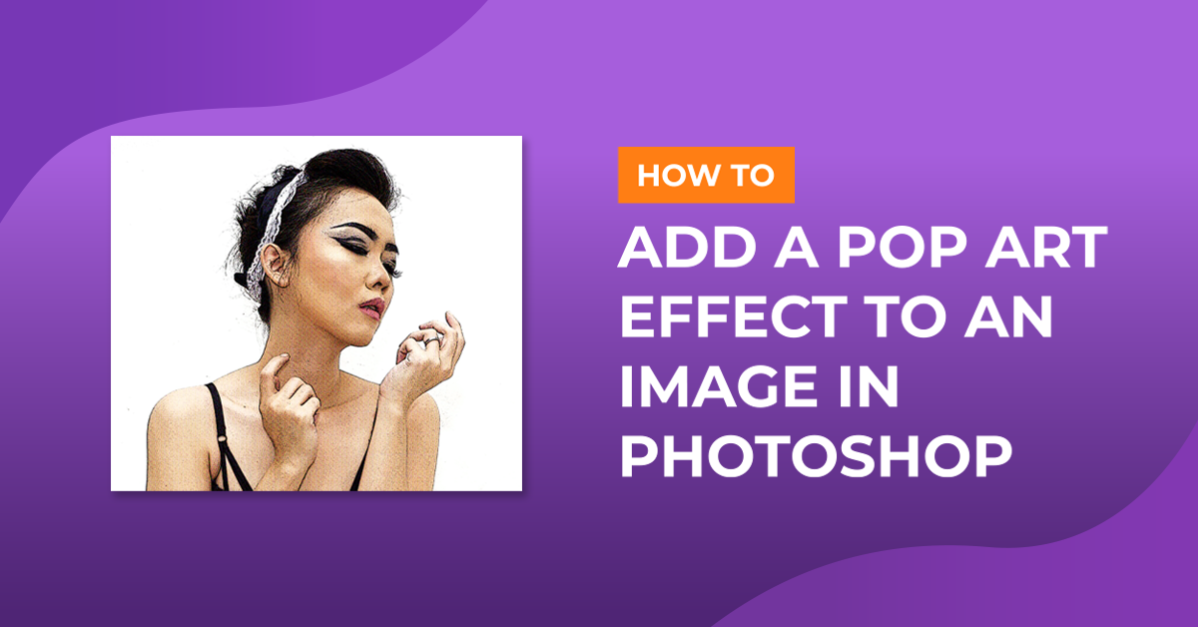
9 - Your image should look like this.

by @lornacane
Related Tutorials

Photoshop Tutorials

Lollypop Effect in Photoshop

Photoshop Tutorials

How to Make a Peeling Sticker Effect in Photoshop

Make a peeling sticker effect in Photoshop with this tutorial.
Photoshop Tutorials

How to Make a Graffiti Text Effect in Photoshop

Learn how to create a realistic grafitti text effect in Photoshop.
Photoshop Tutorials

How to Make a Halftone Effect in Photoshop

Learn how to make a halftone effect in Photoshop and how to change the colors of the halftone effect

Keep going

You may also like

All photoshop tutorials
The weekly drop

Fresh tutorials, trends & free files.

Join 6 million makers getting our best craft guides and exclusive freebies straight to their inbox.

No spam. Unsubscribe anytime.
Pop Art Effect in Photoshop - Design School | Design Bundles