By Design Bundles
Collage Effect in Photoshop
1 – In Photoshop open the image you wish to apply this effect to. Double click on it in the Layers palette to unlock it.

2 – Go to Image > Canvas Size and add one centimeter to the “With” and “Height” of your image making sure that the “Anchor” is centered.

3 – Click Command/Control + New Layer Icon to create a new layer behind the image and fill it with white.

4 – Click the “Sow Transform Controls” button in the top left corner, then click and drag down a Guide, make it snap to the little squared handles that mark the center of the image. Repeat this clicking and dragging from the left side rulers to create a vertical Guide and snap it to the center. Now you can un-click the Transform Controls button if you want. (If your document rulers are not visible, click Command/Control + R to bring them out).


5 – Select the “Rectangular Marquee Tool” (M) and make a selection of the top left portion of your image. Then click Command/Control + J to make a new layer with your selection. Repeat this operation with the remaining portions of your image. Make sure your image layer is selected every time you do this. Now you can delete or hide the original image.


6 – Remove your guides and select one of your layers and double click on it in the Layers Palette to bring out the “Blending Options” dialog and give it the following values:
Drop Shadow: Blend Mode is Multiply, Opacity of 70%, a 120 degrees’ angle, Distance of 20 px, 35 % Spread and a Size of 50 px. And Stroke: Size of 10 px, Position outside, Blend Mode normal, 100% Opacity, Fill Type set to Color and the color should be white.


7 – Right – Click on the layer you applied the effect and select “Copy Layer Style” then select and right-click on top of another layer and “Paste Layer Style”. Repeat this with the rest of your layers.


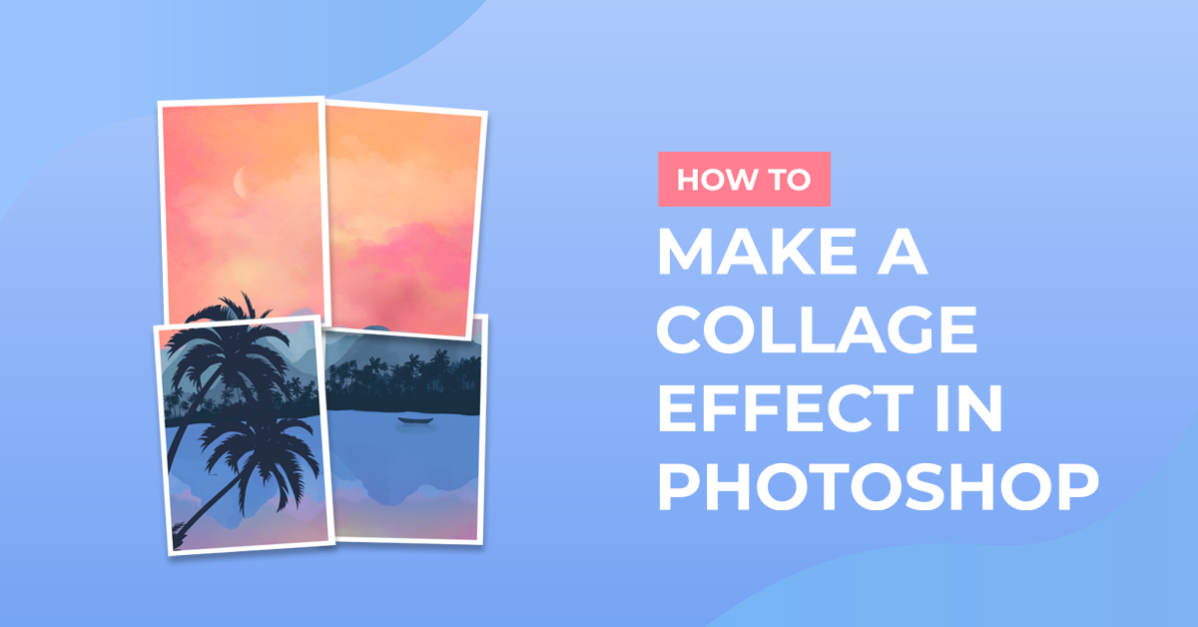
8 – Once this is done select your layers and rotate the in different angles to create an overlapping puzzle effect. You can do this by turning on the “Show Transform Controls” button in your top left and rotating the images a bit. (Click Enter after you perform the transformations to release the image).

9 -The result should look like this.