By Nadine Spires
How to Remove Photo Effects in Pixascape
Do you want to know how to remove photo effects in Pixascape? We have a great tutorial for you today. Pixascape is an awesome browser based photo editing tool available to Plus Members. Not only can you add multiple photo editing effects, but you can also erase them on specific areas.

If you’re not a Plus Member yet, we’ve got a deal for you! Sign up for a Free 30 Day Trial of the Gold Plus Membership today!
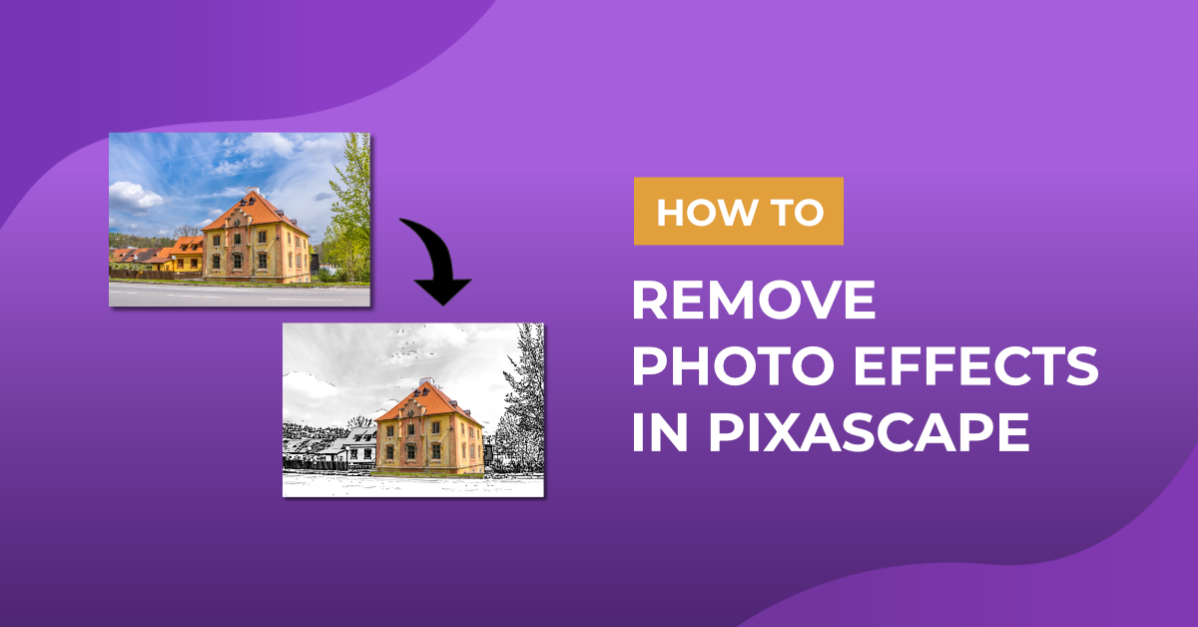
In this tutorial we will be using a vintage house photo but you can use another Architecture photo if you choose.
Step 1 - Use the Effects Panel
Once you have opened your photo in Pixascape, edit the photo as needed. We have added a sketch effect by going to the Effects Panel, selecting Sketcher then clicking on SK001.

Erase the Effect
In the SK001 option, click on the two lines with sliders for the Settings. Next, click on Erase then under Tool select the first one that looks like an Eraser. The tool will erase the effects on the image.
Click + drag over an area of the house to erase or hide the applied effect. The Brush Size, Brush Softness and Brush Intensity can be adjusted to get a better result.

Paint back the Effect
Not only can you remove the effect, but you can paint it back in. Next to the Eraser tool, click on the Paintbrush tool.
Now, adjust the Brush Size to 5%. Click + drag to start painting back in areas where you want to keep the applied effect.

Step 2 - Use a Mask for a Better Selection
In Pixascape you have the option of using a mask to better create a selection.
Show the Effects Mask
To easily see what you are doing, you can activate the Show Mask slider. The red area is where the effect has been applied. What shows through are the erased areas. This helps in creating a neater selection.

Invert the Mask Selection
If needed, you can also invert the mask selection. All erased areas will be covered in a red mask. Using this option is very helpful when checking if you missed any spots.

If you want to undo and reset the changes, click on the Reset option. It looks like a circle going counterclockwise.

When you are done editing, click on Apply to commit to the changes.

The Erase option works the same way with the Overly and Filters panels. You can easily add a Bokeh effect with the Overlay panel. Then partly erase so only certain areas have the overlay applied.
Why not have fun experimenting with the Snow Overlay options to get a festive result? As easy as that you can create unique projects when removing photo effects in Pixascape.