By Design Bundles
How to Create a Marble Effect in Procreate
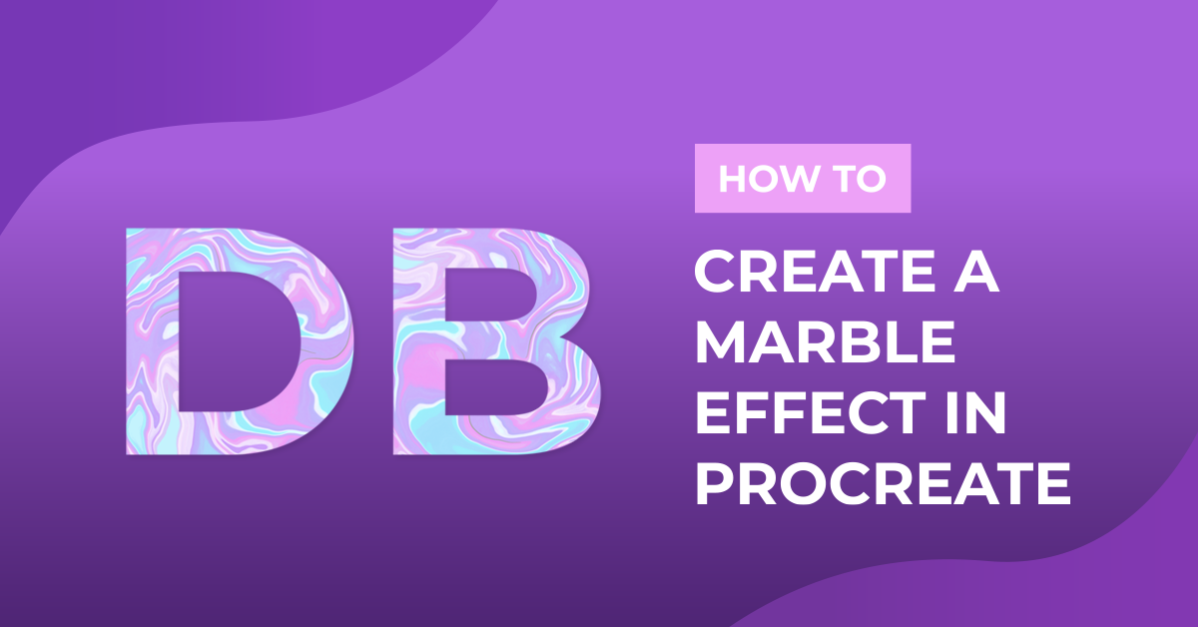
Today we are going to learn how to create a Marble Effect in Procreate. The process is very easy and satisfying and you can use the pieces you make for your social media posts, as digital backgrounds, phone covers, etc. For this project, we are using the following Procreate brushes: the gouache Procreate brushes, Procreate glitter brushes, and a color palette bundle.
There are a couple of coloring techniques to create this effect, use the one that you prefer and experiment with different combinations.
First technique, color blotches
Step 1 - Set the Color Base
Make sure you have all the Brushes and Color Palettes you want to use already available in Procreate. You can always use some of the ones included in the Brush Library like Guache or Watercolor and you can pick the colors from the Color Wheel or the included Color Pallettes.
Start by creating a New Canvas.

Then, select the Brush you want to use.


And the Color you want, and start painting some color blotches around the canvas.

Change the Brush Size, Opacity, and Color until you fill up the Canvas and are satisfied with your artwork.

Step 2 - Use the Liquify Tool
To start creating the Marble Effect, click on the Magic Wand on the top Menu Bar to access the Adjustments menu and choose Liquify.

You will be presented with different Modes (Push, Twirl, Pinch, Expand, Crystals, Edge, and Deconstruct)in the Liquify interface. After selecting the desired Mode, you can also adjust the Dynamics (Size, Pressure, Distortion, and Momentum) for each one separately. The best idea is to experiment with them to achieve interesting results.

In this case, we mainly used the Push mode playing with different adjustments and then we used a bit of Twirl to finish it.


Exit Liquify by tapping on your canvas. You can apply more colors and then enter again to keep finessing your artwork until you are satisfied.


Second technique, color lines
Here’s another way of setting the color base. Instead of adding blotches of color, create vertical (or horizontal) lines of different widths and colors.

For the Liquify effect, choose the Twirl and crank up almost every lever. Then, move from side to side applying pressure to pull and twirl the artwork. Finally, switch to Push to give it some finishing touches.


If you want you can give more detail to the finished piece, by using some Glitter brushes to add sparkle to it (use different shades of yellow to add shadows and highlights).


There you have it! You have now created a beautiful marble effect in Procreate! Whatprojectsare you going to use these backgrounds for?