By Design Bundles
How to Make a Seamless Pattern in Procreate
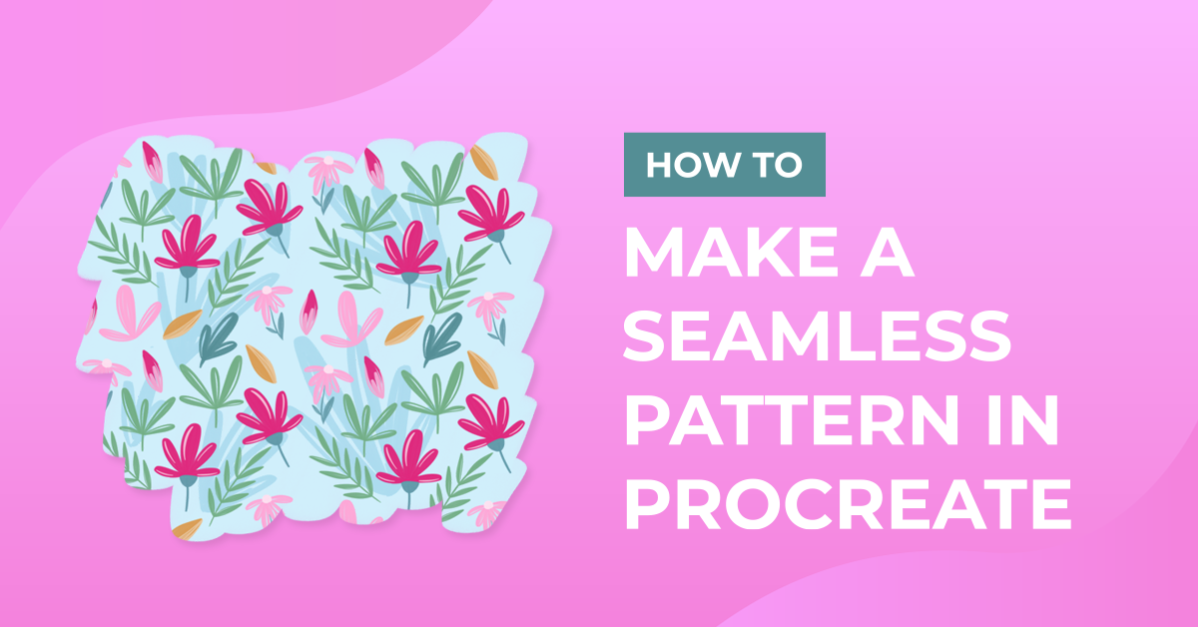
Let's learn how to create a Seamless Pattern in Procreate. You can use your patterns for many exciting purposes like fabric design, wrapping paper design, etc.
In this tutorial, we are using Summer Clipart by Paper Starr Studio.
Step 1: Create the base document
First, we need to create our base document that needs to be a square so it will be easier to tile. In the Procreate Gallery screen click on the + button on the top right corner, then click on the other + button (with a black background).


In this case, we are making the Canvas 3000 x 3000 px @300 dpi (or 10 x 10 Inch). Click Create.

If you plan to use/upload your design to a Print on Demand site that doesn’t create a seamless pattern by itself, you need to have a larger pattern tile.
The problem is that in Procreate, the larger the file is the fewer amount of layers you are permitted, so you need to keep this in mind while creating your design. Is a good idea to check their specifications beforehand.
* So, you have two options, you can start with a larger file or check out the instructions to create a second version afterward at the bottom of this tutorial in the Save/Export instructions.
You can make a rough sketch of your artwork placement and import it into your document to save time. This is especially useful if you plan to create the design from scratch.
Add the background
Start by adding the Background color first. Use a color that works well with your chosen artwork. You can create a palette with different options so you can test them once you finished the design.
Remember to place each element in a separate layer.

Place the base elements
Once you have your design elements placement ready, select all the layers (except the Background) and create and group them together. You select more than one layer by slightly swiping each one to the right and clicking on Group on the top right corner.

Step 2: Create the tiling design
Duplicate your Group (swipe left and choose Duplicate) and deselect the original one. We are doing this to have the original artwork saved in case we want to start over. Name each Group for identification purposes.

Flatten your elements and create several duplicates
Flatten the Group you are working with (click on the group layer and choose Flatten).

Duplicate the flattened design a couple of times and keep it as a backup. Remember to rename each layer for identification purposes.

Create the lateral tile edges
Hide the original layer and create an empty layer on top of everything.

Use a bright contrasting color to mark the edges on the empty layer.

Select the edges layer and one of the design layers and go to the Transform Tool (Arrow icon on the top menu bar).

Make sure that Uniform is your choice, tap on the Snapping button, and enable Magnetic and Snapping. Distance should be around 19 and Velocity should be set to Max.

Reduce your Canvas leaving some space around so you can have a better view. Move your selection to a side until the center coincides with the edge and you see an orange line on the edge. To deselect, click on the Transform Tool again.

Deselect the repositioned design layer, select another one, delete and recreate the edges layer. Select both of them as you did the first time.

Repeat the process but this time move your design to the opposite side.

Turn on the layers on both sides. If you see too much blank space in the middle of the design, fill it with some design elements to make it more harmonious.

Merge layers into one after you are done but leave the edges layer out (pinch down all the layers you want to merge with your fingers).

Create top and bottom tile edges
Duplicate the flattened design again a couple of times and keep it as a backup. Remember to rename each layer for identification purposes and hide the original one.

Select one design layer and the edges layer, choose the Transform Tool, and repeat the repositioning process but this time move them up or down until you see the orange lines.


Repeat this process in the opposite direction. You can delete (or hide) the edges layer now.

Again, turn on the top and bottom design layers. If you see too much blank space in the middle, fill it with some design elements to make it more harmonious. Merge layers into one after you are done (pinch down all the layers you want to merge with your fingers). Name this layer Pattern Tile.

Verify that the pattern is seamless
To verify that your design is a Seamless Pattern, Duplicate your layer, rename each layer (for identification purposes and hide the original one). Select the Transform Tool (with the Magnetic, Snapping, etc. settings set as before) and reduce the design to ¼ of the Canvas.

Duplicate it and move the duplicate to the side. Make sure that the design is seamless and then, merge both layers.If you notice a gap or any other inconsistency, fix it before merging.


Create a Duplicate of the merged layers and move to the top or bottom (depending on where the other layer is placed) to fill up the entire Canvas. Again, check that everything works and merge the layers. You can save this layer as the pattern reference.

You can hide everything except the Pattern and Background layers.If you don’t want a background color, leave the Background layer out.

Step 3: Exporting/Saving your Pattern
If you are going to use your Design with a site or software that automatically creates the Pattern (like spoonflower), just go to the Actions menu (small wrench icon on the top menu), click on Share, choose JPEG as the format and choose the location you want to Save or Share to.


Enlarge the file
If you find yourself needing to enlarge the file you've made, you can duplicate your file in the Gallerybyswiping right on it and choosingDuplicate.


Delete all the unwanted layers and go to Actions (small wrench icon on the top menu), click on Canvas, and then on Crop and Resize. In Settings (on the top right side) change the measurements to 20 x 20 Inches (make sure that Resample and Snapping are Not checked) and click on Done.


This will resize your Canvas but not the design.

Now, to create the pattern design, duplicate the Pattern Tile layer, move the duplicate to the side using the Transform Tool (with the Magnetic, Snapping, etc. settings set as before).

Merge them together, duplicate again and move the duplicate up or down and finally merge them again. Now, Share your file as a JPEG.

If you want to make a seamless pattern using your own hand-drawn designs, check out the Free Procreate Brushes available on Design Bundles.
Make sure you don't miss our guides on using Procreate stamps and creating a marble effect in Procreate.