By Design Bundles
Scan N Cut Tutorials4 min
How to Use Built in Designs in Brother Scan n Cut
*note- CM900 machine used.
1- Turn on the machine
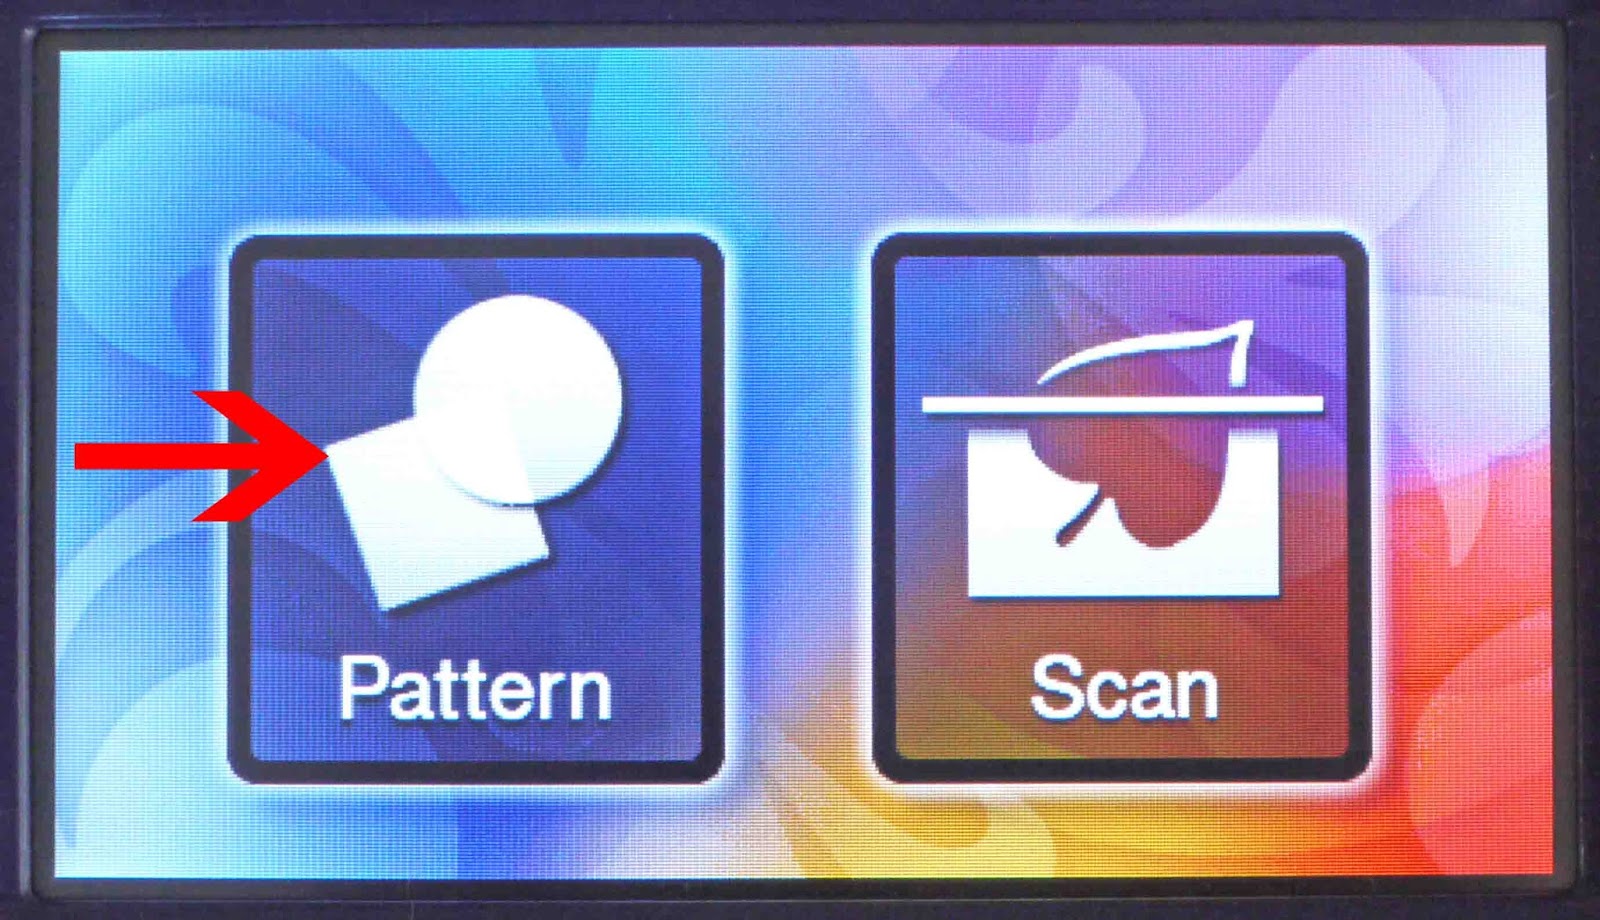
2- Select the pattern icon.
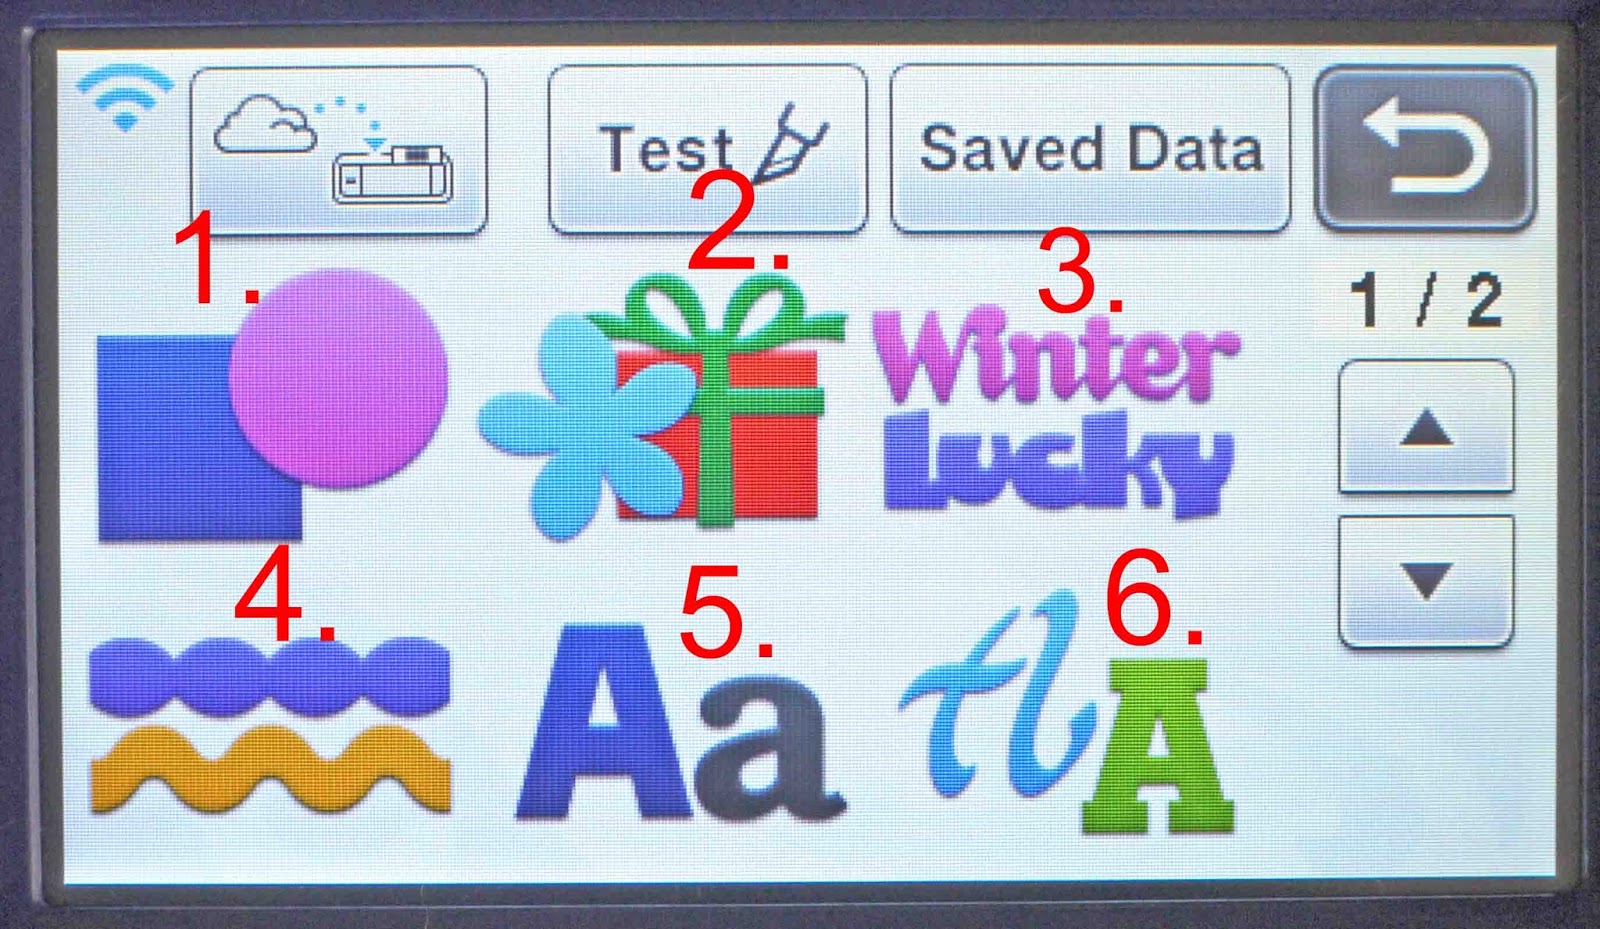
3- Each category has its own icon. Here are 6 examples - 1- shapes, 2- designs, 3- words, 4- borders, 5- fonts, 6- fonts. You can scroll to other categories by using the arrow icons on the right.
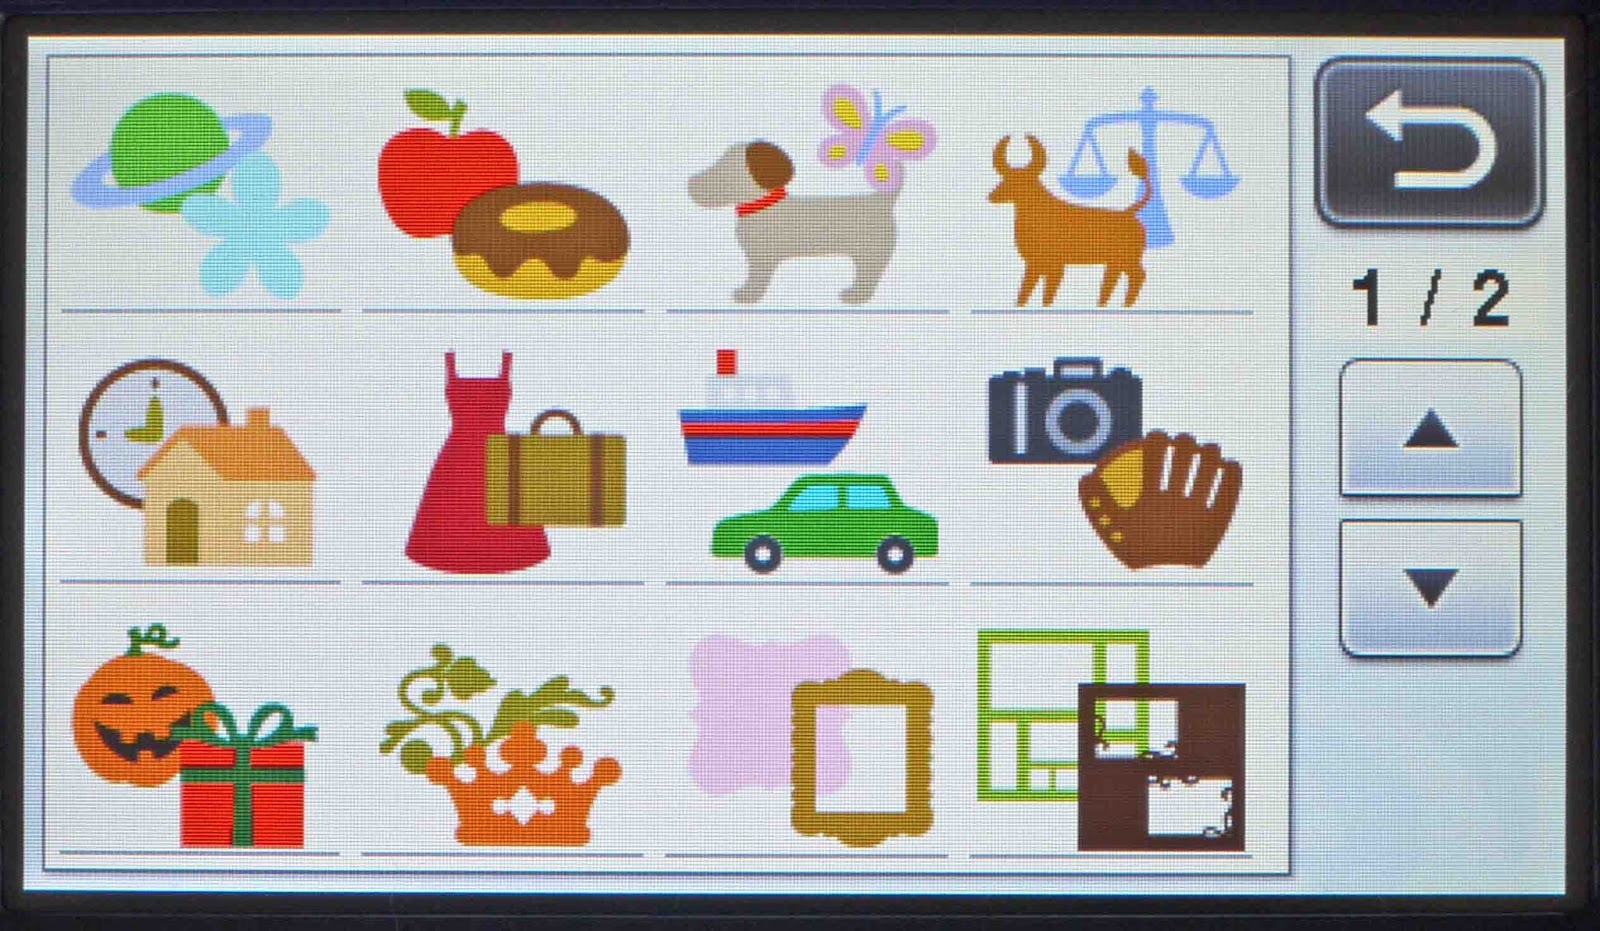
4- Each category have sub categories. You can explore these to see what images are in each one.
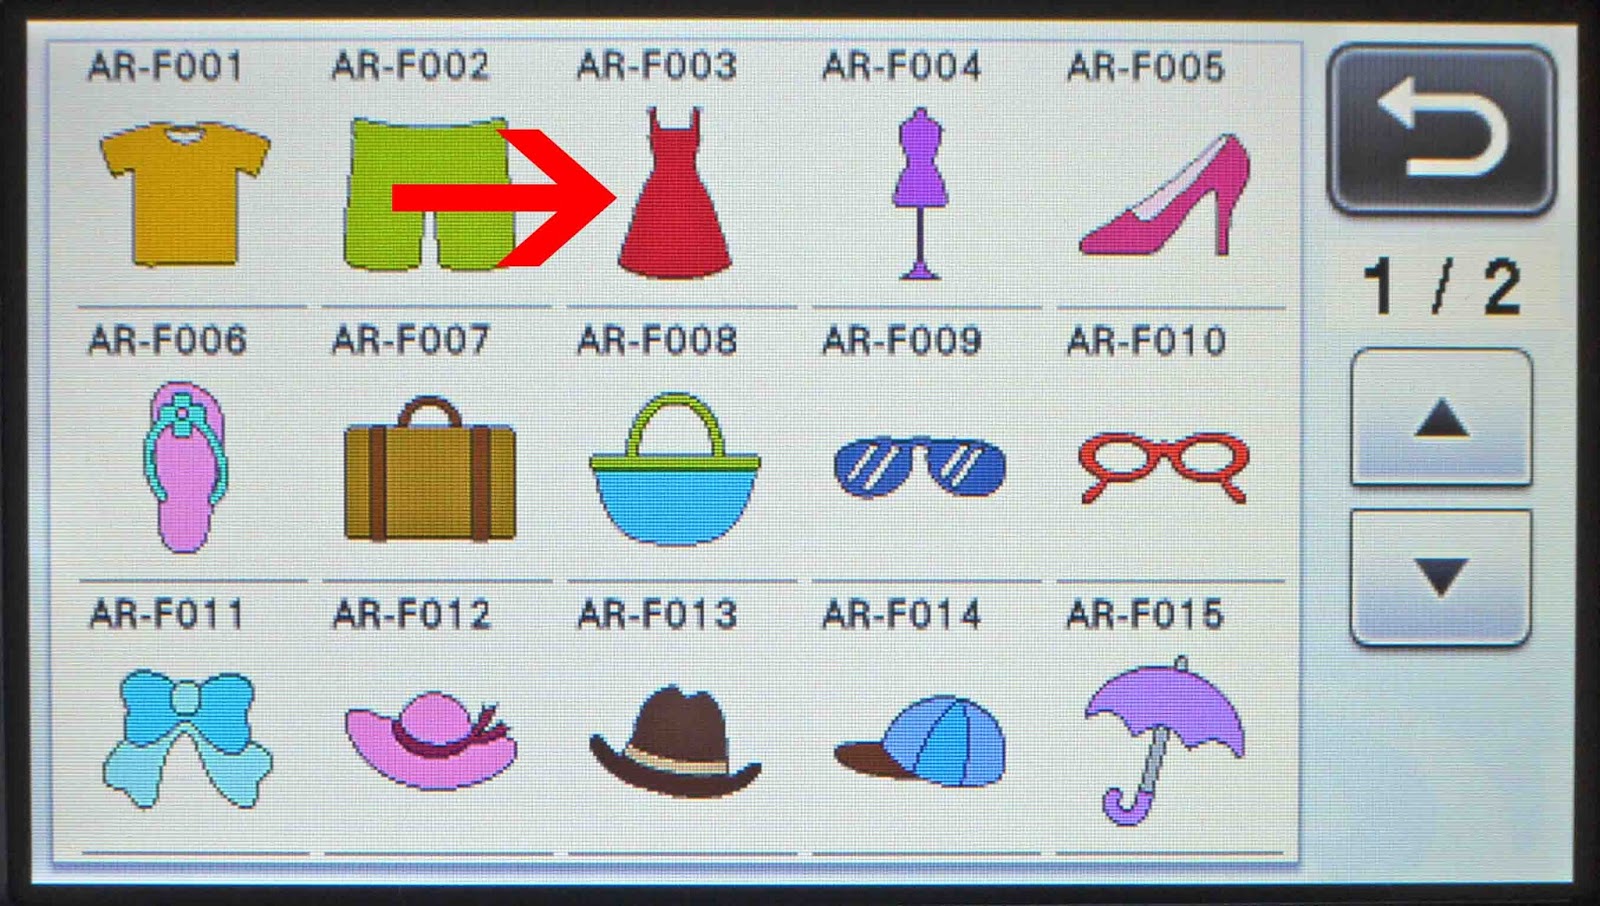
5- Once you select a sub category you can see each cut design. Select one.
6- You can change the size of the shape/design in this window. once the size you need select OK.
7- Next screen conforms your image/design and the number of the design. Click OK.
8- The next screen will confirm the size and give you the option to change the number of copies you would like to cut. once happy click on set.
9- The design is now on the canvas. You can move the design/shape around to where you would like it to cut. once happy, place your cutting mat with media on your machine and click on the load mat button on the machine. Then click the OK icon on your screen.
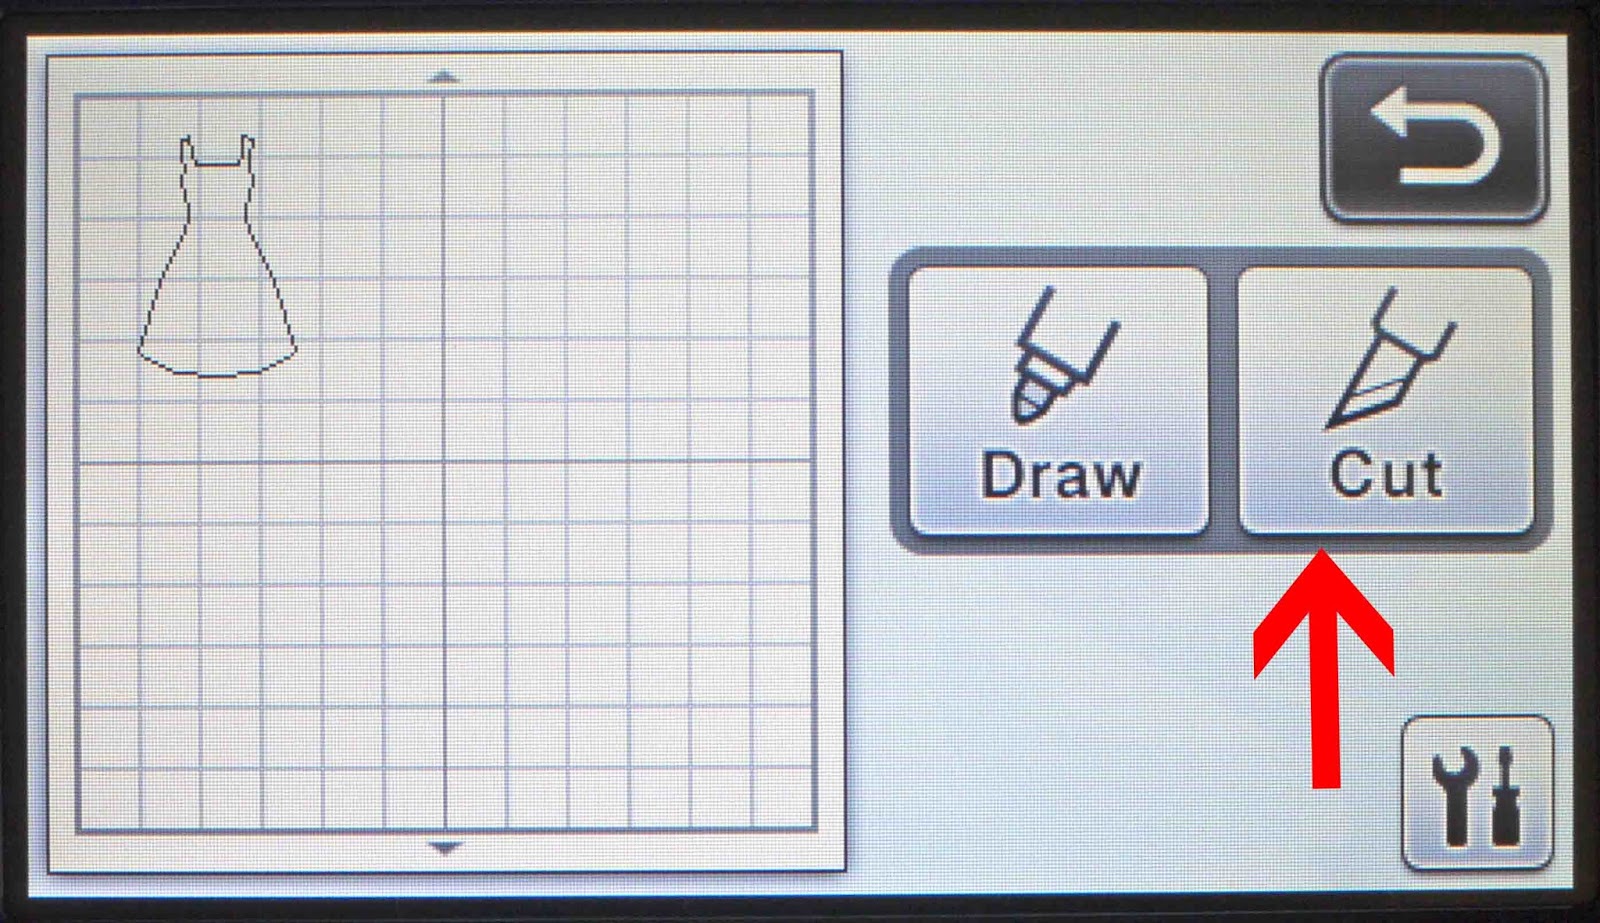
10- Click on the cut icon, then click on the the start/stop button on your machine. Your design will now cut.
1- Turn on the machine
2- Select the pattern icon.
3- Each category has its own icon. Here are 6 examples - 1- shapes, 2- designs, 3- words, 4- borders, 5- fonts, 6- fonts. You can scroll to other categories by using the arrow icons on the right.
4- Each category have sub categories. You can explore these to see what images are in each one.
5- Once you select a sub category you can see each cut design. Select one.
6- You can change the size of the shape/design in this window. once the size you need select OK.

7- Next screen conforms your image/design and the number of the design. Click OK.
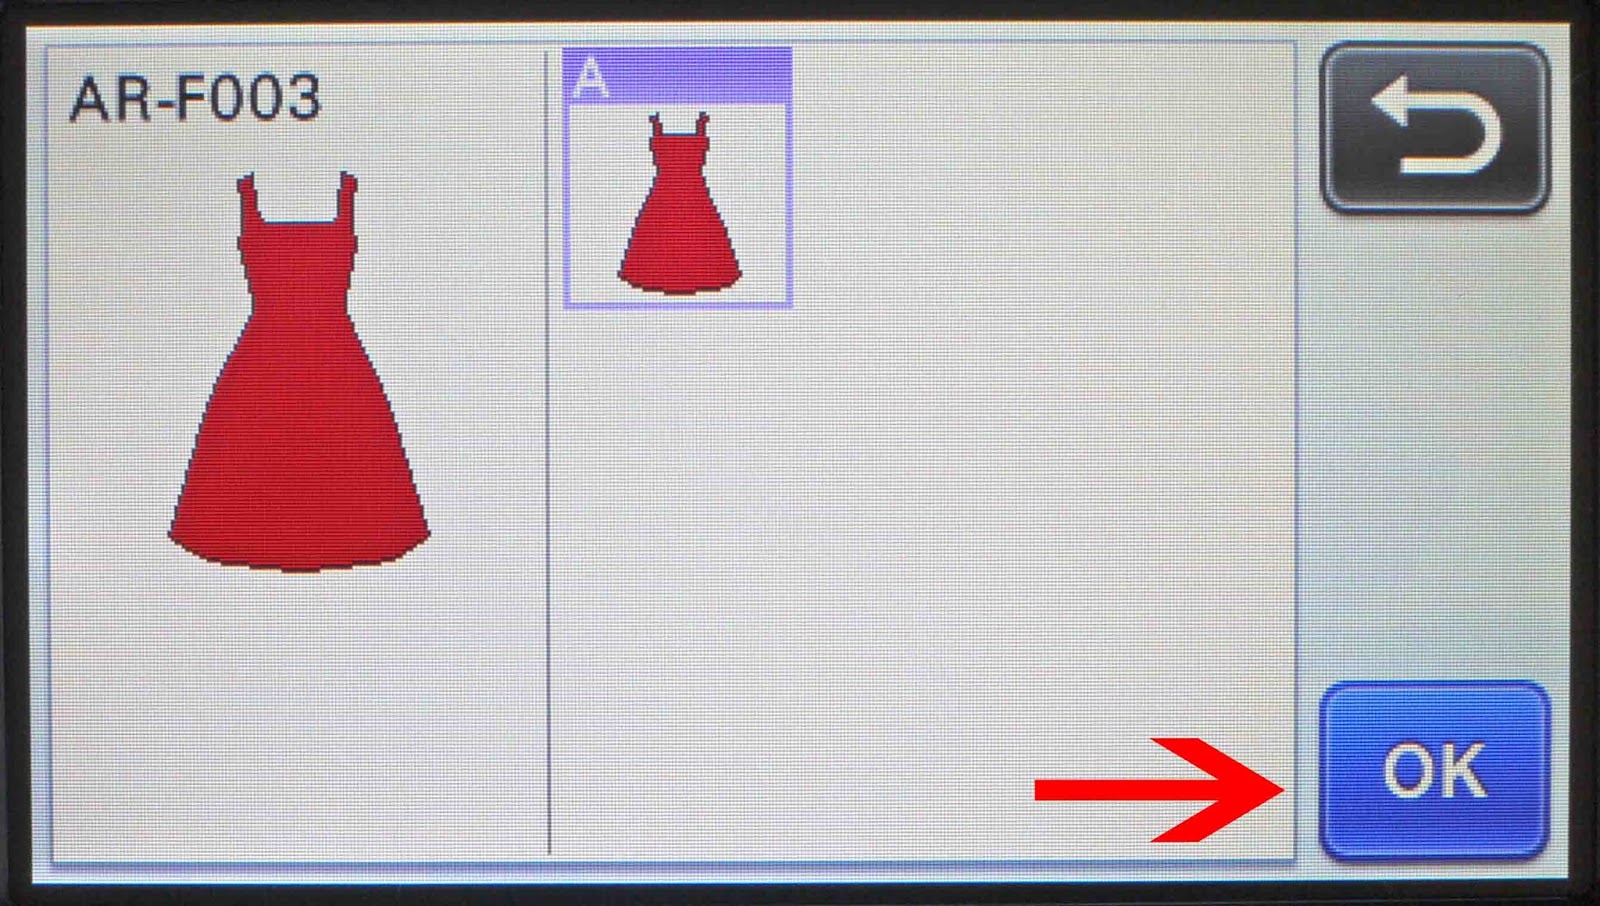
8- The next screen will confirm the size and give you the option to change the number of copies you would like to cut. once happy click on set.

9- The design is now on the canvas. You can move the design/shape around to where you would like it to cut. once happy, place your cutting mat with media on your machine and click on the load mat button on the machine. Then click the OK icon on your screen.
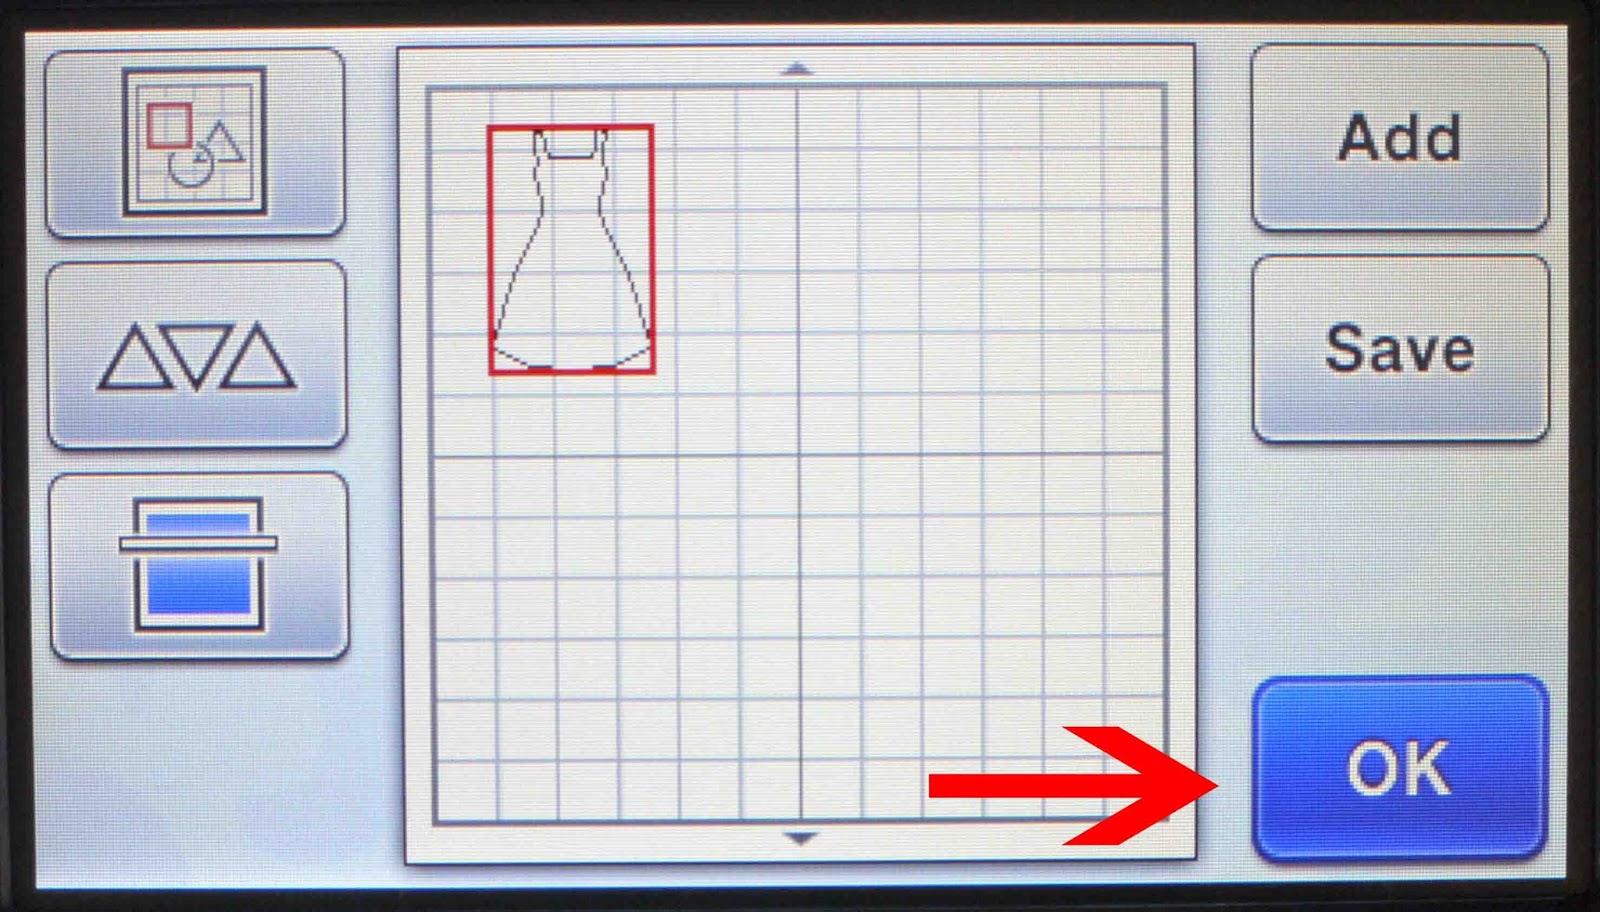
10- Click on the cut icon, then click on the the start/stop button on your machine. Your design will now cut.
Related Tutorials
Scan N Cut Tutorials
How to use the free designs in brother scan and cut canvas workspace
Scan N Cut Tutorials
How to use the free designs in Scan and cut canvas workspace
Scan N Cut Tutorials
How to use digital papers in Brother Scan and Cut
Scan N Cut Tutorials
How to Fill a User Designed Image on Brother Scan n Cut
Scan N Cut Tutorials
How to make a image larger than your cutting mat in Brother Scan N Cut canvas workspace
Learn how to cut designs larger than your cutting mat in Brother Scan N Cut canvas.