By Design Bundles
Scan N Cut Tutorials2 min
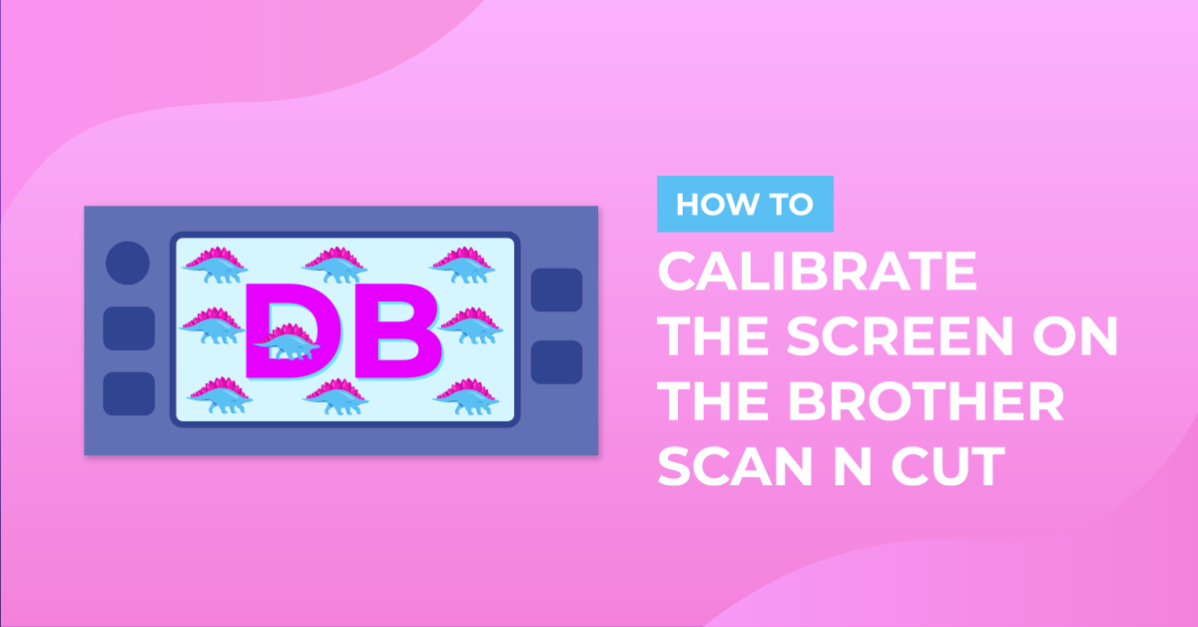
How to calibrate the screen on the Brother Scan and Cut.
Over time your LCD screen on the scan and cut can become slightly off centre. When touching the screen you may need to adjust to the left or right when tapping a icon. This can be fixed with the below calibration technique.
1- Turn your Brother scan and cut machine on.

2-Turn your machine off.

3- Touch the screen and press the power button at the same time.

4-A calibration screen will appear.

5- In order touch the little crosses starting from 1 -5. Make sure you use the stylus for accuracy.

5- Once you have selected all 5 Success will appear on your screen.

6- Turn off your machine, then turn on your machine

7- You will return to the start screen and the machine LCD is now calibrated.

Save
Related Tutorials
Scan N Cut Tutorials
How to save your projects on the Brother Scan and cut machine
Scan N Cut Tutorials
Using the foil quill on ribbon with Brother scan and cut machine
Scan N Cut Tutorials
How to foil on clear stickers using brother scan and cut with the foil quill
Scan N Cut Tutorials
Foiling on vellum in brother scan and cut machine using the foil quill
Scan N Cut Tutorials
Spacing images evenly on a line in Brother scan and cut canvas workspace
Scan N Cut Tutorials