By Design Bundles
Scan N Cut Tutorials4 min
How to correct images that will not cut correctly in Brother Scan and Cut.
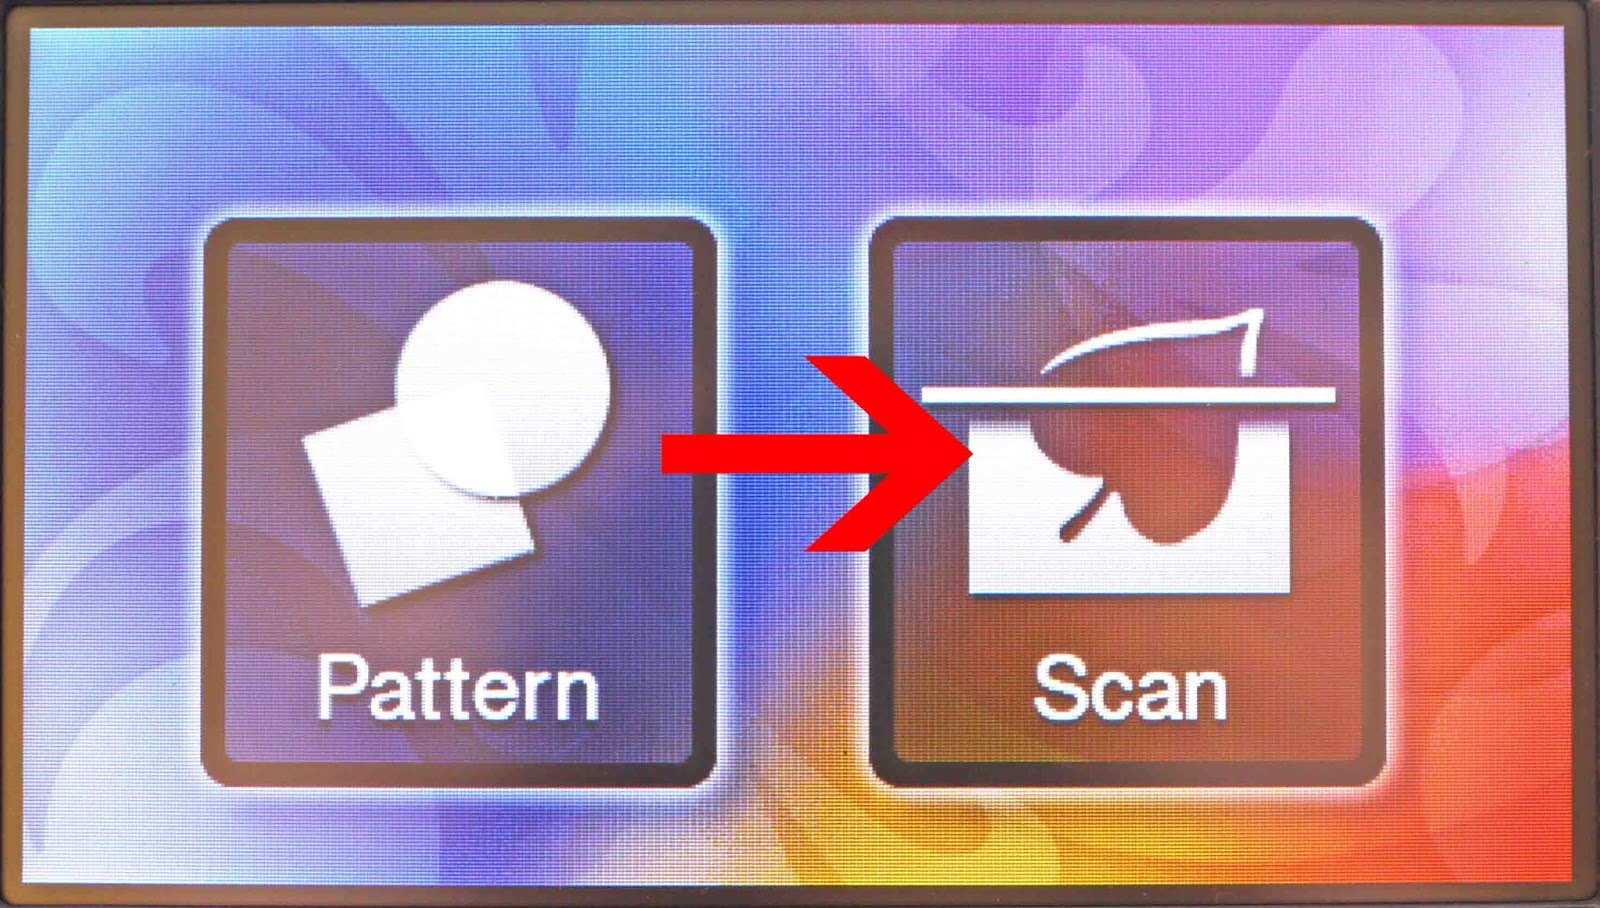
1- Turn on your machine and click on scan.
2- Click on direct cut.
3- Select the scan and cut icon.
4- Load your mat with your scanned image and then click on the scan start icon.
5- Once the images come up on the screen, click OK.
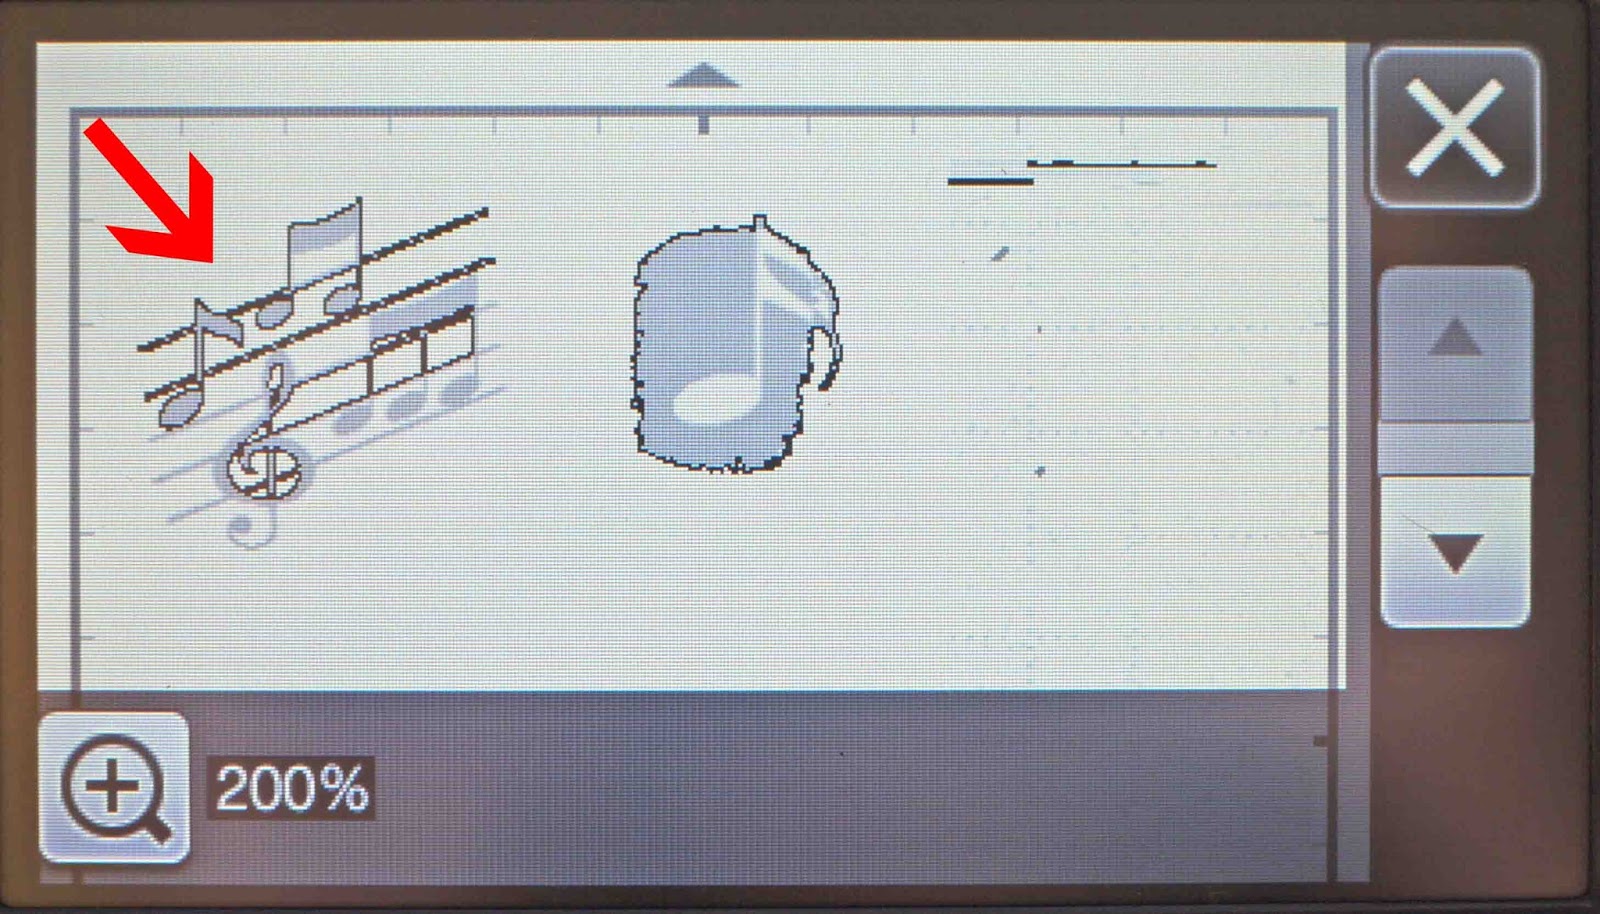
6- As you can see on the screen the scan did not allocate that there were gaps in the design, and therefore tried to put cut lines around every part of the image. On the right image, you can see as there were no blank gaps it has creates a full cut line around it.
7- When you click on the cut screen you can see more clearly how the scan and cut has tried to put cut lines where it needs to be but they have not worked.
8- A simple fix is to take a lead pencil and fill in these lines. If you draw a line to fill them in as shown below, the scan and cut will register it as a whole image.
9-Rescan the image and click OK.
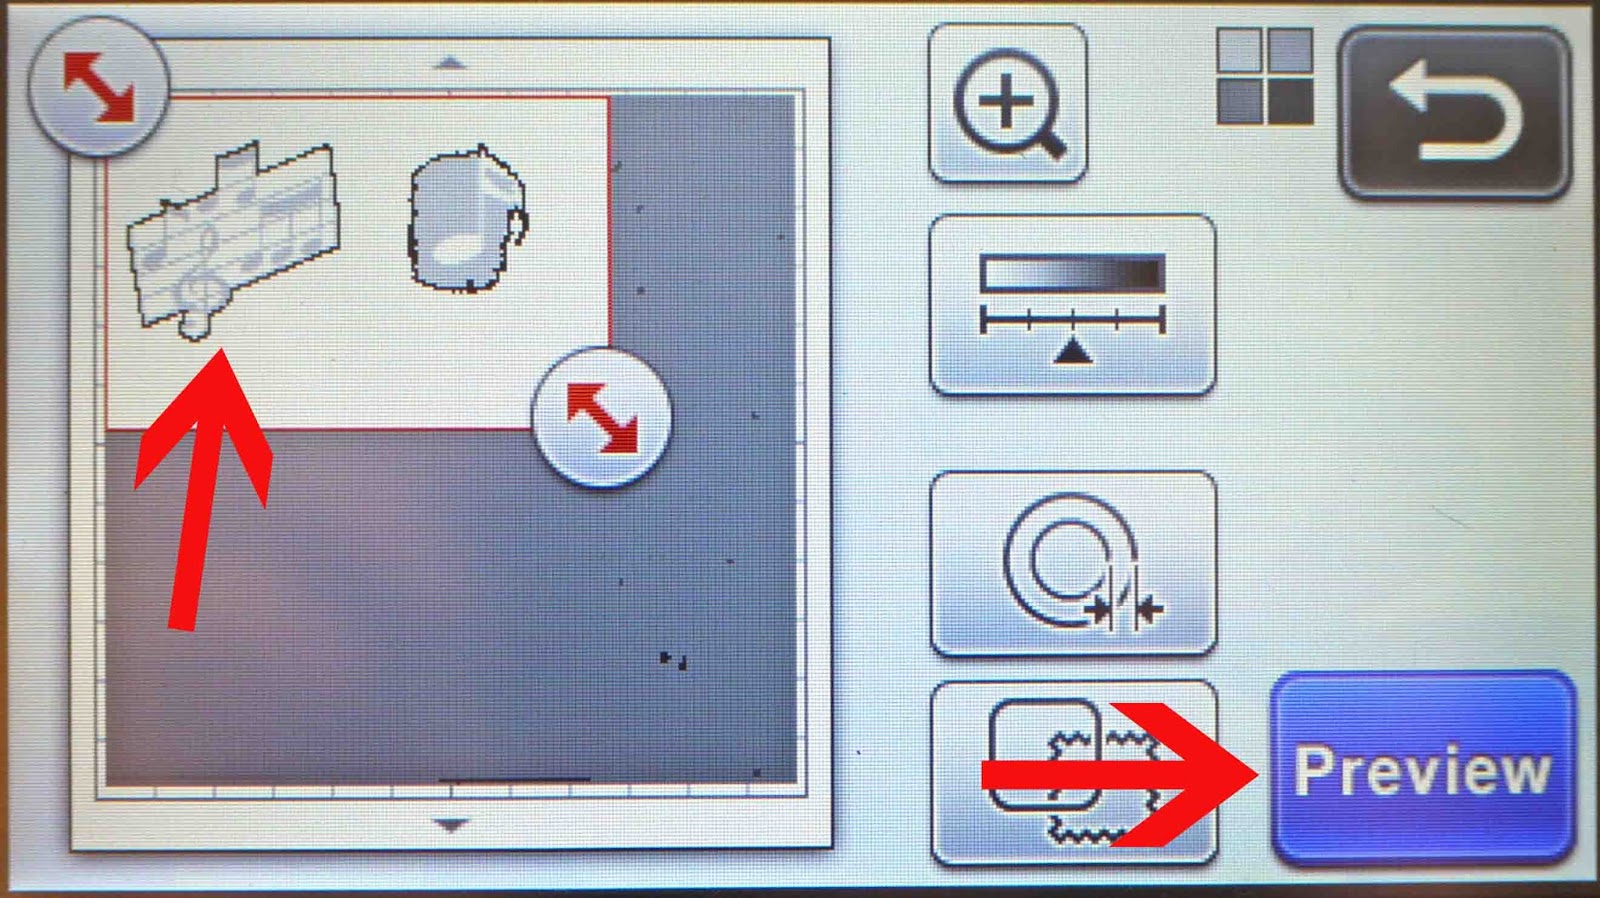
10- You can now see that the scan and cut registered the lead pencil lines and recognized it as a whole image. If you are happy click on preview.
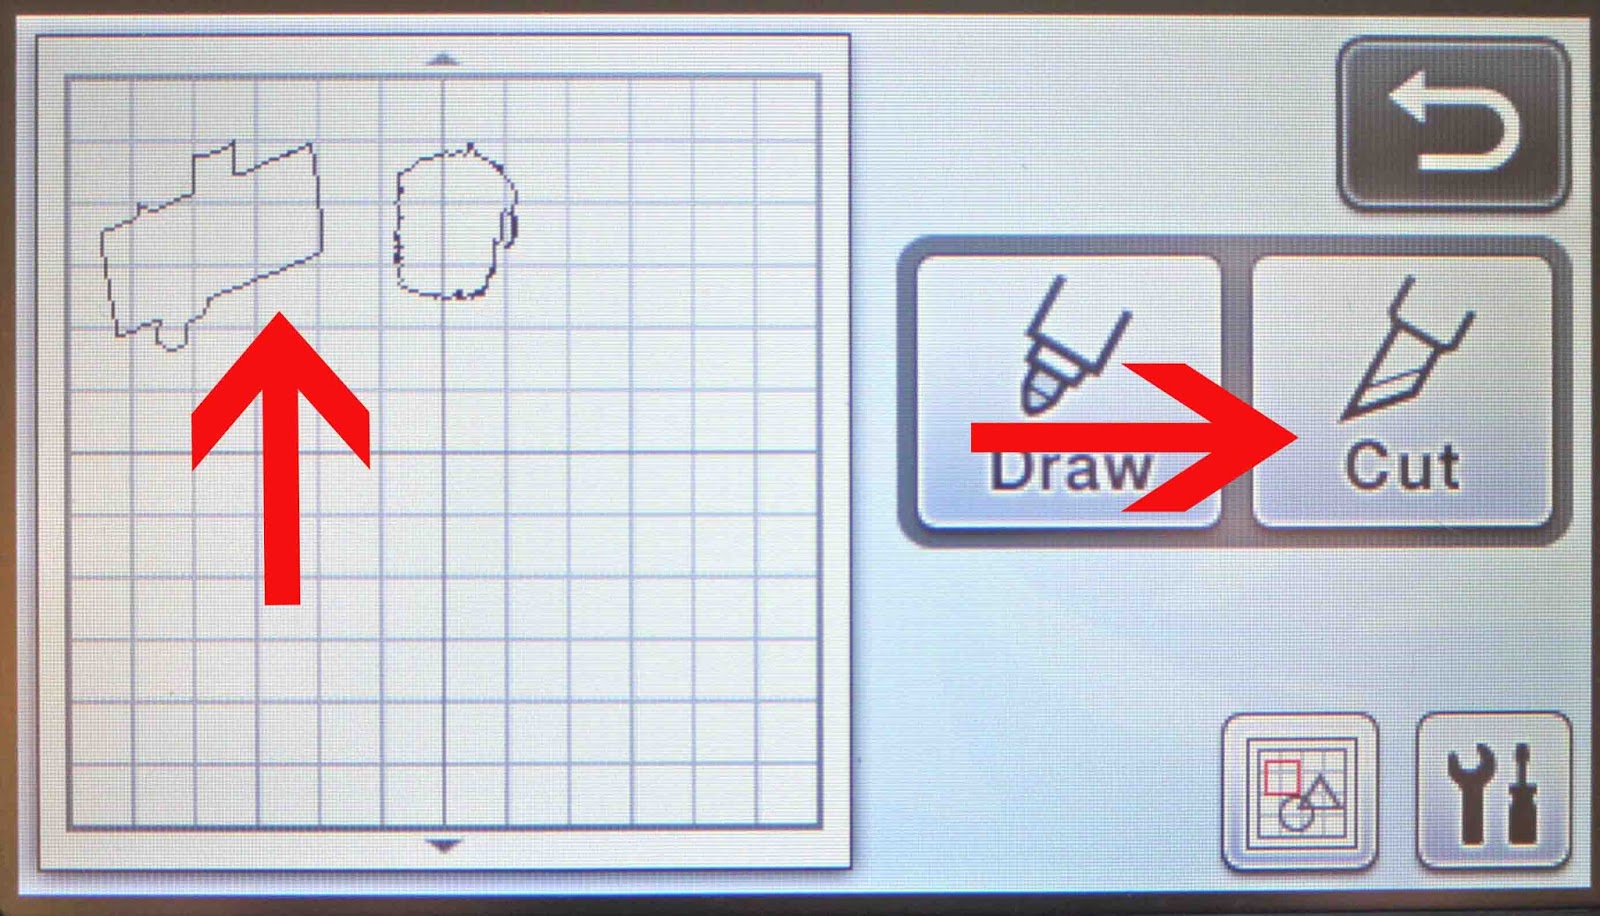
11- Once in the cut screen check the cut lines and then click Cut.
12- Now you have the solid image with cut lines you can also now use the offset option. Click on the offset.
13- Choose the outline distance for the offset. and click OK.
14- Your offset will now cut for you around your image.
Save
2- Click on direct cut.
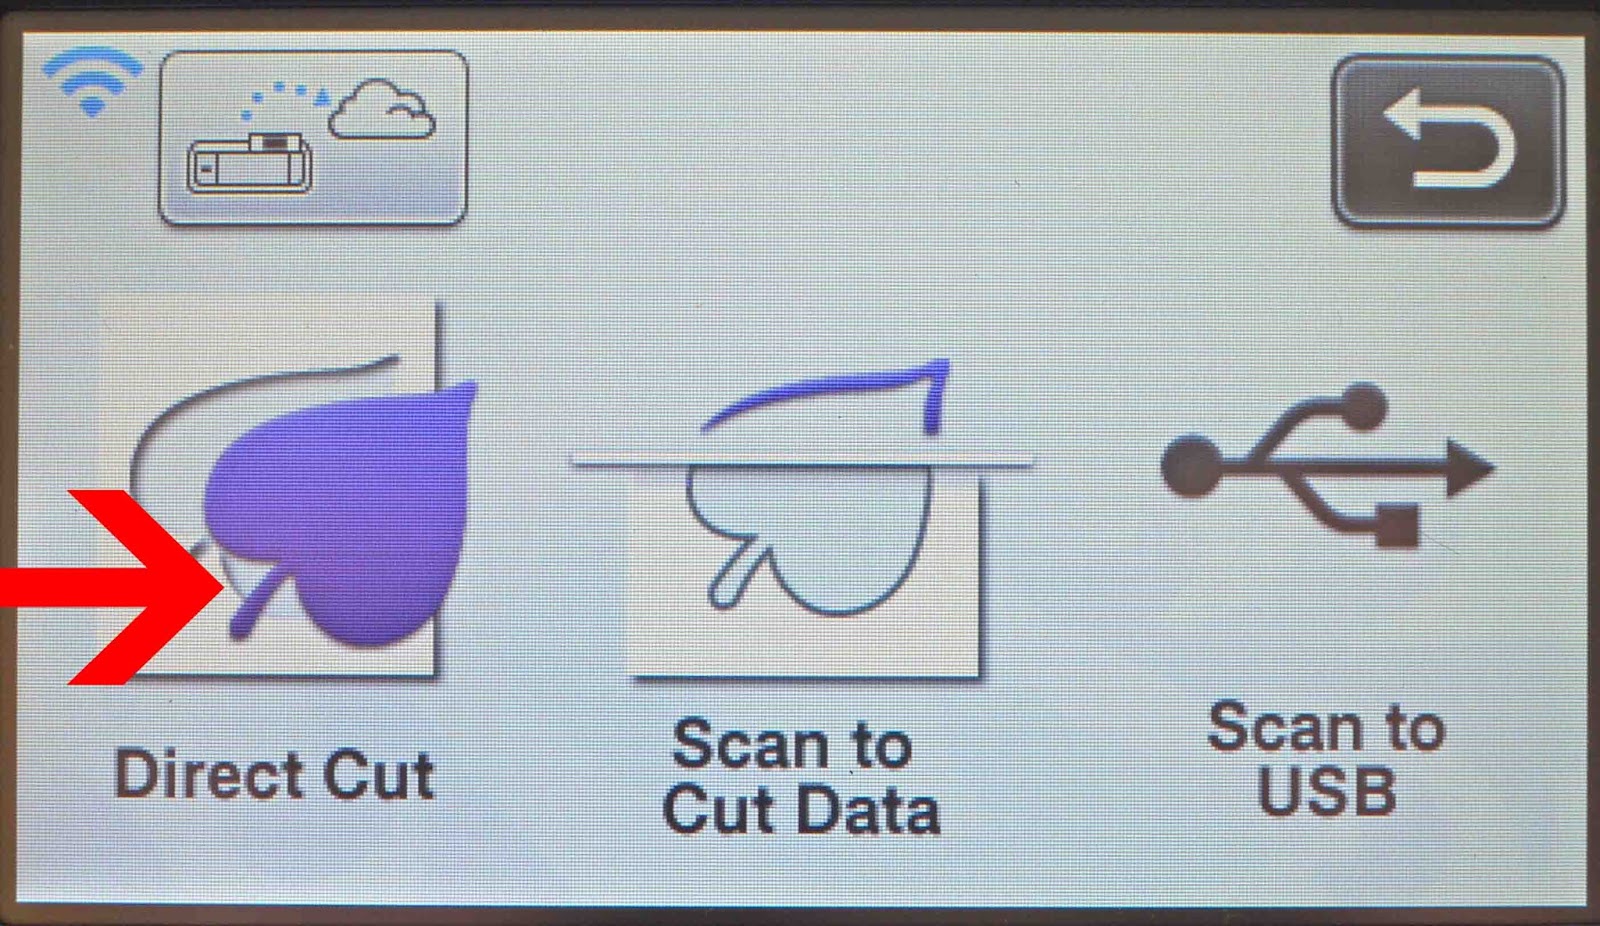
3- Select the scan and cut icon.

4- Load your mat with your scanned image and then click on the scan start icon.

5- Once the images come up on the screen, click OK.
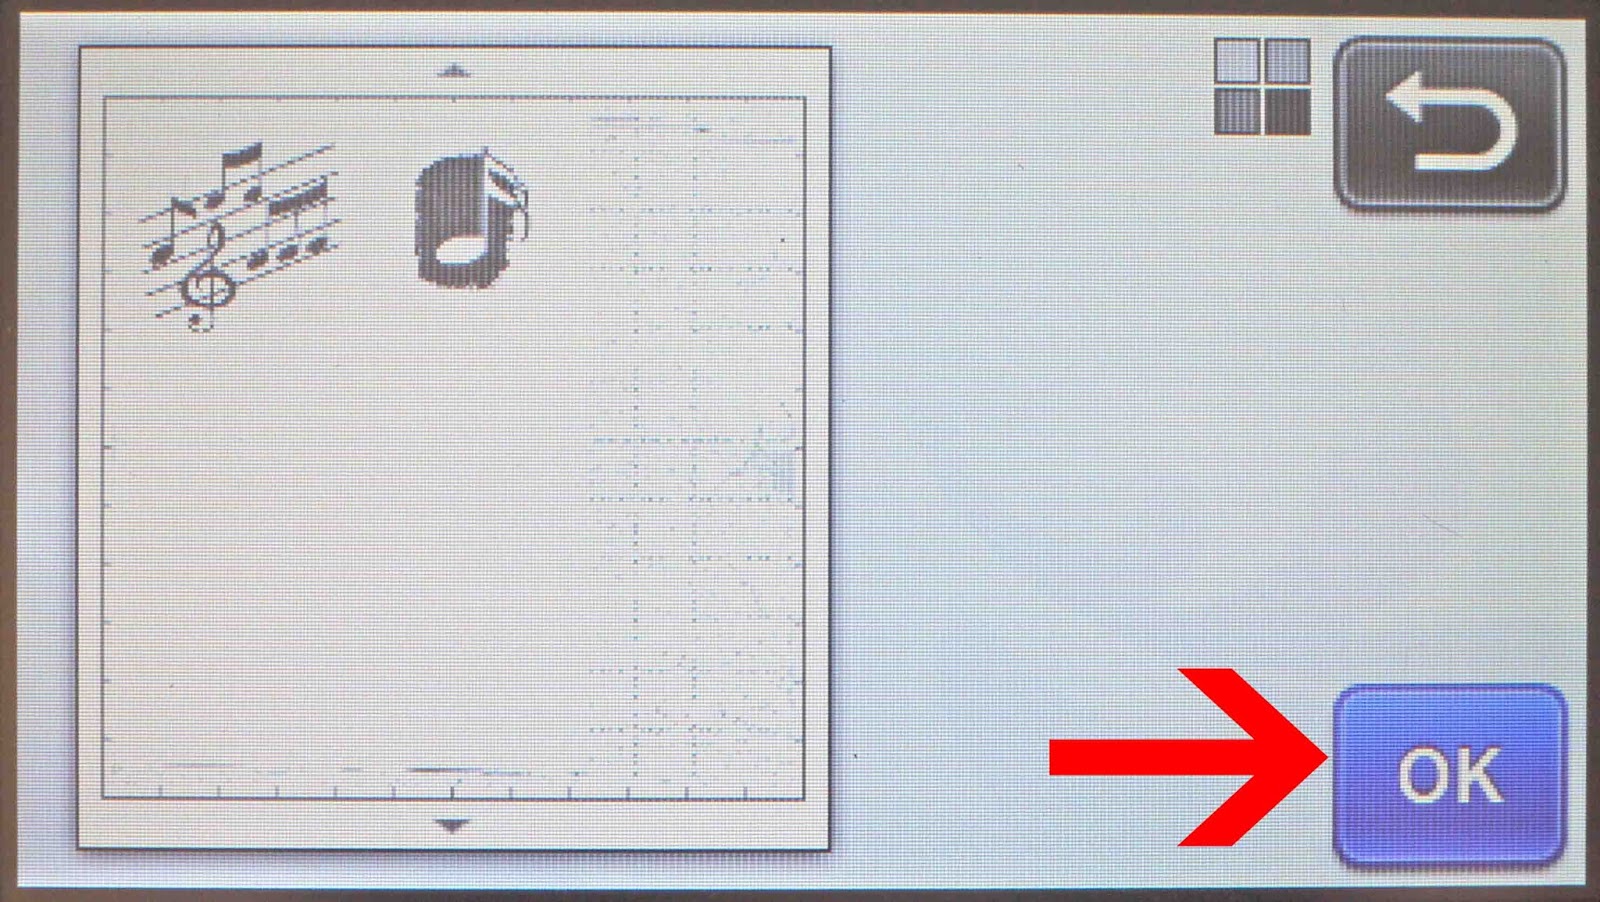
6- As you can see on the screen the scan did not allocate that there were gaps in the design, and therefore tried to put cut lines around every part of the image. On the right image, you can see as there were no blank gaps it has creates a full cut line around it.
7- When you click on the cut screen you can see more clearly how the scan and cut has tried to put cut lines where it needs to be but they have not worked.
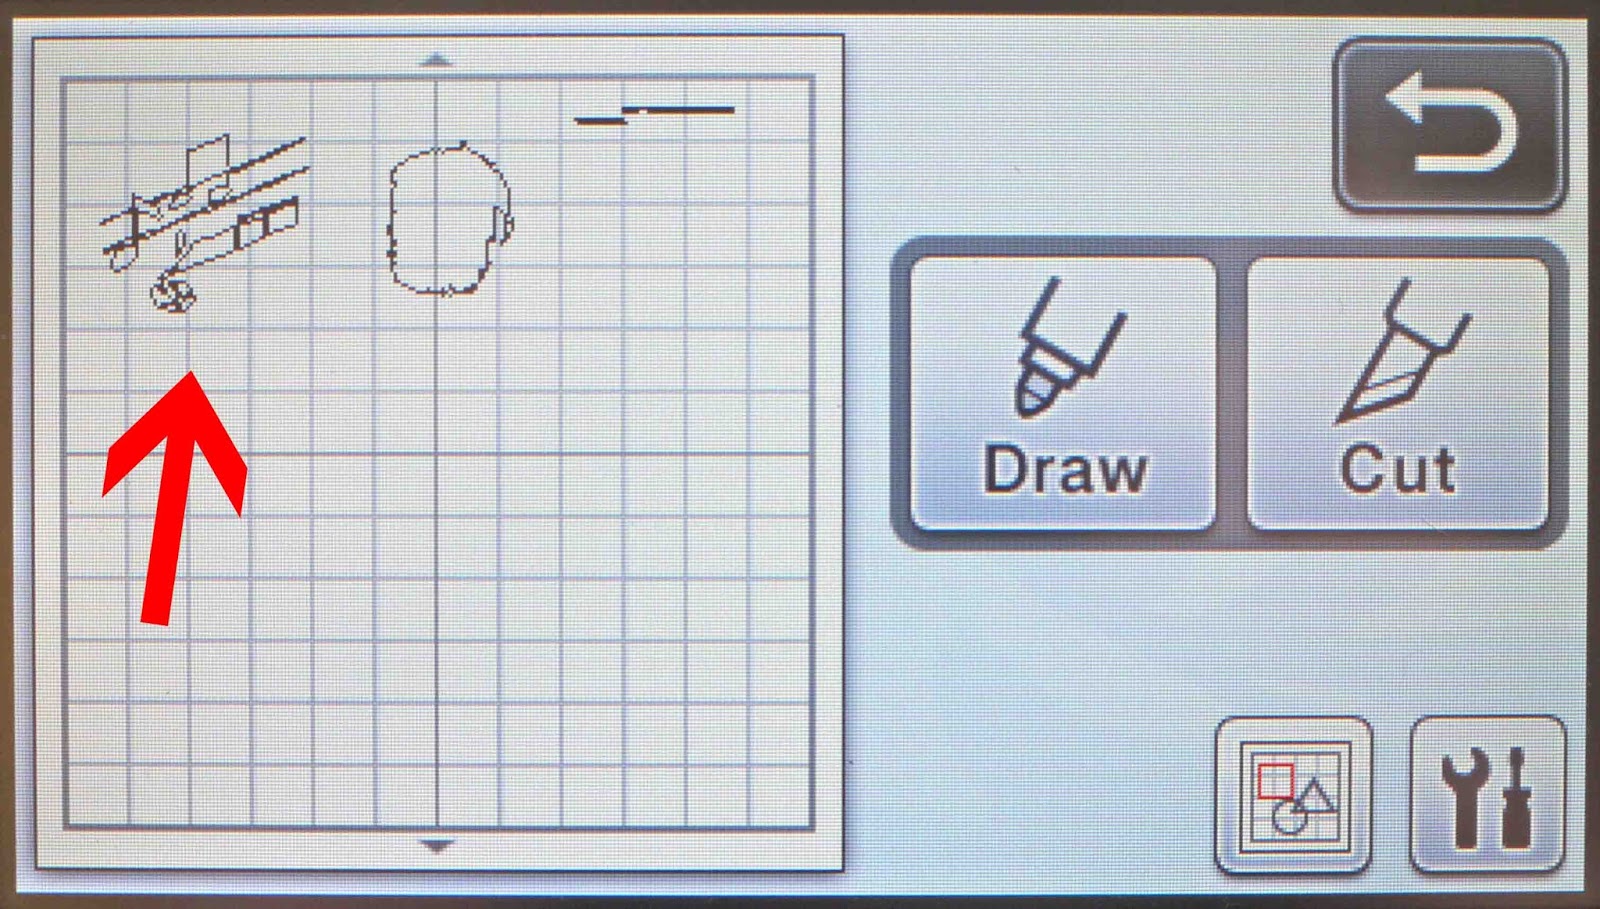
8- A simple fix is to take a lead pencil and fill in these lines. If you draw a line to fill them in as shown below, the scan and cut will register it as a whole image.
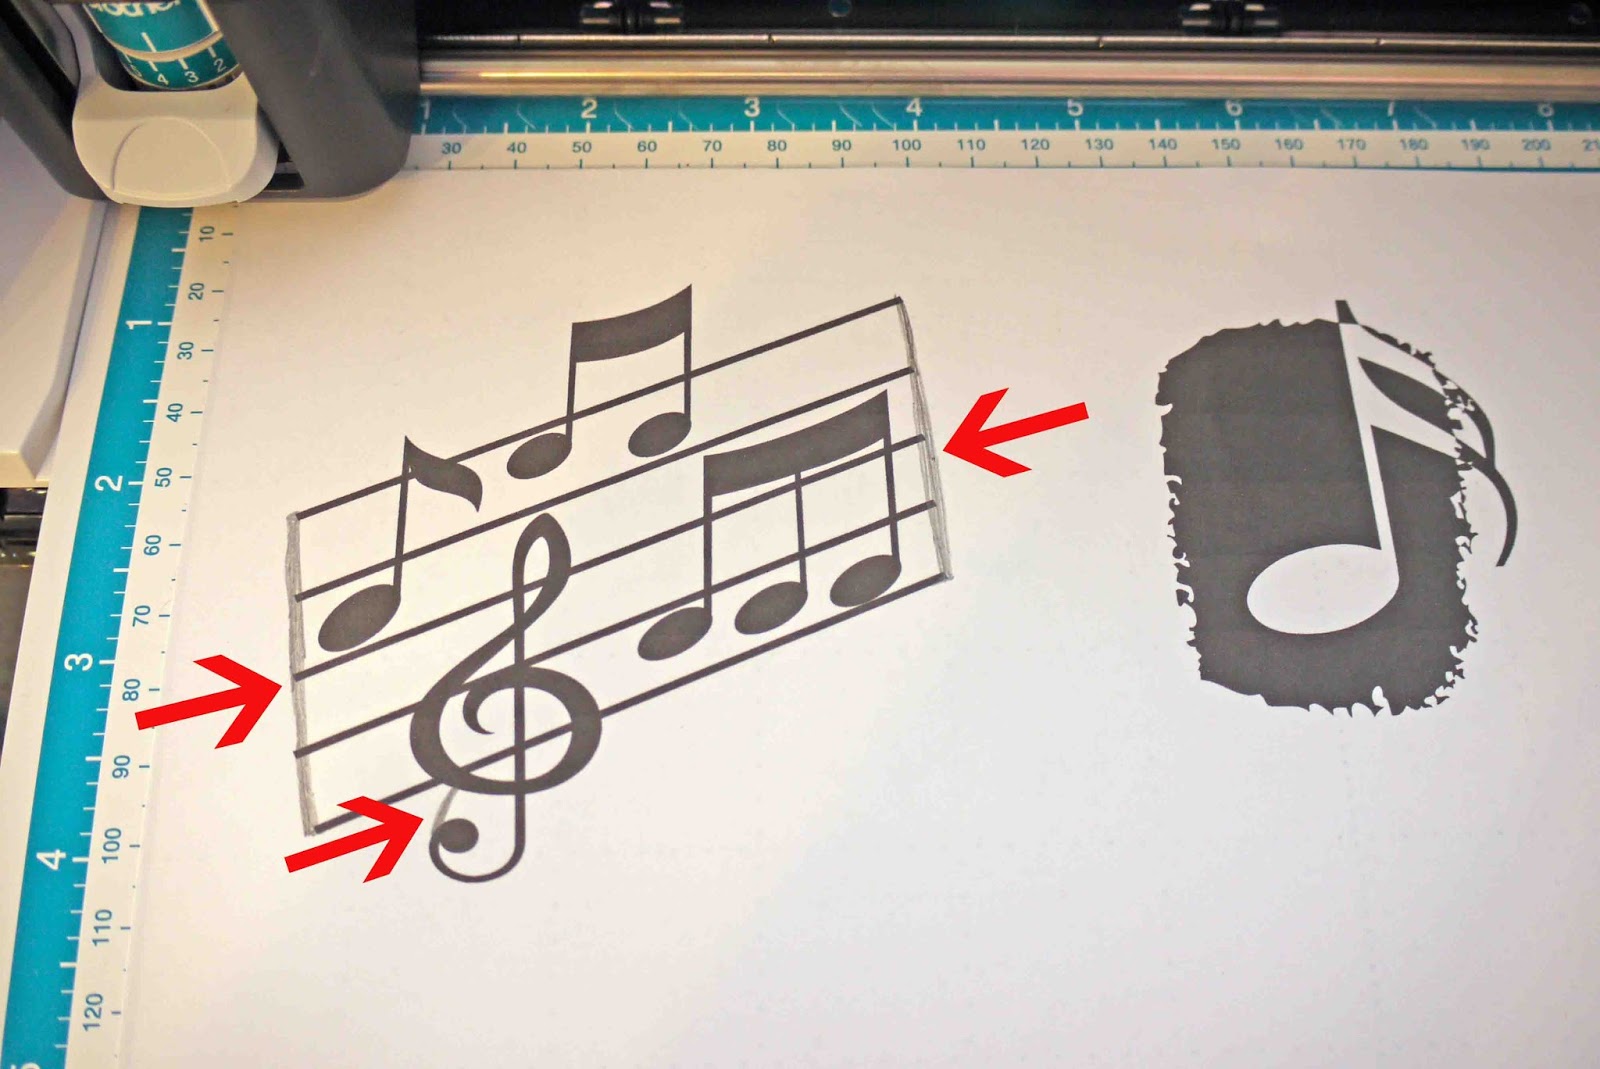
9-Rescan the image and click OK.

10- You can now see that the scan and cut registered the lead pencil lines and recognized it as a whole image. If you are happy click on preview.
11- Once in the cut screen check the cut lines and then click Cut.
12- Now you have the solid image with cut lines you can also now use the offset option. Click on the offset.
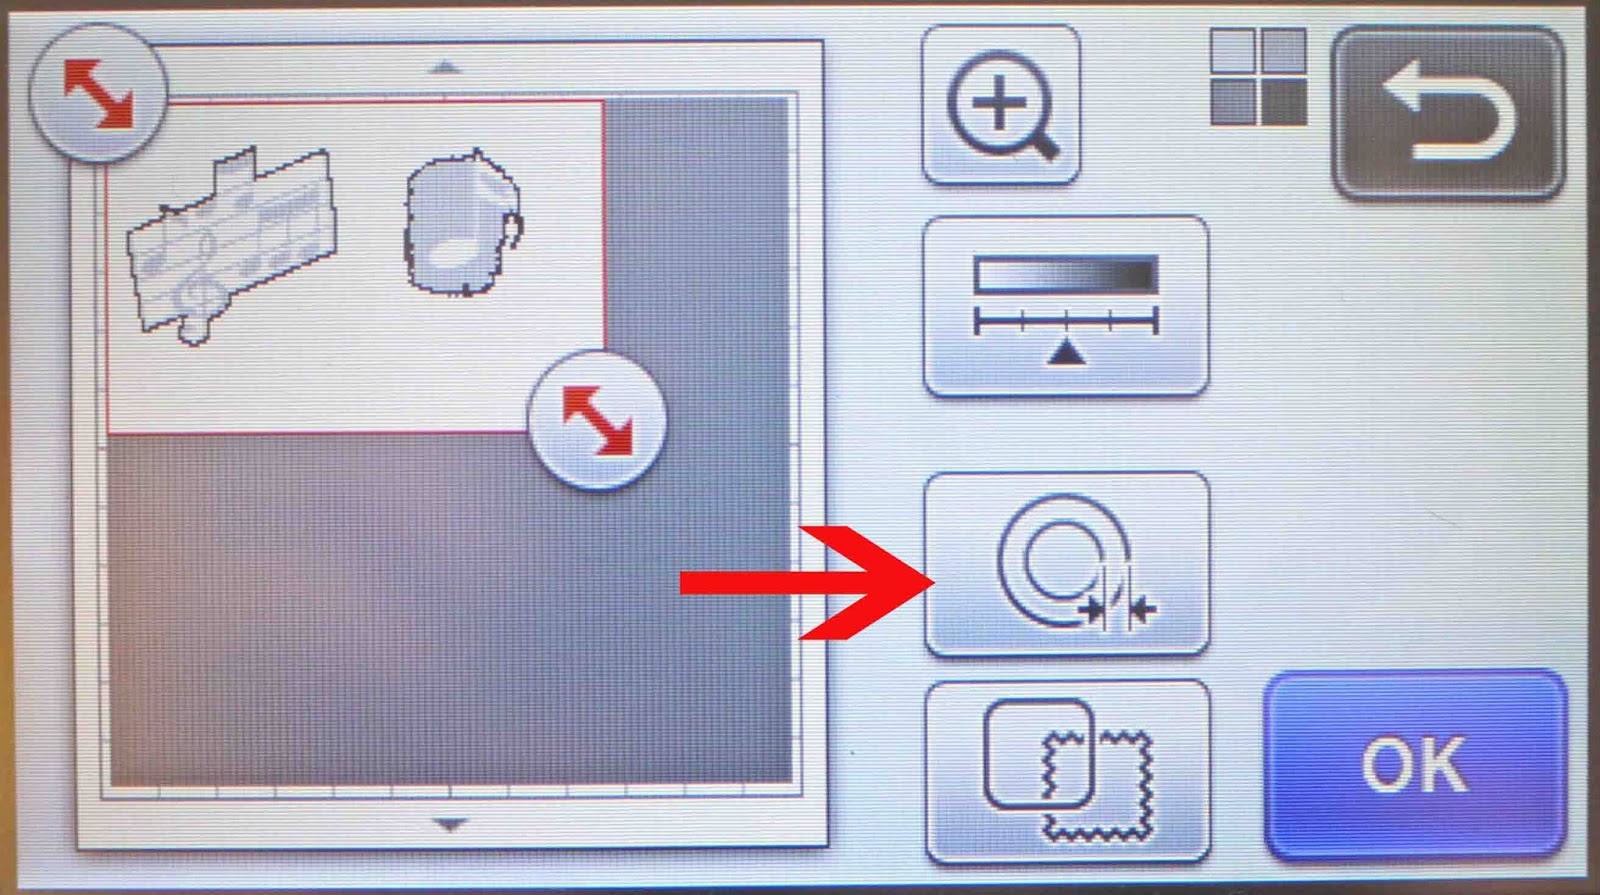
13- Choose the outline distance for the offset. and click OK.

14- Your offset will now cut for you around your image.

Save
Related Tutorials
Scan N Cut Tutorials
Spacing images evenly on a line in Brother scan and cut canvas workspace
Scan N Cut Tutorials
How to create curved text in brother scan and cut canvas workspace
Learn how to curve text in Brother Scan N Cut
Scan N Cut Tutorials
How to make a image larger than your cutting mat in Brother Scan N Cut canvas workspace
Learn how to cut designs larger than your cutting mat in Brother Scan N Cut canvas.
Scan N Cut Tutorials
Converting SVG to FCM cutting fine in Brother scan and cut canvas workspace
Scan N Cut Tutorials