
By Design Bundles
Bitmap fill in Affinity Designer
In this super quick tutorial we will show you how to use Affinity Designer’s Bitmap fill. You can use a texture, pattern, or image to fill a design and create something unique. Bitmap fills are a great way to make your designs stand out.
You are welcome to browse through our collection of digital patterns for your projects. Any image can be used so let’s get started by opening Affinity Designer.
Step 1 - Create or Open your Design
We are going to use the Shape Tools menu on the left side to add our shape. Click on the menu to open, then select the Cloud Tool. Now click + drag the shape out.
At the top toolbar you will find the Fill and Stroke options. Click on the Fill Color Picker box and choose a color. We went with a light blue.
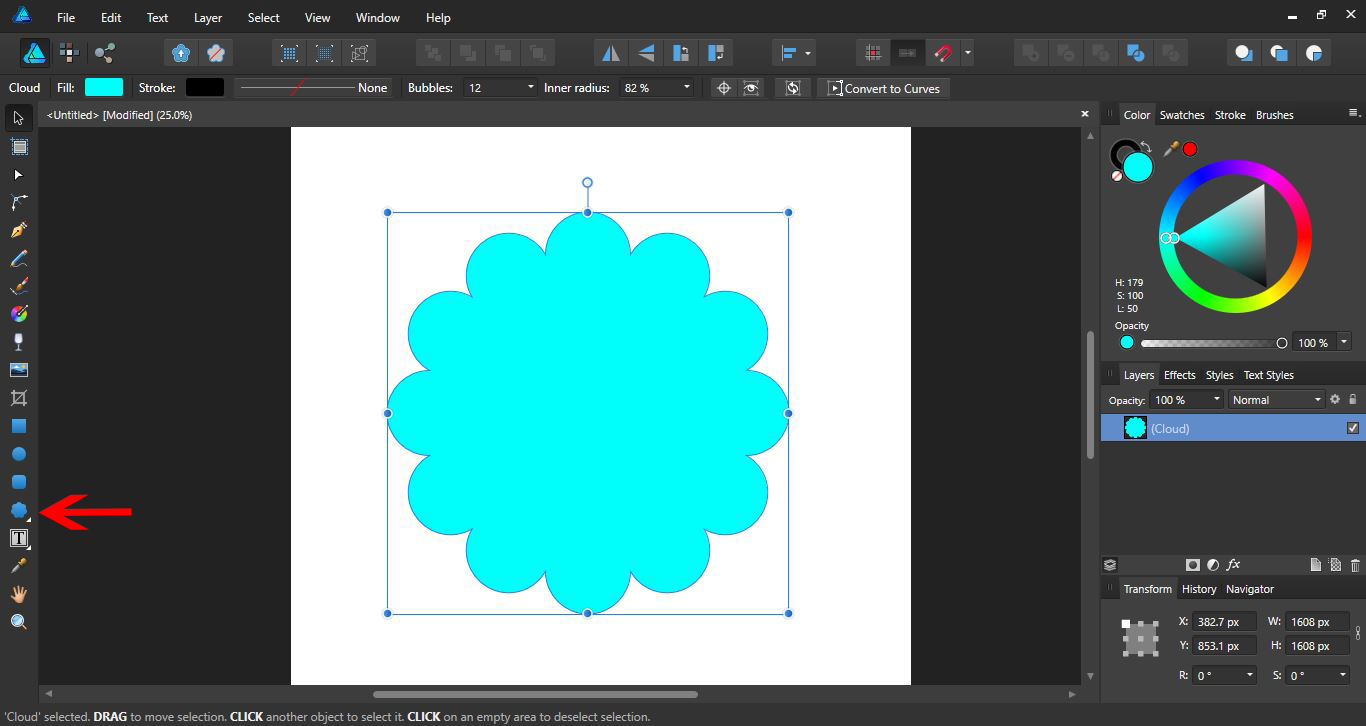
You can also use the Pen Tool to create your own shapes and designs.
Step 2 - Apply Bitmap with Gradient Tool
In order to access the Bitmap fill we need to use the Gradient Tool. Click on the Gradient Tool on the left side toolbar.
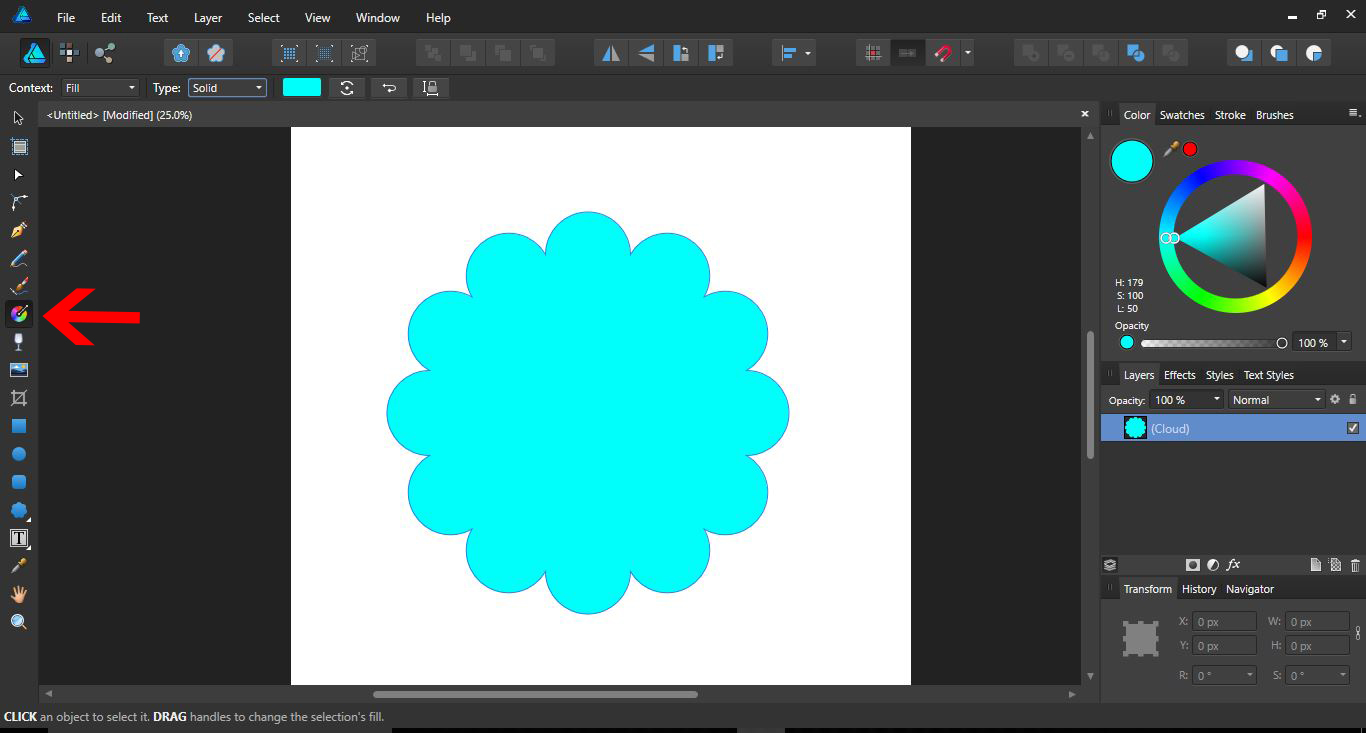
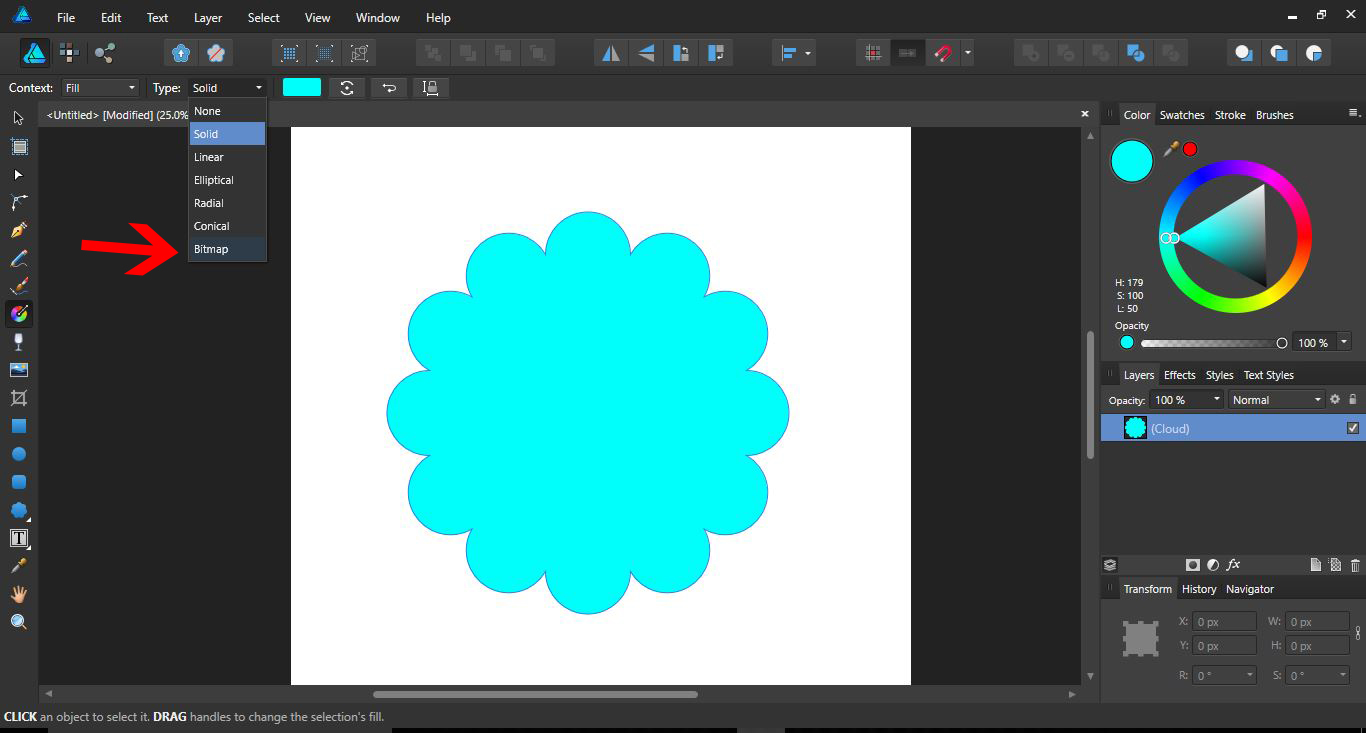
Make sure the shape or design is selected. In the top toolbar next to Type, select the dropdown box and click on Bitmap.
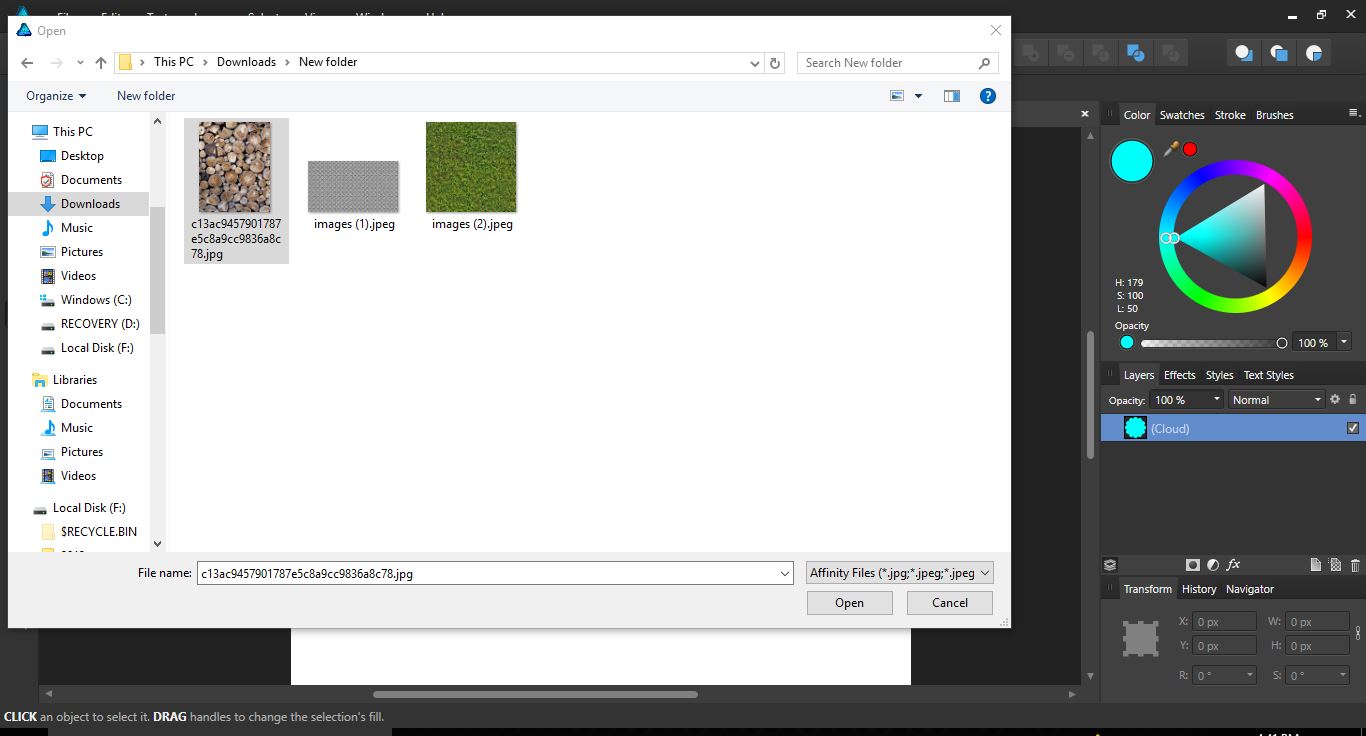
A new window will appear where you can select to open your texture.
The texture or image will now fill your shape.
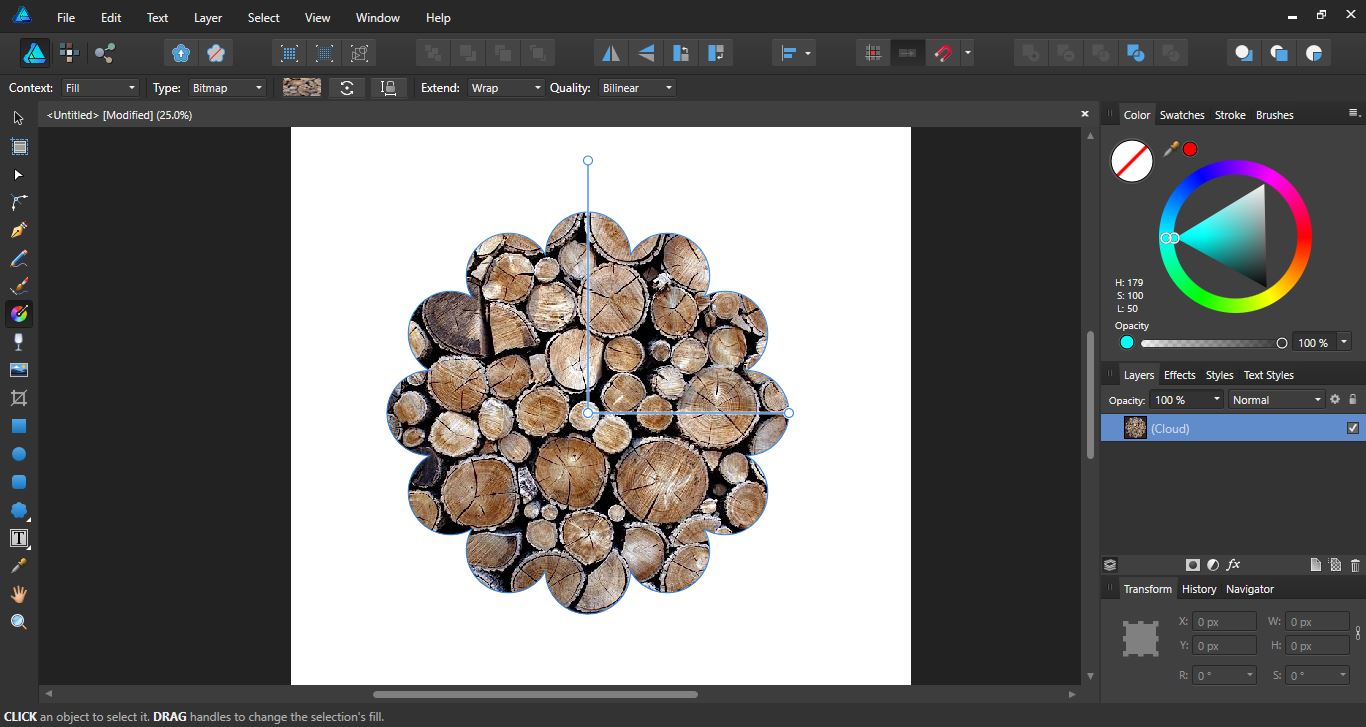
You can adjust the size of the texture using the gradient handles.
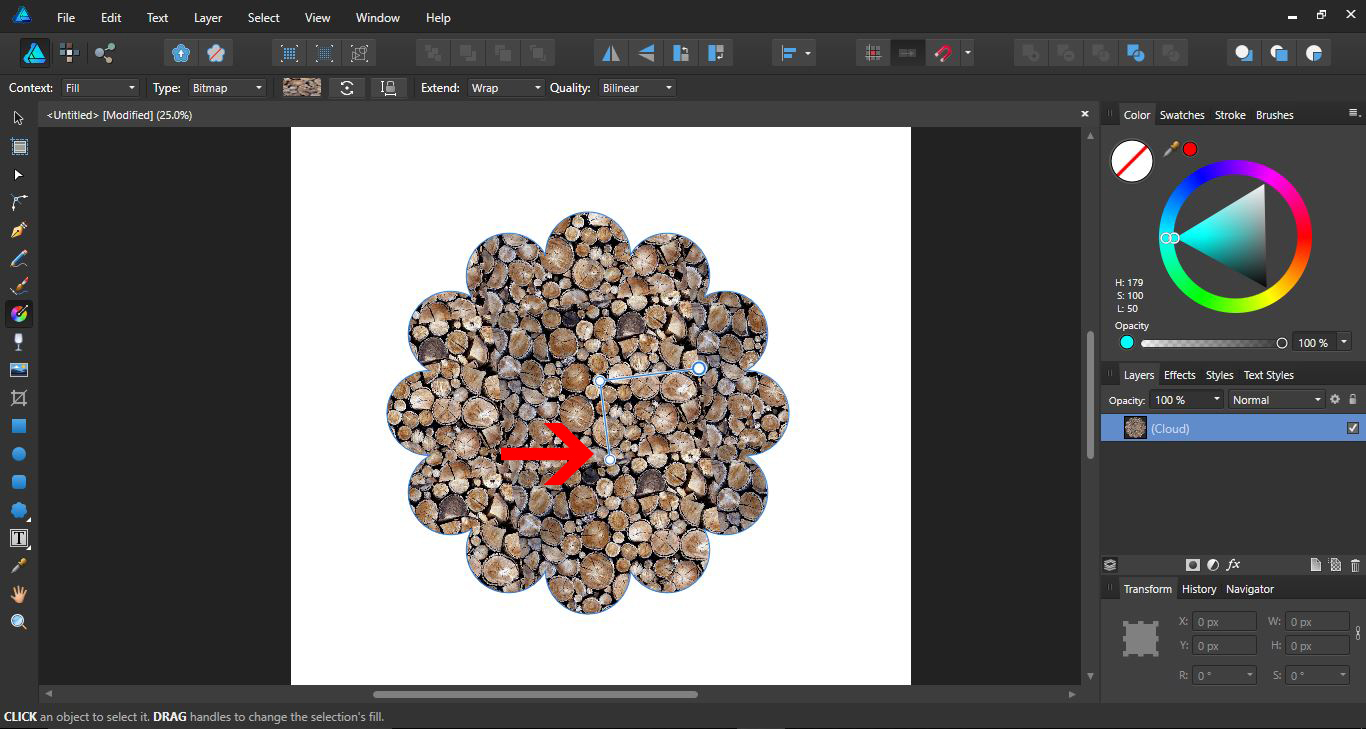
Each time you want to change the fill, you will need to click on the Type drop down box and select Bitmap. In the window that appears, select a new texture.

You can even add images as a Bitmap fill. This is a quick and fun way to create frames for your images.

Affinity Designer’s Bitmap fill is a useful tool for adding textures as well as creative frame ideas. They also help to constrain the background to a specific design or shape and create repeating patterns. We hope you enjoyed following this tutorial and can use the techniques in your future ideas.