By Nadine Spires
How to Make SVG Files to Sell Using Affinity Designer
Discover how to make SVG files to sell using Affinity Designer and add variety to your digital store. Extremely popular with crafters, SVG cut files can be used with Cricut and Silhouette cutting machines. Knowing how to create a good SVG cut file is key to successful sales and happy customers.

If you're looking for ready-made SVG cut files, check out the FREE Designs available from Design Bundles. You can easily create t-shirts, mugs, keyrings, paper crafts and much more with tons of ideas!
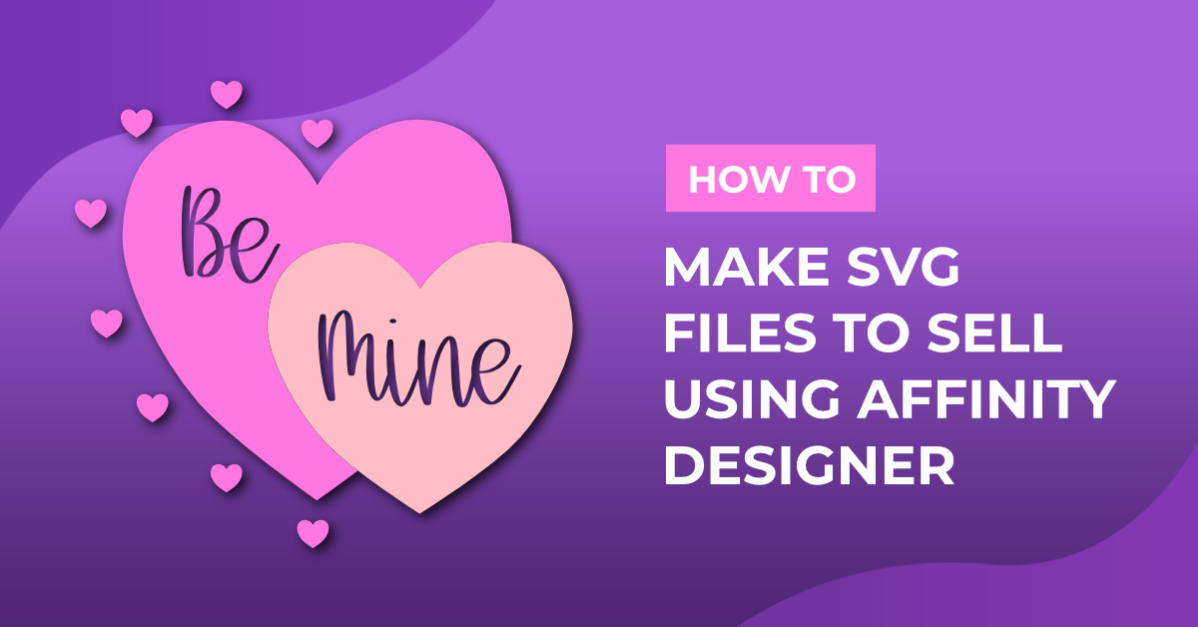
In this Affinity Designer tutorial we will be creating a simple heart SVG and adding text using a gorgeous font called Heart You from the Plus Hub. Want to know more about the Plus Membership? Then join our FREE 30-day Gold Membership Trial today!
You can use any version of Affinity Designer but we will be using V2.1.
What is an SVG?
SVG stands for Scalable Vector Graphic where the design is created using lines, curves, and nodes. You can resize a SVG design however you want without affecting the quality.
Cut files designed for Heat Transfer Vinyl application with your Cricut or Silhouette should not overlap or have jagged lines. Your machine will read these lines and use them to cut your design. Layering with these files is also easier for customers.
Cardstock designs can overlap, so that is another option to consider. The SVG we are creating today is for HTV use but if you want to create layered cardstock, skip the Boolean Operation steps.
JPEG or PNG files are pixel based and don’t have cut lines. You can use programs to create vectors such as tracing in Inkscape with Single Scan. Alternatively, you can convert a JPEG to SVG in Affinity Designer.
Points to Keep in Mind
Point 1 - Think about the application of your design. How will it be used and with what materials? For the most part, HTV works best when everything is on a single layer. Some HTV products don’t do well when layered on top of each other.
Point 2 - Too many colors in the design can make it more complicated than it should be. Try to stick to less than 6 colors.
Point 3 - Avoid overly thin or difficult to cut lines. Any part of the design that may be too thin could cause issues when cutting or removing from the mat.
Point 4 - Cardstock requires a solid base layer to build on. You can use as many colors as you like and create a 3D layered file or something less detailed. Cardstock crafts are usually the first type of project a new crafter starts out with.
Step 1 - Draw an SVG Shape with the Pen Tool
We will be working with the Pen Tool, Nodes Tool and the Boolean Operations to create the SVG file.
On the New Canvas page, choose your preferred size. We clicked on Print > A4, and then clicked on Margins to uncheck the Include Margins box. This is a personal choice but the margin lines can be distracting.

Select the Pen Tool from the left-side panel and draw a heart shape. Next, select the Node Tool found near the top left of the panel. Smooth out curved lines by clicking on any square nodes, and then clicking on the Convert to Smooth button on the top toolbar.

Step 2 - Create SVG Cut Out with Boolean Operations
Go to the Layers Panel on the right-hand side of the screen. Right-click on the curve layer and select Duplicate. Resize the second heart by clicking + dragging in on one of the corner handles. Now, place the smaller heart on the bottom left-side of the first one.

Make a duplicate of the small heart. You can also rename the layers by double-clicking on the layer name.

Select the Big heart shape, and then hold Ctrl + click on the Small heart duplicate layer. Next, go to the Boolean Operations on the top toolbar and click on the Subtract Boolean Operation.

This will create a cut out path where the remaining two hearts don’t overlap. In the image below we moved the smaller heart to the side to show you.

Step 3 - Complete your SVG Design
Create text in Affinity Designer for your design. In our case, we added two text layers. The “Be” text layer was placed over the top left corner of the Big heart layer. The “Mine” text layer was placed in the middle of the smaller heart shape.
We selected the “Be” text layer and the bigger heart shape, and then clicked on Subtract in the Boolean Operations menu. This was repeated for the second text layer and smaller heart. Now we have two text cutout layers.

Next, add a few more smaller hearts to frame the outer layer of the bigger, dark pink heart. On the left-side toolbar, click on the Shapes menu and select the heart. Click + drag to create the hearts and place them around the outer edge of the dark pink heart.

Create a Compound Path
To create a SVG file that is easy to use in programs like Cricut, we need to create a Compound Path of the same color elements. This will tell Cricut Design Space to cut everything in place and avoid the need to use the Attach function.
It’s not always necessary to do this and will depend on your design. Test out your design by creating two files, one with compound paths and one without. Check to see which one is easier to work with. This will give you an idea of what the customer can edit and what skill level your design is best suited for.
Select all of the dark pink hearts and then go to Layer > Create Compound. The selected elements will become paths that are grouped together.

The design is now ready to be saved. We want our design to fit the standard 12 inch x 12 inch cutting mat. Even though we started out with an A4 file size, we can still resize the canvas in Affinity Designer. We adjusted our canvas and design size to match a 12 inch cutting mat.
Next, click on File > Export and in the export settings, select SVG as the format. Adjust the Area to Selection if needed. As our design fits the entire document, we left this setting as is. The following settings were adjusted.
Rasterize: Nothing
Use DPI: 72 (this will not affect the quality)
Uncheck all other boxes including Allow JPEG compression
Finally, click Export and your design will export in the chosen format.

Test out your file in other software such as Cricut Design Space or Silhouette Studio. Here you will be able to see if the sizing is correct, if colors have been separated into layers and if there are any issues.
Uploaded as Cricut Design Space SVG - Approved!

Uploaded as Silhouette Studio SVG - Approved!

We have now completed the tutorial on how to make SVG files to sell using Affinity Designer. With the knowledge you gained in this tutorial, you can create your own designs and move on to more complex creations!
Looking for more heart themed SVG files for your library? Be sure to check out our amazing collection of Cricut Valentine SVG designs. There is something for everyone, from cute gnomes to 3D layered hearts!