By Design Bundles
Selecting, Finding and Isolating Objects in Affinity Designer
When working with an SVG design, you can use the Affinity Designer’s Move Tool to select, find and isolate objects. As designs become more complex, the more difficult it can appear to work with the elements. In this tutorial, you will learn how to do this more efficiently.
During this tutorial, we will be using a chalkboard wedding invite but we have tons of chalkboard SVGs to choose from.
Step 1 - Directly Select on the Image
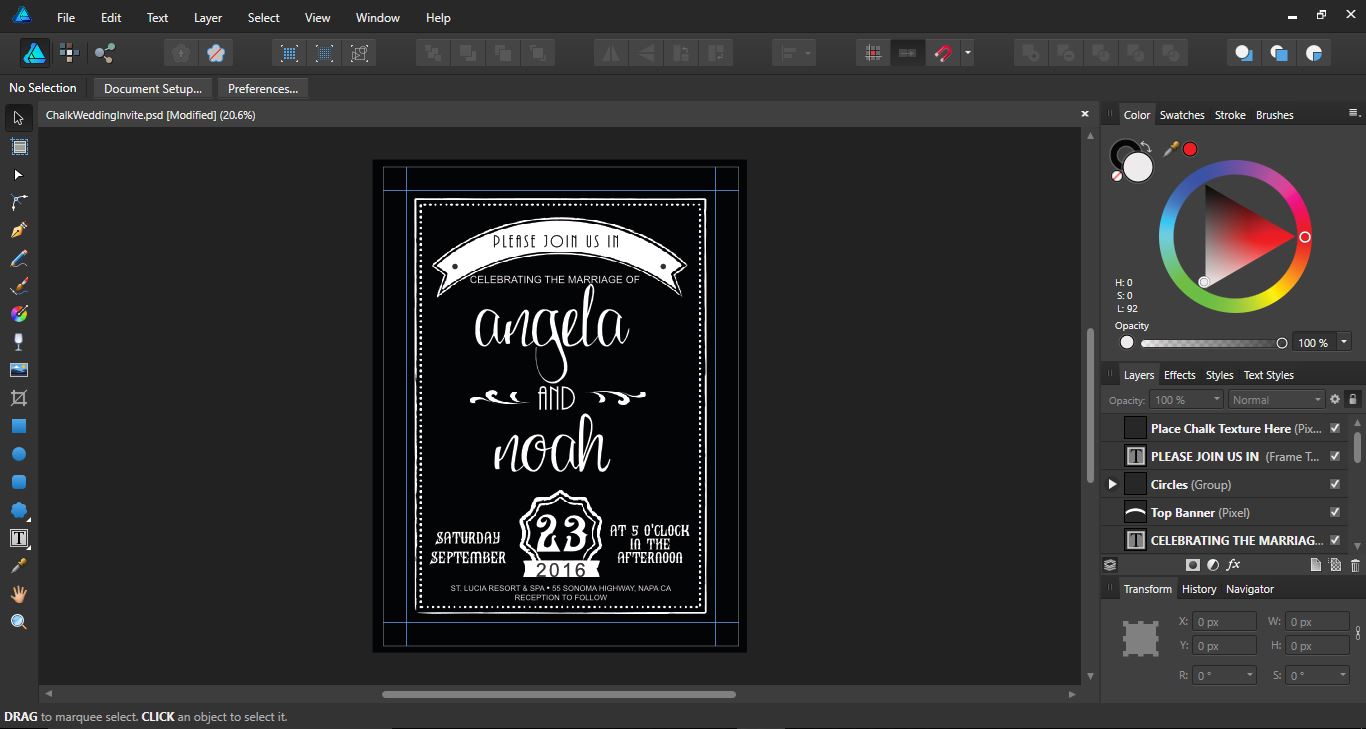
Once you have opened Affinity Designer, locate and open the SVG you want to use. On the left side toolbar, you will find the Move Tool. It looks like a black arrow with a white outline.
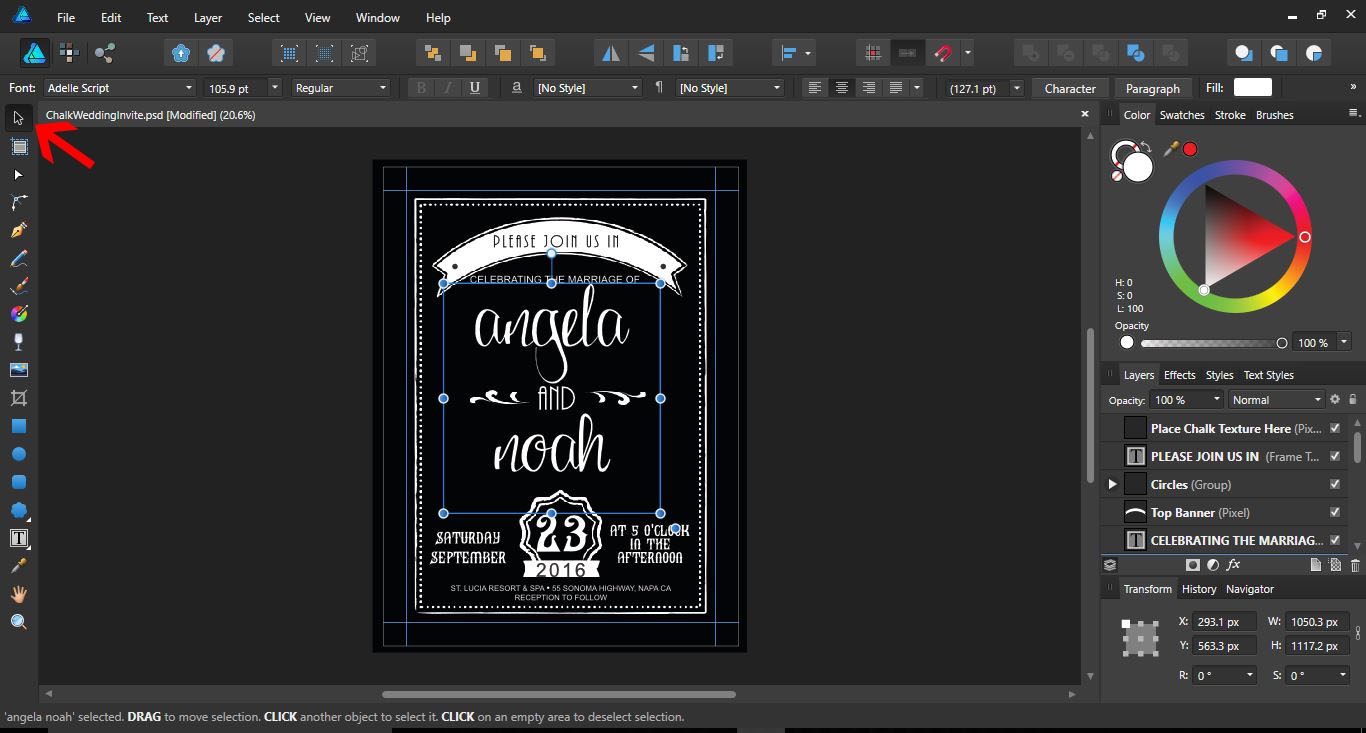
You can select a specific element directly on the design. To do this, with the Move Tool selected, now click on the design element. You can edit it as needed such as resizing the images or repositioning them. The nodes of the elements can also be adjusted using the point transform tool.
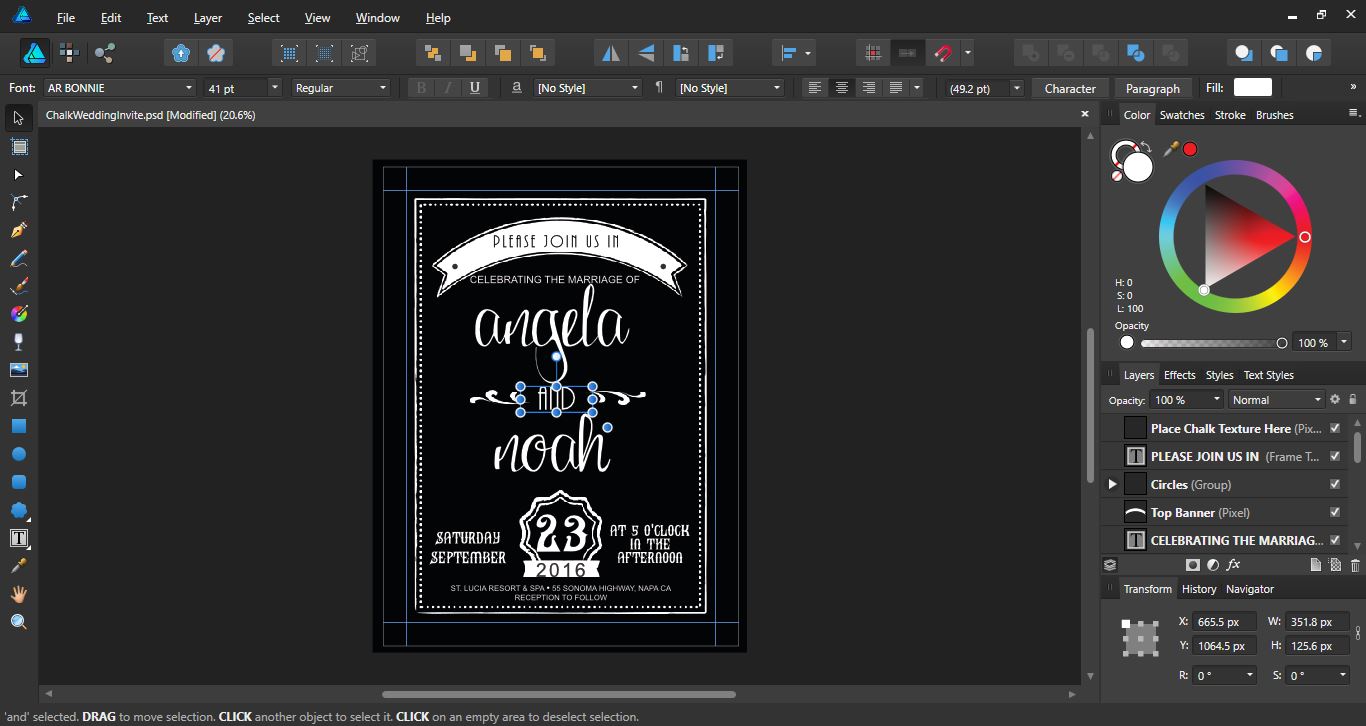
Now, say you have two objects placed on top of each other. You may not be able to select the bottom one easily.
In order to access the bottom object, click on the top one. Then, hold Alt + click again on this object to cycle to the next object/layer. This is especially useful for multiple items placed on top of each other.
You can use the Alt + click option to cycle through the objects until you get to the one you want.
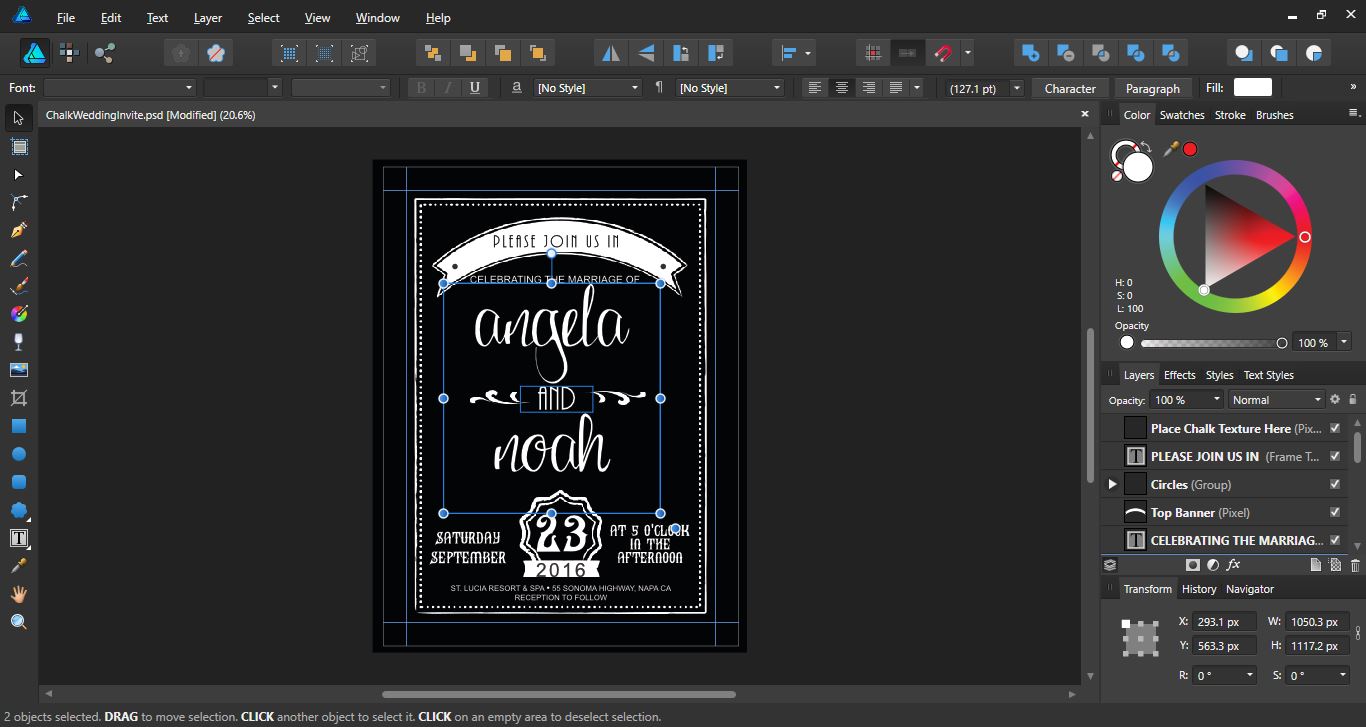
To select multiple elements, select one of the objects. Then, hold Shift + click on additional elements to select them.
Step 2 - Use the Layers Panel to Select
On the right side, under the Layers Panel, you will find all of your design elements on layers. Some will also be grouped. If you find that an item can not be selected, check to see if the layer has a padlock icon.
The padlock prevents you from adjusting that particular object on the design.
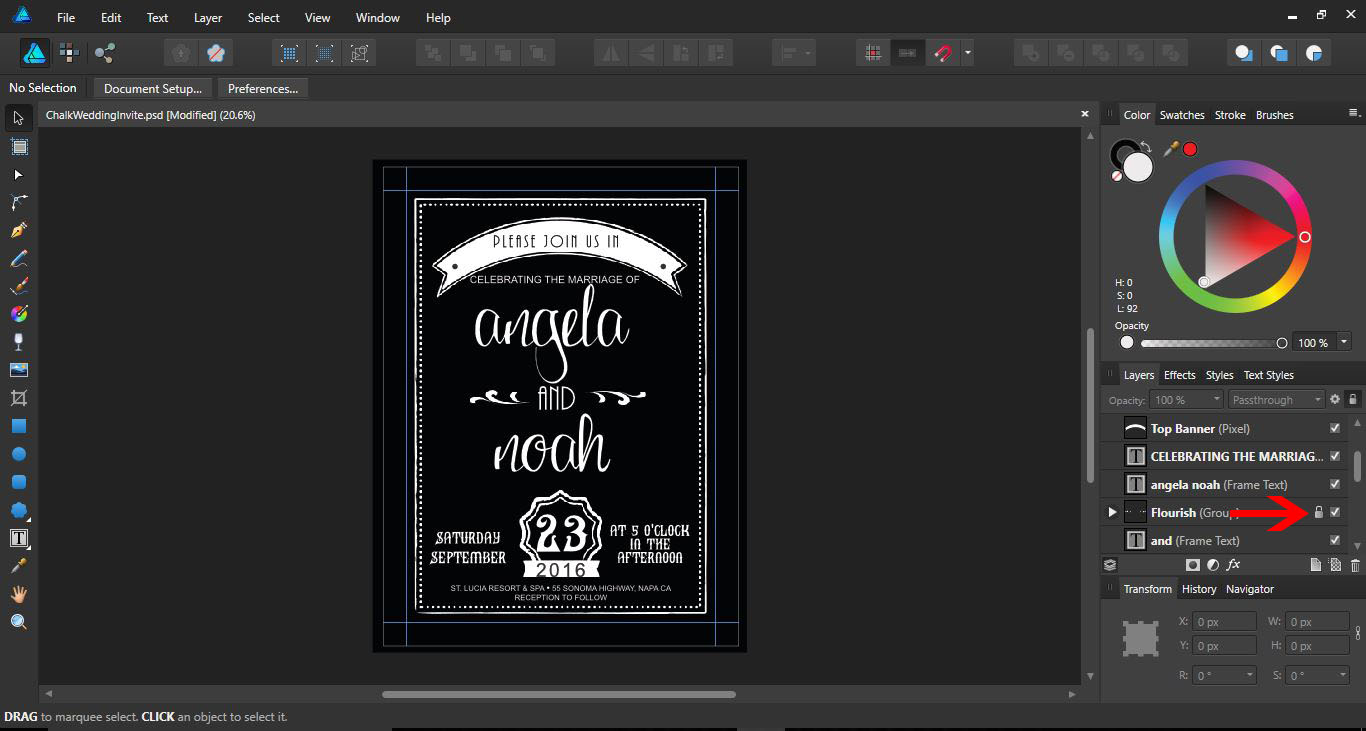
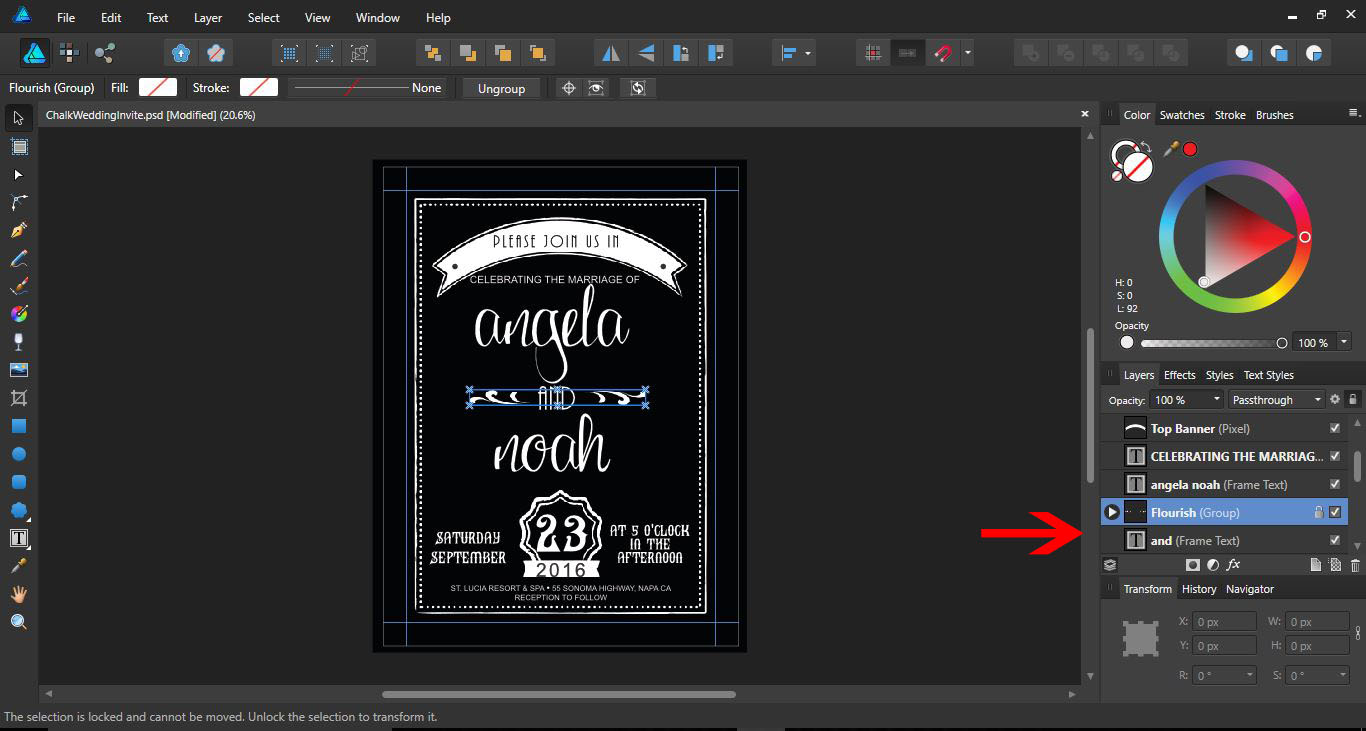
The locked layer can be selected by clicking on it under the Layers Panel. You will see it selected on the design as well.
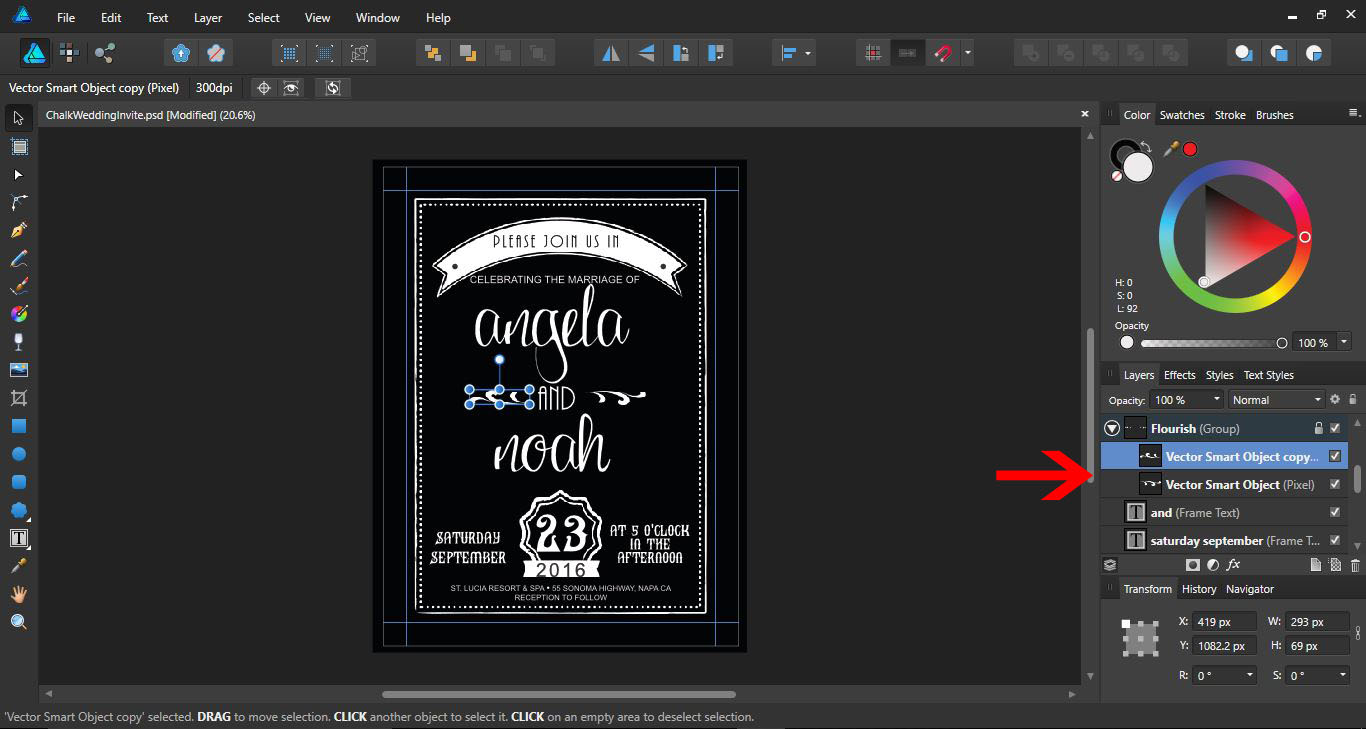
If the individual object is grouped as a locked layer, you can still select it. Click on the arrow for the grouped layer to open the layers within. These are called Child layers. Now you can click on the layer to select the object.
Edit All Layers
At the bottom of the Layers Panel, you will see the Edit All Layers icon. This gives the option to edit all the layers or specific layers.
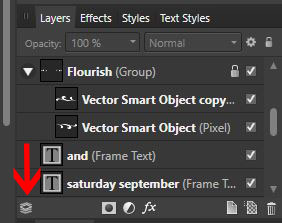
If you click on this icon to turn it off, you will only be able to edit the layers selected in the Layers Panel.
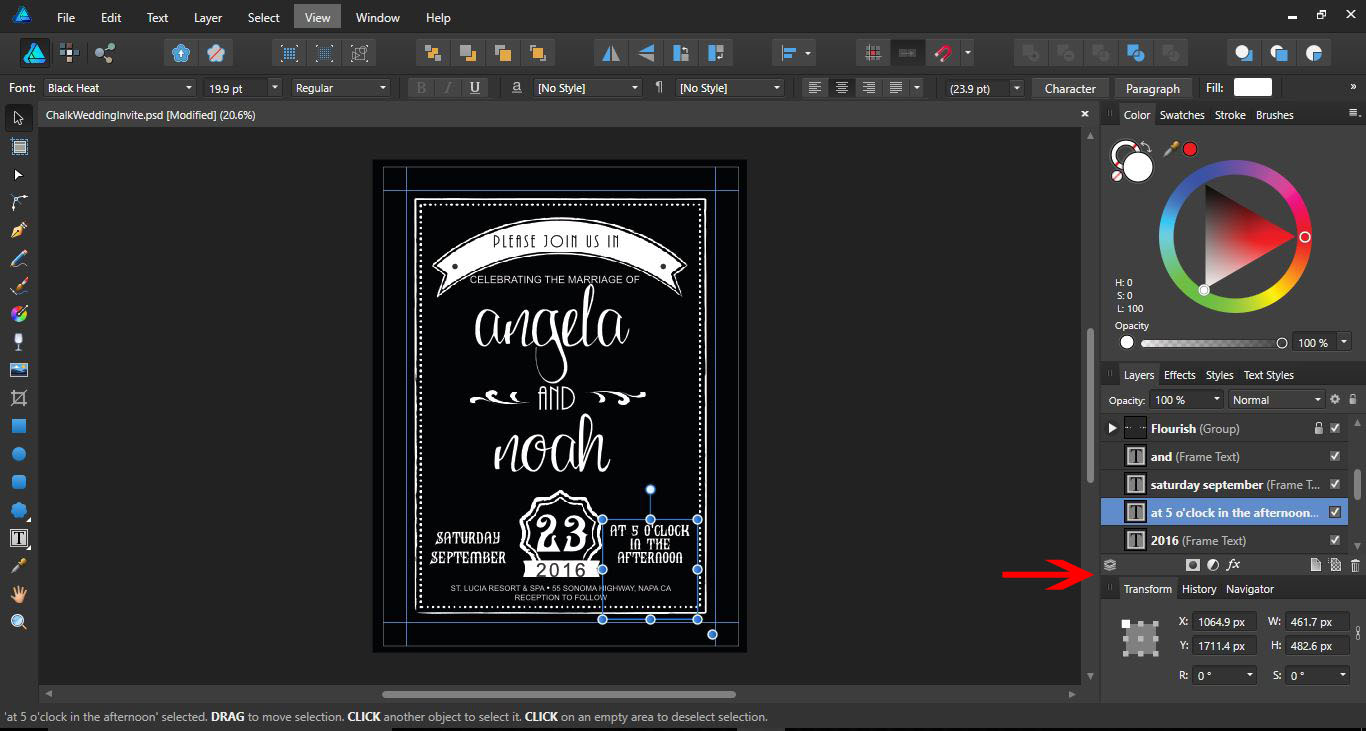
When you select group layers, all of the layers within that group will be selected. Groups are selected via the Layers Panel while individual items can be selected on the design.
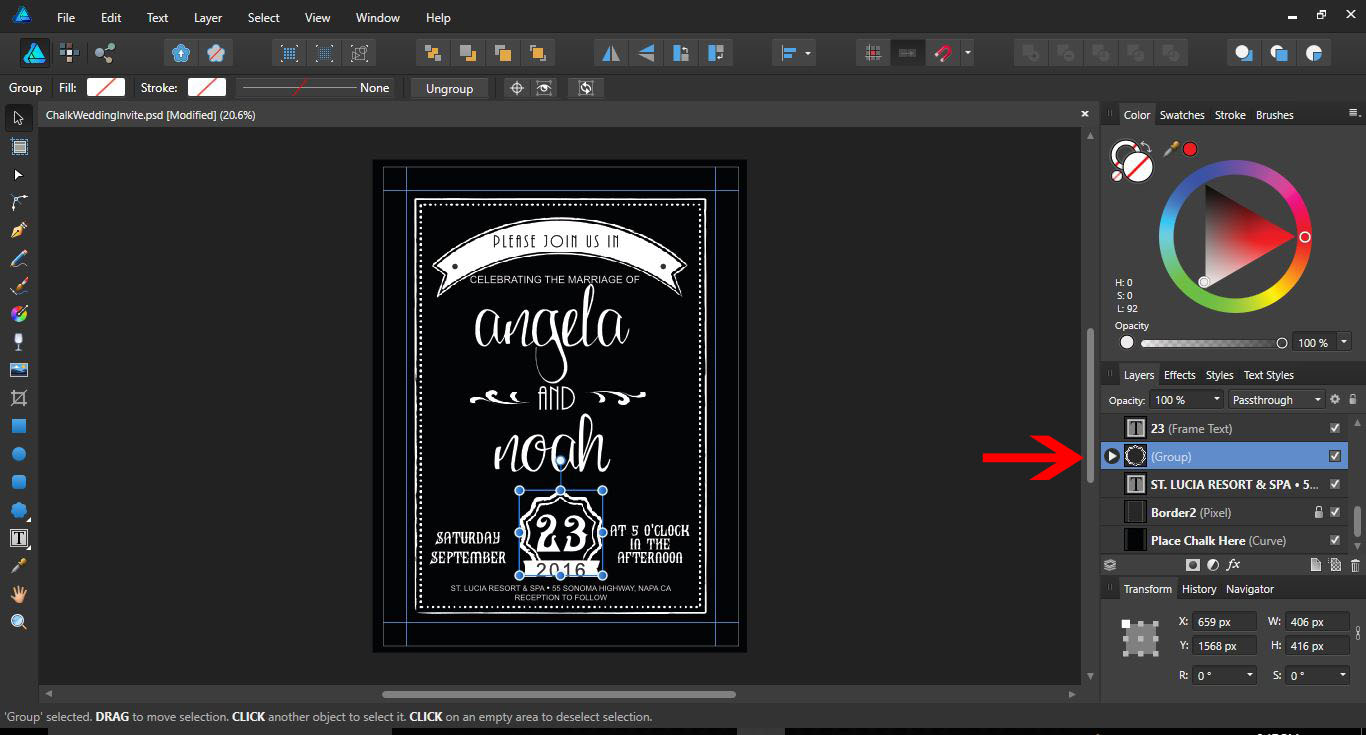
To find your design element on the Layers Panel, select the element on the design. Now right click > Find in Layers Panel. Also, when clicking on an element, the layer will automatically be highlighted on the right.
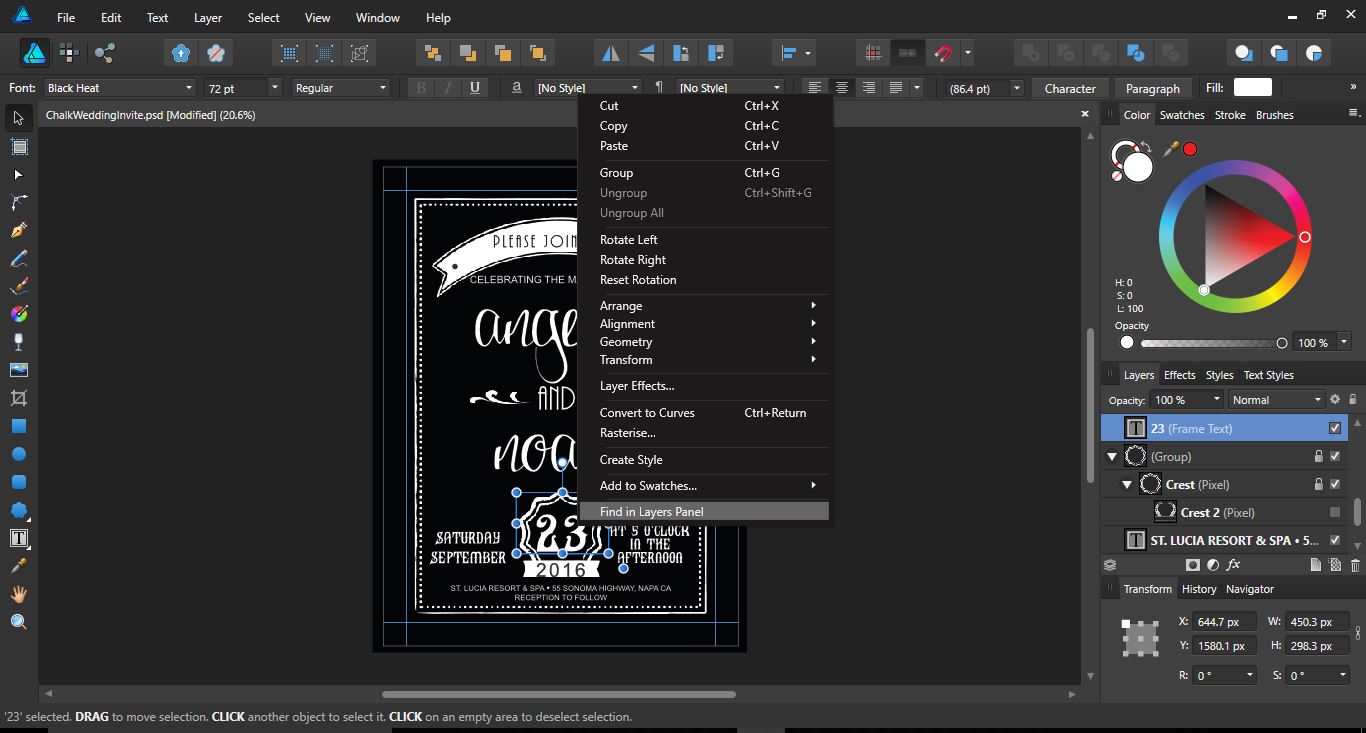
You can isolate objects by clicking on the ticked boxes on the layers. When you untick the boxes, the layers will be hidden. To hide multiple layers, hold Shift + click to select certain layers. Now, un-tick the box of one, and all those selected or highlighted will be un-ticked as well.
Affinity Designer’s Move Tool is an important feature for finding and selecting objects on layers. Being able to quickly locate and even isolate objects is a great way to work through a complex design.